
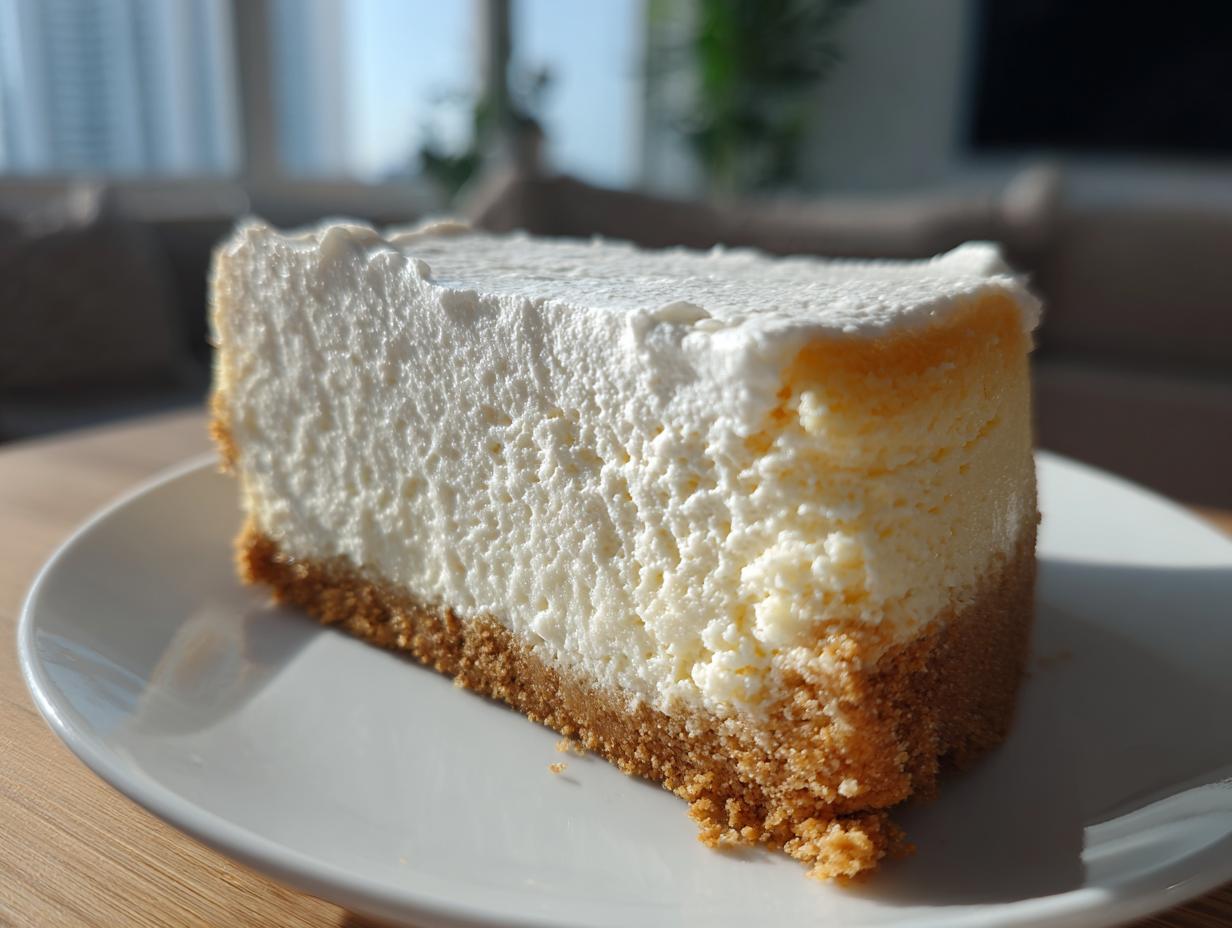
There is just something utterly comforting, in a deeply grown-up way, about a slice of perfectly rich, tangy cheesecake, isn’t there? It’s the pinnacle of classic dessert recipes. For years, I felt like I needed a culinary degree just to try making a proper New York Style Cheesecake, mostly because everyone screams about needing a water bath!
Well, put away that roasting pan filled with boiling water! When I first started CravyBite Kitchen, I promised myself I would bridge the gap between tradition and practicality. Drawing on my nutrition background combined with my family’s Midwestern baking history, I perfected this cheesecake recipe so you can achieve that absolutely luxurious, creamy texture every single time, and guess what? We skip the annoying water bath entirely. This recipe is my guarantee of a smooth, velvety result for your next big dessert win.
- Why This Classic New York Style Cheesecake Recipe Works (No Crack Cheesecake Guide)
- Gathering Ingredients for Your Homemade Cheesecake Recipe
- Simple Cheesecake Baking: Step-by-Step Instructions
- Tips for Success with Your Cheesecake Recipe
- Serving Suggestions for This Classic Dessert Recipes
- Storage and Reheating Instructions for Leftover Cheesecake
- Frequently Asked Questions About Making Cheesecake
- Estimated Nutritional Data for This Cheesecake Recipe
- Share Your Homemade Cheesecake Recipe Experience
Why This Classic New York Style Cheesecake Recipe Works (No Crack Cheesecake Guide)
If you’re looking for the fuss-free way to make a genuinely rich and velvety cheesecake, this is it. I know everyone warns you about cracks, especially when ditching the water bath, but trust me, this technique delivers!
- We rely on full-fat cream cheese—no substitutions here if you want that classic, dense texture.
- The magic happens with temperature control, making this a fantastic Homemade Cheesecake Recipe.
- Because we don’t use a water bath, our slow cooling method inside the oven is your new secret weapon for that No Crack Cheesecake Guide assurance.
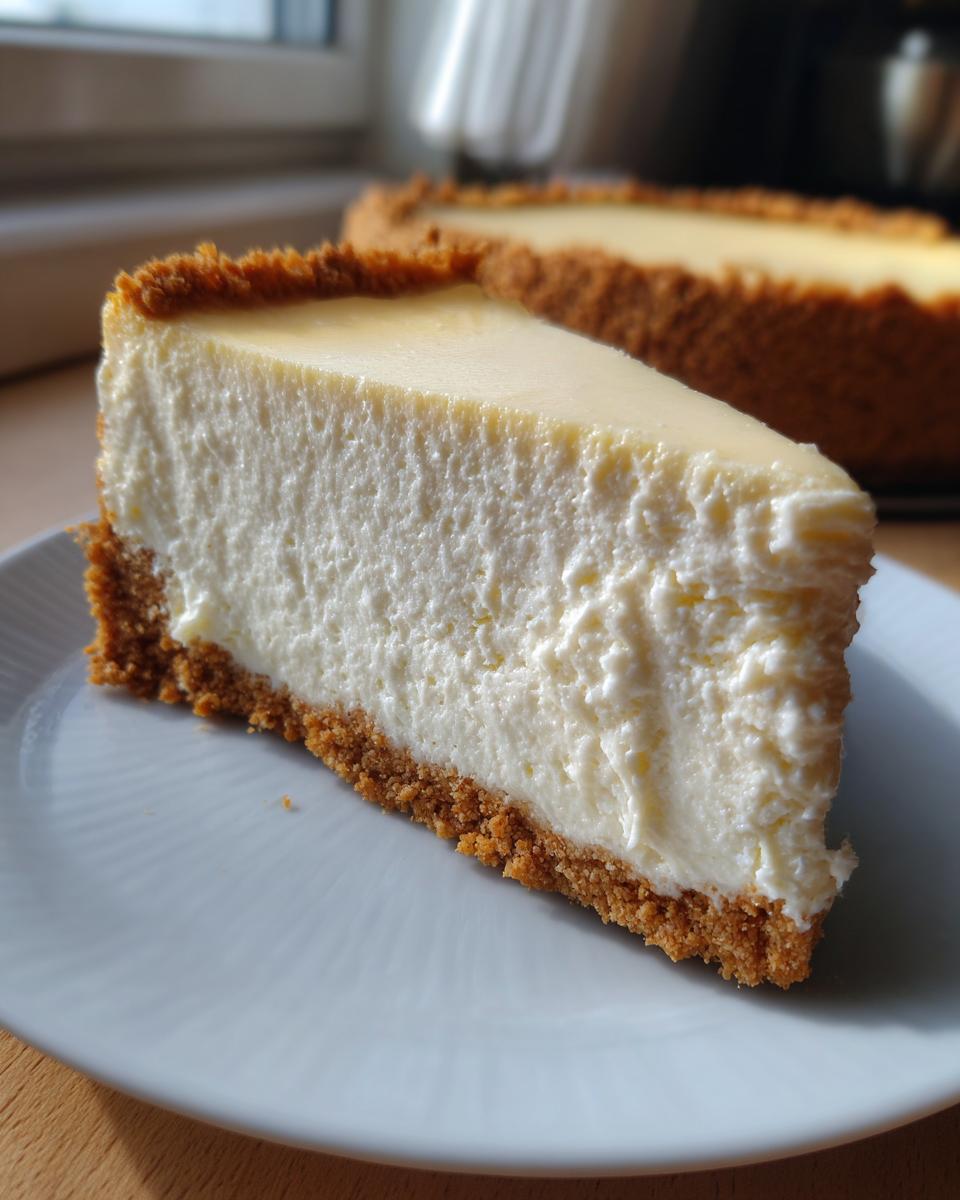
Achieving the Perfect Cheesecake Texture Every Time
Texture is everything when it comes to cheesecake. You need that perfect balance—dense but impossibly creamy. Keeping all your dairy ingredients, especially the cream cheese and sour cream, at room temperature is non-negotiable. Cold ingredients fight each other and force you to overmix trying to smooth them out, which introduces air.
My advice from the CravyBite kitchen is simple: use low speed when mixing and stop once everything is just incorporated. Too much air is the main culprit behind those frustrating cracks! We want a smooth batter, not a whipped mousse.
Gathering Ingredients for Your Homemade Cheesecake Recipe
Okay, let’s talk about the building blocks! For this cheesecake recipe, simplicity really wins, but the state of your ingredients matters more than anything else. Before you even think about turning on the mixer, pull out your cream cheese, eggs, and sour cream. They need to be truly room temperature—I can’t stress this enough for a lump-free result. We aren’t making a casserole; we need perfect blending!
Graham Cracker Crust Recipe Essentials
You only need three things for that buttery base. Make sure when you measure those graham cracker crumbs that you are packing them lightly into the cup, otherwise, your crust will be too thick and bake unevenly. We want that perfect, firm foundation.
- Graham Cracker Crumbs (1 1/2 cups)
- Granulated Sugar (1/4 cup, reserved just for the crust!)
- Unsalted Butter (6 tablespoons, fully melted)
Tips for the Rich and Velvety Cheesecake Filling
For the filling components, remember that temperature is key to making this a truly rich and velvety cheesecake. The cream cheese absolutely must be soft—push your finger into it; it should leave an easy dent. Cold cheese equals lumpy batter, and we hate lumps! The eggs need about an hour on the counter too. This ensures they mix in gently without creating excessive air pockets, which helps us avoid cracks later on.
- Full-Fat Cream Cheese (Three 8-ounce packages!)
- Granulated Sugar (1 1/2 cups)
- All-Purpose Flour (Just 1/4 cup for structure)
- Vanilla Extract and Salt
- Sour Cream (1 cup, room temperature!)
- Large Eggs (4 of them, room temperature!)
Simple Cheesecake Baking: Step-by-Step Instructions
Now we get to the fun part! Making this specific cheesecake recipe is like following a very careful dance sequence, but don’t let the steps scare you—they are designed to give you that winning, crack-free result. Pay attention to the mixing speeds, and you’ll have the most satisfying dessert ready for the oven.
Making and Pre-Baking the Graham Cracker Crust
First things first, get your oven preheated to 350°F (175°C). While it warms up, mix your crust ingredients together. Then, and this is key for a base that doesn’t crumble everywhere, press that mixture *firmly* into the bottom of your 9-inch springform pan. Press it down with the flat bottom of a measuring cup if you have one! Stick it in the heat for just 10 minutes. Once you pull it out, drop the oven temp down to 325°F (160°C) for the filling.
Mixing the Creamy Cheesecake Filling Without Overmixing
Start with that smooth cream cheese in your biggest bowl. Beat it until it’s totally uniform—no lumps allowed! Then, on *low* speed, slowly add the sugar, flour, vanilla, and salt. Mix just until you see it blend. Next, stir in the sour cream until it looks smooth. Now, for the eggs: add them in one at a time, making sure the previous one is barely incorporated before you add the next. Stop the second the last bit of egg disappears. Seriously, stop! We are guarding against air here.
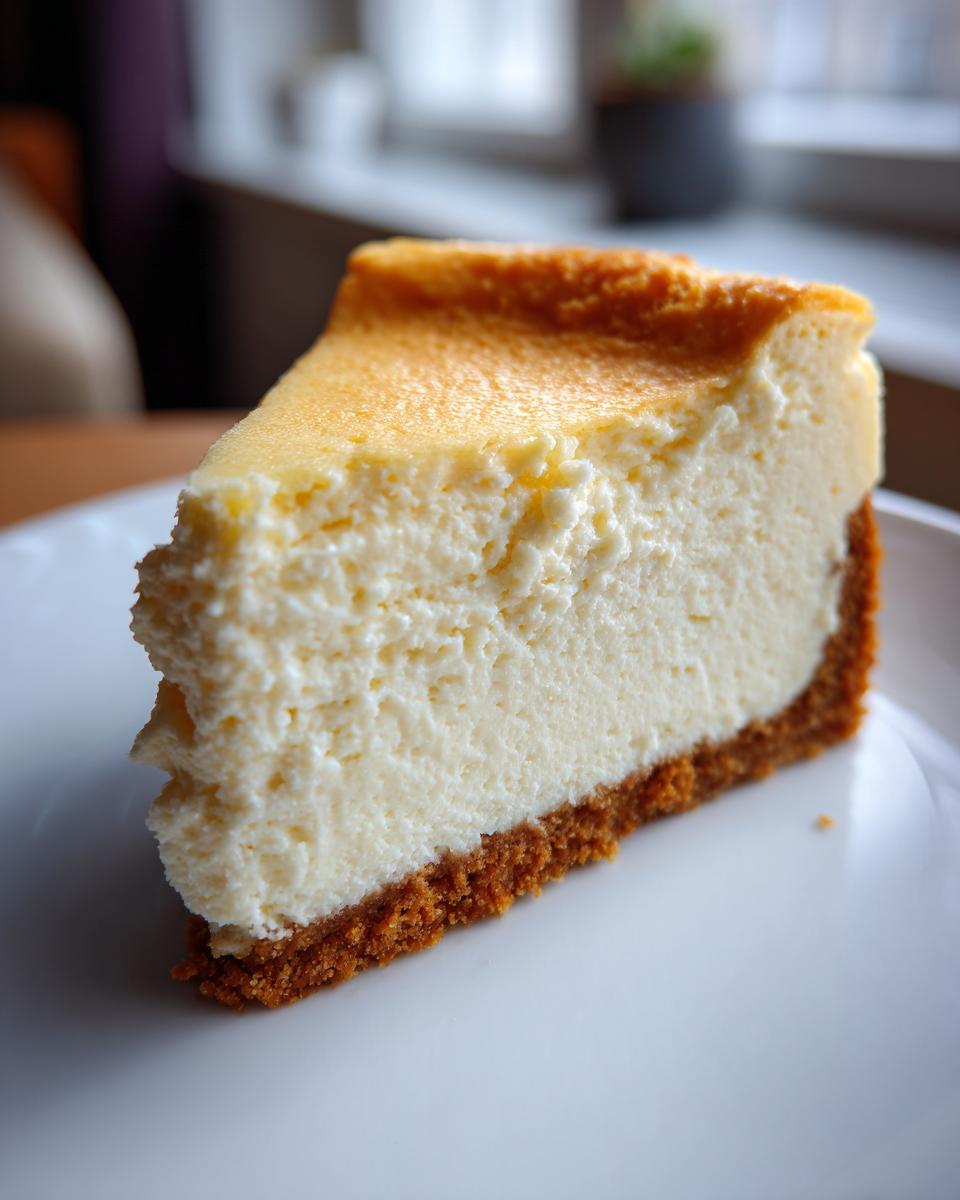
The No-Water Bath Baking and Slow Cooling Method
Pour that beautiful, smooth filling over your slightly cooled crust in that 325°F oven. Bake it for about 55 to 65 minutes. You’ll know it’s ready when the edges look set and maybe a tiny bit browned, but the center two inches still has a little jiggle left to it. This is where the magic happens: turn the oven off, prop the door open about an inch with a wooden spoon, and just let it sit in there for a whole hour. This gentle, slow cooling is my personal cheesecake baking secret for keeping that top perfectly smooth.
Tips for Success with Your Cheesecake Recipe
Even though this is the best, most foolproof cheesecake recipe out there, I still remember my early disasters! When I first started baking, I’d pull my cheesecake out, and it would look fine, but the second it hit the counter, it would sadly deflate or develop that awful crack right across the top. It was heartbreaking!
The fix, I learned the hard way, wasn’t actually the oven or the cooling—it was step one! When I first started baking, I’d pull my cheesecake out, and it would look fine, but the second it hit the counter, it would sadly deflate or develop that awful crack right across the top. It was heartbreaking!
Temperature Control: The Secret to Smooth Batter
Seriously, this is the hill I will die on when it comes to creamy desserts. If your cream cheese is cold, it will not emulsify properly with the sugar. You end up over-beating the mixture trying to force those lumps out, and that forces air into the batter. Air expands when hot and contracts when cool, which is literally what causes cracks! To guarantee that Perfect Cheesecake Texture, let that cream cheese sit out until it’s genuinely yielding. It’s the quiet key to skipping the water bath entirely.
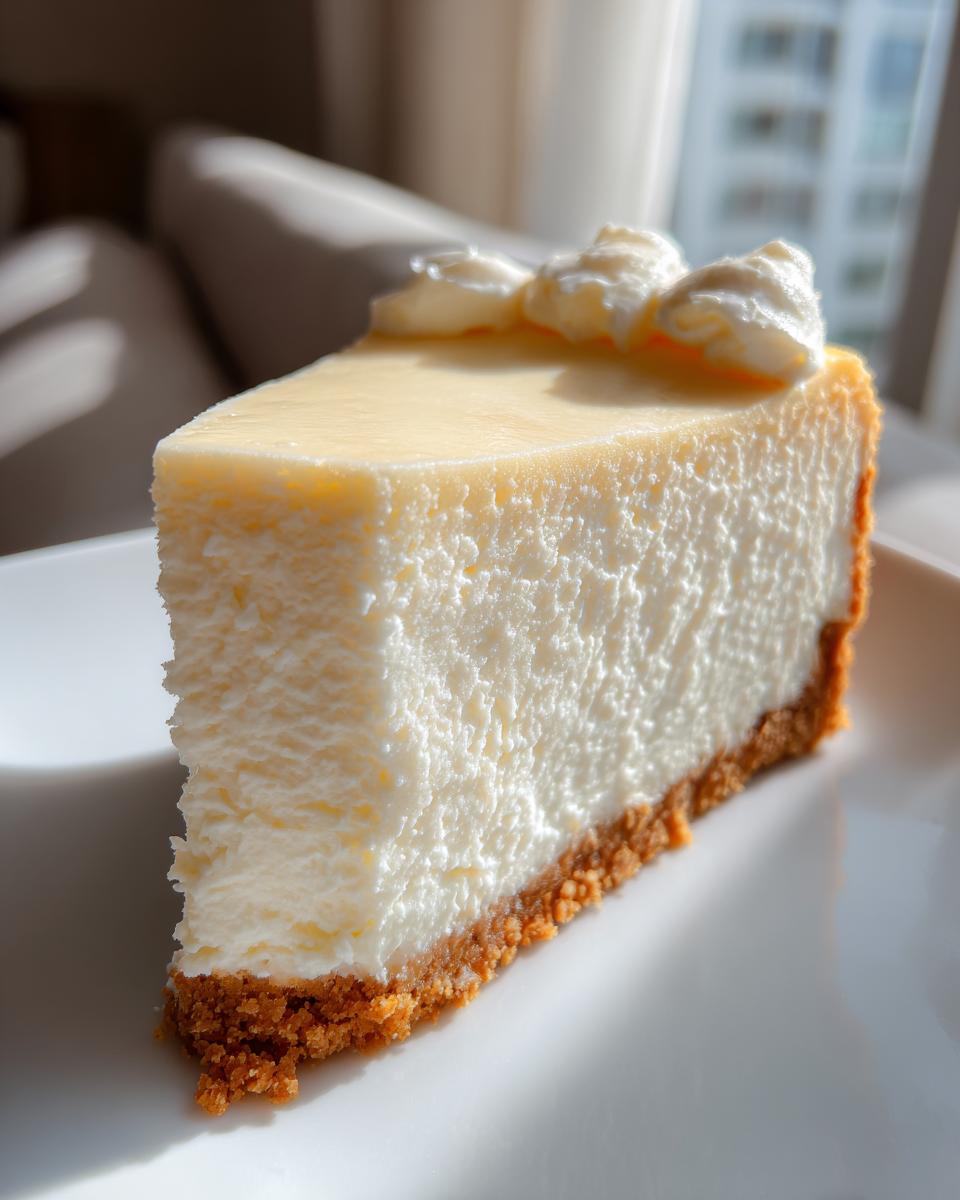
Serving Suggestions for This Classic Dessert Recipes
This New York Style Cheesecake is honestly perfect just plain, letting that tangy, rich flavor shine through. If you want to dress it up for a party, keep the toppings light so you don’t overwhelm the texture we worked so hard for! Fresh raspberries or tart cherries are fantastic; their little burst of acidity plays so well against the sweet cream cheese.
If you are feeling a little extra decadent, a thin, glossy chocolate ganache draped over the top—just made from good quality chocolate and heavy cream—looks impressive. To make a slightly different treat next time, check out my cranberry orange loaf, but for this classic, simple is usually your best bet!
Storage and Reheating Instructions for Leftover Cheesecake
Once you’ve managed to wait for it to cool completely, this cheesecake keeps wonderfully. Cover the entire pan loosely with plastic wrap and get it into the fridge for at least six hours, but honestly, letting it chill overnight is what sets the final texture perfectly. It’s a Beginner Cheesecake Recipe triumph when it’s this easy to store!
When you get to serving slices later, just run a thin, warm knife around the edge before lifting the latch on your springform pan. And here’s the deal: you don’t reheat cheesecake! It’s meant to be served cold or just slightly chilled. Trying to warm it up just ruins that gorgeous, creamy structure we fought so hard to achieve.
Frequently Asked Questions About Making Cheesecake
I’ve gathered some of the questions I hear most often when people tackle my cheesecake recipe for the first time. Don’t be shy; it’s totally normal to have questions when aiming for that perfect, crack-free top! Mastering this dessert might seem daunting, but remember, if you follow the slow cooling process, you’re practically guaranteed success—making this an excellent Beginner Cheesecake Recipe!
Can I use light cream cheese in this cheesecake recipe?
Oh, honey, please don’t try this with light cream cheese if you want that authentic New York-style experience. The richness and structure of this Tangy Cream Cheese Dessert rely 100% on the full-fat product. Light cream cheese has more water and less fat, which messes with the whole binding process. You’ll end up with a structure that’s softer, maybe gummy, and definitely more prone to cracking because the fat content helps stabilize everything during baking and cooling.
How do I prevent the cheesecake from sticking to the pan?
This is such a common worry, especially since you don’t want to ruin the beautiful presentation when serving such a perfect dessert! Before you even put the crust in, make sure your springform pan sides are completely clean and dry. Once the cheesecake is totally chilled—and I mean *totally* chilled, after that overnight rest—take a thin, sharp paring knife. Run it gently all the way around the inside edge of the cheesecake where it meets the metal. Don’t saw at it, just a clean pass! Then, slowly release the latch on the springform pan. It should slide right out cleanly.
Estimated Nutritional Data for This Cheesecake Recipe
Now, I know that when we’re making something this gloriously rich and creamy, we aren’t exactly counting calories, but I always feel it’s good practice to give you an idea of what you’re diving into! As a former nutrition consultant, I always calculate these estimates, even for my favorite desserts. Remember, because we use full-fat cream cheese and no substitutes, this is an indulgence, and that’s perfectly okay!
These figures are calculated based on dividing the total recipe yield by 12 generous slices, right before any optional toppings are added. Think of this as a baseline marker for our Classic Dessert Recipes.
- Serving Size: 1 Slice (1/12th of the cake)
- Calories: Approximately 450
- Total Fat: About 30g (Watch that saturated fat, darling!)
- Carbohydrates: Around 40g
- Protein: Roughly 8g
- Sugar: Approximately 35g (That’s the joy of the sugar we use in the filling and crust!)
If you load it up with heavy chocolate ganache or loads of caramel sauce, those numbers are going up, of course! But as a baseline for this incredible, homemade New York Style Cheesecake, that’s what we’re looking at. Enjoy every bite!
Share Your Homemade Cheesecake Recipe Experience
Well, that’s it! You’ve made it through the whole process, from crushing the graham crackers to gently letting your perfect, crack-free New York Style Cheesecake cool down in the oven. Now comes the best part: enjoying it and telling me all about it! I genuinely love hearing from you folks—it makes all the testing and writing worth it.
When you finish slicing into this wonderful cheesecake recipe, please come back and drop a rating in the star system below. I’m particularly eager to hear if you managed that ultra-creamy texture or if you were successful in avoiding any cracks with the slow cooling method. That’s the ultimate win for a beginner baker!
If you snapped a picture of your finished dessert—maybe you added fresh strawberries on top or just admired that smooth surface—I hope you’ll tag CravyBite Kitchen on social media! It absolutely makes my day to see your successes. And if you have any lingering questions that I didn’t cover, don’t hesitate to pop over to the contact page. Happy baking, everyone!
PrintClassic New York Style Cheesecake Recipe: Rich, Creamy, and No-Crack

Follow this simple, homemade recipe to create a rich, creamy, and tangy New York Style Cheesecake with a classic graham cracker crust. This guide provides easy instructions for achieving a perfect, velvety texture without needing a water bath.
- Prep Time: 25 min
- Cook Time: 65 min
- Total Time: 7 hours 30 min
- Yield: 12 servings 1x
- Category: Dessert
- Method: Baking
- Cuisine: American
- Diet: Vegetarian
Ingredients
- 1 1/2 cups graham cracker crumbs
- 1/4 cup granulated sugar (for crust)
- 6 tablespoons unsalted butter, melted
- 3 (8 ounce) packages full-fat cream cheese, softened to room temperature
- 1 1/2 cups granulated sugar (for filling)
- 1/4 cup all-purpose flour
- 1 teaspoon vanilla extract
- 1/4 teaspoon salt
- 1 cup sour cream, room temperature
- 4 large eggs, room temperature
Instructions
- Prepare the crust: Preheat your oven to 350°F (175°C). Mix graham cracker crumbs, 1/4 cup sugar, and melted butter. Press the mixture firmly into the bottom of a 9-inch springform pan. Bake for 10 minutes. Remove and let cool slightly. Reduce oven temperature to 325°F (160°C).
- Prepare the filling: In a large bowl, beat the softened cream cheese with an electric mixer until completely smooth. Scrape down the sides.
- Add 1 1/2 cups sugar, flour, vanilla extract, and salt to the cream cheese. Beat on low speed until just combined. Do not overmix.
- Mix in the sour cream until smooth. Beat in the eggs one at a time, mixing only until each egg is incorporated. Stop mixing as soon as the last egg is blended in.
- Pour the filling over the cooled crust in the springform pan.
- Bake at 325°F (160°C) for 55 to 65 minutes. The edges should look set, but the center 2 inches should still have a slight jiggle.
- Turn off the oven. Prop the oven door open slightly (about 1 inch) using a wooden spoon. Let the cheesecake cool inside the oven for 1 hour. This slow cooling helps prevent cracks.
- Remove the cheesecake from the oven and let it cool completely on a wire rack.
- Once cool, cover the pan loosely with plastic wrap and refrigerate for at least 6 hours, or preferably overnight, before serving.
Notes
- Use room temperature ingredients for the cream cheese filling to ensure a smooth, lump-free texture.
- Do not open the oven door while the cheesecake is baking or during the initial cooling period.
- To release the cheesecake from the springform pan without sticking, run a thin knife around the edge before releasing the latch.
Nutrition
- Serving Size: 1 slice
- Calories: 450
- Sugar: 35g
- Sodium: 300mg
- Fat: 30g
- Saturated Fat: 18g
- Unsaturated Fat: 12g
- Trans Fat: 0.5g
- Carbohydrates: 40g
- Fiber: 1g
- Protein: 8g
- Cholesterol: 120mg