
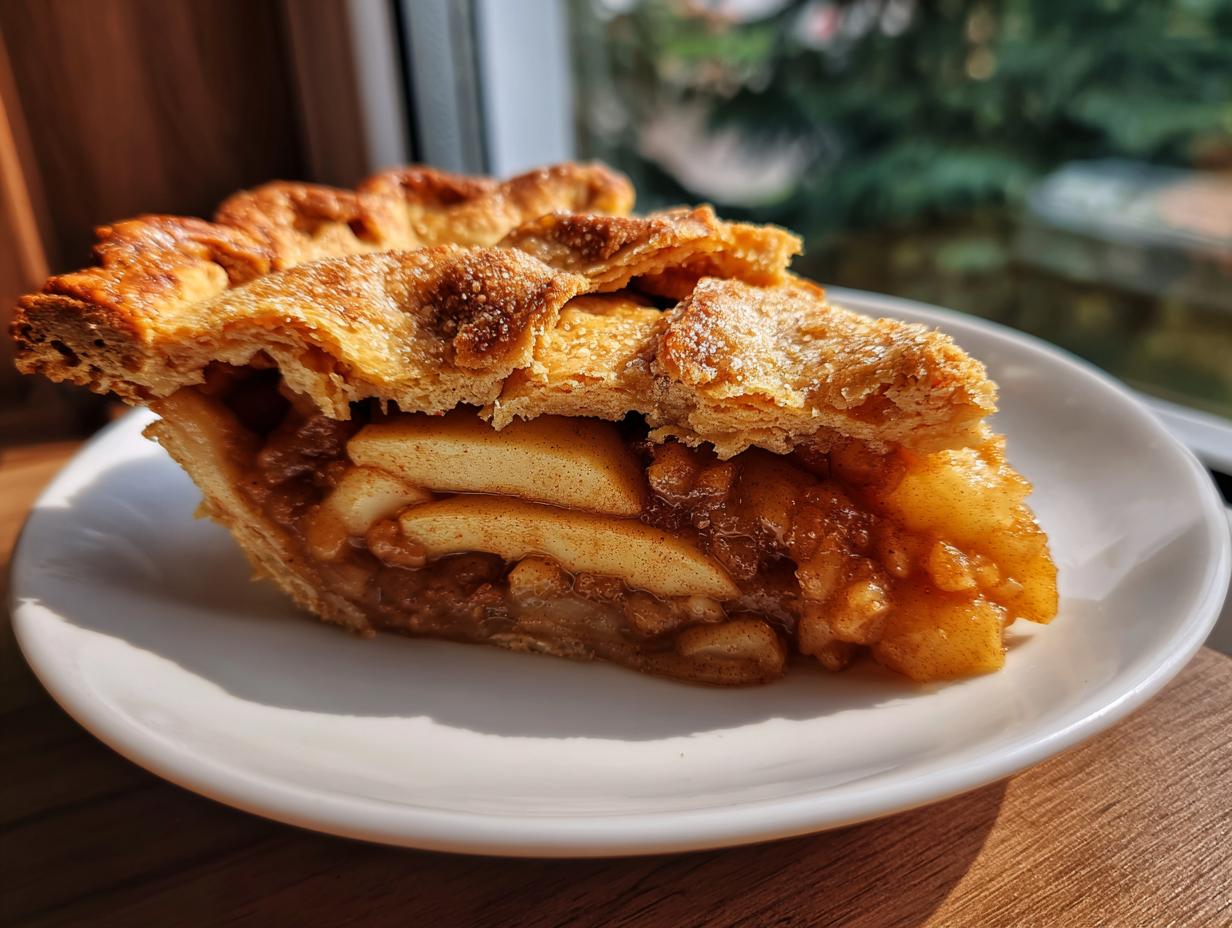
Oh, friends, there is nothing quite like the warmth that fills the house when you decide to make something truly from scratch. It’s more than just a dessert; it’s an event! Today, we are tackling the king of comfort baking: the **Best Classic Homemade Apple Pie From Scratch with Flaky Double Crust**. Forget those sad, pre-made shells. I learned early on in my kitchen that 80% of the magic in any spectacular pie lives squarely in that crust. If you want that snap, that buttery bliss, and a crust that holds up gloriously without getting soggy? You have to commit to the technique. Trust me, this recipe blends the old-school patience I learned as a kid with some modern reliability checks, making it the last homemade apple pie recipe you’ll ever need to save.
- Why This Homemade Apple Pie Recipe Stands Apart (Best Apple Pie Recipe)
- Gathering Ingredients for Your Homemade Apple Pie
- How To Make Apple Pie From Scratch: Step-by-Step Instructions
- Tips for a Bakery Style Homemade Apple Pie Success
- Storage and Reheating Instructions for Homemade Apple Pie
- Serving Suggestions for This Easy Homemade Dessert
- Frequently Asked Questions About Making Homemade Apple Pie
- Understanding the Nutrition in Your Homemade Apple Pie Slice
- Share Your Homemade Apple Pie Creations
Why This Homemade Apple Pie Recipe Stands Apart (Best Apple Pie Recipe)
I’ve eaten enough sad, lukewarm apple pies in my life that were either mushy inside or rock hard on the bottom. Not this one! This recipe is my solution to all those baking woes. When you make this homemade apple pie, you are guaranteed a showstopper. It’s about solving those common problems before they even happen, which is why I love sharing my secrets. If you want depth of flavor in your savory sides while you wait for the pie to bake, you should check out my recipe for the best onion dip from scratch!
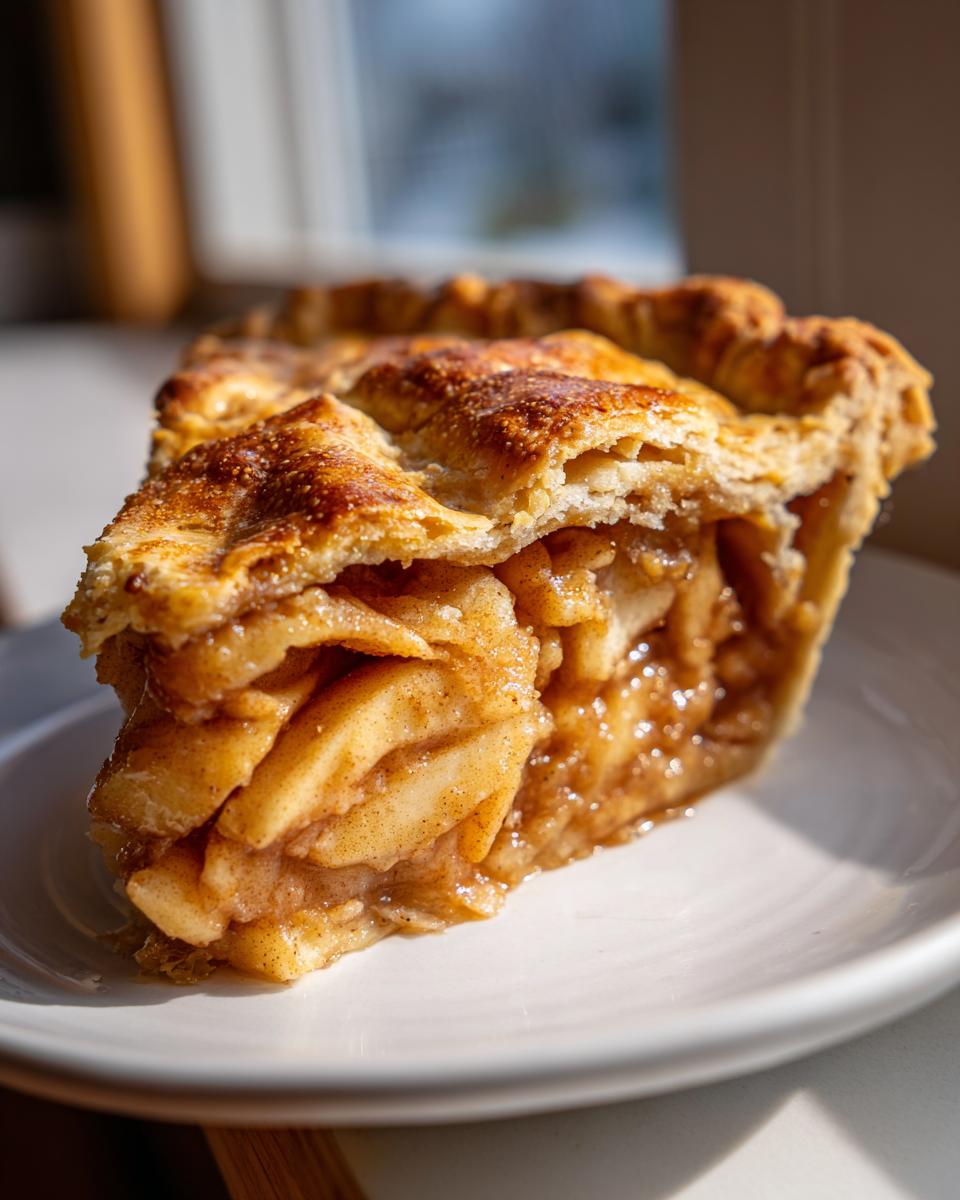
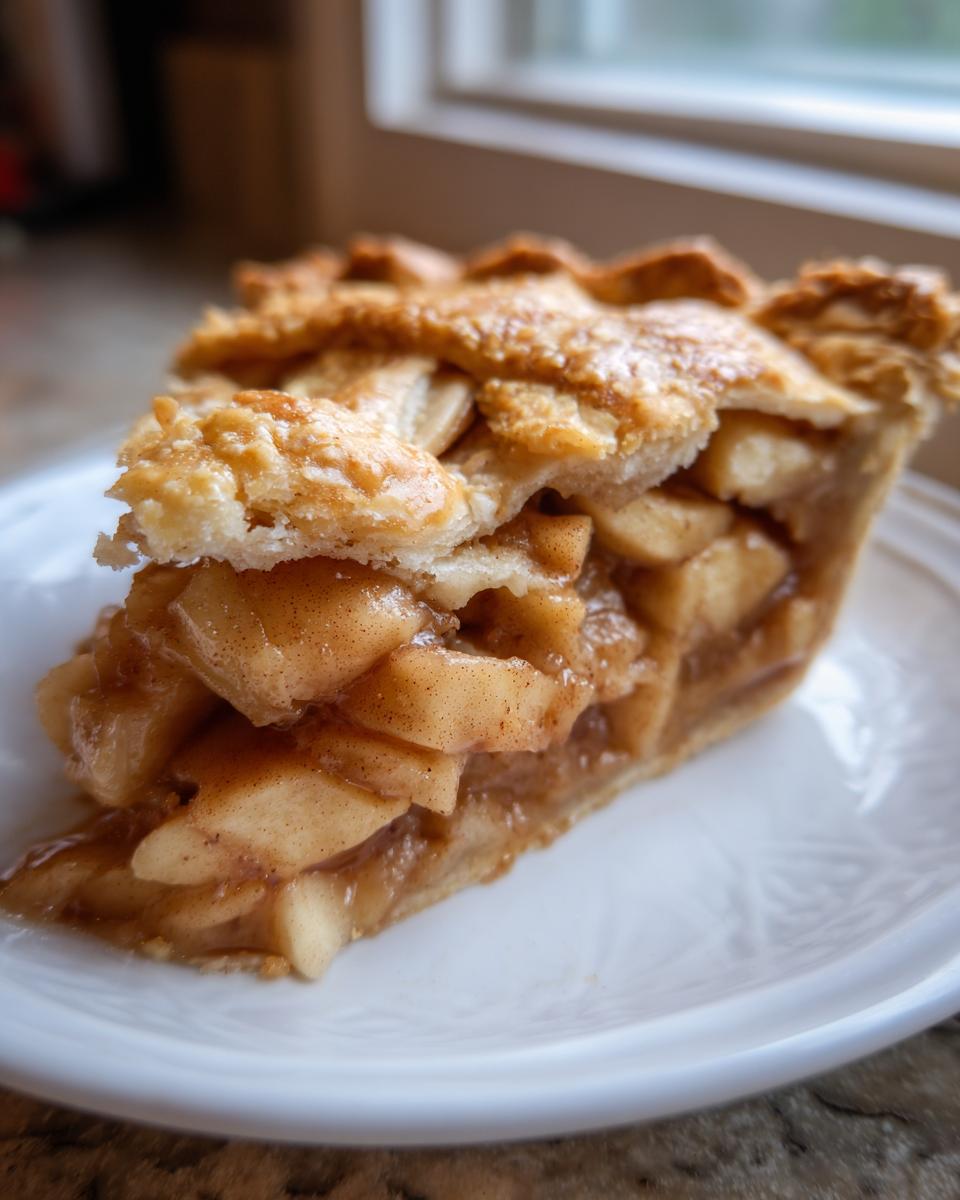
- You get that perfect shatter when you cut into the crust.
- The filling is tender, juicy, but never soupy—no soggy bottoms allowed!
- The spice blend is warm and complex enough that everyone asks for the recipe.
Achieving the Perfect Flaky Pie Crust Tutorial
The secret to that gorgeous flakiness, my friend, is keeping everything colder than a cucumber! Seriously, if your butter isn’t rock hard when you cut it in, you’re already losing ground. Minimal handling means you never melt those crucial little butter pockets. Those pockets are what steam open in the oven to create those lovely, flaky layers in your homemade apple pie crust. It’s science, but fun science!
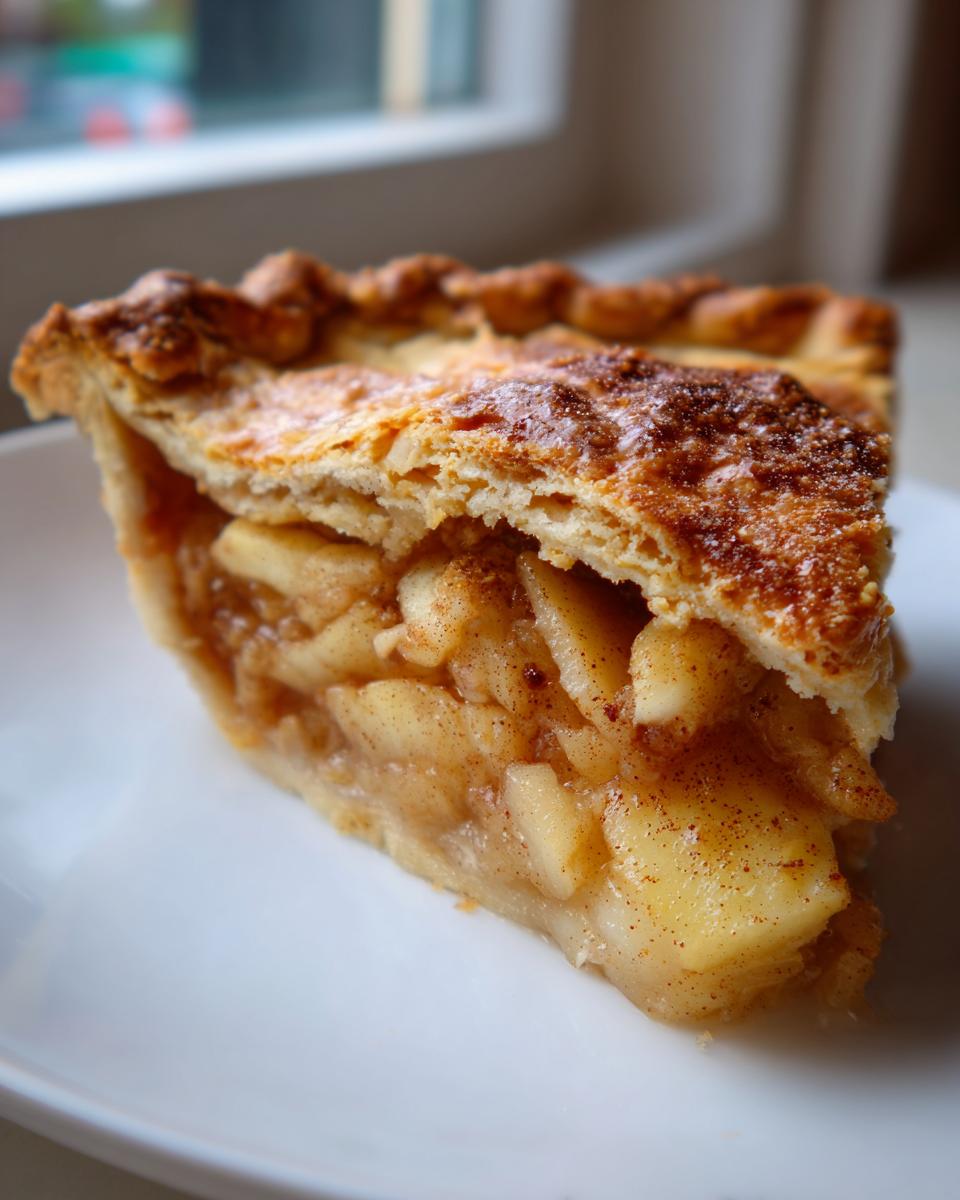
Tender Apple Filling Secrets (Spiced Apple Filling)
For the filling, you need a mix of apples. I always go half Granny Smith (for that nice tart bite) and half Golden Delicious (for sweetness and that tender texture). But the real game-changer here is flour—we aren’t skimping! That small amount of flour you toss the apples in? It’s there to grab all those apple juices and thicken up the filling during baking. This is how you guarantee a thick, savory filling packed with cinnamon and nutmeg, instead of just a pool of sugary soup. It’s the backbone of a truly cinnamon apple dessert.
Gathering Ingredients for Your Homemade Apple Pie
Okay, let’s look at what we need to bring this masterpiece to life! Baking from scratch means we are serious about our components. Trust me, when it comes to the crust, the temperature of your butter is non-negotiable—it needs to be polar cold. Don’t substitute it with room-temperature stuff; your flakiness depends on it!
For the apples, I’ve put a mix in the list because using just one type leaves you with a flat flavor. We need both tartness and sweetness to make this Traditional Apple Pie sing! Having clarity here makes the whole process smoother.
For the Flaky Double Crust Apple Pie Dough
- 2 1/2 cups all-purpose flour (Good quality makes a difference!)
- 1 teaspoon salt
- 1 cup (2 sticks) unsalted butter, very cold and cubed
- 1/2 cup ice water (plus more if needed—keep that water right by the ice!)
For the Cinnamon-Spiced Apple Filling
This is where the cozy autumn flavors come in. Make sure that 1/4 cup of flour is ready to go; that’s our invisible helper that prevents runniness!
- 6 large apples (I always use Granny Smith and Golden Delicious mixed!)
- 3/4 cup granulated sugar
- 1/4 cup packed light brown sugar (for that deep caramel note)
- 1/4 cup all-purpose flour (our secret weapon against soggy bottoms!)
- 1 teaspoon ground cinnamon
- 1/4 teaspoon ground nutmeg
- 1/8 teaspoon ground allspice
- 1 tablespoon lemon juice (keeps them bright!)
- 2 tablespoons unsalted butter, cut into small pieces (for dotting later)
- 1 large egg, beaten with 1 teaspoon water (for that gorgeous egg wash)
- 1 tablespoon coarse sugar for sprinkling (for crunch!)
How To Make Apple Pie From Scratch: Step-by-Step Instructions
Alright, now for the fun part—putting this beautiful homemade apple pie together! Remember, the biggest mistake people make here is rushing the resting time. If you want a truly flaky homemade apple pie, patience during the chilling phase pays off huge dividends later.
Making the Flaky Pie Dough (Chilling is Crucial)
First things first: whisk those dry ingredients. Then, take your *very cold* butter cubes and work them into the flour. I like using my fingers for this part, making sure I stop when it looks like coarse meal with some actual pea-sized butter chunks floating around. That’s your flakiness right there! Dump in the ice water slowly, mixing just until it holds together. Don’t squash it! Divide it into two disks, wrap those babies up tight, and they honestly need a minimum of two hours in the fridge. The colder that dough is when it hits the heat, the flakier your homemade apple pie crust will be. Want to make the perfect accompaniment? You could try whipping up some easy homemade marshmallows to go with your coffee after slices!
Preparing and Seasoning the Spiced Apple Filling
While that dough is chilling out, tackle the apples. Peel, core, and slice them uniformly, about 1/4 inch thick. You want them tender when baked, not mushy! Toss those slices right into a big bowl with both sugars, that flour (don’t forget it!), the cinnamon, nutmeg, allspice, and lemon juice. Mix it gently but thoroughly until every bit of apple is coated in that spiced sugar mixture. It should look wet, but not soupy.
Assembling the Double Crust Apple Pie
Grab one chilled dough disk and roll it out on a floured surface to about 12 inches wide. Ease it carefully into your 9-inch pie plate; no stretching allowed! Trim the overhang to about an inch. Now, pile those apples high in the middle—they cook down, so give them height! Dot the top of that mound with those little 2-tablespoon pieces of cold butter. Roll out your second disk, lay it over the filling, and trim it so the top and bottom edges match up. Crimp those edges tightly to seal up all that spicy goodness, and then—this is vital—cut several vents right in the top crust so the steam has somewhere to go. Otherwise, BAM, explosion!
Baking Your Classic Apple Pie From Scratch
You want that bottom crust to set fast, so pop the assembled pie onto a baking sheet that you’ve already placed in the oven while it preheats. Brush the top crust with that egg wash and sprinkle on the coarse sugar for a professional look. Start hot! We bake at 425°F for the first 15 minutes to set the structure. Then, immediately drop the temperature down to 375°F and bake for another 40 to 50 minutes. If you notice the crimped edges starting to get too dark before the filling bubbles thickly, just loosely wrap a ring of aluminum foil around the rim. That’s the pro move for a perfectly golden Classic Apple Pie From Scratch.
Tips for a Bakery Style Homemade Apple Pie Success
We’ve baked it, but now we have to handle the cool-down, which is almost as important as the mixing! Too often people rush to slice into their homemade apple pie while it’s still piping hot. If you cut it too early, the pectin in the apples hasn’t set up yet, and you’ll end up with a runny mess, even if you used the flour correctly. Resist the urge for at least three hours! While you wait, maybe you can whip up some vanilla buttercream frosting for another treat?
Preventing a Soggy Bottom in Your Homemade Apple Pie
Look, soggy bottoms are the nemesis, right? I know I mentioned it earlier, but it bears repeating because it works wonders. Always, always, always bake your pie on top of a baking sheet that you’ve preheated *inside* the oven. That initial blast of heat hitting the bottom crust cooks it through before the apple juices have time to fully saturate the dough. Also, make sure you didn’t skimp on that 1/4 cup of flour in the filling—that flour is what creates that thickened, lovely gravy around your apples.
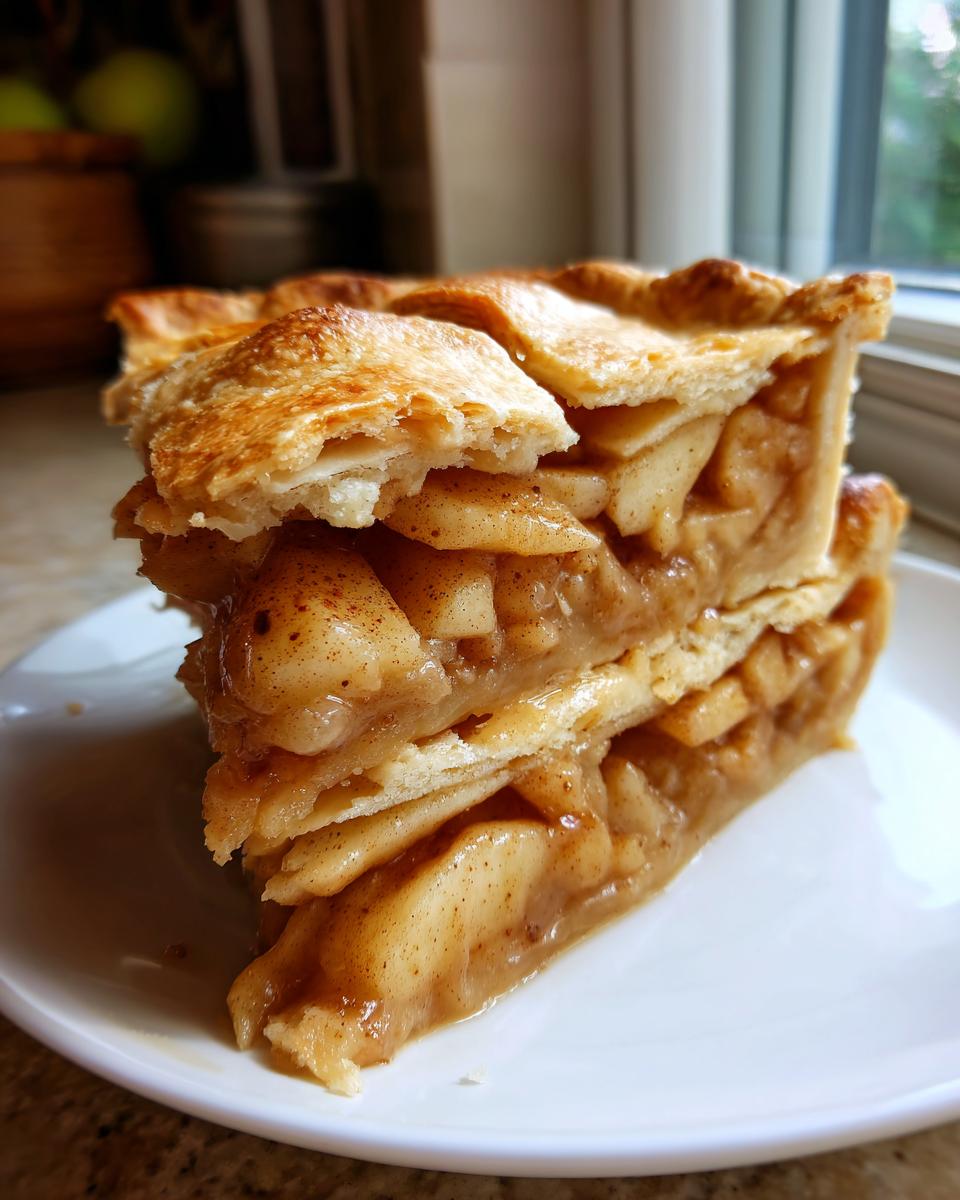
The Role of Apple Variety in a Traditional Apple Pie
When you’re aiming for that authentic, bakery style apple pie texture, the type of apple matters. If you use only soft apples, they break down completely into sauce. If you use only super hard apples, they might still be crunchy when the crust is done. That’s why I insist on a mix! Granny Smiths hold their shape beautifully and bring the tartness to balance the sugar, while Golden Delicious soften up perfectly to give you that tender chewiness. It’s the best marriage of structure and flavor for a traditional apple pie.
Storage and Reheating Instructions for Homemade Apple Pie
Okay, you’ve managed the impossible—the pie is baked and perfectly golden! But don’t touch it yet. I have to stress this one more time: You absolutely must let your homemade apple pie cool completely, which means a solid three hours on a wire rack. If you slice it early, all that glorious, thickened filling will just run out, and we can’t have that!
Once cooled, this pie is fantastic left right on the counter, covered loosely with foil, for up to two days, because of all that sugar and thickener. It just keeps that crust firm. If you need it to last longer, the fridge is fine, but the crust might soften a touch. If you want that snap back, reheat single slices in a toaster oven or a regular oven at 350°F until warmed through. It brings the crust right back to life! Sometimes I like to enjoy a slice with some easy homemade garlic butter… just kidding! Usually, though, it’s best served with vanilla ice cream!
Serving Suggestions for This Easy Homemade Dessert
You’ve done the hard work, now it’s time for the main event! A slice of this rich, spiced apple pie is truly perfection all on its own, especially after it’s had time to set up properly. But if you want to elevate it for a true dessert experience, I have a couple of favorite accompaniments. Nobody complains when you serve this incredible pie warmed up just a little bit.
Honestly, a sharp, really good vanilla bean ice cream is my go-to—the cool creaminess against that warm, spicy filling is just heaven. Sometimes, if I’m feeling extra indulgent, I’ll make a quick drizzle of extra caramel sauce, or maybe even grab some of the chocolate chip cookies I just baked and crush them up to sprinkle over the top for extra texture! It’s all about making that moment special.
Frequently Asked Questions About Making Homemade Apple Pie
I know baking from scratch can bring up all sorts of little worries! Don’t stress; that’s why I’m here to iron out those final kinks for you. We want your Classic Apple Pie From Scratch to be absolutely flawless, just like the ones that win bake-offs!
Can I use pre-made crust instead of making a homemade apple pie crust?
Listen, I get it. Sometimes life is crazy and you need a shortcut. If you absolutely must use a store-bought crust, go for the best quality one you can find, preferably the all-butter variety. But I have to be honest—it won’t have the same shatter or flavor as this dough we made. The whole point of aiming for a bakery style apple pie is doing the double crust right! If you’re looking for a quick pastry fix in the future, you might want to try my recipe for easy puff pastry.
What happens if my apple pie filling is too runny?
If your filling turns out runny, it usually means one of two things: either the apples cooked down more than you expected, or you were shy with the flour. For next time, make sure you toss those apples carefully until every piece is coated in that 1/4 cup of flour and sugar mixture. If it happens this time around, you can still save it! Just take the pie out, gently poke a few more steam holes, and bake it for another 10-15 minutes until you hear the filling bubbling really thickly. If you want a deeper dive into pie construction, check out this great advice from other bakers, too: Rustic Apple Pie.
How far ahead can I assemble the homemade apple pie?
You need a little chill time, but not too much! You can absolutely assemble the entire pie—top crust and everything—and let it sit in the fridge for up to about 3 hours before it needs to go into the oven. This lets the dough firm up one last time. Any longer than that, and the moisture from the filling starts seeping into the bottom crust, and we absolutely hate dealing with a soggy bottom on our Thanksgiving Pie Recipes!
Understanding the Nutrition in Your Homemade Apple Pie Slice
Now, I know you aren’t making this Classic Apple Pie From Scratch for health reasons, let’s be real! But knowledge is power, right? Here is a breakdown of what you’re roughly looking at per slice, based on the recipe ingredients listed above. This is the kind of comforting treat that nourishes the soul, even if it’s a little rich!
Please remember, this is just an estimate based on the whole recipe divided into eight slices. If you use extra butter in the crust or pile on extra sugar for sprinkling, that number might shift a bit. If you are ever looking for lighter options to balance out your baking spree, check out my guide to healthy breakfast ideas!
- Serving Size: 1 slice
- Calories: 450
- Sugar: 35g
- Fat: 25g
- Protein: 4g
Share Your Homemade Apple Pie Creations
That’s it! You’ve made the best! Now, I absolutely love seeing what you create in your kitchens, so please, if you try this homemade apple pie, leave me a rating right below so I know it worked as beautifully for you as it does for me. Take a snapshot and tag me!
Don’t forget to share your honest thoughts in the comments—I read every single one. If you have tips or tricks you discovered, pass them along to our community! If you want to share anything else with me directly, you can always head over to my contact page. Happy baking, everyone!
PrintThe Best Classic Homemade Apple Pie From Scratch with Flaky Double Crust
Make the best homemade apple pie from scratch with this reliable recipe. You get a flaky, buttery double crust and a perfectly spiced, tender apple filling that avoids sogginess.
- Prep Time: 45 min
- Cook Time: 65 min
- Total Time: 150 min
- Yield: 8 servings 1x
- Category: Dessert
- Method: Baking
- Cuisine: American
- Diet: Vegetarian
Ingredients
- 2 1/2 cups all-purpose flour
- 1 teaspoon salt
- 1 cup (2 sticks) unsalted butter, very cold and cubed
- 1/2 cup ice water (plus more if needed)
- 6 large apples (mix of Granny Smith and Golden Delicious recommended)
- 3/4 cup granulated sugar
- 1/4 cup packed light brown sugar
- 1/4 cup all-purpose flour
- 1 teaspoon ground cinnamon
- 1/4 teaspoon ground nutmeg
- 1/8 teaspoon ground allspice
- 1 tablespoon lemon juice
- 2 tablespoons unsalted butter, cut into small pieces
- 1 large egg, beaten with 1 teaspoon water (for egg wash)
- 1 tablespoon coarse sugar for sprinkling
Instructions
- Prepare the Pie Dough: In a large bowl, whisk together the 2 1/2 cups flour and 1 teaspoon salt. Cut in the cold, cubed butter using a pastry blender or your fingers until the mixture resembles coarse crumbs with some pea-sized pieces of butter remaining.
- Gradually add the ice water, one tablespoon at a time, mixing gently until the dough just comes together. Do not overmix. Divide the dough in half, flatten each half into a disk, wrap in plastic, and chill for at least 2 hours.
- Prepare the Filling: Peel, core, and slice the apples about 1/4 inch thick. In a large bowl, toss the apple slices with the granulated sugar, brown sugar, 1/4 cup flour, cinnamon, nutmeg, allspice, and lemon juice until evenly coated.
- Assemble the Bottom Crust: On a lightly floured surface, roll out one dough disk into a 12-inch circle. Carefully transfer the dough to a 9-inch pie plate. Trim the edges, leaving a 1-inch overhang. Chill the crust while you prepare the top.
- Fill the Pie: Pour the apple mixture into the chilled bottom crust, mounding the apples slightly in the center. Dot the top of the filling with the 2 tablespoons of small butter pieces.
- Assemble the Top Crust: Roll out the second dough disk into an 11-inch circle. Place it over the filling. Trim the edges, leaving a 1-inch overhang. Crimp the top and bottom edges together to seal. Cut several slits in the top crust to allow steam to escape.
- Chill and Bake: Brush the top crust with the egg wash and sprinkle with coarse sugar. Chill the assembled pie for 15 minutes before baking. Preheat your oven to 425°F (220°C).
- Bake the Pie: Place the pie on a baking sheet (to catch drips). Bake at 425°F for 15 minutes. Reduce the oven temperature to 375°F (190°C) and continue baking for 40 to 50 minutes more, or until the crust is golden brown and the filling is bubbling thickly. If the edges brown too quickly, cover them loosely with foil.
- Cool: Let the pie cool on a wire rack for at least 3 hours before slicing. This allows the filling to set properly.
Notes
- For the flakiest crust, keep all ingredients, especially the butter and water, very cold.
- Use a mix of tart and sweet apples for the best flavor balance.
- Baking the pie on a preheated baking sheet helps cook the bottom crust faster, preventing a soggy bottom.
Nutrition
- Serving Size: 1 slice
- Calories: 450
- Sugar: 35g
- Sodium: 250mg
- Fat: 25g
- Saturated Fat: 15g
- Unsaturated Fat: 10g
- Trans Fat: 0g
- Carbohydrates: 58g
- Fiber: 3g
- Protein: 4g
- Cholesterol: 60mg