
Oh, honey, when I think about comfort food, my mind immediately goes to the desserts that pull everyone together around the table. Nothing—and I mean *nothing*—screams traditional American family gathering quite like a big dish of creamy, dreamy banana pudding. This isn’t some fussy, baked custard that takes all afternoon, either. This is my go-to Classic Southern No-Bake banana pudding recipe, and honestly, it’s the one I turn to when I need a dessert that tastes like a hug!
For me, as Jess Carter, that perfect layered pudding is where the real memories live. It’s simple, it’s quick, and it delivers that incredibly smooth texture Southern cooking is famous for. If you’re craving that quintessential, melt-in-your-mouth layered dessert that’s perfect for potlucks or Sunday dinner, you absolutely need to bookmark this recipe right now. You can find more delicious desserts like this over at our favorite treats collection!
- Why This Classic Southern No-Bake banana pudding Recipe Stands Out
- Ingredients for Your Classic No-Bake banana pudding
- Step-by-Step Instructions for the Best banana pudding Recipe
- Chilling Time: Key to Perfect No Cook banana pudding
- Tips for the Ultimate banana pudding Success
- Serving Suggestions for this Comforting banana dessert
- Storage and Reheating Instructions for leftover banana pudding
- Frequently Asked Questions About Making banana pudding
- Share Your Classic banana pudding Experience
Why This Classic Southern No-Bake banana pudding Recipe Stands Out
What’s the secret? Honestly, it’s the beautiful simplicity that delivers maximum comfort. You hear about all those complicated baked versions out there, but I promise, this creamy banana pudding recipe right here is the absolute best way to get that deeply satisfying, comforting banana dessert flavor without ever turning the oven on! It just tastes like home. It’s my favorite Southern banana pudding easy method, bar none.
Achieving That Perfect Creamy banana pudding Texture
Look, when you use that sweetened condensed milk combined with the instant pudding mix—that’s your shortcut to velvet city! You don’t need to temper eggs or stand over a hot stove making a cooked custard. The instant mix activates instantly with the cold water and milk base, giving you that thick, smooth, creamy custard dessert texture almost immediately. It’s pure magic in a bowl.
The Magic of the No Bake banana pudding Method
This is what makes it perfect for busy families like mine. By skipping the bake time, you’ve cut your work time down to maybe 20 minutes, total. The real payoff happens while it chills! Those vanilla wafers soak up all that rich pudding goodness and transition from crunchy cookies to a soft, cake-like base. That mingling of textures is the true hallmark of authentic Southern banana pudding easy style.
Ingredients for Your Classic No-Bake banana pudding
Okay, let’s talk what you actually need to gather! Because this is a no-bake banana pudding, the ingredient list is delightfully short, but precision matters, especially with those puddings. Remember, we need *instant* mixes here; there’s no point trying to cook anything!
Here is what you need for this fantastic, creamy layered dessert:
- 1 (14 ounce) can sweetened condensed milk
- 1 (5 ounce) box instant vanilla pudding mix
- 1 (3.4 ounce) box instant vanilla pudding mix (We actually use two boxes of instant pudding total for that thick structure, so make sure you have both sizes or just grab two of the smaller ones—it works out the same way!)
- 4 large ripe bananas, sliced (I’ll talk more about ripeness below—it’s important!)
- 1 (12 ounce) box vanilla wafers (The classic choice!)
- 4 cups cold water
- 1 cup heavy whipping cream
- 1 teaspoon vanilla extract
See? Nothing complicated, but those specific ingredients bring together the best banana pudding flavor you can imagine.
Ingredient Notes and Substitutions for your banana pudding
Now, even though this is a classic banana pudding, I always encourage folks to make it their own. People ask me all the time about those celebrity recipes, like the Paula Deen version that uses Chessmen cookies. If you happen to have some on hand, swap out about half your vanilla wafers for those buttery cookies—it adds a wonderful subtle richness!
Also, if you are really in a hurry and want an ultra-quick topping—maybe you don’t want to pull out the mixer for heavy cream—you can absolutely substitute the heavy cream and vanilla extract with one standard tub of frozen whipped topping (like Cool Whip). That makes it an even easier banana pudding with Cool Whip version, and it’s just as tasty! It’s all about getting that delicious, comforting banana dessert on the table, right?
Step-by-Step Instructions for the Best banana pudding Recipe
Alright, putting this incredible banana pudding together is faster than you think! Seriously, you’re going to be done mixing everything before your water even boils. Remember how much I love recipes that are easy-to-layer? We’re going to make this dreamy easy layered dessert in no time at all. Keep your mixing bowl handy and let’s get going!
Mixing the Creamy Pudding Base
First things first, get that pudding going! In a big bowl, you need to combine your sweetened condensed milk, both boxes of instant vanilla pudding mix, and all 4 cups of ice-cold water. Now, grab your whisk and work it—I mean really work it—for a solid two minutes until that mixture just starts getting thick. Don’t panic if it seems thin still! Let it sit there quietly for five minutes; that’s the instant powder doing its job. Trust me on the rest!
Creating the Whipped Topping and Folding
While the pudding is resting, get your whipping cream and vanilla extract in a separate, clean bowl. Beat that until you hit those lovely stiff peaks—you know, when you lift the beater out and the cream stands up tall! Here’s my top tip: take about half of that fluffy cream and *gently* fold it into the pudding base. We only fold until it’s *just* combined. We are keeping our air in there, giving us that signature lighter texture.
Layering the banana and vanilla wafer pudding dessert
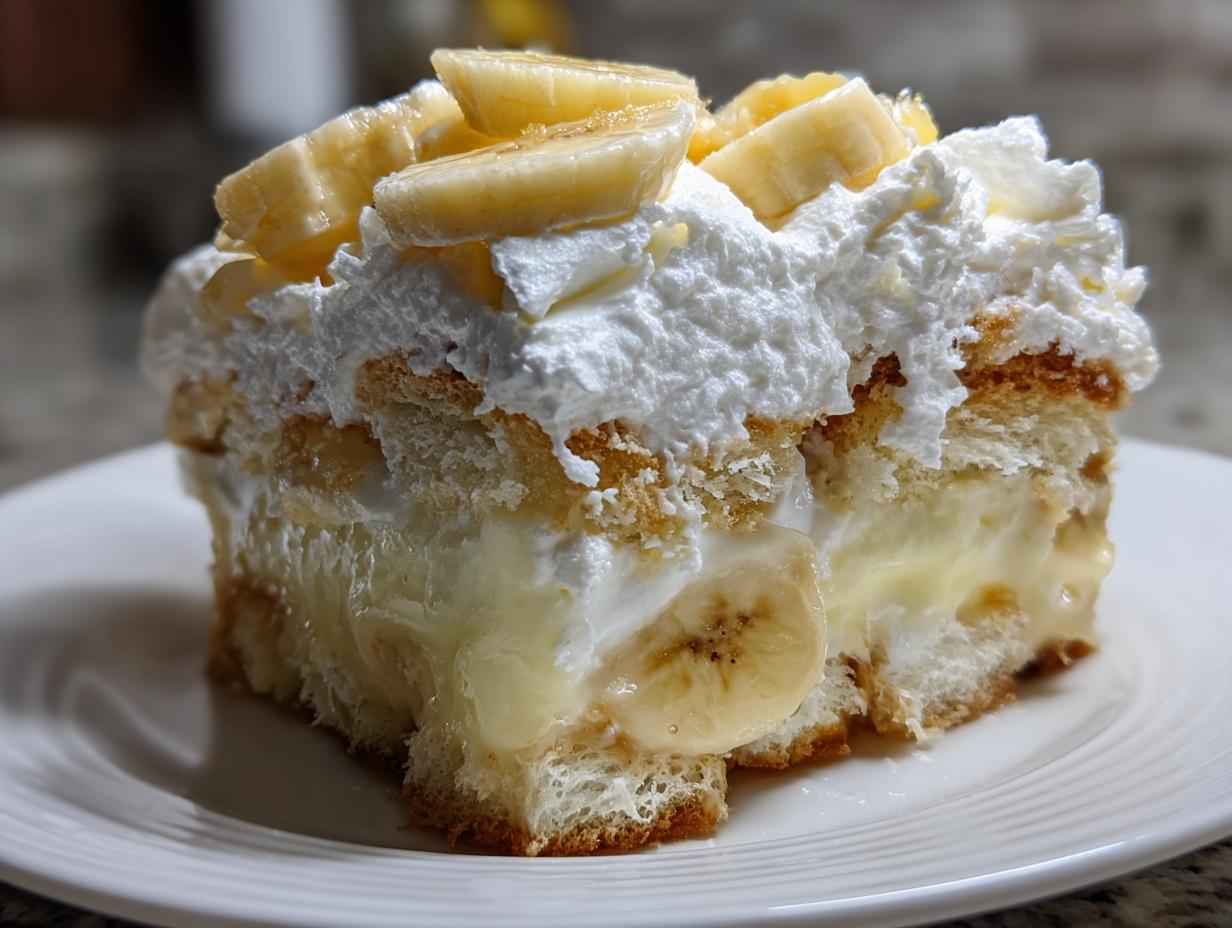
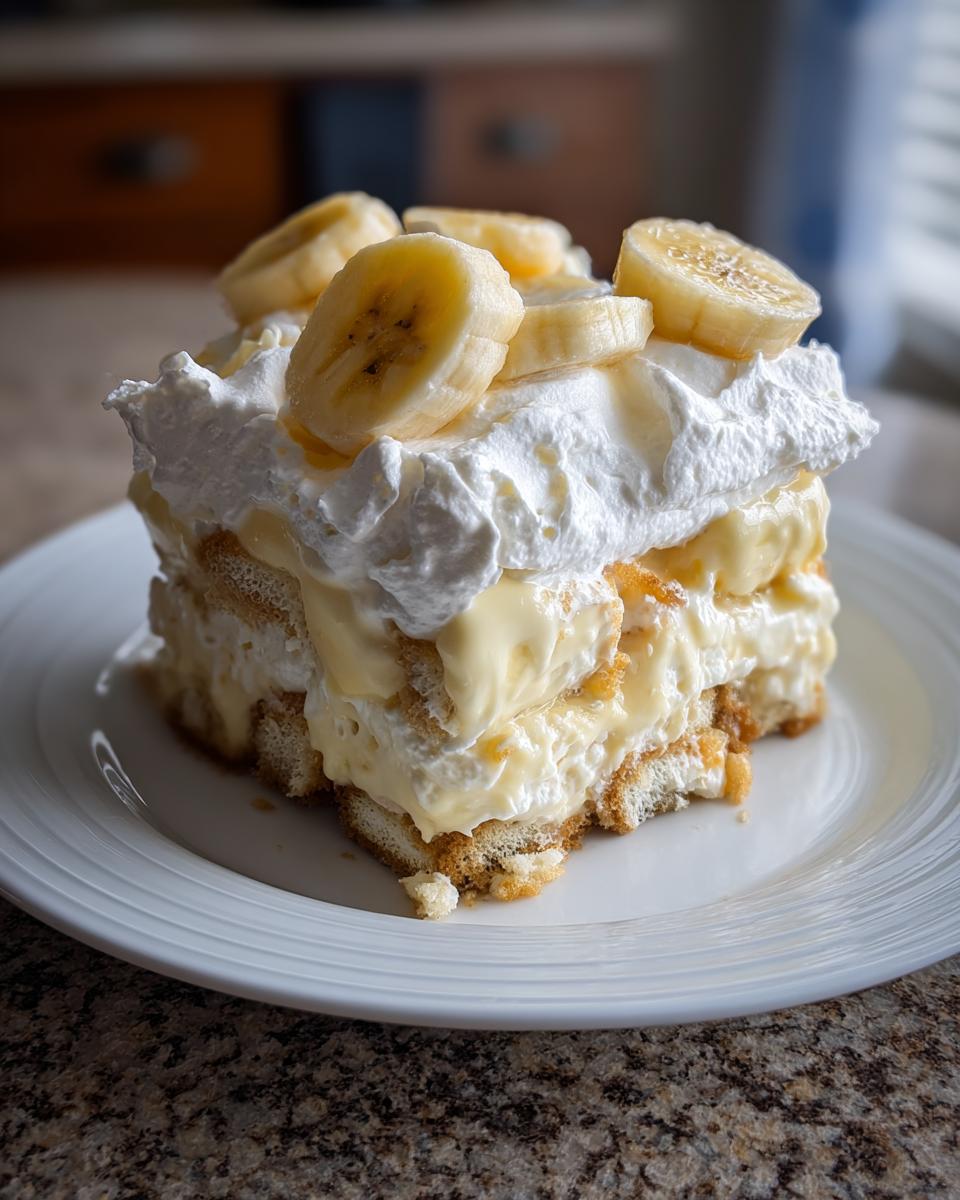
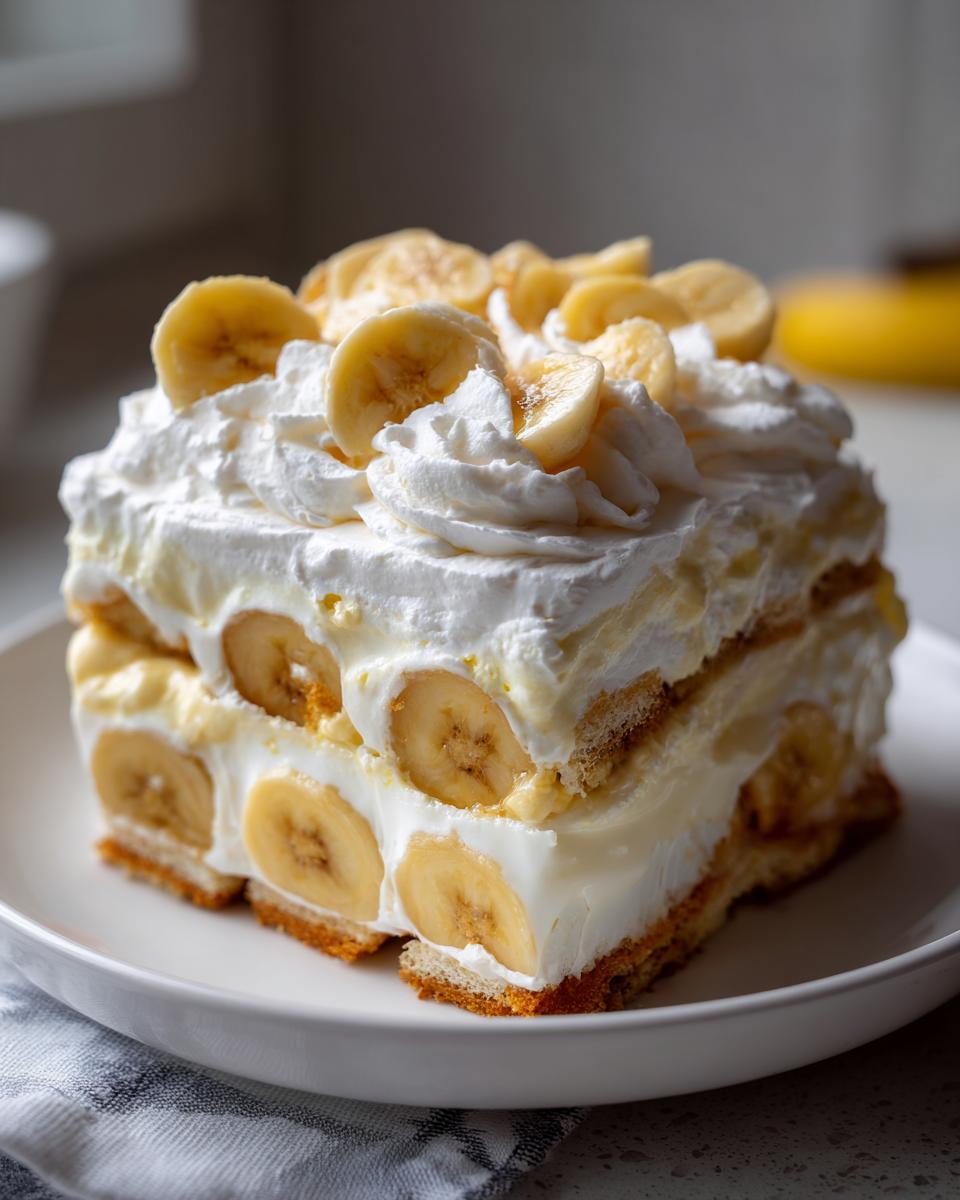
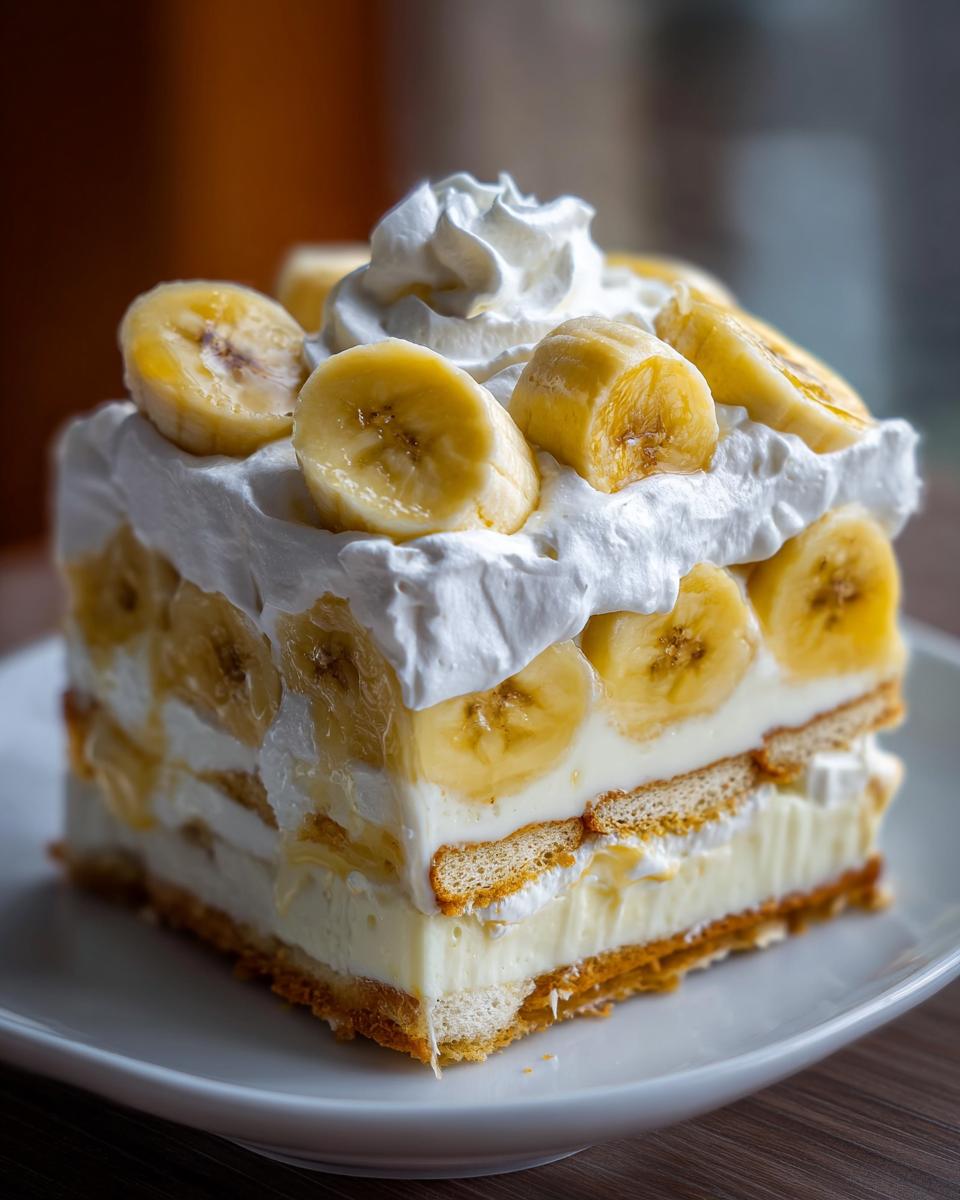
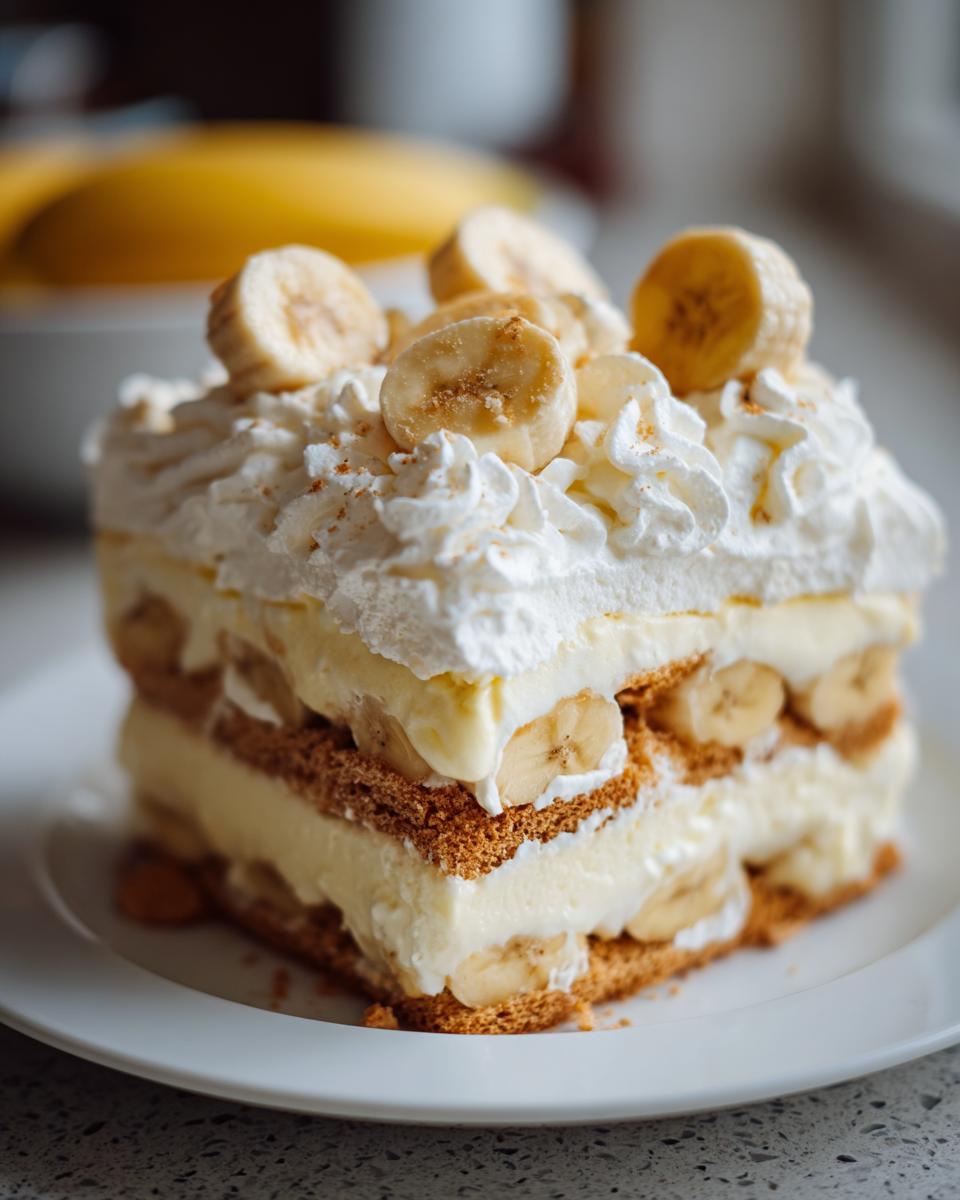
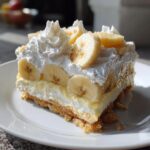
Now for the fun part—the architecture! Pick out your 9×13 dish or that beautiful trifle bowl. Start with a thin layer of the pudding mixture on the very bottom. Then, lay down half your vanilla wafers, followed by half your sliced bananas. Next, spread half of what’s left of that pudding over the bananas. Repeat: wafers, then the rest of the bananas. Finally, spread the absolute last bit of pudding on top, and smooth out that remaining whipped cream across the whole surface. This makes the best vanilla wafer pudding dessert!
Don’t forget to check out how to make other simple layered recipes, like our favorites for easy layered desserts!
Chilling Time: Key to Perfect No Cook banana pudding
Okay, here is the part where we have to show a little bit of patience, but trust me, this wait is worth every single second! Since this is a no cook banana pudding recipe, all the magic happens in the fridge. You might be tempted to dig in after an hour because you can’t resist that creamy pudding, but you just can’t rush perfection, especially if you are planning this as a make ahead pudding recipe.
You absolutely have to chill this for a minimum of four hours. I really, *really* prefer overnight if you can manage it. Why? Because the vanilla wafers need that time to fully hydrate. They go from being crisp cookies to this soft, tender, cake-like layer that melts right into the pudding and bananas. If you cut into it too soon, you’ll just have crunchy wafers sitting in soft pudding, and that’s not what we want for our classic banana pudding!
When you cover it up tight with plastic wrap—make sure that wrap isn’t touching the whipped cream topping directly if you can help it—and pop it into the cold—that’s when the flavors really get to know each other. It’s the final, and most essential, step to creating that wonderfully cohesive dessert. When you’re ready to serve later, you can check out some great serving tips for your newly set make ahead pudding recipe!
Tips for the Ultimate banana pudding Success
I want your banana pudding to be the absolute star of the show, so let’s talk about the little things that take this from ‘good’ to ‘I need the recipe right now’! My background in nutrition taught me a lot about food science, but honestly, years of making this just for my family taught me the true kitchen wisdom. Getting the texture perfect when you aren’t baking requires just a few smart moves here and there.
Choosing Bananas for Your banana pudding
This step trips up so many people, and it’s crucial for a classic banana pudding that holds up! You want bananas that are ripe, yes—we need the sweetness since we aren’t baking them—but oh my goodness, they cannot be mushy. If you use bananas that are already soft and spotty, by the time this banana pudding chills for four hours, they will literally dissolve into the pudding layer. Yuck!
When I shop, I look for bananas that are mostly yellow, with maybe just a few little brown freckles starting to appear. They should still feel firm and slightly heavy when you hold them. You want that perfect balance: sweet enough to taste great, but sturdy enough to maintain their disc shape when you slice them up. That structural integrity is what keeps your beautiful layers intact in this creamy banana pudding recipe!
Serving Suggestions for this Comforting banana dessert
So, you’ve chilled your banana pudding, the wafers have softened beautifully, and the aroma filling your kitchen is just unbelievable, right? Now for the big reveal! While this dessert truly stands on its own—it’s incredibly rich and sweet—I always love giving people options when they approach the dessert table!
First and foremost, make sure it’s served chilled. Taking it out and letting it sit on the counter for 15 minutes is fine, but never serve this warm. That creamy texture is best when it’s cool and refreshing, especially on a warm evening. If you have prepared this masterpiece in a gorgeous, tall glass trifle bowl, you’ll show off those beautiful layers, and everyone will instantly recognize it as a true stunning trifle dessert with bananas!
What goes well with it? Honestly, not much is needed because it’s so satisfying. But if you want a little something extra, I sometimes offer a side garnish of either toasted pecans or sliced almonds. That little bit of crunch really plays nicely against the smooth pudding. If you are looking for something slightly more decadent to serve alongside it—maybe for a holiday gathering—you could try pairing small servings of this classic pudding with a richer option like a decadent chocolate cheesecake trifle. It’s a fun contrast, but trust me, most people just go back for a second helping of this lovely banana pudding!
Storage and Reheating Instructions for leftover banana pudding
You made the best banana pudding recipe, and now you have leftovers! That’s the best problem to have, isn’t it? Because this is such a delicious, comforting no bake banana pudding loaded with fresh fruit, storage is really important if you want to keep it tasting great the next day or two.
My absolute first rule is this: you must keep this dessert covered tightly and stored in the refrigerator. This isn’t something you leave on the counter, especially since we have fresh bananas and real dairy in the whipped topping. Always make sure the plastic wrap doesn’t smoosh down right onto the whipped cream layer if you can help it; use toothpicks to tent it if you need to keep that top layer looking pretty for as long as possible.
Now, I need to give you a little heads-up warning about the texture. Remember how I raved about those vanilla wafers softening? Well, that process keeps going! If you plan to eat the leftovers past the first day, expect those wafers to get even softer than they were on day one. They might start dissolving a bit more into the pudding, essentially turning into a lighter cake texture. It’s still delicious because it’s still banana pudding, but it won’t have that slight chewiness the wafers had right after the first four hours of chilling.
Can you reheat it? Nope! Absolutely not. This is a chilled dessert through and through. Trying to heat up this creamy, delightful banana pudding will just result in warm, sloppy bananas and weeping whipped cream. Just grab a spoon, pull out a chilled dish, and enjoy!
Frequently Asked Questions About Making banana pudding
Whenever I share this recipe for banana pudding, folks always have a few great questions about getting that perfect texture or making sure it’s ready for a party. It’s totally normal, because mastering any classic banana pudding takes a little insider knowledge! Here are the things I hear most often. If you end up trying this and have more questions, feel free to drop me a line a via my contact page!
Can I use homemade custard instead of instant pudding for this banana pudding recipe?
That’s a fantastic question, and it really touches on the difference between this no-bake version and the true old fashioned banana pudding style. While my recipe uses instant pudding specifically because it gives us that quick set and that signature light texture when mixed with sweetened condensed milk, you *can* use a cooked, homemade custard. However, you have to understand that you will lose that ‘no cook banana pudding‘ aspect! A homemade custard needs time to cool completely before layering, and it tends to set up a lot firmer than what the instant mix does with the cream folded in. If you go that route, you might end up with more of a true trifle dessert than the fluffy layered dessert we’re aiming for here.
How long can I make this banana pudding ahead of time?
Because we are dealing with fresh bananas—even though they are perfectly ripe—I always recommend making this for optimal flavor within 24 hours. It needs at least 4 hours to chill, so one day ahead is the sweet spot for a party. This makes it a wonderful make ahead pudding recipe!
If you absolutely must push it, you can safely make it two full days ahead, but you need to be mindful of the bananas. If they haven’t browned yet after 24 hours, definitely don’t worry, but after that, you might see some slight discoloration peeking through the layers. If you’re worried, wait until the morning of the event to slice and layer those bananas!
What is the best way to prevent bananas from turning brown in my banana pudding?
This is the biggest potential heartbreak in any creamy banana pudding recipe! Bananas oxidize fast once they meet air. My go-to trick—and trust me, this helps—is to slice your bananas and immediately toss them gently in a bowl with about a tablespoon of fresh lemon juice. You don’t need to drench them, just coat them lightly. That acid stops the browning reaction right in its tracks.
Alternatively, if you are layering quickly, make sure every single banana slice has pudding completely surrounding it. If they are nestled snugly under the whipped cream or fully submerged in the pudding layer, they won’t turn brown on you before serving time. It’s all about creating a little protective barrier!
Share Your Classic banana pudding Experience
You’ve made it! You’ve created this gorgeous, creamy, no-bake banana pudding. Now, I absolutely need to know how it turned out for you and your family! Did you add any fun substitutions, like swapping wafers for shortbread, or did you keep it classic?
Please take a second to leave a star rating below and tell me all about it in the comments! Sharing your kitchen victories helps me know what recipes to focus on next. If you have any tweaks or just want to say hi, you can always reach out to me personally at my contact page. Happy scooping!
PrintClassic Southern No-Bake Banana Pudding
Make this creamy, classic Southern banana pudding using a simple no-bake method. It layers fresh bananas, vanilla wafers, and rich pudding for a comforting dessert that sets up perfectly in the refrigerator.
- Prep Time: 20 min
- Cook Time: 0 min
- Total Time: 4 hr 20 min
- Yield: 10 servings 1x
- Category: Dessert
- Method: No Bake
- Cuisine: American
- Diet: Vegetarian
Ingredients
- 1 (14 ounce) can sweetened condensed milk
- 1 (5 ounce) box instant vanilla pudding mix
- 1 (3.4 ounce) box instant vanilla pudding mix (or use 2 boxes of the 5 oz size)
- 4 large ripe bananas, sliced
- 1 (12 ounce) box vanilla wafers
- 4 cups cold water
- 1 cup heavy whipping cream
- 1 teaspoon vanilla extract
Instructions
- Prepare the pudding: In a large bowl, whisk together the sweetened condensed milk, both boxes of instant vanilla pudding mix, and the 4 cups of cold water. Whisk constantly for two minutes until the mixture begins to thicken. Let it stand for five minutes.
- Make the whipped topping: In a separate bowl, beat the heavy whipping cream and vanilla extract until stiff peaks form. Gently fold half of the whipped cream into the thickened pudding mixture until just combined.
- Layer the dessert: Select a 9×13 inch baking dish or a large trifle bowl. Spread a thin layer of the pudding mixture on the bottom of the dish.
- Create the first layer: Arrange half of the vanilla wafers over the pudding layer. Top the wafers with half of the sliced bananas.
- Add the second pudding layer: Spread half of the remaining pudding mixture evenly over the bananas.
- Repeat the layers: Place the remaining vanilla wafers on top of the pudding, followed by the remaining banana slices.
- Top the pudding: Gently spread the remaining pudding mixture over the bananas. Then, spread the remaining whipped cream over the top layer.
- Chill: Cover the dish with plastic wrap and refrigerate for at least 4 hours, or preferably overnight, to allow the vanilla wafers to soften into a cake-like texture.
Notes
- For a richer flavor, substitute some of the vanilla wafers with shortbread cookies or Chessmen cookies, as some popular recipes suggest.
- If you are making this ahead of time, wait to add the final layer of whipped cream until just before serving to keep it looking fresh.
- Use bananas that are ripe but still firm to prevent them from becoming mushy during chilling.
Nutrition
- Serving Size: 1 serving
- Calories: 350
- Sugar: 45g
- Sodium: 250mg
- Fat: 15g
- Saturated Fat: 8g
- Unsaturated Fat: 7g
- Trans Fat: 0g
- Carbohydrates: 55g
- Fiber: 1g
- Protein: 4g
- Cholesterol: 30mg