
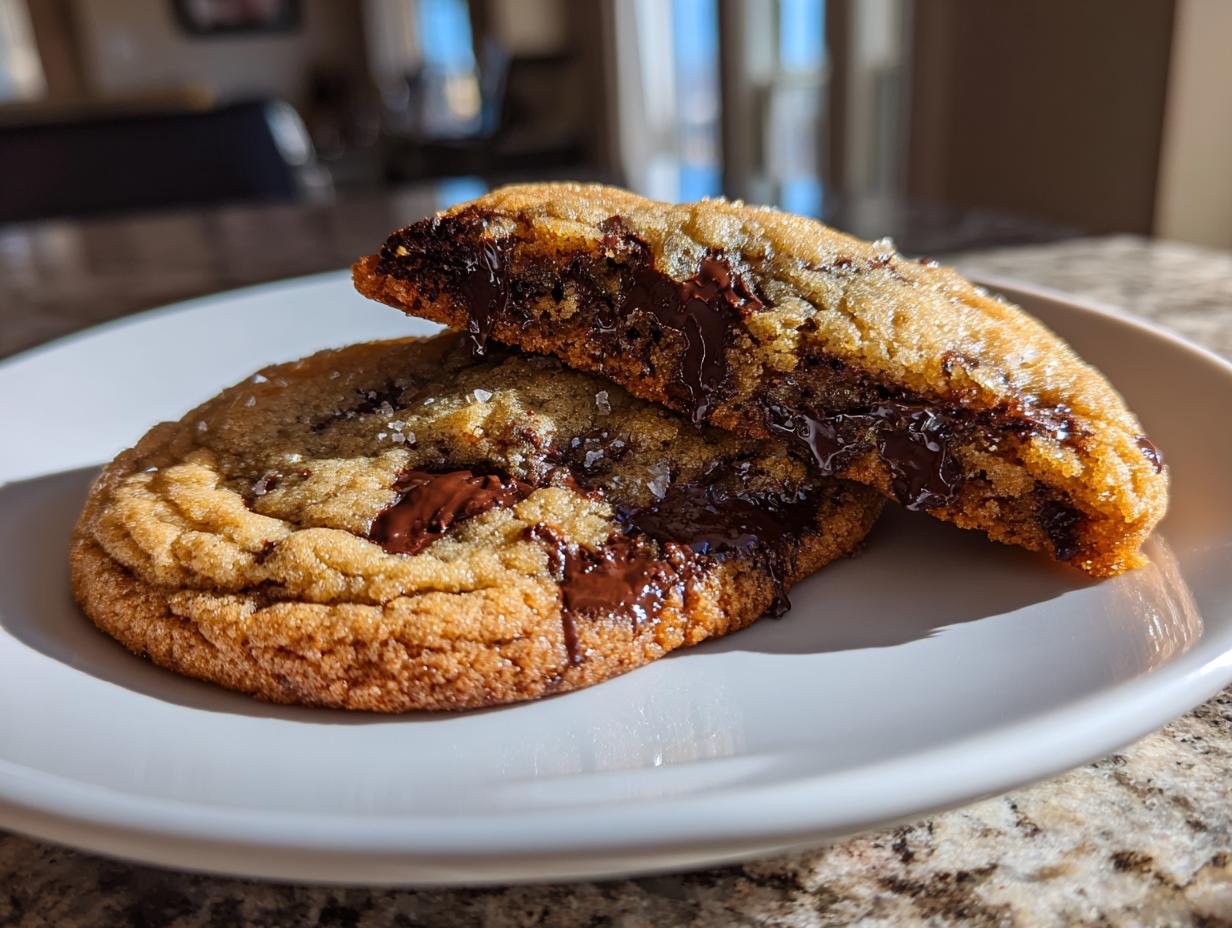
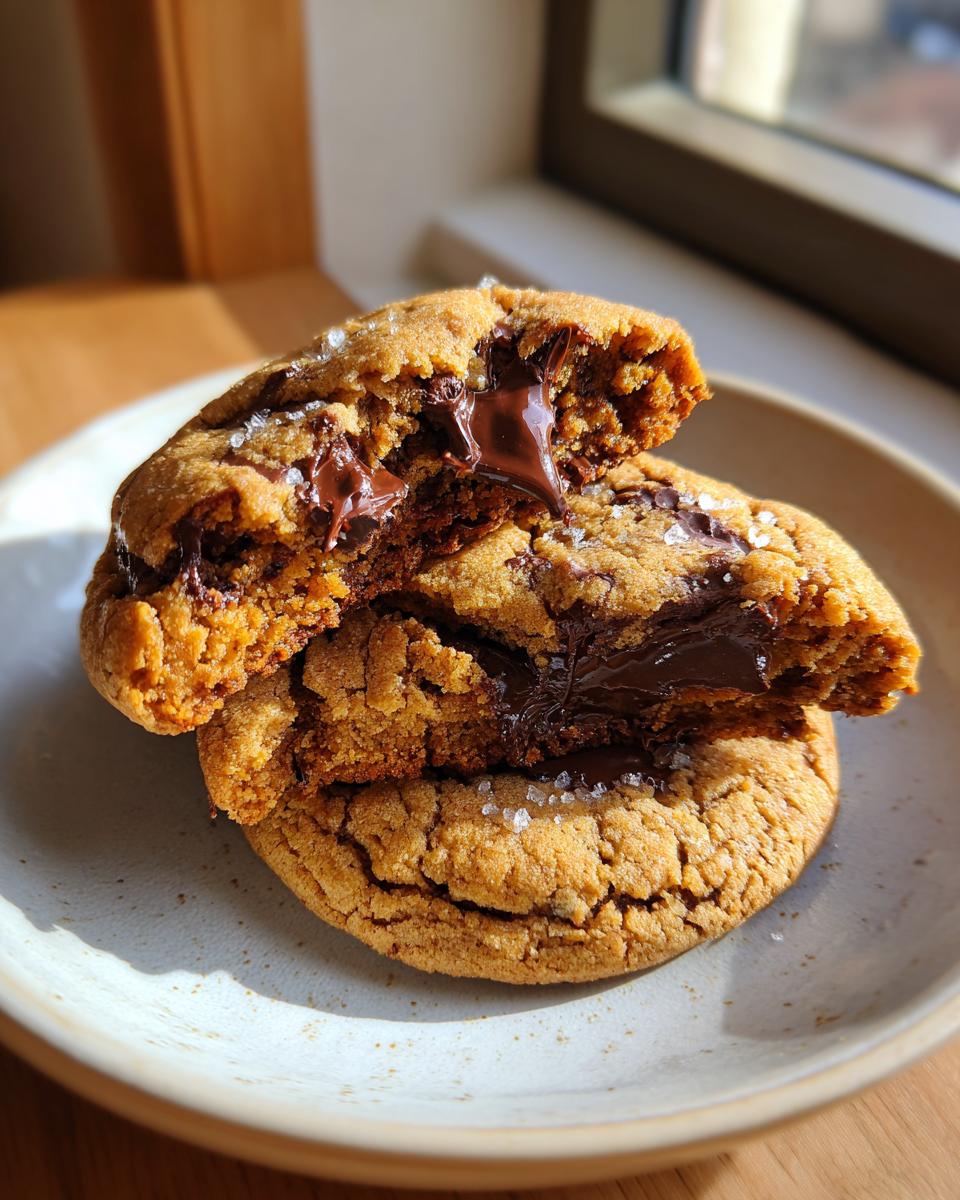
If you think you’ve had the best chocolate chip cookies, I’m here to tell you that you haven’t truly lived until you’ve tried them made with browned butter. Seriously, it’s a game-changer! We’re taking the classic comfort cookie and injecting it with this incredible, deep, nutty, almost toffee-like flavor. That rich taste comes from perfecting the brown butter chocolate chip cookies technique, which is something Jessica Carter absolutely had to master when blending her formal knowledge with family tradition.
Browning the butter is the secret step that transforms the whole experience, moving your cookie from ‘great’ to ‘are you sure you didn’t buy these at a fancy bakery?’ Trust me, once you master this little bit of alchemy, you won’t go back to plain melted or creamed butter again. It adds so much complexity, and I think you’ll find that the slight reduction in moisture actually helps us nail that perfect chewy center. You’ll want to check out the simpler, classic soft and chewy version here if you’re still warming up to the idea!
- Why Our brown butter chocolate chip cookies Recipe Stands Apart
- Essential Ingredients for Perfect brown butter chocolate chip cookies
- The Technique: How to Brown Butter for Cookies
- Step-by-Step Instructions for Chewy chocolate chip cookies with brown butter
- Baking Your Perfectly browned butter cookies
- Ingredient Notes and Substitutions for brown butter chocolate chip cookies
- Making Your Nutty chocolate chip cookie recipe Ahead of Time
- Frequently Asked Questions About brown butter chocolate chip cookies
- Storage and Reheating for Deep Flavor Chocolate Chip Cookies
Why Our brown butter chocolate chip cookies Recipe Stands Apart
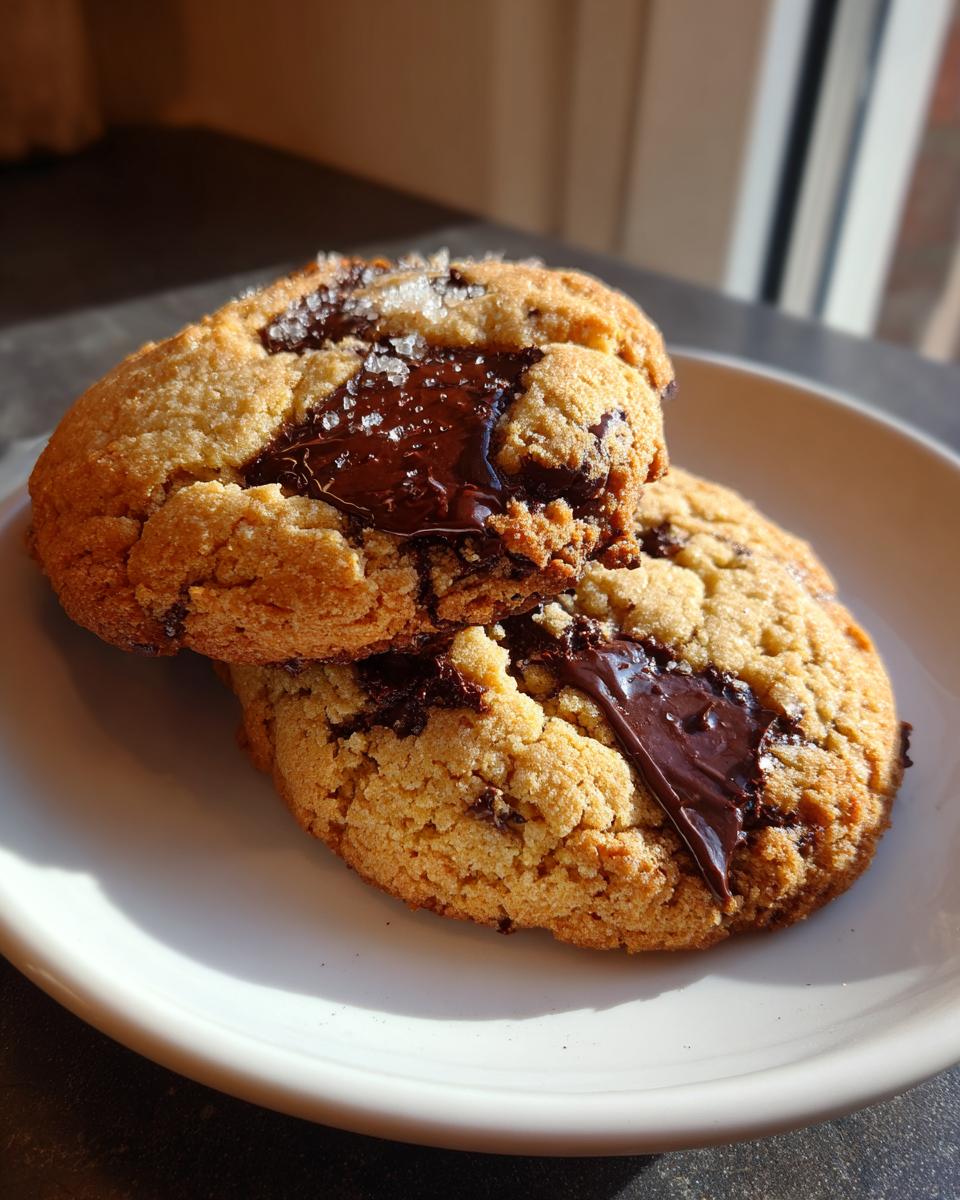
Folks, this isn’t just another cookie; this is my secret weapon for making truly gourmet chocolate chip cookies right here at home. Browning the butter uses the Maillard reaction to create these incredible, deep, warm flavors—it’s like we’re baking in hints of caramel and toffee from the jump! That rich, nutty background note is what sets these apart every single time. We’re aiming for that homemade delight that tastes like it came from a high-end bakery case. You absolutely have to try this method! If you love that complexity, you should try my recipe for chocolate caramel toffee crunch cake too.
Achieving Chewy Centers and Crispy Edges
The magic here is all about moisture control. When you brown the butter, you burn off a little bit of water content. This small adjustment means your final dough has a slightly different structure, which is exactly what we want. It encourages those gorgeous, lacy, crispy edges while keeping the middle dense and supremely chewy. It sounds small, but that swap makes all the difference between a good cookie and one that disappears instantly.
Essential Ingredients for Perfect brown butter chocolate chip cookies
Okay, gathering your arsenal is easy because most of this is likely already in your pantry! We need that full cup of unsalted butter, which is crucial because we don’t want any salty interference while we’re developing that nutty flavor. You’ll also need both light brown sugar and granulated sugar for structure and sweetness, along with two large eggs and plenty of vanilla extract.
Don’t forget the basics: all-purpose flour, baking soda, and salt to bring everything into balance. And the star, of course—a full cup and a half of semi-sweet chocolate chips! Seriously, that’s it. So simple, yet the browned butter elevates it completely.
- 1 cup (2 sticks) unsalted butter
- 1 cup packed light brown sugar
- 1/2 cup granulated sugar
- 2 large eggs
- 1 tablespoon vanilla extract
- 2 1/4 cups all-purpose flour
- 1 teaspoon baking soda
- 1/2 teaspoon salt
- 1 1/2 cups semi-sweet chocolate chips
The Technique: How to Brown Butter for Cookies
Alright, this is where we get serious! People are often intimidated by how to brown butter for cookies, but trust me, it’s super easy—you just can’t walk away from the stove! This is the pivotal moment that unlocks all that deep flavor we’ve been talking about for our brown butter chocolate chip cookies.
First, you take your full stick (or two, depending on your batch!) of butter and drop it into a light-colored saucepan over medium heat. You want to use a light pan so you can actually see the color change. As it melts, it’s going to foam up—that’s totally normal. Keep swirling the pan gently. After a few minutes, the foaming calms down, and you’ll see little brown specks start to form at the bottom. That’s the milk solids caramelizing! You’ll know it’s ready because the whole kitchen will smell perfectly nutty, like toffee.
The absolute most important step is this: the second you smell that aroma and see those brown bits—STOP! Immediately pour that beautiful browned butter into a heatproof bowl, even if it looks a little light to you. If you leave it in the hot pan, it keeps cooking and turns into burnt butter real fast, and nobody wants that sad reality. Give it about 15 minutes to cool down slightly before you jump into mixing the sugars.
Expert Tips for the brown butter cookie technique
A couple of little secrets I learned the hard way: Always use a pan that’s wide enough so the layer of butter isn’t too deep—a shallower depth helps it brown evenly. Also, remember that while we lose a tiny bit of moisture when we brown it, this recipe is already balanced for it, so you absolutely don’t need to add extra flour! That’s the genius of this brown butter cookie technique; the flavor develops without ruining the chewy texture we’re aiming for.
I’ve put together a full guide on this if you want a visual, showing exactly what those specks look like right before they turn black. It makes following along so much easier, check out my browned butter baking guide for all the details!
Step-by-Step Instructions for Chewy chocolate chip cookies with brown butter
Alright, now that our gorgeous brown butter has cooled down for about 15 minutes—it should feel warm, not hot—we can start building the dough for these amazing chewy chocolate chip cookies with brown butter. Time to bring out those big bowls!
First up, take that cooled brown butter and whisk it vigorously with your packed light brown sugar and the granulated sugar until everything looks nicely combined. It won’t be perfectly smooth like using softened butter, and that’s okay! Next, beat in your eggs one at a time, making sure each one is fully incorporated before adding the next. Don’t forget that tablespoon of vanilla extract—it really helps boost the toffee notes!
In a separate bowl, which keeps things tidy, quickly whisk together your flour, baking soda, and salt. Now, here’s where you need to be gentle, just like when making any good cookie. Add that dry mix into the wet ingredients bit by bit, mixing on low speed or by hand until it’s *just* combined. If you overmix the flour, you’ll lose that beautiful chewiness we worked so hard to create! If you want to compare this method to my foolproof standard recipe, you can check out the ultimate guide here!
The last thing to fold in is the chocolate chips—just stir those in gently until they’re spread evenly throughout the dough. Then, cover the whole bowl up! You *have* to chill this dough for at least 30 minutes. Honestly, if you can wait overnight, the flavor gets so much deeper, which is why these are the best brown butter cookies.
Mixing the Dough and Incorporating Chocolate
When it comes to mixing, remember the mantra: wet first, then dry, mix minimally! We want to avoid developing too much gluten when we add the flour, so as soon as you see those dry streaks disappear, stop the mixer. Seriously, put the spoon down! The dough will look a little crumbly, but that’s the texture we need to achieve those perfect crispy edges without becoming dry.
The chocolate chips must always go in last, right before chilling. If you mix them too much, they can break down or color the whole dough, which we definitely don’t want here. We want little pockets of melted goodness distributed throughout the pale, nutty brown butter dough. If you do chill it overnight, just let the dough sit on the counter for about 15 minutes to soften up a touch before you scoop it onto your prepared sheets.
Baking Your Perfectly browned butter cookies
Okay, deep breaths now! The dough is chilled, the oven is preheated to 375 degrees Fahrenheit, and we are ready to turn this buttery, nutty dough into cookies that make people ask for the recipe immediately. This is where precision pays off, and I’ve got the exact method for that perfect snap.
First things first: pan prep! I always line my baking sheets with parchment paper. You never want to risk these sticking, especially since they have that lovely, richer fat content from the brown butter. Trust me, it saves scrubbing time later, and it helps the cookies bake evenly across the bottom.
For scooping, you want consistency, especially if you’re aiming for that bakery style brown butter cookies look. I use a rounded tablespoon measure—or a medium cookie scoop, if you have one—for each dough ball. This recipe gives us about two dozen, depending on how generous you are with your scoops! Make sure you space them out well on the sheet, leaving about 2 inches between each one. They’re going to spread a bit more than a standard cookie, so give them room to breathe.
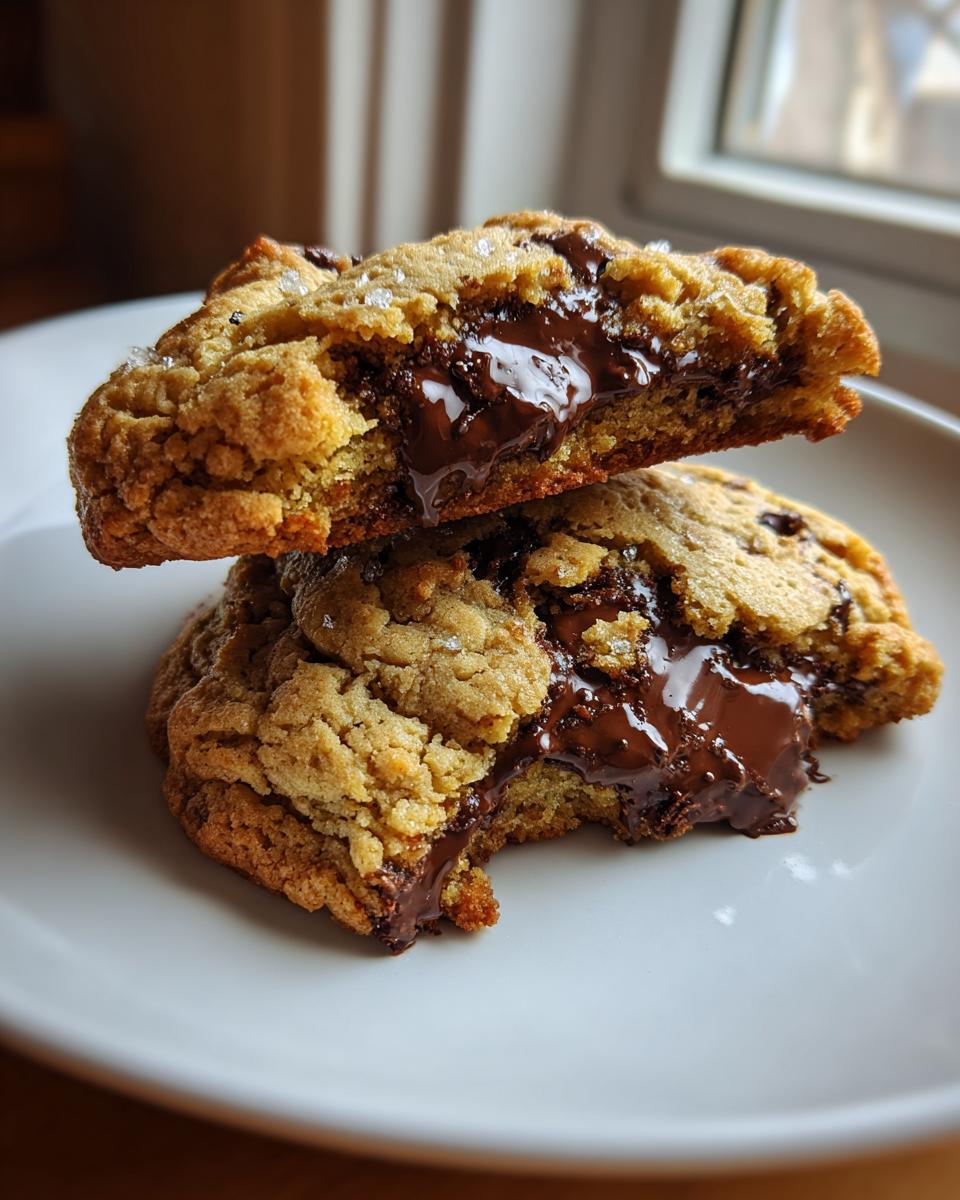
Now, into the oven they go! They bake somewhere between 9 and 12 minutes. You have to watch them closely during this final stage! The visual cue is crucial for getting that perfect texture. You want the edges to look gloriously golden brown, but the centers? They should still look slightly soft and maybe a tiny bit underdone. That soft center is what guarantees that amazing chewiness once they start cooling down.
When you pull them out, resist the urge to move them immediately! Let them hang out right there on the hot baking sheet for a full five minutes. That residual heat finishes setting the centers perfectly without letting the edges get hard or brittle. Then, and only then, carefully move them over to a wire rack to cool completely. That final rest is what locks in the best texture for our deep flavor chocolate chip cookies!
Ingredient Notes and Substitutions for brown butter chocolate chip cookies
I get asked all the time about swapping ingredients in this recipe, especially since we’re messing with the butter a little bit! The most common question is, “Jess, since I cooked the moisture out of the butter, do I need to add more flour?” And the answer, happily, is no! This is one of the neat tricks about using brown butter chocolate chip cookies; the natural moisture loss balances out perfectly with the sugars we’re using, keeping the final cookie delightfully balanced instead of dry and crumbly. It’s a beautifully self-regulating recipe, honestly.
If you absolutely must play around—and I get it, we all tweak things—the easiest swap is your chocolate. I love semi-sweet because it keeps the toffee notes singing, but feel free to use milk chocolate chunks if you want it sweeter, or even a mix of dark chocolate chips and some chopped-up toffee bits for extra punch! Just try to avoid using chips that are heavy on stabilizers, as they won’t melt quite as beautifully.
Also, please make sure you are using unsalted butter when you start the browning process. We add salt separately later (half a teaspoon) so we can control exactly how much salinity is there to sharpen the flavor of the brown butter. If you use salted butter, you’re taking the flavor out of my hands, and we can’t have that when chasing the best brown butter cookies!
Making Your Nutty chocolate chip cookie recipe Ahead of Time
One of my absolute favorite things about this nutty chocolate chip cookie recipe is that it demands you plan ahead a little bit! This is one of those rare cases where patience actually makes the cookies taste better, not just spread better. I highly recommend making the dough, wrapping it up tightly in plastic wrap—or popping it into a sealed container—and forgetting it exists in the fridge for at least an hour. But can you guess what the real magic time is?
Overnight! If you let this dough chill overnight, that little bit of extra time allows the flour to fully hydrate with the brown butter sugars, really amplifying that deep, toffee flavor we worked so hard to bake into the butter. Honestly, it takes the cookie next-level and really deepens that signature nutty profile. When I make a big batch, I always plan to bake half the next day just to enjoy that enhanced flavor!
Now, you can’t just yank that rock-hard dough straight from the fridge and throw it on the pan; it won’t spread right. If you chilled your dough for more than four hours or overnight, you need to take it out about 15 minutes before you preheat the oven. Just leave the covered bowl sitting on the counter for about 15 minutes to soften up a touch before you scoop it onto your prepared sheets. It keeps them from looking like oddly shaped lumps when they bake!
If you happen to be making these for a party or a bake sale and want to add some flair later, I have a great post on how to get cookie icing to harden perfectly smoothly, which you can check out right here. But honestly, these cookies stand tall all on their own!
Frequently Asked Questions About brown butter chocolate chip cookies
Why did my brown butter burn so fast, even though I was watching it?
Oh, I’ve been there! It happens when the heat is just a tad too high, or if the butter layer in your pan is too deep. Remember, medium heat is your friend, but you need to keep that pan swirling constantly! The moment you see those nice milk solids sink to the bottom and turn amber, you have mere seconds before they turn black. If you miss that window, you’ve made browned butter solids, not the full nutty spread. If it burns, you have to start over, unfortunately! The goal is that beautiful, toasty aroma before any smoke appears. For tips on avoiding that, check my guide on browning butter.
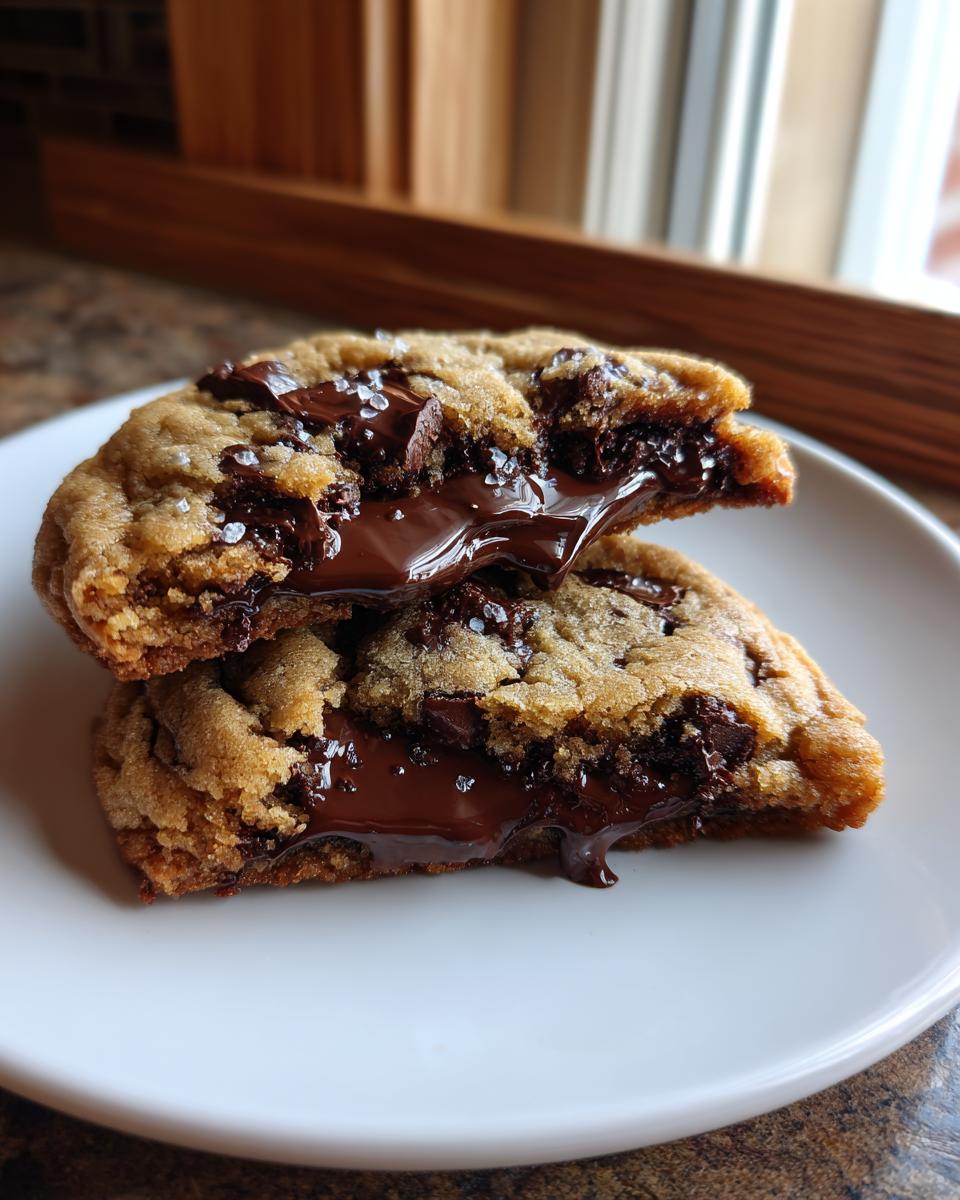
What is the secret to making these look like bakery style brown butter cookies?
That wonderful, thick, mounded look takes two things: good chilling time and a little trick at the end. Number one is chilling the dough, which solidifies the fat and slows the spread in the oven—that gives you height! Number two, right before they go into the oven, take a few extra chocolate chips and press them right on top of the raw dough balls. When they bake, those exterior chips melt beautifully, giving you that iconic peak-and-valley bakery look when they spread just slightly.
Can I use salted butter instead of unsalted for these?
I really, really advise against it for this specific recipe. When we are making brown butter chocolate chip cookies, we are developing such nuanced, subtle flavors—that toffee note is so delicate! Salted butter already has salt added, and relying on that means we can’t control the salinity when we add the precise half teaspoon later. Too much salt fights against the nutty flavor we’re trying to achieve. Stick to unsalted so you can control the final seasoning for that deep flavor chocolate chip cookies experience!
How long can I keep the dough refrigerated? Will the flavor deepen?
Yes, yes, and absolutely yes! Chilling the dough is non-negotiable if you want the absolute best brown butter cookies. Thirty minutes is the minimum to let the fat chill down, but if you can let it sit for 24 hours, you will notice a massive difference. The flour hydrates fully, and the sugars soak up all that nutty goodness from the brown butter. You get such a richer, more complex flavor profile—it really creates those deep flavor chocolate chip cookies you’re looking for. When you pull that overnight dough out, just let it sit on the counter for 15 minutes to soften up before scooping!
Can I substitute the chips? I sometimes crave something different!
Go for it! While the semi-sweet chips are classic, this rich, nutty base handles heavier chocolates really well. If you’re feeling adventurous, try tossing in some dark chocolate chunks, maybe some chopped pecans, or even some butterscotch chips for another layer of caramel notes. These cookies are sturdy enough to handle mix-ins. If you are interested in other intensely flavored cookies, you might enjoy my recipe for chocolate brownie cookies—they offer a dense, fudgy alternative!
Storage and Reheating for Deep Flavor Chocolate Chip Cookies
The best part about making these incredible brown butter chocolate chip cookies is knowing you have leftovers—if they last that long! Since they are so richly flavored, they settle right into the pantry and honestly taste even better the next day once all those nutty, toffee notes have married together perfectly.
For storage, you want your baked cookies to be completely cool first. Then, pop them into an airtight container. I usually layer them with squares of parchment paper between the layers just to make sure they don’t stick together if they are still a little soft in the center. Stored like this at room temperature, they should stay beautifully soft and chewy for a solid three to four days. They rarely last that long in my house, I confess!
If you want that fresh-out-of-the-oven experience again—and you really should, because it’s amazing with the brown butter—reheating is super fast. Pop a couple of cookies onto a microwave-safe plate and heat them for about 10 to 15 seconds. Just watch them closely! When they come out, the center will be gooey and the edges will be perfectly crisp again. If you have a toaster oven, even better! A minute in there at about 300 degrees works wonders to refresh that gorgeous, deep flavor profile.
PrintBrown Butter Chocolate Chip Cookies
Make homemade brown butter chocolate chip cookies that feature a deep, nutty, toffee flavor and a perfect chewy texture.
- Prep Time: 20 min
- Cook Time: 10 min
- Total Time: 30 min
- Yield: 2 dozen cookies 1x
- Category: Dessert
- Method: Baking
- Cuisine: American
- Diet: Vegetarian
Ingredients
- 1 cup (2 sticks) unsalted butter
- 1 cup packed light brown sugar
- 1/2 cup granulated sugar
- 2 large eggs
- 1 tablespoon vanilla extract
- 2 1/4 cups all-purpose flour
- 1 teaspoon baking soda
- 1/2 teaspoon salt
- 1 1/2 cups semi-sweet chocolate chips
Instructions
- Place the butter in a light-colored saucepan over medium heat. Cook, swirling often, until the butter melts, foams, and then brown bits form at the bottom and the butter smells nutty. This takes about 5 to 8 minutes. Immediately pour the browned butter into a heatproof bowl to stop the cooking process. Let it cool for 15 minutes.
- In a large bowl, whisk the cooled brown butter with the brown sugar and granulated sugar until combined.
- Beat in the eggs one at a time, mixing well after each addition. Stir in the vanilla extract.
- In a separate bowl, whisk together the flour, baking soda, and salt.
- Gradually add the dry ingredients to the wet ingredients, mixing on low speed until just combined. Do not overmix.
- Stir in the chocolate chips.
- Cover the dough and chill for at least 30 minutes, or up to 24 hours for deeper flavor.
- Preheat your oven to 375 degrees Fahrenheit. Line baking sheets with parchment paper.
- Scoop rounded tablespoons of dough onto the prepared sheets, spacing them about 2 inches apart.
- Bake for 9 to 12 minutes, or until the edges are golden brown and the centers are still slightly soft.
- Let the cookies cool on the baking sheet for 5 minutes before transferring them to a wire rack to cool completely.
Notes
- Browning the butter removes moisture, which is why you do not need to adjust the flour ratio in this recipe for a standard chewy cookie.
- For bakery style brown butter cookies, press a few extra chocolate chips onto the tops of the dough balls before baking.
- If you chill the dough overnight, let it sit at room temperature for 15 minutes before scooping.
Nutrition
- Serving Size: 1 cookie
- Calories: 180
- Sugar: 15
- Sodium: 85
- Fat: 10
- Saturated Fat: 6
- Unsaturated Fat: 4
- Trans Fat: 0
- Carbohydrates: 22
- Fiber: 1
- Protein: 2
- Cholesterol: 30