

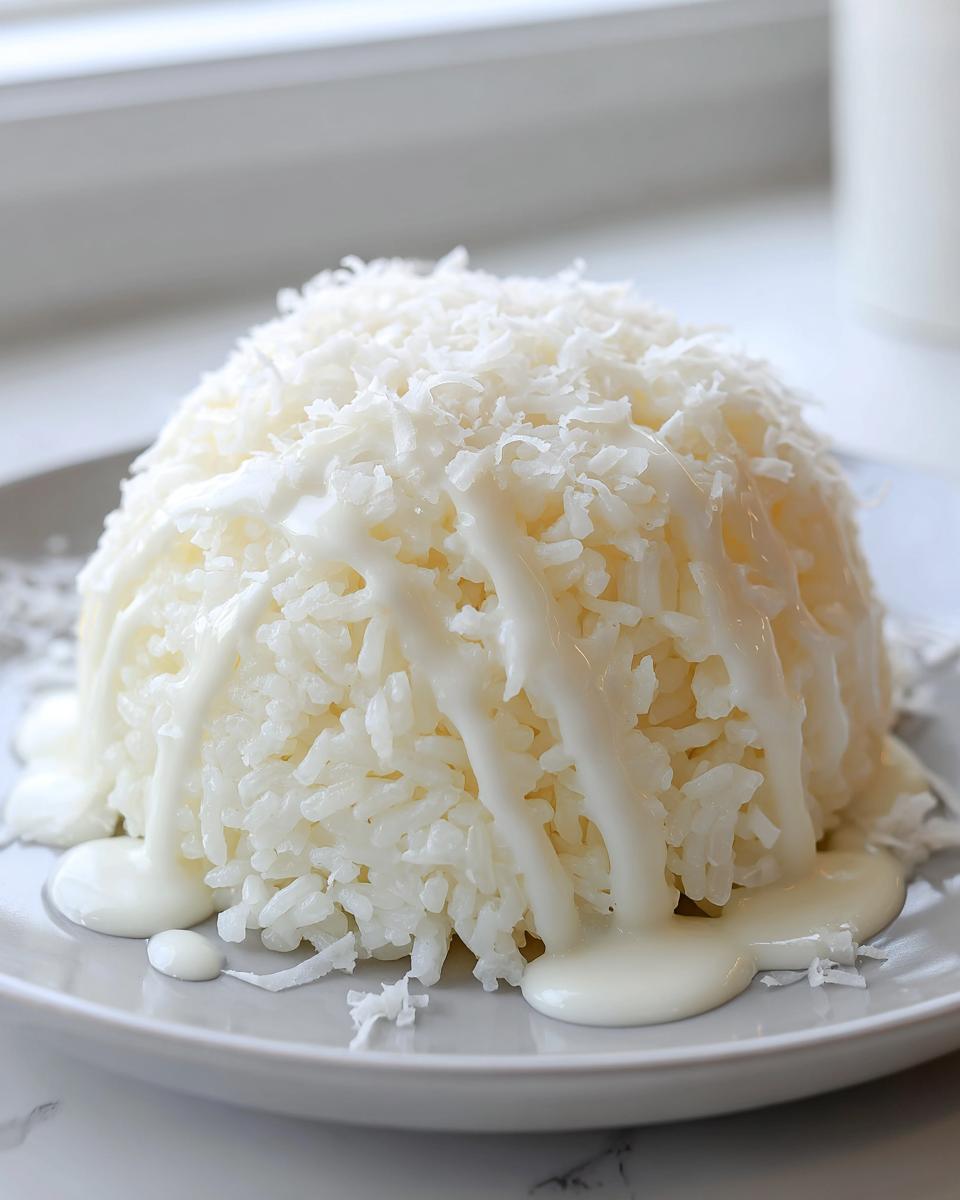
Oh, that moment when a single bite transports you straight to a warm evening in Bangkok! Thai flavors are just magic, aren’t they? That perfect dance between sweet, creamy, and just a hint of saltiness—it’s addictive. If you’ve ever dreamed of making the absolute best thai coconut rice outside of Thailand, you’ve come to the right spot. I’m Jessica Carter, and every recipe here at CravyBite is tested until it’s foolproof. This isn’t just about dumping ingredients in a pot; this approach uses traditional techniques to give you that authentic, glossy, perfectly sticky texture you crave. Trust me, making this at home is easier than you think when you know the secrets!
- Why This Thai Coconut Rice Recipe Works (E-E-A-T Focus)
- Gathering Ingredients for Homemade Thai Coconut Milk Rice
- How to Make Thai Coconut Rice (Step-by-Step Guide)
- Tips for Achieving Creamy Coconut Rice for Mango
- Serving Suggestions for Your Simple Thai Rice Dessert
- Storage and Reheating Thai Coconut Rice
- Frequently Asked Questions About Glutinous Rice in Coconut Milk
- Understanding the Flavor Balance in Thai Dessert Recipes
- Share Your Easy Coconut Sticky Rice Experience
Why This Thai Coconut Rice Recipe Works (E-E-A-T Focus)
What sets this thai coconut rice apart from quick microwave versions? It’s all about texture, and we aren’t cutting corners here! We rely on the classic Thai method: soaking the rice properly, then steaming it. Most people mess up sticky rice because they skip the soak—you just can’t get that perfect chewiness any other way. Also, notice the sauce application isn’t one-and-done. We use the first big dose while the rice is hot, then let it rest so it can fully absorb. The second little splash is just for topping!
When I first started cooking Southeast Asian desserts, getting the sticky rice right felt impossible. I’d end up with mush or hard pebbles! But once I respected the soaking time, everything changed. You can read more about my journey and what guides my recipe testing over at CravyBite Kitchen.
The Key to Perfectly Cooked Sticky Rice
Listen closely: you absolutely must use glutinous rice—it’s what the pros call sticky rice. Regular Jasmine or Basmati just won’t cut it; they don’t have the starch structure needed to become that wonderfully pliable dessert base. If you substitute, you’re making sweet rice pudding, not Thai coconut rice!
The soaking isn’t optional, folks; it’s mandatory! You need at least four hours, but honestly, overnight is always better. This pre-soak reduces steaming time and ensures every single grain hydrates evenly. Don’t try to rush this part; your creamy result depends on it!
Gathering Ingredients for Homemade Thai Coconut Milk Rice
Okay, let’s talk shopping! For the best thai coconut rice, the quality of your coconut milk really matters. Please, please, when you grab a can, make sure it is full-fat. We need that richness, that beautiful creaminess that only the full-fat stuff provides. The rest of the ingredients are pretty straightforward pantry staples, but the rice is where we have to be focused.
You’ll need two cups of sticky rice, the traditional full can of coconut milk, a mix of sugar for sweetness, and just a tiny bit of salt to keep things balanced. Don’t skimp on the salt—it wakes up the coconut flavor, trust me!
Ingredient Notes and Substitutions
I already harp on this, but I’ll say it again: only glutinous rice works here. Grab a bag labeled “sticky rice” or “sweet rice.” If you happen to have palm sugar on hand instead of granulated sugar, feel free to swap about half of the white sugar in the main sauce for the palm sugar. It adds an amazing, slightly deeper caramel note perfect for any simple thai rice dessert. Just make sure whatever sugar you use dissolves completely in that warm coconut mixture!
How to Make Thai Coconut Rice (Step-by-Step Guide)
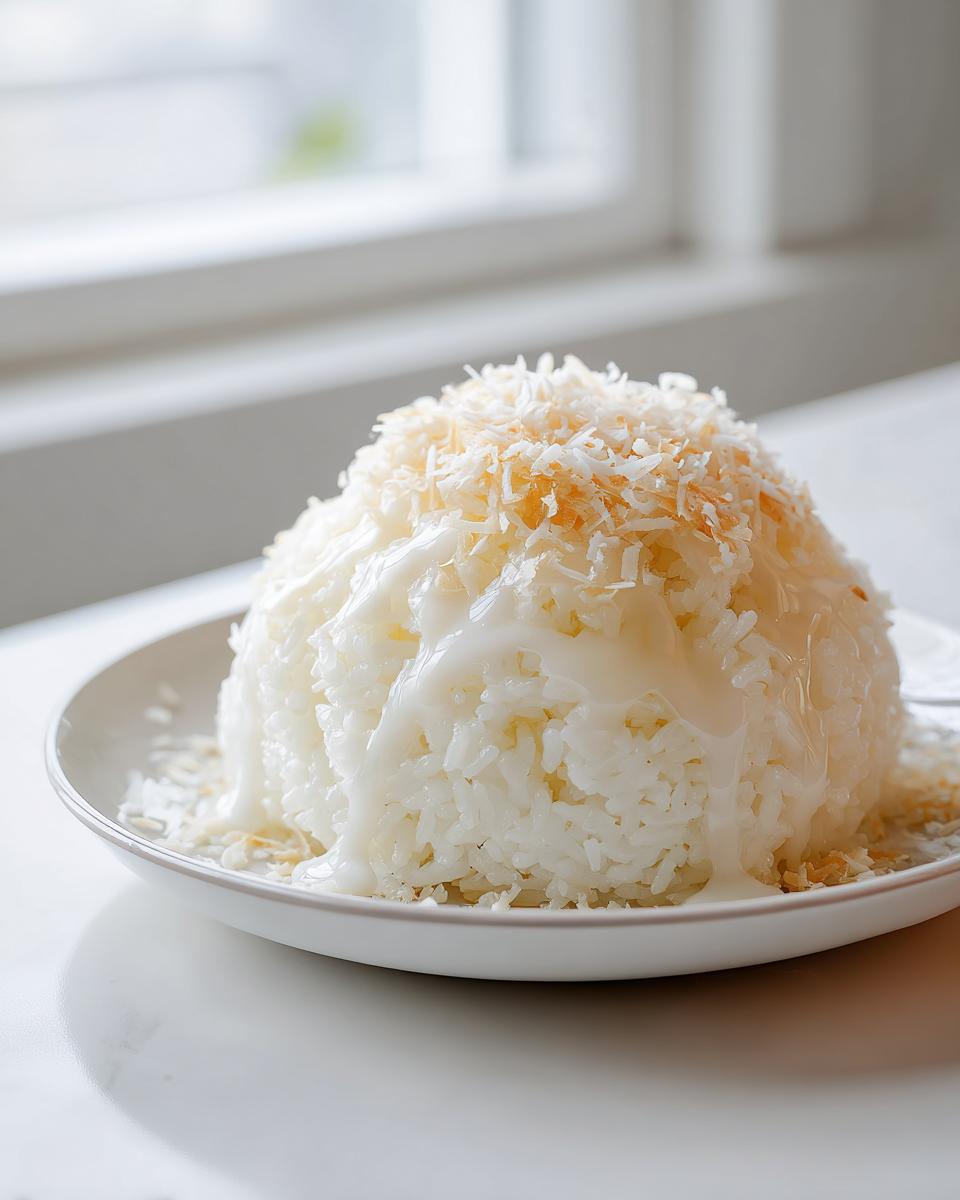
This is where the magic happens, and following these timing cues is everything! We’re breaking this down into the rice preparation and the sauce creation, though they happen almost simultaneously. It takes a little juggling, but once you see how fluffy this thai coconut rice gets, you’ll be hooked. This process guarantees you get that wonderfully soft, chewy texture that defines an authentic thai sticky rice recipe.
Once your rice is ready for the heat, you’ll want to move quickly! If you need a quick meal inspiration for something savory to serve alongside this later, I have some ideas over on my collection of quick, easy weeknight dinners.
Preparing the Rice: Soaking and Steaming
First things first: rinse that glutinous rice until the water running off it is clear—no cloudy water allowed! Drain it really well after soaking. Now, get your steamer pot ready with briskly boiling water. Line your steamer basket with cheesecloth, add the drained rice, and cover it up. We steam this for about 25 to 30 minutes. You’ll know it’s done when it’s tender but still holding its shape—that’s the sign of great texture!
Creating the Sweet Coconut Rice Dessert Sauce
While the rice is steaming away, it’s sauce time! Gently heat your full can of coconut milk with the larger portion of sugar and salt in a small saucepan. Just stir until everything dissolves; I mean it, do NOT let this boil! Once the rice is steamed hot, transfer it immediately to a big bowl. Pour about two-thirds of that warm sauce over the rice and fold it gently. Now, the secret patience step: cover that bowl and just let it sit for twenty minutes. The rice drinks up the liquid beautifully, giving you that rich sweet coconut rice dessert base.
Tips for Achieving Creamy Coconut Rice for Mango
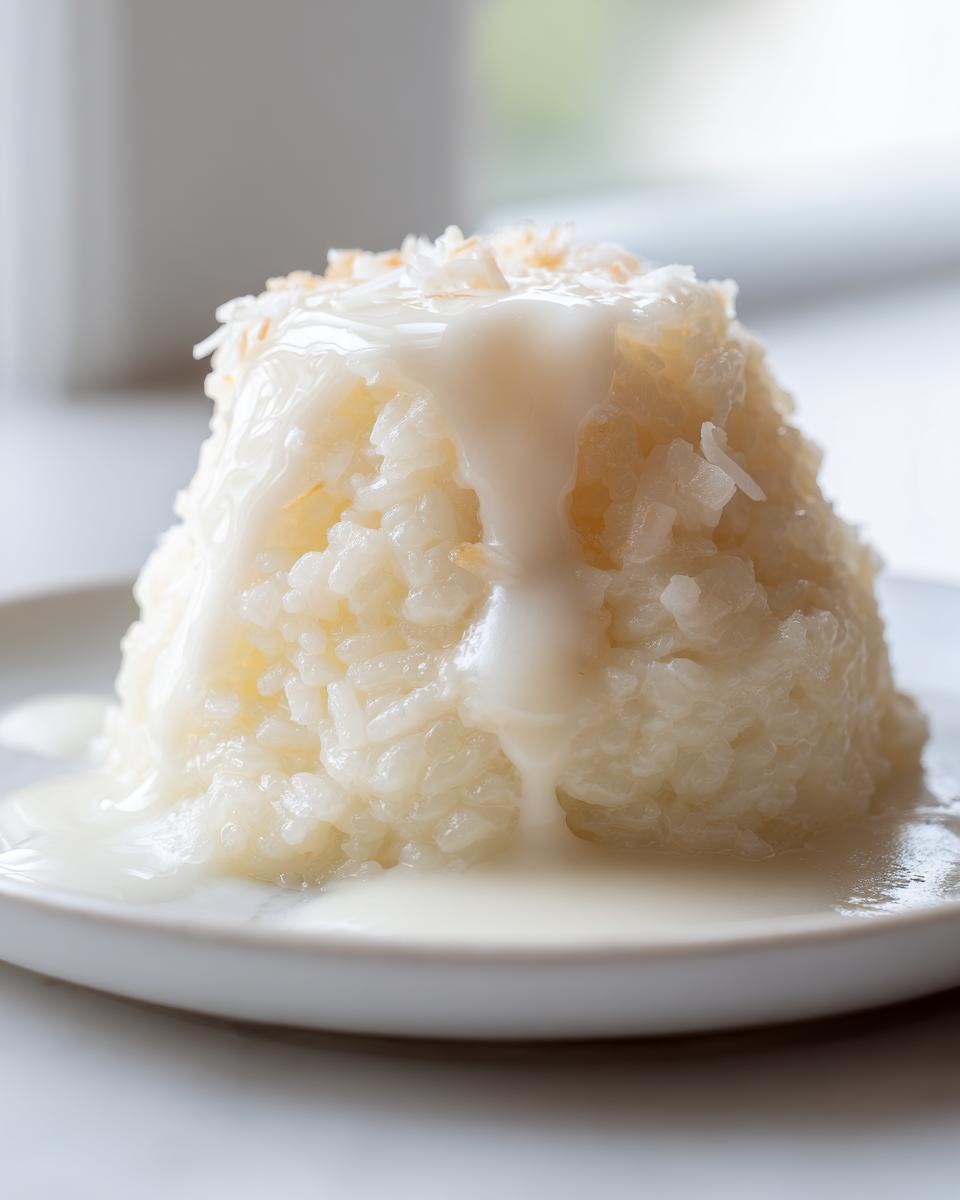
We’ve got the rice cooked and soaked, but making it truly luxurious for pairing with fresh mangoes—that’s the final polish. The key takeaway here is that the rice needs to be hot when it meets the first bath of sauce; cold rice won’t absorb the starches and fats properly, and you’ll end up with a watery mess instead of that thick, almost pudding-like coating.
Don’t worry about measuring that first sauce application to the milliliter. The goal is to look at the rice—you want it mostly saturated, with maybe a tiny bit of sauce pooling at the bottom of the bowl before you cover it for that 20-minute rest. That resting time is crucial for the absorption!
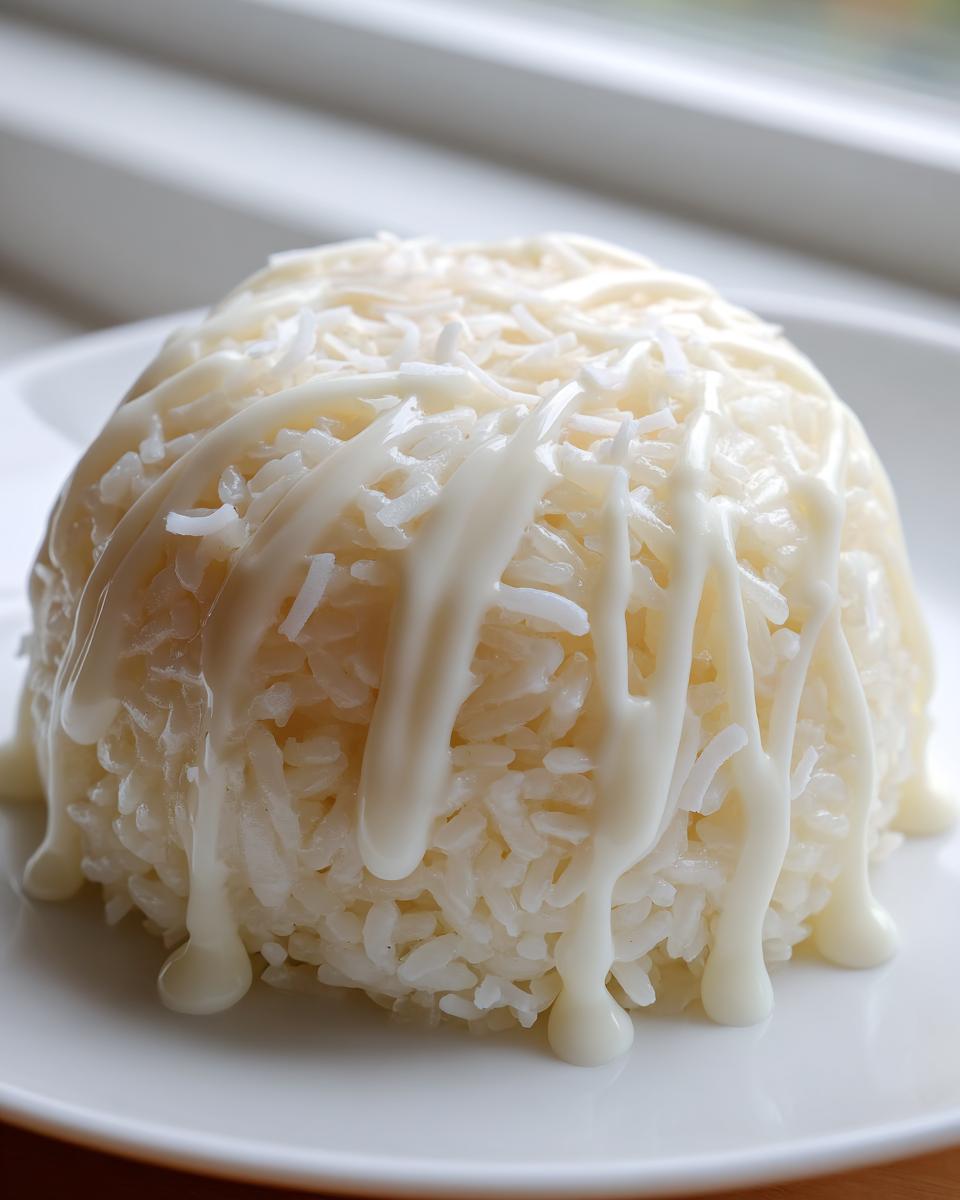
And that finishing drizzle? That’s your insurance policy for maximum richness. We keep that last quarter cup of coconut sauce separate because it’s thicker and keeps its rich ivory color. When you drizzle that cool, intensely creamy sauce over the warm, already sweetened rice right before serving, you get that fantastic contrast in both temperature and texture!
Serving Suggestions for Your Simple Thai Rice Dessert
So now you have this glorious, sweet, creamy thai coconut rice finished—what do you do with it? The obvious, and my favorite, choice is the classic pairing: fresh, ripe mango slices! Together, that combination is pure tropical bliss. If you want more decadent ideas, I have tons of suggestions in my collection of delicious desserts and treats.
But don’t stop there! This wonderful simple thai rice dessert doesn’t *always* have to be dessert. Seriously, a small scoop alongside grilled pineapple or some crispy coconut shards is fantastic. You can even tone down the sugar a touch and serve it alongside spicy curries; that salty-sweet rice base soaks up the sauce perfectly. It’s versatile, which is why I love making a big batch!
Storage and Reheating Thai Coconut Rice
Okay, so you made a huge batch of this incredible thai coconut rice—good for you! The reality is, sticky rice tightens up dramatically once it cools, especially in the fridge. If you want to save some for later, stash it in an airtight container and keep it good for about three days max. Don’t keep it much longer than that; it starts getting hard!
When you’re ready to enjoy leftovers, you definitely can’t eat it cold; it’ll be like eating chewy plastic. Here’s my fix: put one serving into a microwave-safe bowl and sprinkle just a teaspoon of water or extra coconut milk over the top. Cover the bowl loosely with a paper towel. Microwave it for about 30 to 45 seconds. That little bit of steam brings the moisture right back, and suddenly, it’s soft and creamy again!
Frequently Asked Questions About Glutinous Rice in Coconut Milk
I know when you start cooking something new, a million little questions pop up! People always ask me about swapping ingredients or timing when they try this authentic thai sticky rice recipe for the first time. Don’t worry, I’ve compiled the most common things I hear so you feel totally confident making your glutinous rice in coconut milk!
If you’re curious about how we keep CravyBite Kitchen running safely and respecting your info, you can always check our privacy policy, but let’s get back to this amazing rice!
Can I use regular rice for Thai Coconut Rice?
Oh, honey, please don’t! The answer is a firm no if you want the real deal. Regular long-grain rice, while great for savory dishes or simple sides, cooks up fluffy and separate. This recipe relies 100% on the super-high starch content of glutinous rice (sticky rice). That starch is what absorbs the sweet coconut milk and turns into that irresistible, cohesive creaminess. If you use Jasmine, you’ll end up with sweet, runny rice pudding, and that’s not what we’re after here!
Does the rice have to be soaked overnight?
While my note says overnight is preferable, you can get away with a solid 4 hours if you’re really pressed for time. That said, I always recommend soaking it as long as you can. If you attempt to skip soaking entirely, you’d need to steam the rice for nearly an hour, and even then, the inside grains often stay hard. The soak is non-negotiable for achieving that perfectly tender texture required in a great simple thai rice dessert.
Is this **Sweet Coconut Rice Dessert** recipe suitable for vegetarians?
Yes, absolutely! This recipe is naturally vegetarian, and guess what? It’s actually vegan too! We only use rice, full-fat coconut milk, sugar, and salt. There’s no butter, eggs, or gelatin involved in the base recipe, making it a fantastic, rich option for anyone sticking to a plant-based diet. It’s just pure tropical goodness!
Can I make Thai Coconut Rice ahead of time?
You certainly can make it ahead of time, but you have to manage your expectations! Like all sticky rice, it firms up quite a bit as it cools down because the starches gel. It won’t be soft and pliable straight out of the fridge. If you’ve kept it tightly covered for a day or two, just warm up individual portions in the microwave with just a tiny drizzle of water or fresh coconut milk—that moisture helps it relax and returns that soft chewiness. Don’t try to save it for five days; it’s best eaten within 48 hours for peak deliciousness.
Understanding the Flavor Balance in Thai Dessert Recipes
You might look at the recipe and think, “Wait, salt in a dessert?” That’s the secret sauce, darling, and it’s what separates a good thai coconut rice from a truly exceptional one! In authentic Thai cooking, every flavor profile gets a teammate. Think about it: the sugar brings the sweetness, the coconut milk provides that rich, luxurious creaminess, but the salt? The salt is what stops the entire dish from tasting flat and cloyingly sweet.
When I was learning these techniques, I resisted adding the salt at first, just like many home cooks do. But when I followed the authentic ratios, wow! That tiny pinch cuts through the richness of the fat and elevates the coconut flavor to another level. It creates depth you just can’t get otherwise. It’s about balance, the core of great Asian cooking, and understanding that salt works miracles even in sweet dishes. If you have questions or want to share how the salt totally changed your result, please reach out to me via the contact page!
Share Your Easy Coconut Sticky Rice Experience
Okay, now that you’ve made the best thai coconut rice of your life, I absolutely *need* to hear about it! Honestly, seeing your beautiful, glossy bowls of rice is the best part of running CravyBite Kitchen for me. Did you serve yours with juicy mangoes, or did you use it as a base for something else?
Don’t be shy! Jump down into the comments section below and tell me how it turned out. Did you manage to soak the rice overnight, or were you rushing it like one of my early attempts? If you ran into any snags—maybe your sauce seemed too runny, or you weren’t sure about the steaming time—please leave those questions there too. I drop by the comments all the time to help troubleshoot!
If you snapped a picture of your gorgeous, perfectly cooked sticky rice, I would love to see it! Tag CravyBite Kitchen on social media so I can share your success. Remember, cooking is all about connection, and I can’t wait to connect with you over this easy coconut sticky rice. If you ever need to send a note directly, you can always reach out via my contact page!
PrintAuthentic Thai Coconut Rice (Sweet Sticky Rice)

Make creamy, perfectly sweet Thai coconut rice, ideal as a base for mango or a simple dessert. This recipe uses glutinous rice for the correct texture.
- Prep Time: 15 min
- Cook Time: 45 min
- Total Time: 60 min
- Yield: 4 servings 1x
- Category: Dessert
- Method: Steaming
- Cuisine: Thai
- Diet: Vegetarian
Ingredients
- 2 cups glutinous rice (sticky rice)
- 1 can (13.5 oz) full-fat coconut milk
- 1/2 cup granulated sugar
- 1/2 teaspoon salt
- 1/4 cup water (for cooking rice)
- 1/4 cup extra coconut milk (for topping sauce)
- 1 tablespoon sugar (for topping sauce)
- Pinch of salt (for topping sauce)
Instructions
- Rinse the glutinous rice under cold running water until the water runs clear. Soak the rinsed rice in water for at least 4 hours, or preferably overnight. Drain the soaked rice well.
- Place the drained rice in a steamer basket lined with cheesecloth. Steam the rice over boiling water for 25 to 30 minutes, or until the rice is tender and cooked through.
- While the rice steams, prepare the sweet coconut sauce. In a small saucepan, combine 1 can of coconut milk, 1/2 cup sugar, and 1/2 teaspoon salt. Heat over medium heat, stirring until the sugar dissolves completely. Do not boil.
- Transfer the hot, steamed rice to a large bowl. Pour about two-thirds of the warm coconut sauce over the rice. Gently fold the sauce into the rice until it is absorbed. Cover the bowl and let it sit for 20 minutes to allow the rice to absorb the liquid fully.
- Prepare the finishing sauce. In a separate small saucepan, combine the remaining 1/4 cup coconut milk, 1 tablespoon sugar, and a pinch of salt. Heat gently until the sugar dissolves.
- Serve the sweetened coconut rice warm or at room temperature. Drizzle the reserved finishing sauce over the top before serving.
Notes
- Use only glutinous rice (sticky rice) for this recipe; long-grain or jasmine rice will not achieve the correct texture.
- For a richer flavor, you can substitute some of the granulated sugar with palm sugar in the main sauce.
- If you do not have a steamer, you can cook the rice in a rice cooker using 1 cup of water instead of steaming, but the texture will be slightly less authentic.
Nutrition
- Serving Size: 1 serving
- Calories: 350
- Sugar: 25
- Sodium: 150
- Fat: 15
- Saturated Fat: 13
- Unsaturated Fat: 2
- Trans Fat: 0
- Carbohydrates: 50
- Fiber: 1
- Protein: 5
- Cholesterol: 0