
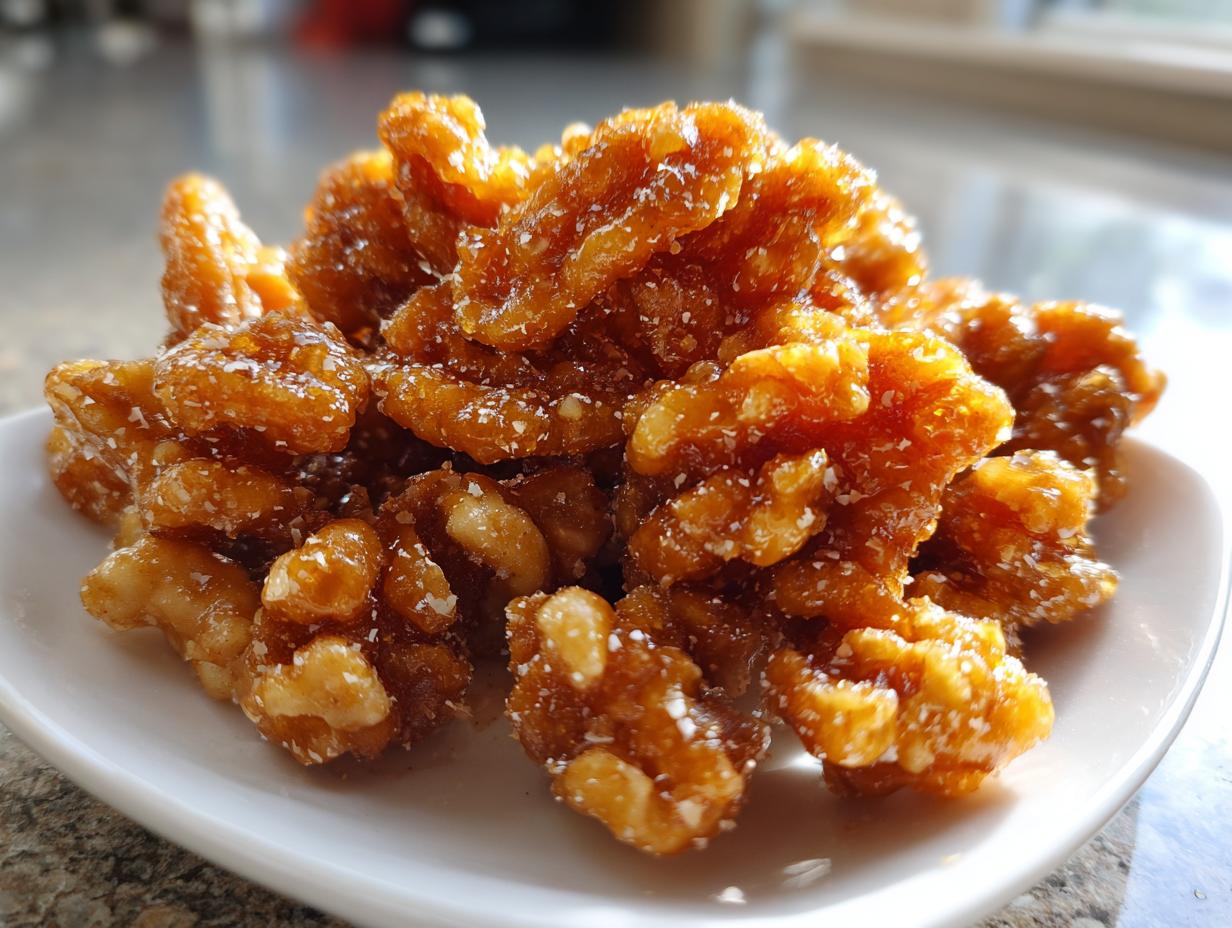
There’s just something about the crunch and gloss of a perfectly made homemade treat, isn’t there? Forget those sad, dusty nuts you find in the baking aisle—today, we’re making the absolute best, easiest candied walnuts! This stovetop method is straight from the core of American home cooking philosophy: simple ingredients, reliable technique, and unbelievably delicious results. I’m Jess Carter, and back in my family’s kitchen, we knew that if you wanted something special, you made it yourself. This recipe takes just minutes, but it delivers that satisfying, glossy coating that makes these nuts irresistible for snacking or tossing onto a fresh salad.
- Why You Will Make This Easy Candied Walnuts Recipe Again and Again
- Gathering Ingredients for Your Homemade Sugar Coated Walnuts
- How to Candy Walnuts on Stovetop: Simple Candied Nuts Instructions
- Flavor Variations for Your Candied Walnuts
- Serving Suggestions for Candied Nuts for Salads and More
- Storage and Shelf Life for Homemade Candied Walnuts
- Frequently Asked Questions About Making Candied Walnuts
- Nutritional Estimates for Your Candied Walnuts
- Share Your Homemade Candied Nuts Creations
Why You Will Make This Easy Candied Walnuts Recipe Again and Again
Honestly, once you see how fast these come together, you’ll never go back to buying them pre-made. I stand by this recipe because it’s utterly foolproof, and that’s what CravyBite is all about. Trust me when I say you’ll want to bookmark this easy candied walnuts recipe.
- They are incredibly fast: Ready in under 15 minutes total!
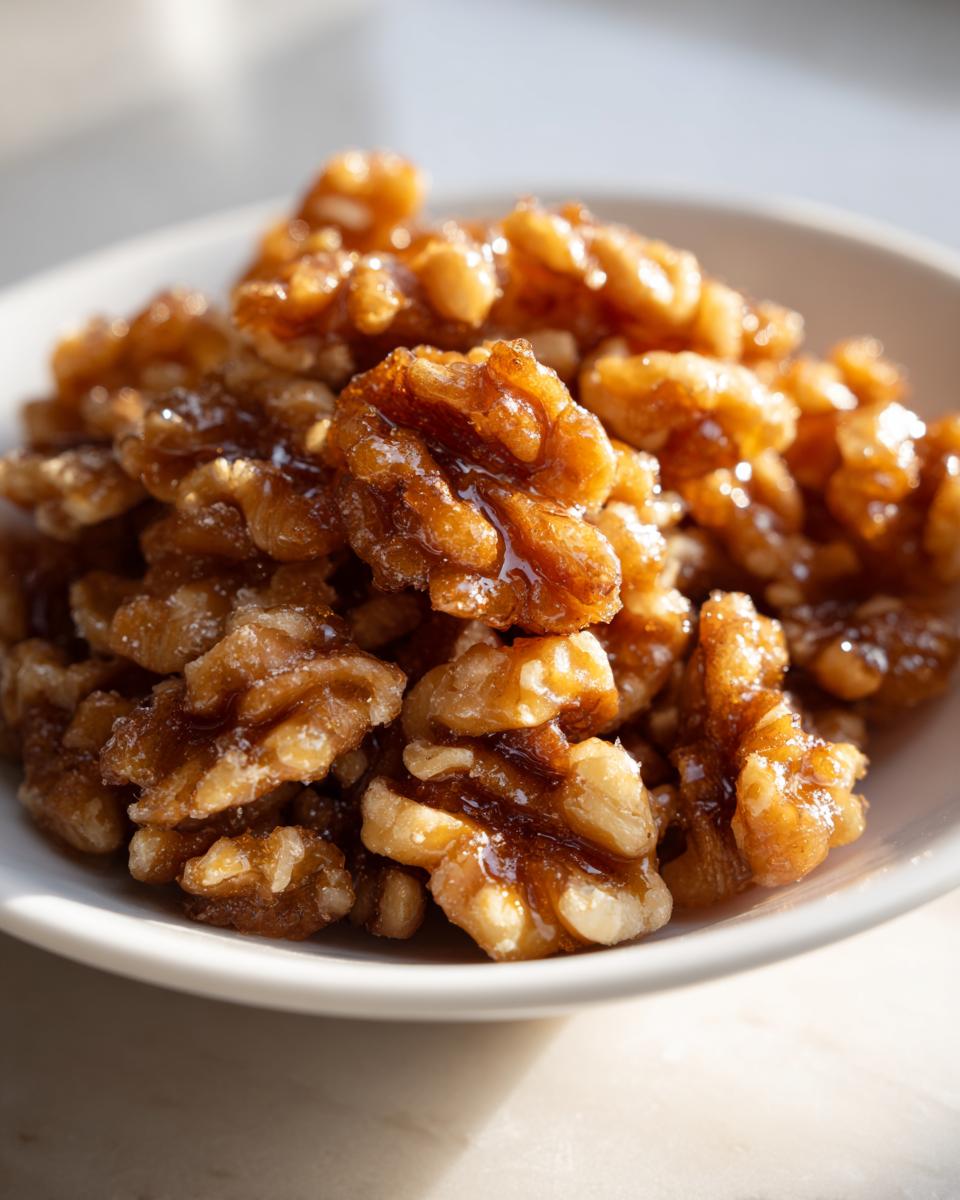
- The texture is perfection—thin, shiny glaze that sets up crisp, not sticky.
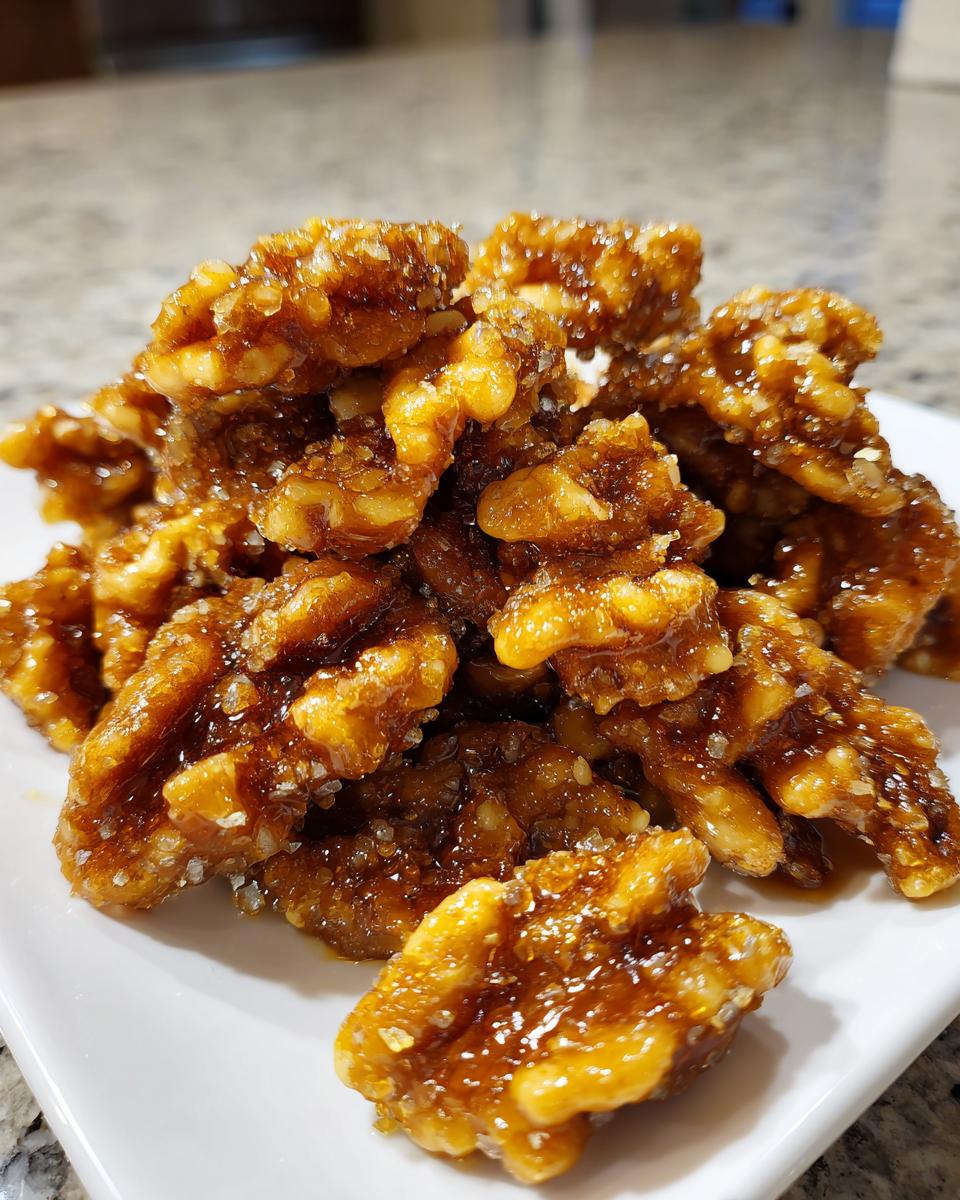
- You control the flavor; it’s the ideal balance of sweet and salty every time.
Gathering Ingredients for Your Homemade Sugar Coated Walnuts
To get those gorgeous, crunchy results we’re aiming for with these homemade sugar coated walnuts, the ingredients need to be measured just right. We are using a very small batch here—perfect for topping a favorite salad or just keeping a little snack jar handy on the counter. Don’t let the simplicity fool you; the quality of your ingredients makes a huge difference here, especially since the cooking time is so fast!
You’ll need one cup of walnut halves or pieces. I strongly recommend using decent quality nuts here; you can really taste them when you only use sugar, water, cinnamon, salt, and vanilla. The goal is a perfect coating, so pay attention to the pan we use in the next step.
Specific Ingredient Notes and Substitutions
The magic in this quick glaze really relies on the sugar and the heat staying consistent. That’s why I insist on using a small, heavy-bottomed skillet. Thick metal helps distribute the heat evenly, stopping those little sugar crystals from scorching before they even have a chance to turn amber. If you use a thin pan, you’ll inevitably end up with burnt sugar bits floating around, and that’s just sad!
We add just a pinch of salt—but if you’re aiming for that popular flavor profile, go ahead and sneak in a little extra to boost that sweet side for a true sweet and salty walnuts experience. Also, if you happen to have some lovely vanilla bean paste, use a tiny scrape of that instead of the extract; it adds such beautiful depth!
How to Candy Walnuts on Stovetop: Simple Candied Nuts Instructions
Okay, let’s dive into the actual magic of **how to candy walnuts on stovetop**. This is where we turn sugar water into glossy gold! Follow these **simple candied nuts instructions** carefully, especially regarding the stirring. The first step is combining the walnuts, sugar, and water in that little skillet we talked about over medium heat, stirring until that sugar dissolves and starts bubbling away. Now, this next part takes focus: you must stir constantly for about five to seven minutes while the mixture boils and turns a gorgeous amber color.
Seriously, don’t walk away! Sugar goes from perfect to burnt so fast, and we do *not* want that bitter taste. Once it gets syrupy and you see the sugar start to crystalize just a little bit around the nuts, pull that pan right off the heat immediately! Quickly stir in the cinnamon and salt. Then, that little splash of vanilla extract goes in last, stirring until everything looks delightfully coated and shiny. Feel free to check out my guide on making marshmallows if you want more practice managing sticky sugar!
Achieving the Perfect Crunch in Your Candied Walnuts
This is the most critical moment for guaranteeing that amazing texture! As soon as they are coated, you need to dump them out onto parchment paper right away. If you let them sit in the pan for even two minutes, they’ll all fuse into one giant, giant walnut brick. Believe me, I learned that the hard way one disastrous holiday season—I tried reheating the clump, but it just made a sticky mess!
You need to spread them out quickly into a single layer. If they do touch, use a fork while they are still warm to gently pull them apart. This immediate separation is the secret sauce for achieving that beautiful, crunchy glazed nuts tutorial result. Let them cool completely—about fifteen minutes—and you’ll have the crispiest, crunchiest homemade nuts!
Flavor Variations for Your Candied Walnuts
Now that you’ve mastered the basic sweet-and-salty stovetop method, we absolutely must get creative! This base recipe is a fantastic foundation, and because the cooking time is so short on the stove, you can easily customize the flavor profile depending on what you’re pairing them with. My kitchen is all about experimentation, so don’t be shy!
If you’re looking for a richer, deeper taste—perfect for rounding out a **fall candied walnuts** mix—try boosting the spices. Instead of just cinnamon, you can add a tiny pinch of cardamom or even some ground cloves right when you add the cinnamon. This really elevates the experience, making them taste so much more complex than they really are!
For something truly indulgent, you can play with extracts. Have some dark rum or bourbon lying around? Right when you add the vanilla at the very end, stir in about half a teaspoon of liquor. This will give you those fantastic **cinnamon rum glazed walnuts** notes. Just make sure you cook out most of the liquid before you pull it off the heat! Alternatively, if you really want elegance, use a tiny scraping of a **vanilla bean candied walnuts** pod when you add the extract—it makes the glaze look speckled and taste incredible.
Serving Suggestions for Candied Nuts for Salads and More
The hardest part about making a batch of these glossy candied walnuts is stopping myself from eating them all right out of the cooling pile! But since they are such a powerhouse for elevating simple meals, you’ll definitely want to save some. They aren’t just for snacking, although I certainly snack on them all day long while testing recipes.
My absolute favorite thing to do is toss them over a sharp, bitter green salad. Think peppery arugula mixed with some roasted butternut squash and a sharp goat cheese. The sweet crunch of the nut cuts through the bitterness of the greens perfectly—that’s what I mean by expertise in the kitchen, knowing how to balance those flavors!
They are also a mandatory addition to any cheese board you put together. Scatter them around some creamy brie or a really salty blue cheese; they just brighten everything up. Don’t forget desserts, either! They make the prettiest topping for a simple scoop of vanilla ice cream. Heck, even crushing them up slightly and mixing them into the filling for something like classic deviled eggs or spreading them on toast with cream cheese works wonders. They bring texture and sweetness wherever you put them!
Storage and Shelf Life for Homemade Candied Walnuts
If you managed to resist eating every single last one right away—good job! Now we have to protect the crunch we worked so hard for. The biggest enemy of a candied nut is humidity. If you leave these out on the counter in the open air, that beautiful, shiny glaze will go soft and sticky again almost overnight. Nobody wants gummy walnuts, right?
The golden rule here is this: always use an airtight container. Glass jars with tight-fitting lids work wonderfully, or a heavy-duty zip-top bag with every last speck of air pressed out. This keeps the moisture out and preserves that satisfying snap you hear when you bite into them.
The fantastic thing about this stovetop recipe is its stability. Because the sugar cooks down so well, these **homemade sugar coated walnuts** last quite a long time! They will stay perfectly crunchy at room temperature for up to two whole weeks if you store them correctly. I usually label my jar with the date, just so I know exactly when I made them. If you’re making these for the holidays, you can definitely make them a week or so ahead of time with total confidence!
Frequently Asked Questions About Making Candied Walnuts
I’ve answered a few questions popping up a lot lately below. It’s normal to have questions when you start working with hot sugar—it can feel a little intimidating at first, but I promise once you see that glaze form, you’ll be a pro! Don’t hesitate to drop a comment if yours didn’t turn out exactly right the first time; we all learn by doing!
Can I use the oven baked candied walnuts method instead?
You certainly can try the **oven baked candied walnuts** method if that’s your preference, and that method is wonderful if you are making huge batches! However, for speed and glossiness, I am a total stovetop devotee for this particular recipe. The quick, direct heat on the stove really allows the sugar to melt, coat, and caramelize around the nut faster, giving you that super thin, shimmering shell. The oven can sometimes result in a slightly duller finish unless you manipulate the temperature carefully.
How do I make these sweet and salty walnuts?
Oh, I love that salty crunch cutting through the sweetness! To achieve the perfect **sweet and salty walnuts**, you just need to make a small adjustment in the beginning. In the notes section, I mention that you can bump that 1/8 teaspoon of salt up to a full 1/4 teaspoon when you add the cinnamon and salt off the heat. That little extra edge of savoriness really makes these irresistible when you’re serving them alongside cheese or crisp apples.
What makes this the best candied walnut recipe?
For me, what elevates this to the **best candied walnut recipe** is purely the sheer convenience and the quality of the final texture. Since we are using the stovetop method, you get a stunning, glossy finish without waiting for an oven to preheat or constantly tossing a sheet of nuts. The whole process, from measuring to cooling, takes less than twenty minutes, and you get that perfect, non-sticky crunch that’s ideal for topping things like my favorite puff pastry bites or just eating by the handful!
Nutritional Estimates for Your Candied Walnuts
Now, I know we’re cooking from the heart here at CravyBite, and usually, I don’t dwell too much on the numbers, but sometimes you just need to know what you’re working with, especially when you’re planning on snacking on these all afternoon! Because these are such a simple mix of walnuts and sugar, they are definitely more of an occasional treat than an everyday staple, which is totally fine by me.
The estimates below are based on making the full batch yield (one cup total) and dividing it into four sensible serving sizes (a quarter cup each). Remember, these are just estimates—the exact numbers can shift based on the specific brand of walnuts or even the exact size of your measuring spoons!
- Serving Size: 1/4 cup (about 40g)
- Calories: Around 240 (Walnuts are wonderfully caloric due to healthy fats!)
- Total Fat: Roughly 20 grams
- Carbohydrates: About 14 grams (mostly from the sugar glaze)
- Protein: Approximately 5 grams
See? Plenty of good fats and a nice little protein bump from the walnuts themselves. Just be mindful of that sugar content, especially if you’re adding extra cinnamon or rum flavorings! These are treats designed to bring joy, and knowing the balance helps you enjoy them even more.
Share Your Homemade Candied Nuts Creations
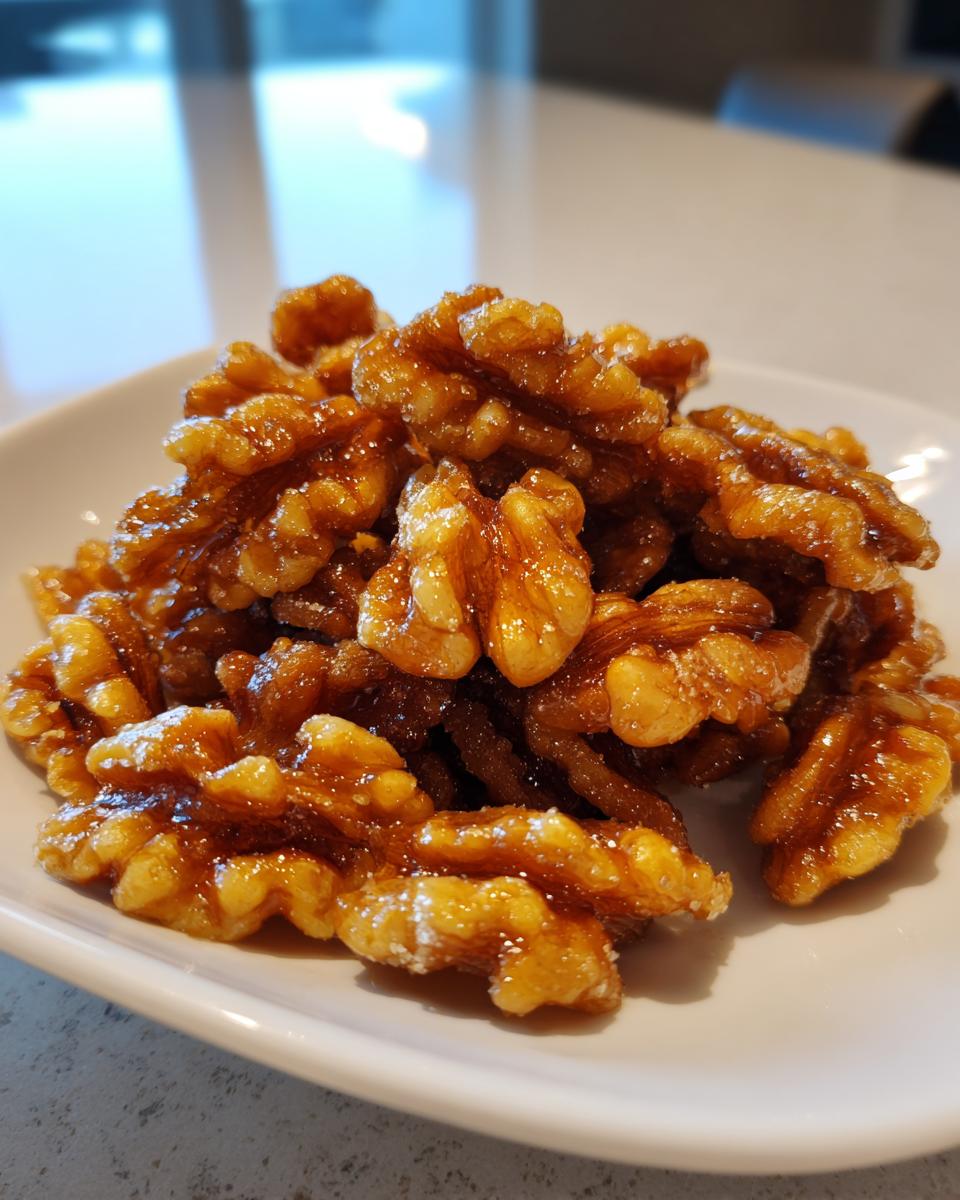
That’s it! You’ve got your batch of glossy, crunchy, irresistible homemade candied walnuts cooling on the counter. Now comes my favorite part: hearing about your kitchen triumphs! Did you manage to resist clumping them? Did you try that little extra pinch of salt for the salty kick, or maybe you went wild and turned them into a rum-glazed masterpiece?
Please, please leave a comment below and tell me how your batch turned out! Your feedback lets me know that the techniques I learned years ago in my family kitchen still work beautifully for you today. I absolutely adore seeing photos of how you’re using them—are they crushing them over a big batch of cozy soup, or maybe topping a holiday dessert?
Don’t be shy about rating the recipe either! Seeing those stars pop up lets the whole CravyBite community know that this simple stovetop technique is really worth trying. I can’t wait to see your gorgeous, shiny nuts!
PrintEasy Stovetop Candied Walnuts Recipe

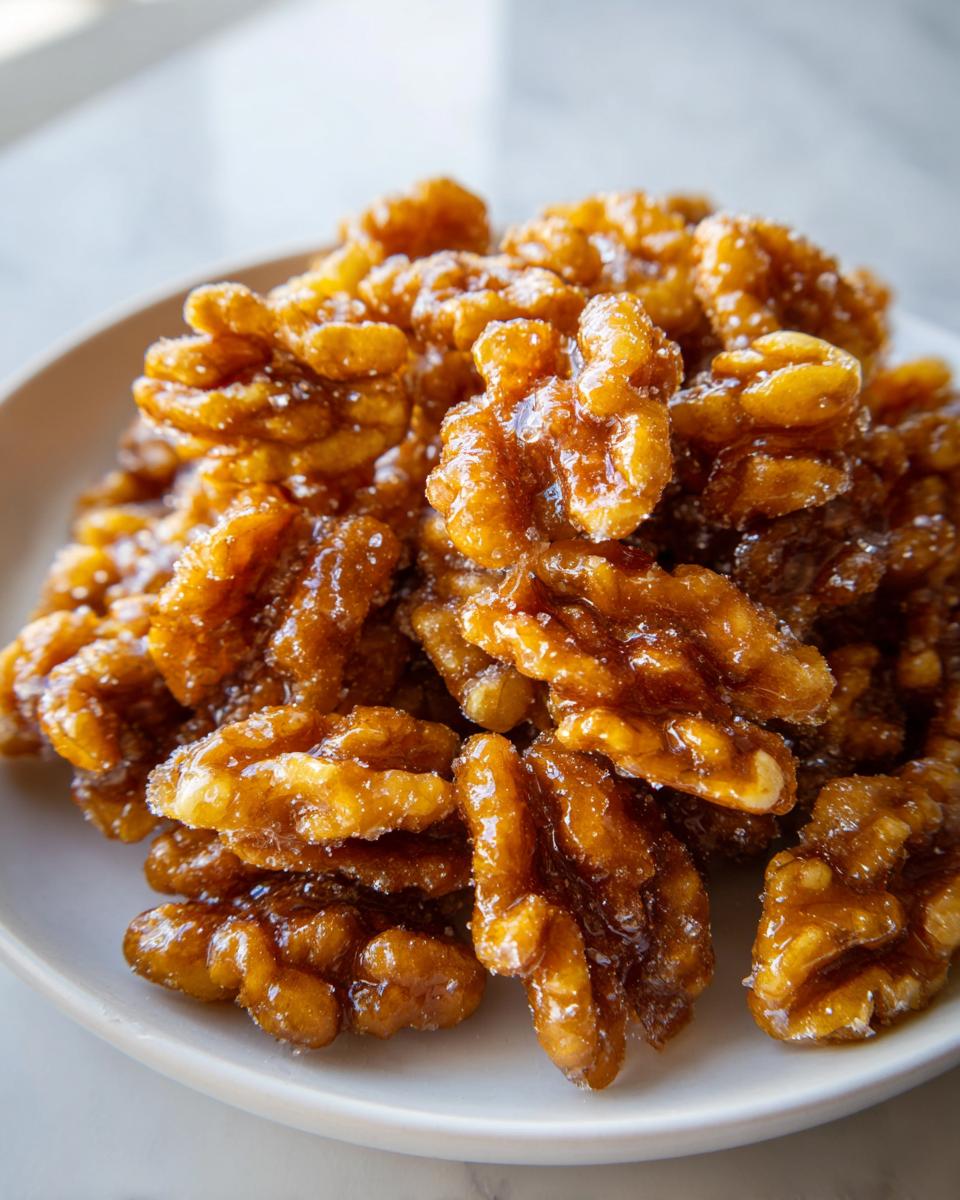
Make crunchy, glossy candied walnuts on your stovetop using simple ingredients. This recipe yields sweet and slightly salty glazed nuts perfect for salads or snacking.
- Prep Time: 5 min
- Cook Time: 10 min
- Total Time: 15 min
- Yield: 1 cup 1x
- Category: Snack
- Method: Stovetop Glazing
- Cuisine: American
- Diet: Vegetarian
Ingredients
- 1 cup walnut halves or pieces
- 1/4 cup granulated sugar
- 1 tablespoon water
- 1/4 teaspoon ground cinnamon
- 1/8 teaspoon salt
- 1/2 teaspoon vanilla extract
Instructions
- Place the walnuts, sugar, and water in a small, heavy-bottomed skillet over medium heat.
- Stir the mixture constantly until the sugar dissolves and begins to bubble.
- Continue stirring as the sugar mixture boils and turns amber, about 5 to 7 minutes. Watch closely to prevent burning.
- When the sugar mixture looks syrupy and starts to crystalize around the nuts, remove the skillet from the heat.
- Quickly stir in the cinnamon and salt.
- Add the vanilla extract and stir until the nuts are evenly coated and glossy.
- Immediately spread the coated walnuts in a single layer onto a sheet of parchment paper or a silicone baking mat.
- Separate any clumps gently with a fork while the glaze is still warm.
- Let the candied walnuts cool completely until hard and crunchy, about 15 minutes.
Notes
- For a sweet and salty profile, increase the salt to 1/4 teaspoon.
- If the glaze hardens too quickly in the pan, return the skillet to very low heat for a few seconds to soften it slightly before stirring in the nuts.
- Store finished candied walnuts in an airtight container at room temperature for up to two weeks.
Nutrition
- Serving Size: 1/4 cup
- Calories: 240
- Sugar: 12
- Sodium: 45
- Fat: 20
- Saturated Fat: 2
- Unsaturated Fat: 18
- Trans Fat: 0
- Carbohydrates: 14
- Fiber: 2
- Protein: 5
- Cholesterol: 0