
Oh, there is nothing that brings me back to being ten years old faster than the first big snow of the year! You know that magical feeling—when the world outside is quiet and everyone thinks, “What fun can we have now?” Well, friends, my absolute favorite answer is making the easiest, quickest, creamiest frozen dessert you can imagine: snow ice cream. Seriously, this recipe takes maybe five minutes from the backyard to the bowl. As Jess Carter, I grew up making this with my cousins; it’s pure, unfiltered winter nostalgia in a scoop, and it requires almost no actual cooking whatsoever.
- Why This Easy 3-Ingredient Snow Ice Cream is a Winter Must-Make
- Essential Ingredients for Perfect Snow Ice Cream
- How to Make Snow Ice Cream Step-by-Step
- Tips for Success When Making Snow Ice Cream
- Variations on the Classic Snow Ice Cream Recipe
- Serving Suggestions for This Winter Fun Food
- Storage and Reheating Instructions for Snow Ice Cream
- Frequently Asked Questions About Snow Ice Cream
- Share Your Snow Ice Cream Creations
Why This Easy 3-Ingredient Snow Ice Cream is a Winter Must-Make
I’m telling you, if you have snow falling, you need this recipe queued up! It checks every box for a great Snow Day Recipe because it turns a chore (shoveling, maybe?) into an instant reward. This is the ultimate low-effort, high-fun treat, perfect for anyone looking for quick, easy weeknight dinners that double as fun activities!
- It’s ready before the kettle even whistles—seriously fast!
- It involves zero cooking, making it perfect for little helpers and great for Kid Friendly Winter Activities.
- It’s guaranteed to bring smiles.
For me, this is pure comfort. I remember rushing inside from playing tag in the yard, and my aunts would already have the bowl ready. It’s simple magic!
Quick Frozen Treats Ready in Minutes
We are talking five minutes, tops, if your snow is conveniently located! You can’t beat having incredible Quick Frozen Treats ready almost instantly. Forget waiting for an ice cream maker to churn; this is the definition of instant gratification on a snowy afternoon.
Nostalgic Snow Cream Experience
This is more than just mixing milk and snow; it’s a tradition. When I make this Nostalgic Snow Cream, I feel like I’m right back in my grandmother’s kitchen. It’s a simple pleasure that connects us to the pure joy of winter, long before we had fancy dessert gadgets.
Essential Ingredients for Perfect Snow Ice Cream
Okay, let’s talk about what goes into this magic trick! Because this snow ice cream recipe comes together so fast, the quality of what you use matters a lot. Seriously, you only need three things, which is why it’s such a life-saver on a snow day. But trust me when I say you can’t just wing the ingredients; they have to work together just right to give you that perfect, light, yet rich scoop.
Ingredient Clarity for Creamy Snow Dessert
For the gold standard, the creamiest result that tastes like heaven, here’s exactly what you’ll need. If you want that perfect creamy snow dessert texture, stick to this list:
- Four cups of the freshest, cleanest snow you can find. I mean it—we’re eating this!
- One cup of sweetened condensed milk. This is the secret weapon that makes it scoopable and rich!
- One teaspoon of pure vanilla extract. Don’t skimp on this; it warms up the flavor profile beautifully.
The most important part of this list, and I can’t stress this enough for safety, is that snow. It has to be fresh, fluffy, and well away from traffic or ground dirt. If it’s not clean snow, it’s not dessert!
How to Make Snow Ice Cream Step-by-Step
This is the best part because, honestly, the prep time is about five minutes, and we don’t even have to turn the oven on—the Cook Time is zero minutes! We are just assembling glorious, cold ingredients. If you’ve followed my notes on getting the cleanest snow, you are ready for assembly. This process is designed to keep that fragile snow structure intact, so we’re going to be gentle!
Preparing the Fresh Snow Base
First things first, grab your biggest bowl—you need room to move this around! Take your four cups of clean, fresh snow and dump it right in there. Remember what I said earlier? If you have even the slightest doubt about its cleanliness, toss it out and go get more. We want this snow ice cream to taste like winter heaven, not like road dust. Just set that snowy base aside; it’s waiting patiently for its sweet additions.
Mixing for a Creamy Snow Dessert
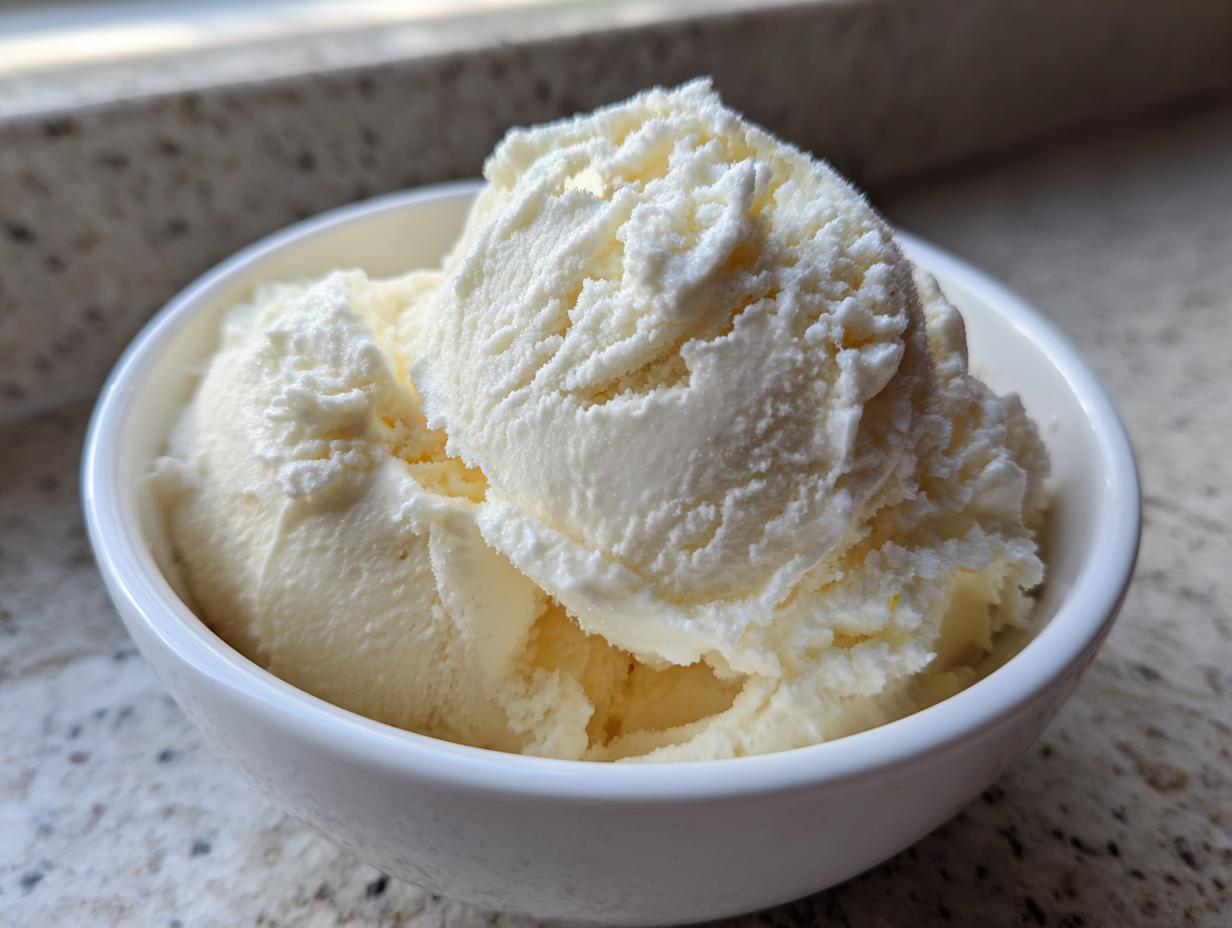
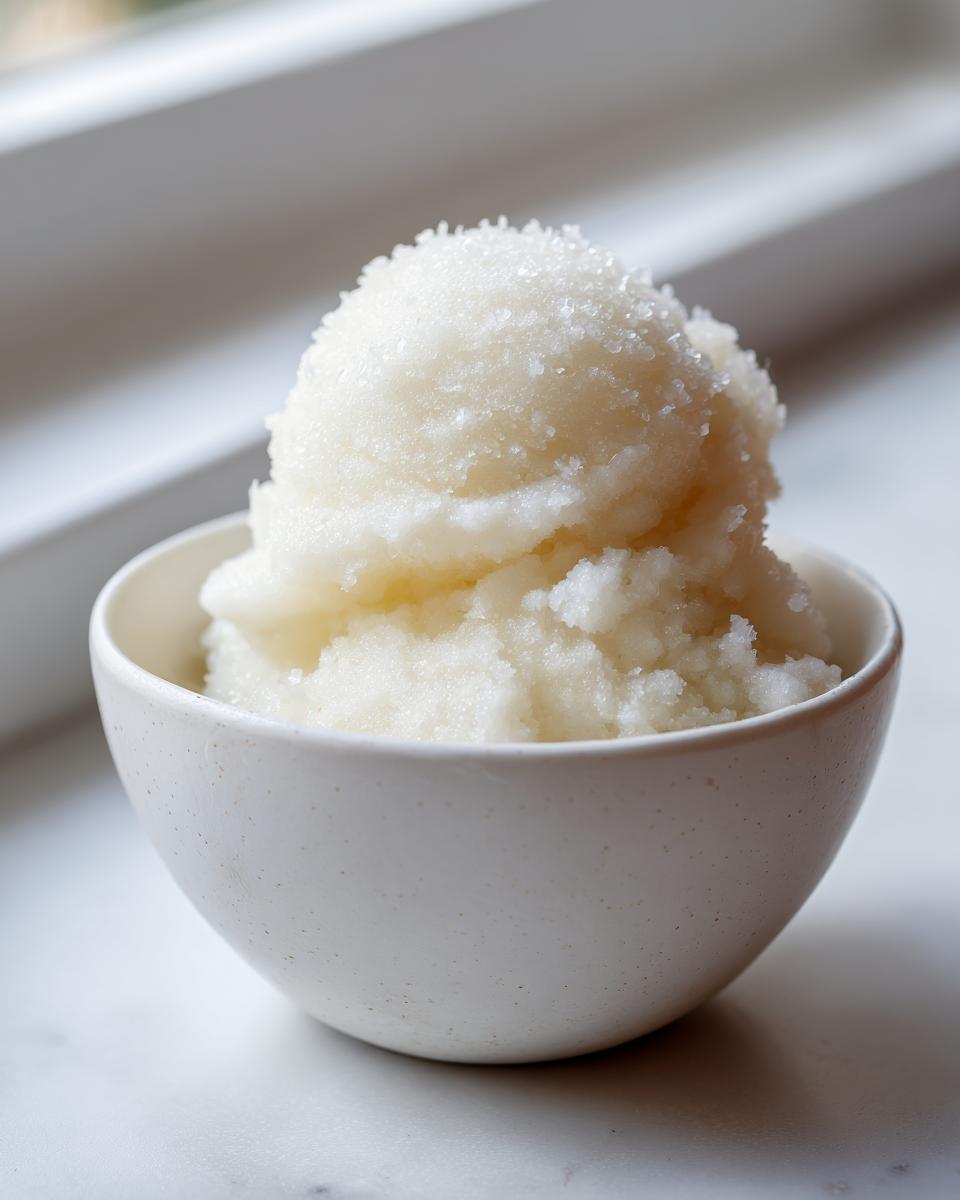
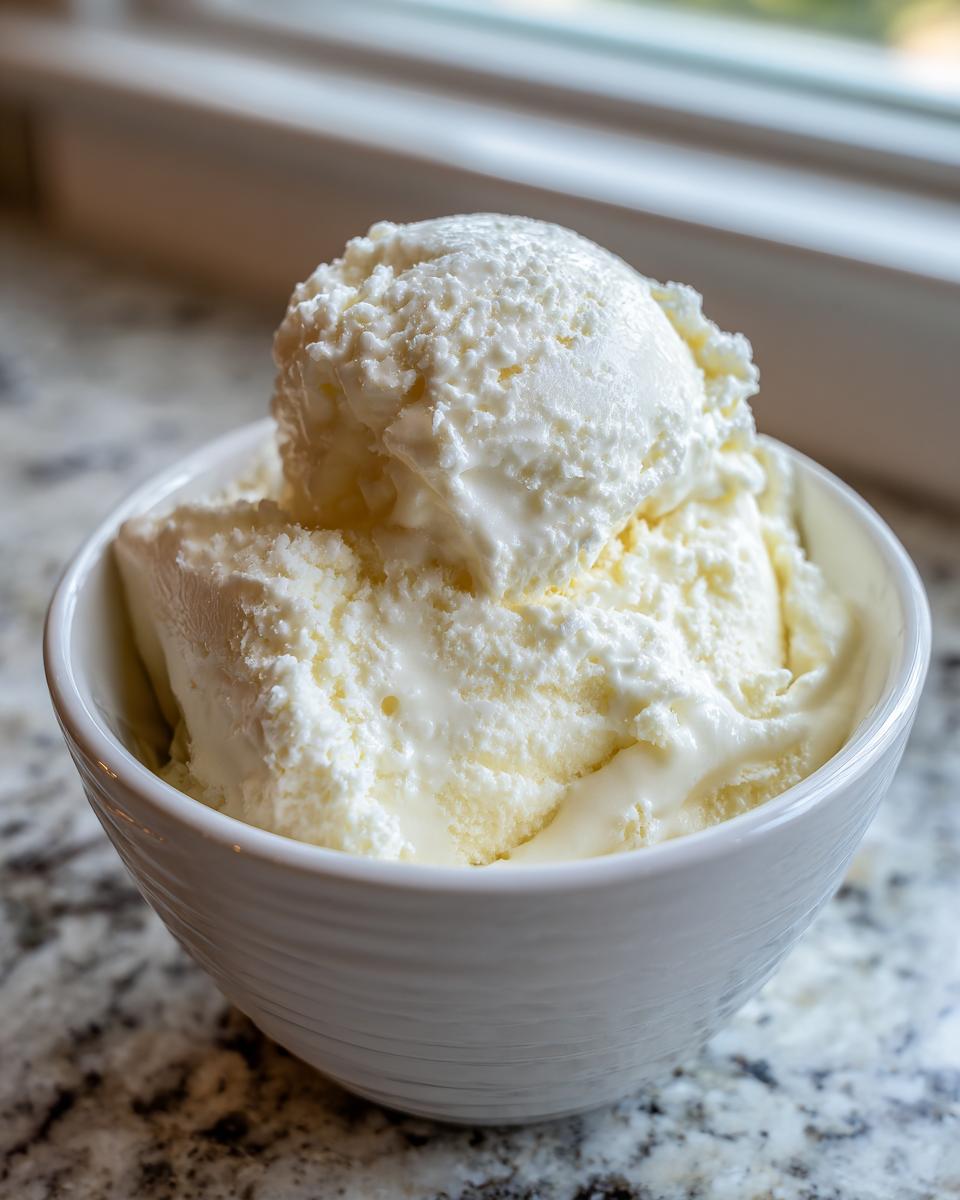
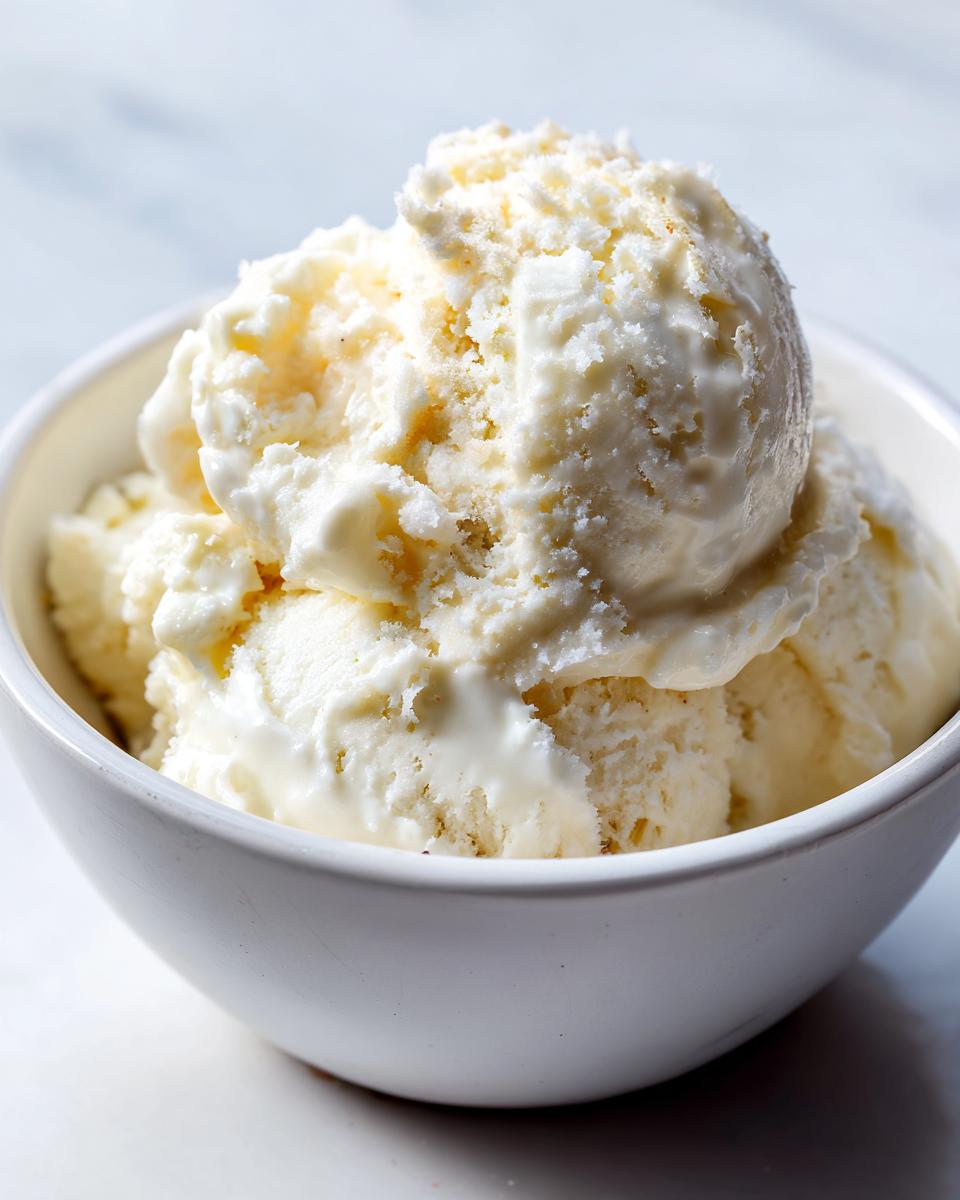
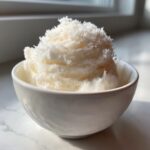
Now, take your sweetened condensed milk and that teaspoon of vanilla. Pour those right over the snow. This is where you need to be your gentlest self! Grab a big spatula or spoon and start folding, not stirring hard. We want to slowly incorporate the sweet stuff into the snow. Keep folding until everything looks like soft-serve—that’s your cue for a perfect Creamy Snow Dessert. My cardinal rule? Stop mixing the second it looks combined. If you overmix, the snow turns into icy milk, and we absolutely don’t want that!
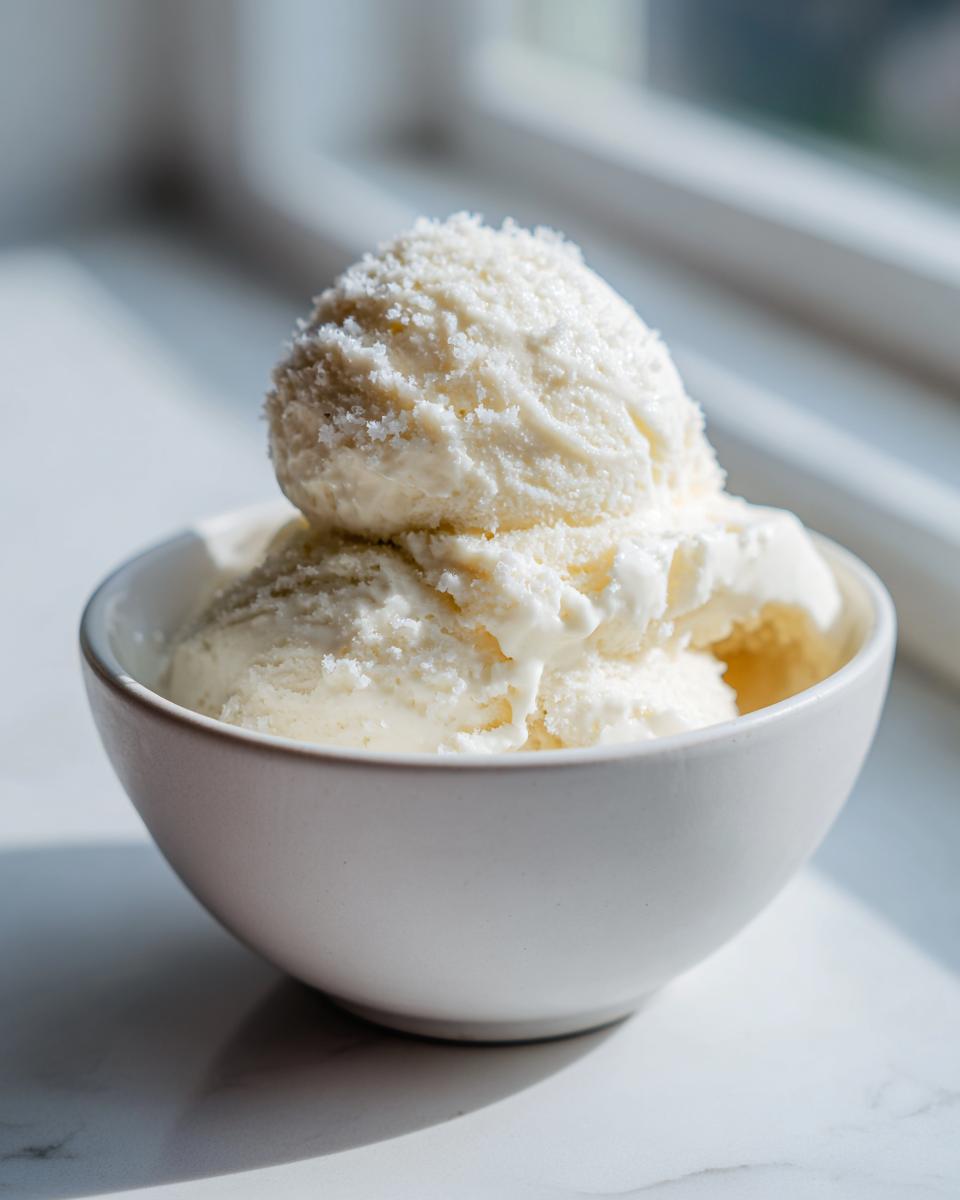
You should have a delightful, fully mixed treat ready to eat right away. I highly recommend you check out some delicious ways to top this delicious desserts treats once it’s in the bowl!
Tips for Success When Making Snow Ice Cream
So, you’ve mixed the ingredients, and now you have this glorious bowl of instant frozen goodness. How do we make sure this snow ice cream is perfectly light and not just a sugar-flavored mushy mess? It all comes down to two things: where you got the snow, and how gentle you are at the very end.
The Golden Rule: Sourcing Your Snow
I really need you to pay attention to this part, because we are treating this snow like it’s just another fresh ingredient! This is non-negotiable for your dessert with fresh snow to be safe and taste amazing. You want snow that fell within the last 12 hours, preferably while it was still lightly snowing or just finished. Stay far, far away from areas near busy streets, driveways where salt might have been used, or anywhere near the garage. Grab snow from the middle of the yard—that’s your clean zone. Think pristine!
Achieving the Perfect Texture
When you are folding in that sweet condensed milk, you have to resist the urge to stir like you mean it! Stirring too hard or too fast is going to smash those delicate snow crystals, which releases water, and suddenly, boom, you have cold milk instead of ice cream. Use a wide, flat spatula and fold from the bottom up gently. Don’t worry if it looks a little streaky at first—that slight unevenness is what keeps it light and wonderfully fluffy. Think soft scoops, not thick cement!
Variations on the Classic Snow Ice Cream Recipe
The three-ingredient version is my go-to, especially when I need a fast snow ice cream fix, but I know not everyone keeps sweetened condensed milk on hand! We can absolutely pivot this recipe to use ingredients you might already have, creating an almost Old Fashioned Snow Cream vibe. It’s fun to mix things up!
Making Snow Ice Cream Without Condensed Milk
If condensed milk isn’t in your fridge, don’t panic! You can substitute it using regular dairy. Instead of the one cup of condensed milk, use one full cup of heavy whipping cream and about a half cup of standard granulated sugar. You have to whisk the cream and sugar together really well first, almost to soft peaks, before folding it into the snow. It won’t be quite as intensely sweet, but it gives you a lovely, rich, traditional dairy flavor.
Flavor Mix-Ins for Your Dessert with Fresh Snow
This base recipe is the perfect canvas for creativity! Once you have your creamy mixture, you can fold in all sorts of goodies. Chocolate lovers, this is your moment to shine—add a few spoonfuls of chocolate syrup or a handful of mini chocolate chips. Sprinkles make everything instantly better, right? If you want something a little more sophisticated for your Dessert with Fresh Snow, try a tiny splash of almond extract or even a drizzle of caramel sauce right before serving. You have so many choices here!
For more winter inspiration, check out how some folks are making their twists on this classic over at this amazing collection!
Serving Suggestions for This Winter Fun Food
Since this snow ice cream is so light and heavenly, you don’t want to weigh it down too much, but a little topping goes a long way when you’re serving up this Winter Fun Food! The goal here is texture contrast. If you went the condensed milk route, a little bit of crunch is perfect.
Try layering a small spoonful of finely crushed cookies right on top—Oreos work amazingly well! If you’re feeling spicy, a tiny dusting of cinnamon or nutmeg wakes up the vanilla nicely. Oh! And if you want to make it ridiculously decadent, try a drizzle of my famous homemade cinnamon butter topping (skip warming it, just drizzle it cold!). It’s perfect because you eat this treat so fast, it never really melts away before you devour it!
Storage and Reheating Instructions for Snow Ice Cream
Alright, we need to have a real talk about storing this amazing frozen fluff. Since this recipe relies entirely on fresh, fluffy snow for its texture, we can’t treat it like a store-bought pint! If you try to save leftovers, I promise you, you’ll just end up with a sugary bowl of cold milk later this afternoon.
Because this is a no-cook dessert made from an ingredient—snow—that changes state the second it hits room temperature, the best advice I can give you is this: Make it, scoop it, and eat it immediately! This isn’t a make-ahead dessert for a party later that evening. It’s a five-minute treat designed for instant gratification.
If, by some miracle, you have a tiny bit left, the only way to possibly save it is to pop the bowl straight into the deepest, coldest part of your freezer. Be prepared, though. When you pull it out, it will likely be much denser and icier than when you first mixed it. In that case, you might need to let it sit on the counter for just a minute or two and then aggressively stir it up to try and revive some of that original creamy texture. Honestly, though? It’s just not the same. You’re better off running back outside for a fresh batch!
Frequently Asked Questions About Snow Ice Cream
I get so many questions whenever I post this recipe! It’s such a fun concept, but people always want to make sure they are doing it the right way—especially concerning what they are scooping up!
Is it safe to eat snow ice cream?
This is definitely the most important question, right? The safety of your snow ice cream depends 100% on where you collect that fluffy base! You absolutely must use snow that has fallen very recently—ideally within the last hour—and it needs to be far away from roads, driveways, or anything that might introduce pollutants or salt. Think freshly fallen, pure white snow from the middle of the yard. If you’re ever in doubt about the cleanliness, please don’t risk it!
Can I use heavy cream instead of condensed milk in snow ice cream?
Yes, you totally can! I detailed this variation in the section above, but to confirm: absolutely use heavy cream and granulated sugar instead if that’s what you have. Just remember that condensed milk is super sweet and thick, so without it, your result will be less intensely sweet and have a slightly different, perhaps more easy winter treat-like texture. It’s still delicious, but less rich!
What is the best way to get fluffy snow for this recipe?
You want snowy days that are cold, but not brutally cold. The fluffiest snow, the kind that’s light and almost powdery, usually falls when the temperature is hovering right around the freezing mark, or just slightly below. Avoid the heavy, wet, chunky snow you get right before a temperature swing, as that melts faster and just tastes dense. For the best scoops, aim for that dry, light powder—it mixes so beautifully and makes the lightest snow ice cream!
If you want to check out some more great ways to make quick easy winter treats perfect for a family, I’ve put together some of my favorite comforting recipes over here!
Share Your Snow Ice Cream Creations
That’s it, my friends! You now have everything you need to turn the next snowfall into an instant celebration. Honestly, this simple snow ice cream recipe is one of the best ways I know to connect with my past while making new, quick memories right now. It’s so rewarding watching someone try it for the first time, their eyes widening as they realize how creamy and delicious it is!
I always love hearing which variation folks choose—did you stick to the classic condensed milk, or did you try that heavy cream swap? Did you go crazy with the toppings? Don’t be shy! Come back here and drop me a comment below. I want to hear all about your adventure! If you enjoyed this little bit of frosty magic, please hit that rating button on your way out, and if you ever want to chat about kitchen triumphs or need more ideas, you can always reach out to me through the contact page!
PrintEasy 3-Ingredient Snow Ice Cream Recipe
Make this simple, nostalgic snow ice cream using fresh snow, sweetened condensed milk, and vanilla. It is a quick, creamy winter treat perfect for snow days.
- Prep Time: 5 min
- Cook Time: 0 min
- Total Time: 5 min
- Yield: 4 servings 1x
- Category: Dessert
- Method: No Cook
- Cuisine: American
- Diet: Vegetarian
Ingredients
- 4 cups fresh, clean snow
- 1 cup sweetened condensed milk
- 1 teaspoon vanilla extract
Instructions
- Gather four cups of fresh, clean snow. Discard any snow that is dirty or near roads. Place the snow in a large bowl.
- Pour the sweetened condensed milk and vanilla extract over the snow.
- Use a large spoon or spatula to gently fold the ingredients together. Mix until the snow is fully incorporated and the mixture resembles soft-serve ice cream. Do not overmix.
- Serve the snow ice cream immediately for the best texture.
Notes
- For a variation, substitute the sweetened condensed milk with 1 cup of heavy cream and 1/2 cup of granulated sugar. Mix well before folding into the snow.
- You can add mix-ins like chocolate chips or sprinkles before serving.
- Always use snow that has fallen recently and is far from traffic or pollution sources.
Nutrition
- Serving Size: 1 serving
- Calories: 250
- Sugar: 40g
- Sodium: 70mg
- Fat: 7g
- Saturated Fat: 4g
- Unsaturated Fat: 3g
- Trans Fat: 0g
- Carbohydrates: 45g
- Fiber: 0g
- Protein: 5g
- Cholesterol: 25mg