
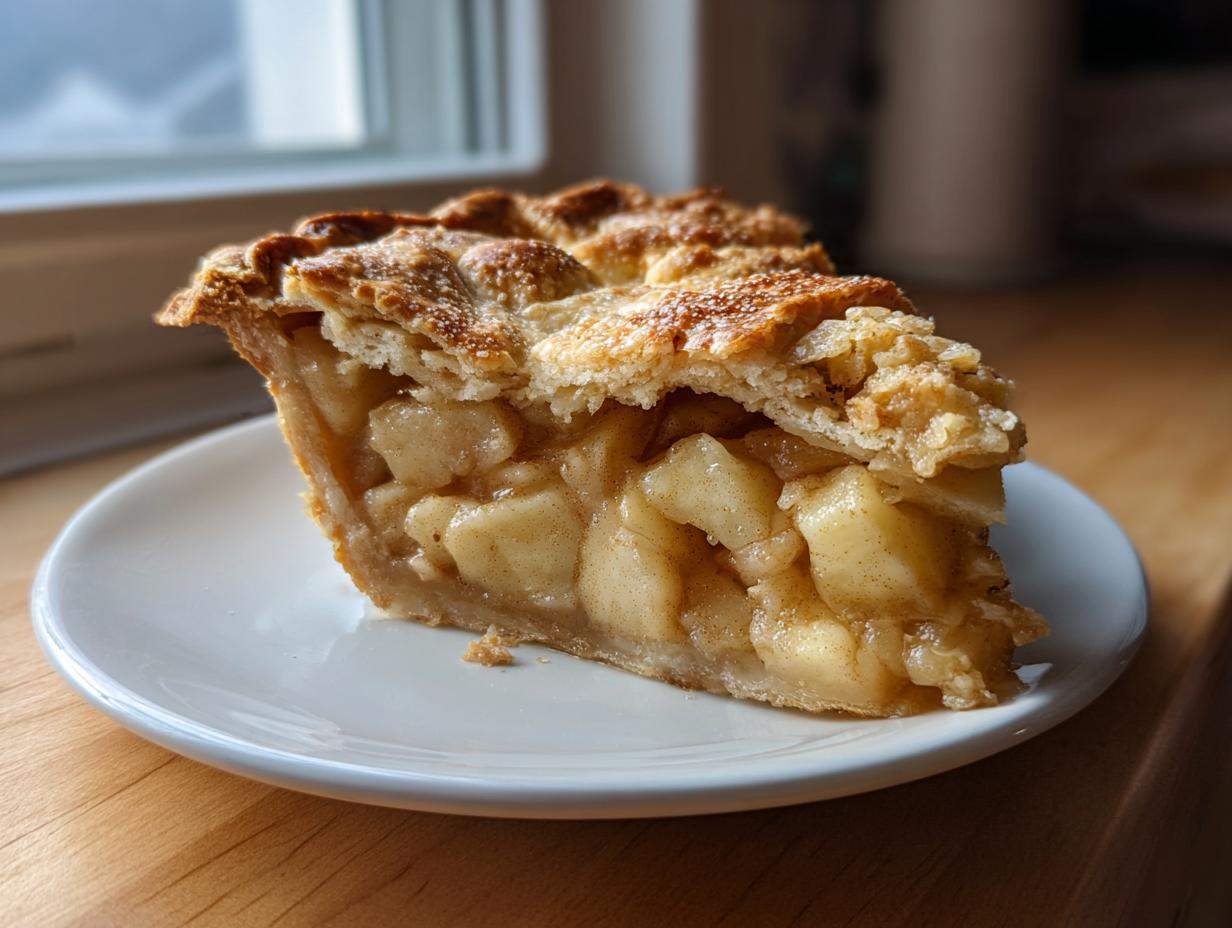
There is just something deeply comforting about a slice of truly homemade dessert, right? Something that smells like home and instantly transports you back to family gatherings. That’s exactly what we are making today! If you’ve been searching everywhere for the best apple pie recipe, stop scrolling right now. This recipe nails that buttery, flaky pie crust we all dream about, paired with a warm, spiced apple filling that sings with cinnamon. Here at CravyBite Kitchen, I, Jess Carter, blend my formal nutrition knowledge with the time-honored techniques I learned growing up. This isn’t just food; it’s tradition made easy for your modern kitchen. Trust me, this Classic Apple Pie is the one that will make everyone ask for the recipe!
- Why This Classic Homemade Apple Pie is Your New Favorite
- Ingredients for the Best Apple Pie Recipe
- Mastering the Flaky Pie Crust for Your Apple Pie
- Creating the Perfect Spiced Apple Filling for Apple Pie
- Step-by-Step Assembly of Your Double Crust Apple Pie
- Baking Instructions for a Golden Apple Pie
- Essential Apple Pie Tips for Success
- Storing and Reheating Your Homemade Apple Pie
- Frequently Asked Questions About Making Apple Pie
Why This Classic Homemade Apple Pie is Your New Favorite
I promise you, this isn’t just another apple pie recipe floating around the internet. This is the recipe that finally cures all apple pie woes! It’s designed specifically so you don’t end up with mushy apples or a soggy bottom, which is my biggest cooking pet peeve.
- Guaranteed Flaky Pie Crust: We use specific techniques to ensure those layers of butter stay intact and flaky every single time.
- Perfectly Balanced Spiced Apple Filling: Sweet, tender, and warmly spiced—never overly sweet.
- That Nostalgia Hit: It tastes exactly like the Old Fashioned Apple Pie you remember from holidays growing up. If you want to twist it up next time, check out my recipe for Apple Pie Cheesecake!
Ingredients for the Best Apple Pie Recipe
Okay, listing out the ingredients is where we build our foundation. If you mess up the starting point, the whole apple pie suffers, right? I’m a big believer in weighing things, but since we’re keeping this accessible, standard measurements will work if you don’t over-scoop that flour! Remember, keeping that butter ice-cold is non-negotiable for that gorgeous flakiness. If you want to practice your frosting skills later, I’ve got a fantastic, stable vanilla buttercream recipe waiting for you!
For the Flaky Pie Crust
- 2 1/2 cups all-purpose flour
- 1 teaspoon salt
- 1 cup (2 sticks) cold unsalted butter, cut into cubes
- 1/2 cup ice water, plus more if needed
For the Spiced Apple Filling
The combination of these two types of apples is my secret weapon for texture and flavor in this homemade apple pie. Granny Smith brings the necessary tartness, and Honeycrisp gives that perfect sweet crunch!
- 6 large Granny Smith apples, peeled, cored, and sliced 1/4-inch thick
- 6 large Honeycrisp apples, peeled, cored, and sliced 1/4-inch thick
- 3/4 cup granulated sugar
- 1/4 cup packed light brown sugar
- 1/4 cup all-purpose flour (this thickens the juices!)
- 1 teaspoon ground cinnamon
- 1/4 teaspoon ground nutmeg
- 1/8 teaspoon ground allspice
- 1 tablespoon lemon juice
- 1 large egg, beaten with 1 teaspoon water (for egg wash)
- 1 tablespoon coarse sugar for sprinkling
Mastering the Flaky Pie Crust for Your Apple Pie
Listen up, because this is where most people fall apart when making a from scratch apple pie. If you want that perfect, shatteringly crisp, buttery crust, you have to treat the dough with respect—and keep it super cold! My background in nutrition taught me about structure, and in pastry, cold fat equals flaky layers. Don’t be shy about putting your ingredients back into the fridge if your kitchen is running warm. If my buttermilk biscuits are anything to go by, cold is key to lift!
Mixing the Dough and Chilling
We whisk the flour and salt together, and then comes the fun part: cutting in the butter. You’re looking for pieces about the size of little peas or small lima beans. Those bigger chunks are vital; when they melt in the hot oven, they steam the dough layers apart, creating that irresistible flakiness. Now, add that ice water *slowly*—seriously, one tablespoon at a time. You stop mixing the *second* the dough holds together when you squeeze a bit. If you keep kneading, you develop gluten, and gluten makes tough pastry, not a lovely flaky pie crust.
Once it’s just combined, we form those two disks, wrap them tight, and they need a long nap in the fridge—at least an hour. This chilling time lets the gluten relax, which makes rolling it out so much easier later!
Creating the Perfect Spiced Apple Filling for Apple Pie
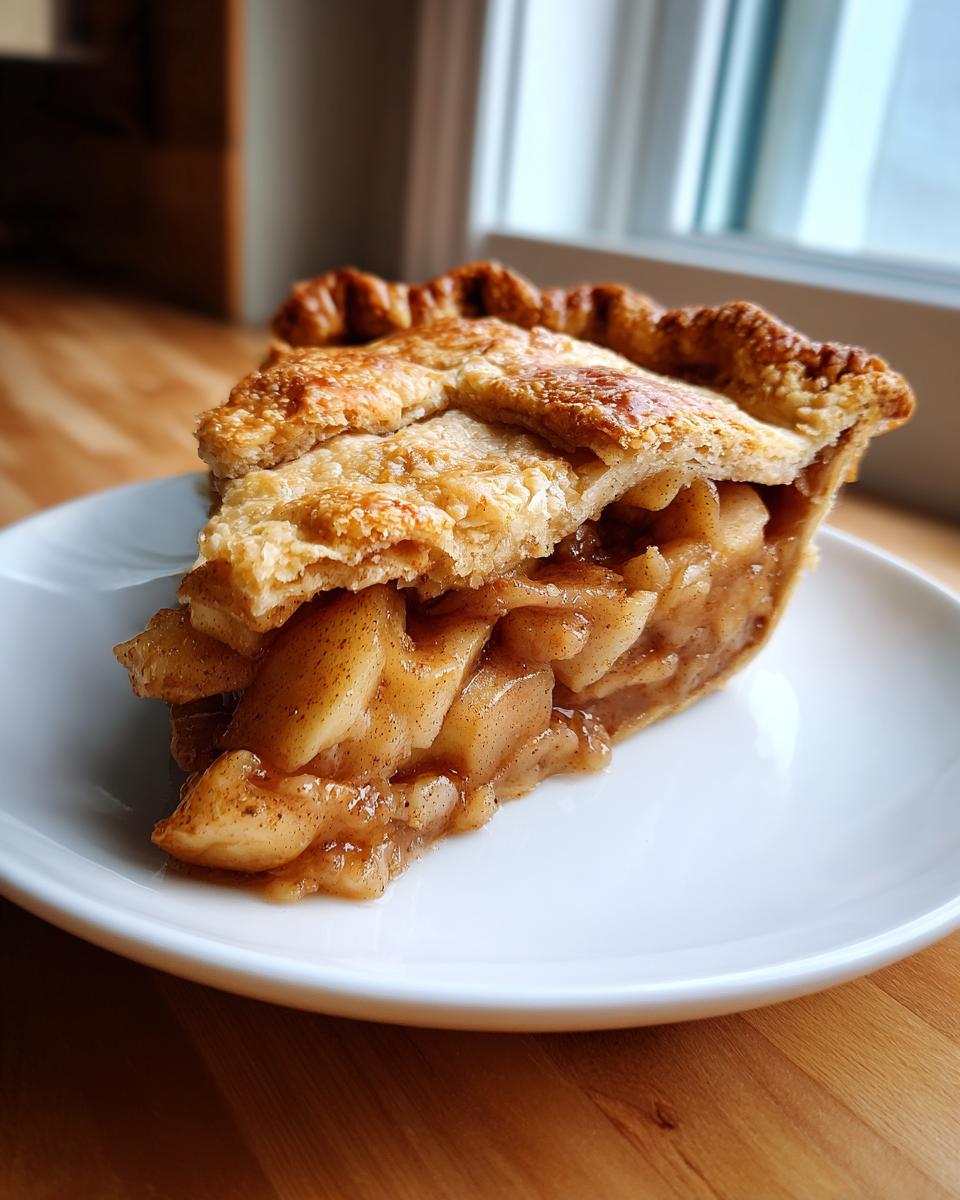
Now that our dough is chilling nicely, let’s tackle the heart of this amazing apple pie: the filling! This is where we fight the notorious soggy bottom monster. We use a blend of Granny Smith and Honeycrisp apples because you need that tartness to cut through the sweetness, and they hold their shape much better than softer varieties. We don’t want apple sauce, we want tender slices!
In a really big bowl—trust me, you need a big one—gently toss those beautiful slices with both sugars, that small amount of flour, and all those warm spices: cinnamon, nutmeg, and allspice. The flour is crucial here; it binds up the delicious juices released during baking, which keeps the bottom crust dry and happy. Toss it all until every piece is coated in that sugary warmth. A quick squeeze of fresh lemon juice brightens everything up beautifully. If you want to see other ways to use up apples, check out my recipe for easy stovetop homemade applesauce, but for the pie, we leave them chunky!
You’ll notice I didn’t pre-cook this filling, unlike some folks who swear by it. I find that cooking the filling right inside the crust gives you the absolute best texture, just like the old-timers used to do. If you are nervous about texture, you can peep The Kitchn’s guide on pre-cooking, but I’m sticking to my double-crust classic here!
Step-by-Step Assembly of Your Double Crust Apple Pie
Alright, the dough is chilled and the filling is mingling, so it’s time for the magic to happen! This is the part that feels the most traditional when making an apple pie from scratch. Remember you chilled two disks? One needs to be slightly bigger because it’s going to be the bottom crust that lines that pie plate.
Rolling, Filling, and Sealing the Apple Pie
Lightly dust your counter—don’t go crazy, just enough so it doesn’t stick—and gently roll out that first disk into about a 12-inch circle. Patience is key here; if the dough fights you, just let it rest for five minutes! Carefully drape that beautiful circle into your 9-inch pie plate. Don’t stretch it; just let it settle in. Trim the edges, leaving about an inch of overhang, and tuck that plate right back into the fridge while you deal with the filling. A cold base keeps things flaky!
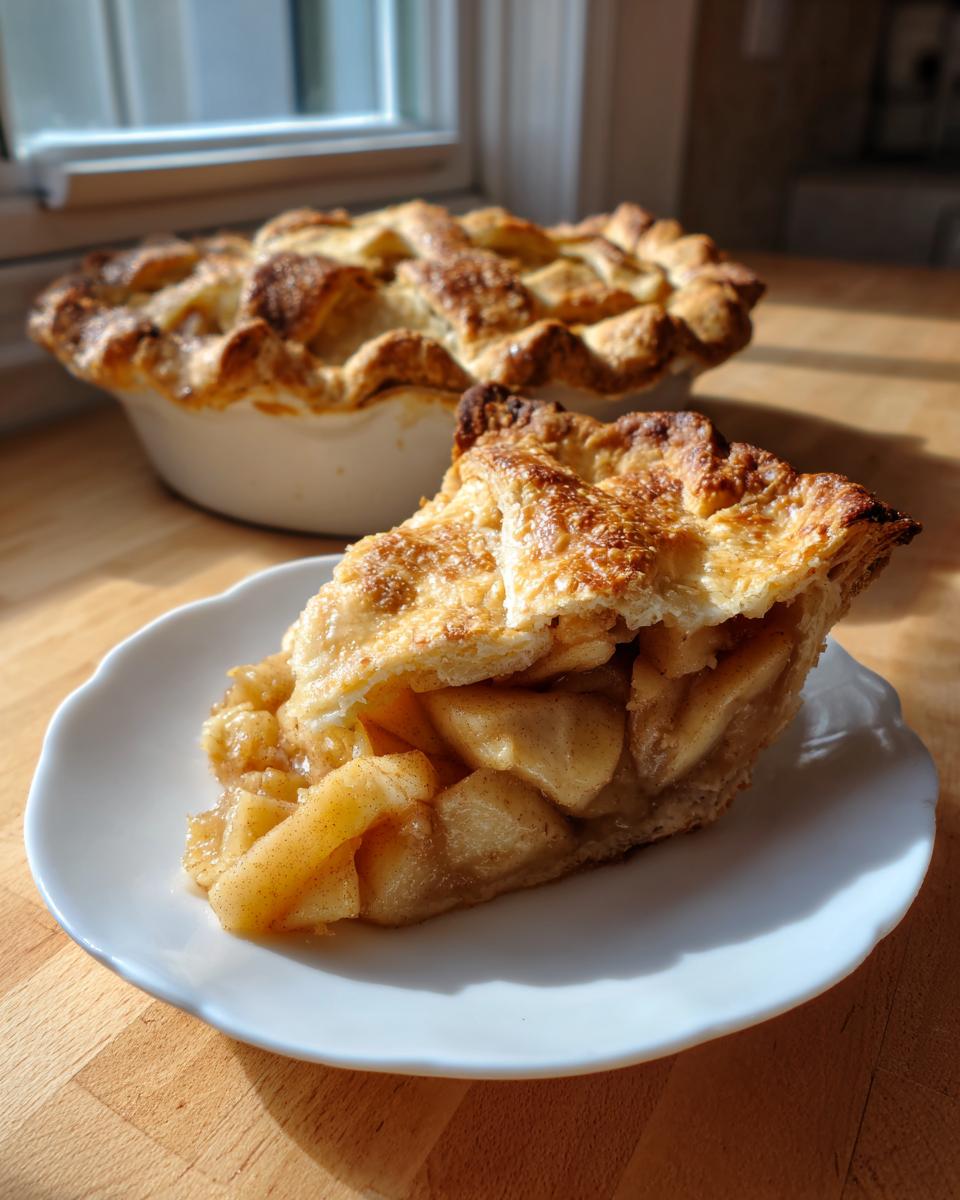
When you’re ready, mound that glorious spiced apple filling into the chilled bottom crust. Really pile those apples up in the middle because they cook down a lot. Now, roll out the second disk. This is your top crust! You can cut a few slits for venting the steam, or if you’re feeling fancy—and you should, because this is the Best Apple Pie Recipe—weave a lattice top. Once the top is on, it’s time to seal it up. Tuck the top edge under the bottom overhang, bring them together, and crimp those edges securely. This seals in all the goodness!
For that gorgeous golden finish that signals a true, bakery-worthy homemade apple pie, brush the entire top surface with your egg wash. Don’t skip this! Then, sprinkle on that coarse sugar. That sparkle and crunch are worth every bit of effort. It’s going to look incredible, just like something pulled straight from a classic cookbook. If you want to try another beautiful crust treatment, you should see how I did the lattice for my chocolate cinnamon rolls, although the pie needs vents, unlike the rolls!
Baking Instructions for a Golden Apple Pie
This is the moment of truth for our beautiful apple pie! We need a two-step temperature dance here to ensure the bottom crust bakes up before the filling releases all its steam, but we also need time for that pastry to turn that perfect golden brown. Preheat your oven high—we’re starting at 425°F (220°C).
Pop the pie onto a sturdy baking sheet first; I learned that lesson the hard way when I had apple juice bubbling all over my oven floor! Bake it hot for the first 15 minutes. Then, immediately drop the temperature down to 375°F (190°C) and let it cruise for another 45 to 55 minutes. The filling should be bubbling like crazy when it’s done.
Now, here’s a little expert secret for maintaining that beautiful crimped edge: watch the browning! If those pretty edges start looking too dark before the filling is done, grab a little strip of foil and loosely shield just the rim. It’s a pro move that keeps everything looking picture-perfect. Honestly, learning those small timing adjustments is what takes a good pie to a great one. If you ever want to try a faster pastry, my easy puff pastry recipe is great, but for this classic double crust, patience pays off!
Essential Apple Pie Tips for Success
Look, knowing the steps is one thing, but knowing the little secrets? That’s what makes a good apple pie truly the best one people have ever tasted. I’ve learned a few things coaching readers through this recipe, and these tips will make sure your pie gets that immediate applause at the dessert table.
First, let’s talk apples again. You absolutely must use a combination of tart and sweet—Granny Smith for structure and zest, Honeycrisp for that easy sweetness. Never, ever use a soft apple, or you’ll end up with soup instead of filling! If you are aiming for that authentic, old-timey feel of an Old Fashioned Apple Pie, grinding your own cinnamon fresh smells incredible, though I know that’s extra work.
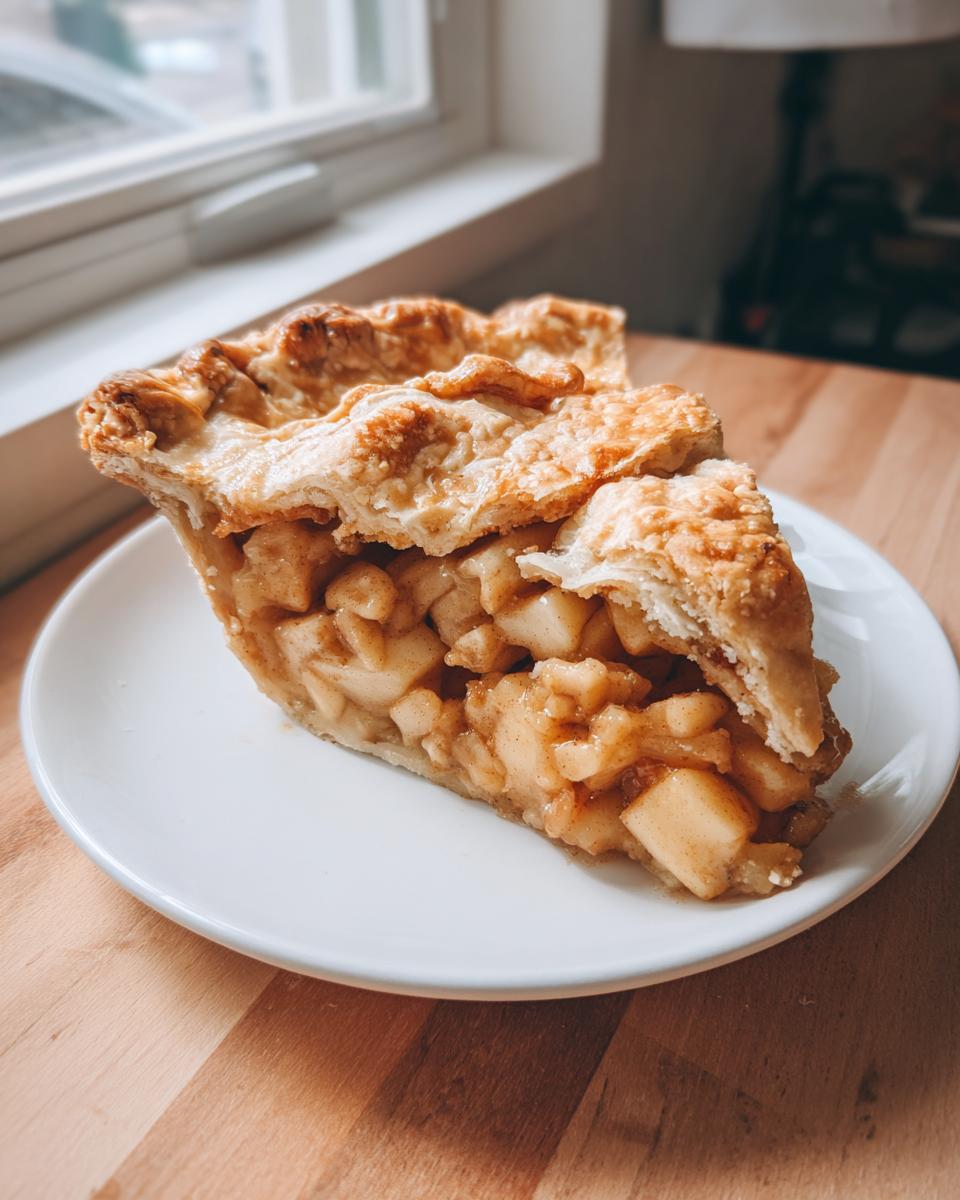
The single biggest mistake people make, even after baking, is trying to slice it too soon! You have to let your homemade apple pie cool completely, right? That means three to four hours on the rack. That step is non-negotiable for setting the filling properly so it doesn’t run out the bottom. If you want to try a different structure later, my Apple Pie Cheesecake is a fun way to get that flavor profile without the pastry stress.
If you want to go really deep into balancing the apple juices versus avoiding that dreaded soggy bottom, you should look up The Kitchn’s deep dive on filling prep. But staying true to this recipe, the combination of flour in the mix and that crucial cooling time does the trick every time for me!
Storing and Reheating Your Homemade Apple Pie
Okay, you successfully baked the best apple pie ever. Congratulations! Now we have to make sure we keep it perfect until we get to eat that second slice, because let’s be real, there’s always a second slice.
The cooling process is the first part of storage, and I can’t stress this enough: once it’s cool enough to handle, it’s best stored right on the counter, loosely covered with foil or a cake dome. Since this pie doesn’t have a dairy-based glaze (like a cream cheese frosting), it sits perfectly fine at room temperature for about two full days. Keeping it in the fridge, especially if you went for a full double crust, can sometimes make that lovely, flaky pastry a little less crisp. It breaks my heart to see that buttery crust get soft!
If you need it to last longer than that, you can absolutely freeze it! Let the whole apple pie cool completely—and I mean completely, or you’ll get ice crystals—wrap it tightly in a couple of layers of plastic wrap, and then foil. It freezes beautifully for up to three months. If you made my savory French Onion Dip last week, you know I value leftovers, and this pie stores just as well!
When you are ready to enjoy that frozen slice, the reheating is key. Do NOT microwave it unless you enjoy rubbery pastry. Instead, wrap your slice loosely in foil and pop it into a 350°F oven for about 15 to 20 minutes. This warms the spiced apple filling right back up while gently crisping that crust again. It tastes like it just came out of the oven. That warm cinnamon aroma filling your house again? Pure magic.
Frequently Asked Questions About Making Apple Pie
I know tackling a classic like a double-crust apple pie can feel a little intimidating, even with a reliable recipe! If you still have questions buzzing around while your kitchen cools down, don’t worry. I’ve gathered the most common concerns I hear from folks trying this recipe for the first time. We’re covering everything from apple choices to the agonizing wait time! Sometimes figuring out the little things just takes a little coaching, which is why I always link to my easy baking recipes section for extra help!
What is the best type of apple for an apple pie?
This is my favorite question! You need a mix, honestly. You can’t just use sweet apples, or the whole thing turns into mushy baby food. I insist on mixing a tart variety, like Granny Smith, with a firmer, slightly sweeter apple like Honeycrisp or Braeburn. The tartness balances the sugar, and the differing textures mean you get those lovely, distinct apple slices in the final product instead of just apple goo. That mix is what made my homemade apple pie what it is today!
Can I use store-bought crust for this apple pie recipe?
Look, if you’re aiming for Easy Apple Pie status for a weeknight treat, absolutely go for a quality store-bought crust! I totally get it; sometimes you just need a shortcut to get that dessert on the table. My recipe is written for a from-scratch crust because I love the flavor, but if you use a good, all-butter commercial pastry, it will still be delicious. Just make sure you still brush it with the egg wash for color!
How long must the apple pie cool before slicing?
This is the hardest step, I know! You pull that masterpiece out of the oven, it smells like heaven, and you want that first warm slice right away. But please, trust me on this: You must let the apple pie cool for a minimum of three to four hours on a wire rack. If you cut it sooner, all that sugary, thickened juice hasn’t had time to set up yet. The result? It runs everywhere, giving you that soggy bottom you were trying to avoid! Wait thirty minutes longer, and you get clean, perfect slices every time.
Print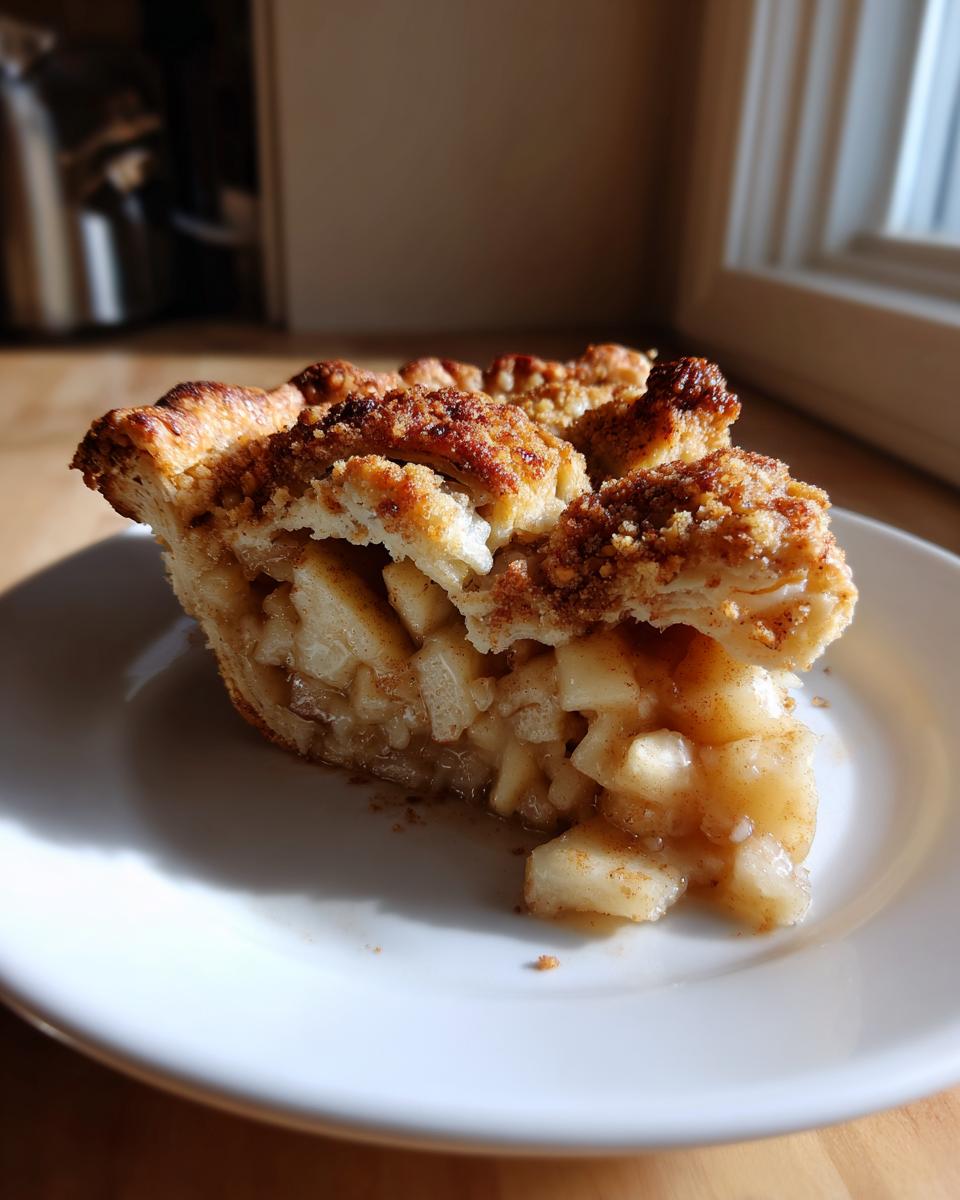
The Best Classic Homemade Apple Pie Recipe with Flaky Crust
Follow this recipe to make the best homemade apple pie, featuring a buttery, flaky double crust and a perfectly spiced, tender apple filling. This recipe honors traditional American home cooking.
- Prep Time: 45 min
- Cook Time: 70 min
- Total Time: 3 hr 55 min
- Yield: 8 servings 1x
- Category: Dessert
- Method: Baking
- Cuisine: American
- Diet: Vegetarian
Ingredients
- 2 1/2 cups all-purpose flour
- 1 teaspoon salt
- 1 cup (2 sticks) cold unsalted butter, cut into cubes
- 1/2 cup ice water, plus more if needed
- 6 large Granny Smith apples, peeled, cored, and sliced 1/4-inch thick
- 6 large Honeycrisp apples, peeled, cored, and sliced 1/4-inch thick
- 3/4 cup granulated sugar
- 1/4 cup packed light brown sugar
- 1/4 cup all-purpose flour
- 1 teaspoon ground cinnamon
- 1/4 teaspoon ground nutmeg
- 1/8 teaspoon ground allspice
- 1 tablespoon lemon juice
- 1 large egg, beaten with 1 teaspoon water (for egg wash)
- 1 tablespoon coarse sugar for sprinkling
Instructions
- Prepare the Flaky Pie Crust: In a large bowl, whisk together the flour and salt. Cut in the cold butter using a pastry blender or your fingers until the mixture resembles coarse crumbs with some pea-sized pieces of butter remaining. Gradually add the ice water, one tablespoon at a time, mixing until the dough just comes together. Do not overmix. Divide the dough in half, form each half into a disk, wrap in plastic wrap, and chill for at least 1 hour.
- Prepare the Spiced Apple Filling: In a separate large bowl, gently toss the sliced apples with the granulated sugar, brown sugar, flour, cinnamon, nutmeg, allspice, and lemon juice until the apples are evenly coated. Set aside while you roll out the bottom crust.
- Assemble the Bottom Crust: On a lightly floured surface, roll out one disk of dough into a 12-inch circle. Carefully transfer the dough to a 9-inch pie plate. Trim the edges, leaving a 1-inch overhang. Place the pie plate in the refrigerator while you prepare the top crust.
- Assemble the Pie: Pour the spiced apple filling into the chilled bottom crust, mounding the apples slightly in the center.
- Prepare the Top Crust: Roll out the second disk of dough. You can cut vents, create a lattice top, or place the full circle over the filling. Crimp the edges of the top and bottom crusts together to seal. Brush the top crust with the egg wash and sprinkle evenly with coarse sugar.
- Bake the Apple Pie: Preheat your oven to 425°F (220°C). Place the pie on a baking sheet to catch any drips. Bake for 15 minutes at 425°F. Then, reduce the oven temperature to 375°F (190°C) and continue baking for 45 to 55 minutes, or until the crust is golden brown and the filling is bubbly. If the edges brown too quickly, cover them loosely with foil strips.
- Cool Completely: Remove the apple pie from the oven and let it cool on a wire rack for at least 3 to 4 hours before slicing. This step is necessary for the filling to set properly and prevent a soggy bottom.
Notes
- For the flakiest crust, keep all your butter and water extremely cold.
- If you prefer a Dutch Apple Pie, skip the top crust and egg wash, and instead top the filling with a streusel topping made from 1 cup flour, 1/2 cup brown sugar, 1/2 cup rolled oats, and 1/2 cup cold butter cut in until crumbly.
- Use a mix of tart and sweet apples, like Granny Smith and Honeycrisp, for the best flavor balance.
Nutrition
- Serving Size: 1 slice
- Calories: 450
- Sugar: 35g
- Sodium: 250mg
- Fat: 25g
- Saturated Fat: 15g
- Unsaturated Fat: 10g
- Trans Fat: 0.5g
- Carbohydrates: 58g
- Fiber: 4g
- Protein: 5g
- Cholesterol: 60mg