
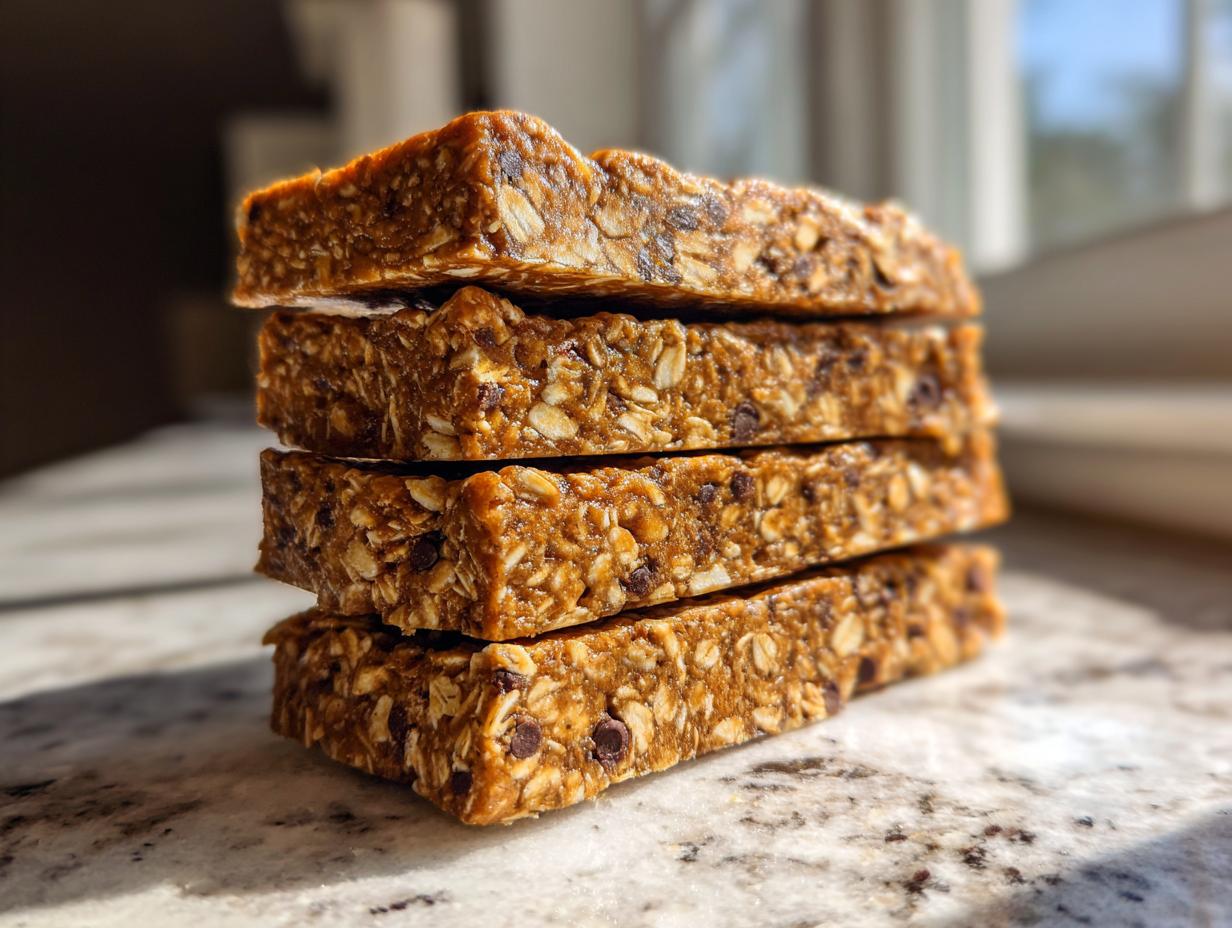
Are you tired of staring at pricey, cellophane-wrapped convenience foods, hoping one of those store-bought protein bars actually tastes good? I know I was! When I started craving something truly satisfying—something chewy, nutrient-dense, and without a truckload of artificial junk—I went straight back to basics. That’s why I’m sharing my absolute favorite solution: the Easy 5-Ingredient No-Bake Peanut Butter Protein Bars recipe.
Here at CravyBite Kitchen, we are all about making real food that fits into real life. Even though I’ve got years of background in nutrition and dietetics, I firmly believe that healthy eating shouldn’t feel like a chore. This recipe is pure Jess Carter magic—it’s reliable, it’s fast, and it tastes way better than anything you’ll find on the checkout aisle. If you want to know more about the philosophy that guides these recipes, you can always check out our story on the About Us page. Seriously, these grab-and-go snacks are the perfect answer for anyone needing quick, high-protein fuel without messing with the oven.
- Why You Need These Easy Homemade Protein Bars
- Ingredients for the Best No Bake Protein Bars
- Step-by-Step Instructions to Make Your Protein Bars
- Expert Tips for Perfect Homemade Protein Bars
- Ingredient Notes and Substitutions for Your Protein Bars
- Storing and Making Ahead Your Protein Bars for Meal Prep
- Customizing Your Peanut Butter Protein Bars Recipe
- Frequently Asked Questions About Homemade Protein Bars
- Nutritional Snapshot of These High Protein Snacks
- Nutritional Snapshot of These High Protein Snacks
Why You Need These Easy Homemade Protein Bars
I’ve got a drawer full of sad protein bars that I bought in a pinch, and trust me, you don’t need that kind of chaos in your life. These homemade protein bars are the hero your busy schedule needs. They are honestly the best thing to whip up when you realize you need snacks for the week!
What makes this recipe so essential? Well, they tick every box you could possibly have when looking for a quick protein snack:
- No-Bake Magic: We aren’t turning the oven on, ever. Seriously, 10 minutes of mixing, and you’re done. Clean up is a breeze, too!
- Five Ingredients Maximum: If a recipe calls for 15 ingredients, I’m probably skipping it for a Tuesday. This one keeps things simple and pure.
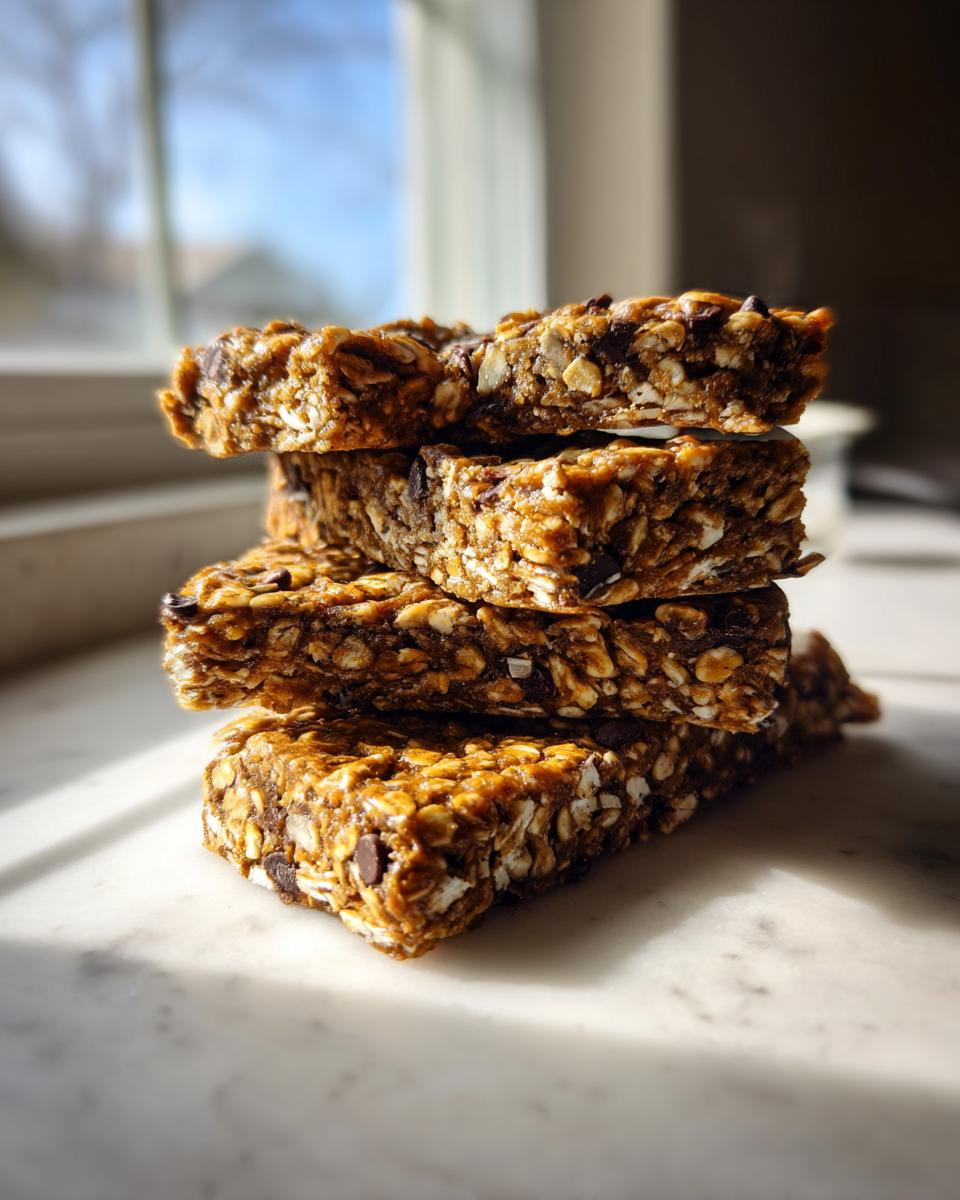
- The Texture You Crave: Forget those dry, chalky things. These are perfectly chewy and satisfying—they hold together beautifully in your lunch bag.
- Perfect Meal Prep Base: Make a batch on Sunday, and you’ve got fuel ready for work meetings, gym sessions, or just surviving the afternoon slump. You can check out some other easy ways to meal prep on my quick dinner page for more time-saving tips!
Ingredients for the Best No Bake Protein Bars
You won’t believe how minimal the ingredient list is for these awesome no bake protein bars. When I say simple, I mean simple! We’re focusing on getting that perfect texture and solid protein hit without needing fancy extracts or powders beyond your basic protein source. Keep these five core items stocked, and you’re set for the week. If you need a quick little boost, you might also love checking out how I make my no-bake protein balls!
Here is exactly what you need:
- 1 cup rolled oats – I use the old-fashioned kind, nothing instant here!
- 1 cup natural peanut butter (or other nut/seed butter) – The creamy, natural kind works best for binding!
- 1/2 cup protein powder – Vanilla or totally unflavored whey or plant-based works just fine.
- 1/3 cup honey or maple syrup – This is our binder and sweetener, see notes for swaps!
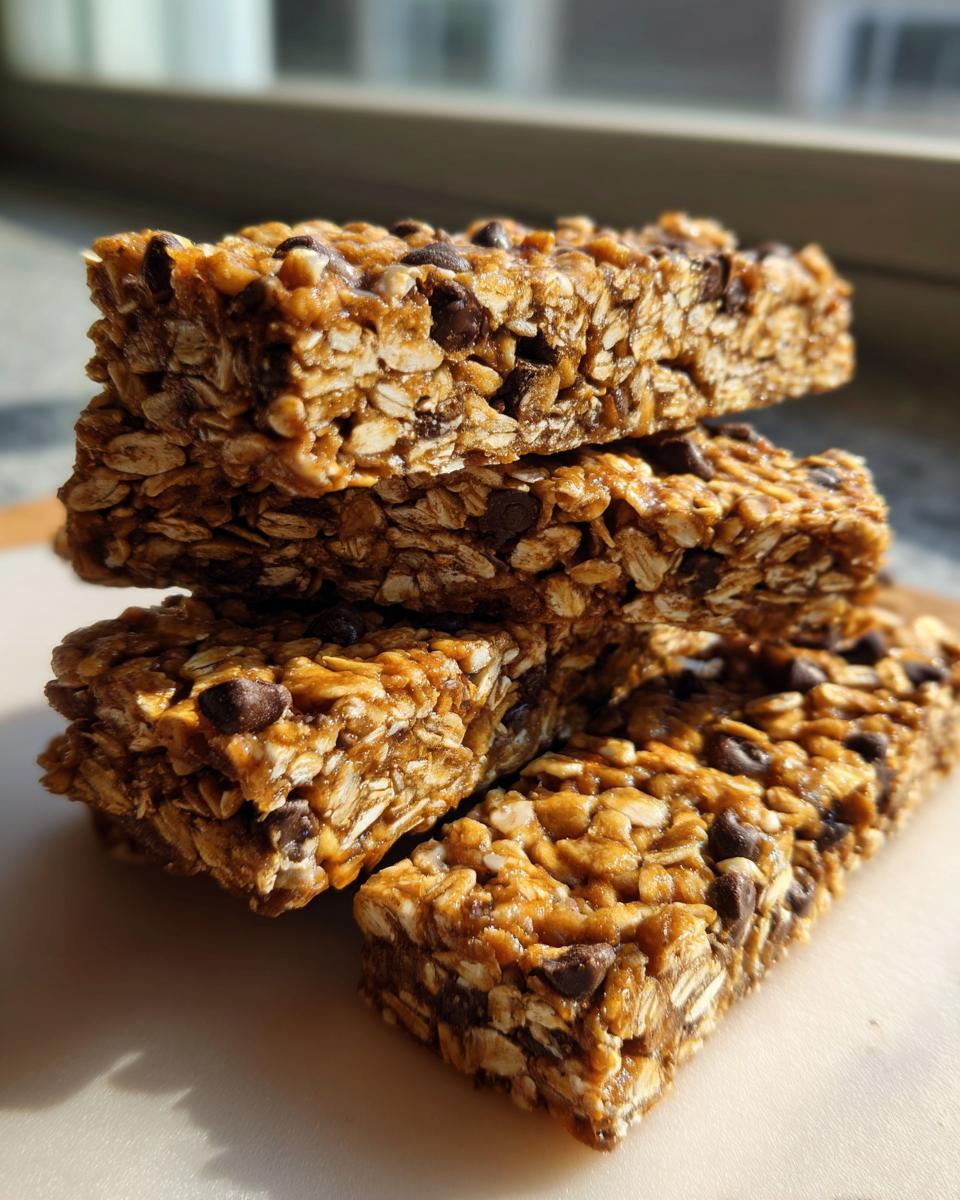
- 1/4 cup mini chocolate chips – This one is totally optional if you want to keep it bare-bones, but wow, do they make it better.
That’s it! Five ingredients that come together to make the fuel you need. They are so much better than anything you have to order online when you need a quick fix.

Step-by-Step Instructions to Make Your Protein Bars
Look, these are no-bake, which automatically puts them in the ‘easy’ category, but there are a couple of spots where you need to be deliberate so you don’t end up with crumbling oat dust later. We are aiming for that perfect, dense, pliable texture that makes protein bars so satisfying to grab on the go. Don’t rush the chilling part; that’s key!
Preparing the Pan and Dry Mix
First things first, you need to get your structure ready. Take an 8×8 inch pan and line it completely with parchment paper. This is the easiest trick in the book! Make sure you let the paper hang over two opposite sides—that overhang is what you’ll use later to lift the entire block straight out. Next, in your big mixing bowl, toss in your rolled oats, your protein powder, and those optional mini chocolate chips. Give those dry ingredients a good whisk or stir until everything is evenly distributed. We don’t want a pocket of pure powder sitting at the bottom, right?
Mixing and Pressing the Protein Bars Dough
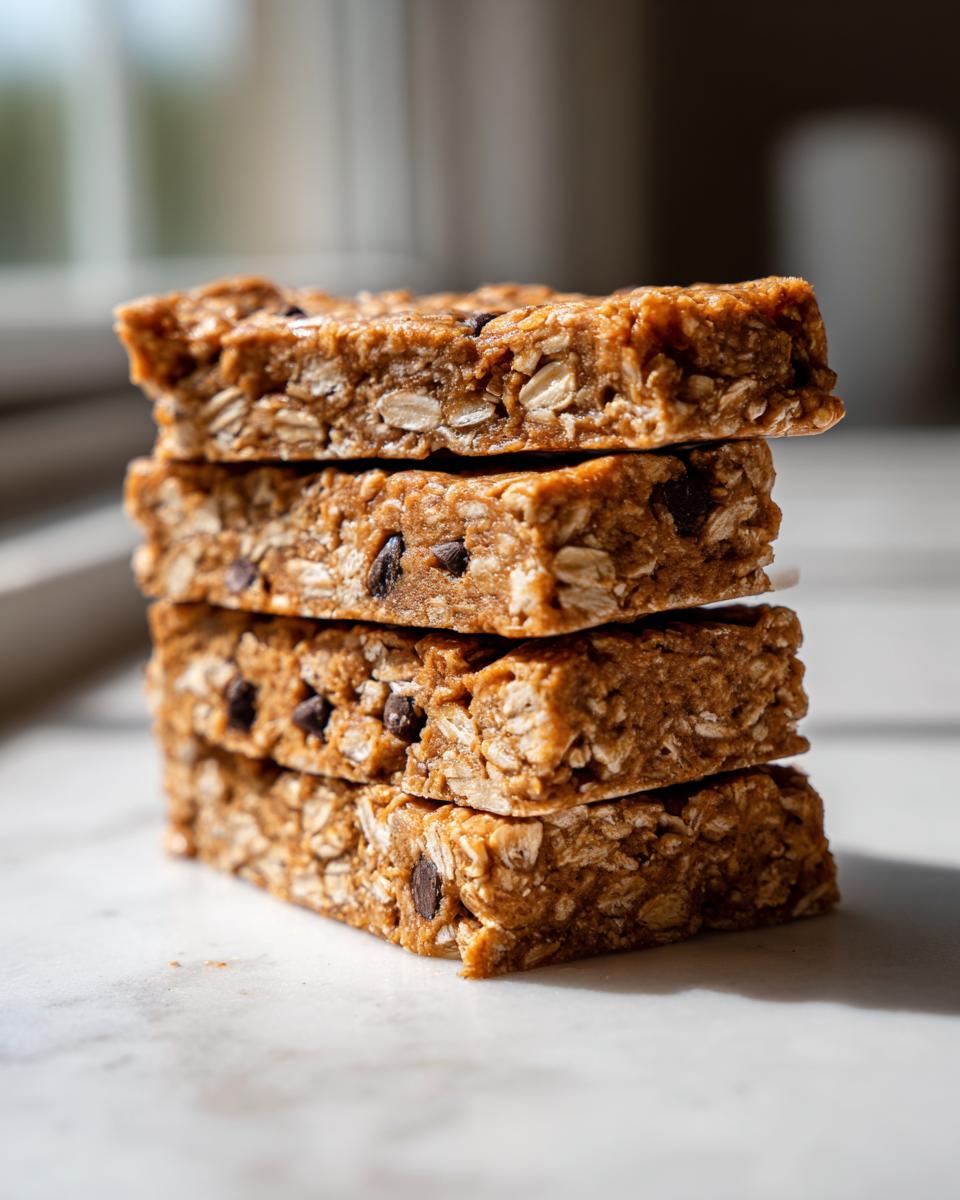
Time for the wet stuff! Add in your creamy peanut butter and your honey or maple syrup. Now, you need to mix this well. Initially, it feels like it won’t ever come together, but keep stirring—use a sturdy spoon or even just your hands! You are looking for a thick, uniform dough that actually clumps when you squeeze it. If it’s too dry and crumbly, stop and add liquid a tiny bit at a time (I use a teaspoon of water, see the notes!). Once it holds together, plop that whole mixture into your prepared pan. Use the back of a spatula, or even just clean hands, to press it down really firmly and evenly across the bottom. You need to compact it! A firm press now is what guarantees you get those wonderfully chewy protein bars once they set up.
Chilling and Cutting Your Easy Protein Bars
This is where the patience comes in, but it’s totally hands-off time. Transfer that compressed dough into the refrigerator. You absolutely must let it chill for at least one full hour. If you try to cut them too soon, they’ll just squish everywhere. Once they are firm to the touch, use those parchment overhangs to lift the whole block out onto a cutting board. Now, go ahead and slice it into 10 or 12 neat little squares. If you want to see more ideas for fast, fueling snacks, take a peek at my favorite healthy breakfast ideas list!
Expert Tips for Perfect Homemade Protein Bars
Listen, even with a simple recipe like this, sometimes things feel a little… off. That’s normal! When you’re making homemade protein bars, a little adjustment goes a long way toward achieving that perfect, satisfyingly chewy protein bars texture we love. I always refer back to the troubleshooting notes I keep written right on my recipe card.
For instance, the nut butter matters a ton. You want that natural, creamy kind—the one where the oil separates a little? That’s the stuff that binds best. If your mixture looks way too dry or crumbly when you try to combine everything, don’t panic and don’t throw it out! Just add liquid a tiny teaspoon at a time. I usually reach for water or a splash of unsweetened almond milk until that dough just starts to feel cohesive in your hands. This small step ensures you get solid high protein snacks that don’t shatter when you toss them in your lunch bag.
Also, make sure you press HARD when you pack the dough into the pan. Seriously, use shoulder strength for those last few presses! That compression is what guarantees a dense, chewy bar instead of a loose, crumbly cluster. If you want even more ideas for packing healthy lunches, check out these simple lunch recipes I rely on during busy weeks!
Ingredient Notes and Substitutions for Your Protein Bars
You might need to mix things up based on what you have, or maybe you’re trying to make these work for a specific diet, and that’s totally fine! I always tell people that the base of these protein bars is super flexible, which is part of why they are so amazing.
If you are looking for a lower sugar option, you can definitely swap the honey or maple syrup for a sugar-free syrup. Just throw it in just like you would the honey, but watch the consistency—you might need a tiny bit less liquid overall. For my vegan friends, using maple syrup instead of honey makes these 100% vegetarian-friendly, and using a plant-based protein powder keeps them totally vegan. Super easy switch!
And don’t worry about the peanut butter! If you can’t do peanuts, almond butter or even sunflower seed butter works beautifully in these formulas—it just changes the flavor profile a bit. I promise they still come out perfectly bound and chewy. If you ever have questions about adapting a recipe, please don’t hesitate to reach out on our contact page!
Storing and Making Ahead Your Protein Bars for Meal Prep
This is where these bars really shine for folks like me who need to stay organized! Since these are no-bake, they rely on the chill factor to keep them perfectly dense and chewy. That means they are absolutely fantastic for meal prepping. You make one batch, and suddenly, you have snacks sorted for the next week or more!
Here’s the deal on storage: Keep your protein bars in an airtight container. I usually layer them with a small piece of parchment paper between layers just to make sure they don’t stick together once they get super cold. Store them right there in the refrigerator. They will stay perfectly fresh and firm for up to two full weeks! Honestly, they are the ultimate grab and go breakfast bars when you’re running out the door because there’s zero fuss in the morning. If you are looking for other easy freezer-friendly ideas, you have to check out how I make these amazing puff pastry croissants!
Customizing Your Peanut Butter Protein Bars Recipe
The beauty of these homemade protein bars is they are a fantastic base for experimentation! We nailed the peanut butter version, but don’t stop there. If you want that extra nutritional boost, try stirring in a tablespoon of ground flax seed or chia seeds right when you mix the dry ingredients. It adds healthy fats and fiber without messing up the texture too much.
Want a different vibe? If you used vanilla protein powder in the base recipe, try swapping it for a chocolate flavor! Suddenly, you have a rich, dark bar that feels totally different. If you want to take it next level and make a true copycat protein bars experience, you can melt a little low-sugar dark chocolate and drizzle it right over the top after you press them into the pan, but before chilling. Just a thin layer makes them feel super decadent! These flavor tweaks mean you never have to get bored.
For more fun, flavor-packed ideas that still keep things healthy, you absolutely need to try my chocolate cherry cookies recipe—they are surprisingly good for you!
Frequently Asked Questions About Homemade Protein Bars
I know you might have a few more pressing questions about getting these protein bars just right. I’ve put together answers to the things I get asked about the most, especially concerning substitutions and, importantly, texture!
Can I bake these no-bake protein bars?
Well, you can, but honestly, why would you? The whole point of this recipe is the super quick, no-bake charm! Baking them changes the texture completely. They’ll likely get harder and significantly drier because the oats will toast and the protein powder changes structure when heated. Stick to the chill method for that chewy texture you want for your healthy protein snacks.
What kind of protein powder works best for these protein bars?
That’s a great question, and it impacts everything! I usually default to a quality vanilla or unflavored whey protein because it blends really smoothly. If you use plant-based protein, just check the bag—some of them are much more absorbent than whey. If your mix seems super dry, add a teaspoon of water or milk until it binds. A vanilla flavor is neutral, but chocolate powder works too if you want a deeper flavor profile in your homemade protein bars!
How do I make these low carb or keto-friendly?
Since we use honey or maple syrup, they aren’t naturally low-carb, but you can absolutely adapt them! The key is swapping the binder. Instead of honey, look for a zero-calorie syrup like Monk Fruit or a Keto-specific syrup blend. You might need to increase the nut butter slightly because those syrups don’t bind quite the same way. If you skip the oats, you’re heading down a different path, but for this oat base, swapping the sweetener is the easiest way to make them a lower-sugar option.
Help! Why are my homemade protein bars so crumbly?
Almost always, crumbly bars mean one of two things, or both! First, you didn’t use enough binder (the peanut butter and syrup combo). Don’t be shy when mixing! Second, and this is crucial, you didn’t press them firmly enough into the pan. You need to really compact that mixture down so the particles stick together. That pressure is what replaces the need for baking to set the structure of your incredible high protein snacks!
If you have any other technical recipe questions, you can review our full policy statements, or feel free to reach out directly to me!
Nutritional Snapshot of These High Protein Snacks
When we talk about making real food, we aren’t just talking about taste; we are talking about knowing exactly what you are putting into your body. That’s where my nutrition background really comes in handy! I like to know the numbers, even when I’m keeping things super simple with these protein bars.
Here is a general guide for what you can expect from one bar, based on the exact ingredients listed, using standard whey protein and honey. Remember, if you swap out the peanut butter for almond butter or use a zero-calorie sweetener, these numbers will shift!
- Serving Size: 1 bar (Cut into 10 servings)
- Calories: About 240
- Protein: A solid 15 grams!
- Sugar: Around 8g (mostly from the honey)
- Fat: Approximately 14g
This is what I mean by balanced fuel; you get a good hit of protein to keep you full alongside those complex carbs from the oats. These metrics show exactly why these bars are a fantastic alternative to many store-bought options when you are looking for healthy protein bars recipe staples for your high protein meal prep!
PrintEasy 5-Ingredient No-Bake Peanut Butter Protein Bars
Make satisfying, chewy homemade protein bars without turning on your oven. This simple recipe uses five core ingredients for a high-protein snack perfect for meal prepping.
- Prep Time: 10 min
- Cook Time: 0 min
- Total Time: 70 min
- Yield: 10 servings 1x
- Category: Snack
- Method: No-Bake
- Cuisine: American
- Diet: Vegetarian
Ingredients
- 1 cup rolled oats
- 1 cup natural peanut butter (or other nut/seed butter)
- 1/2 cup protein powder (vanilla or unflavored whey/plant-based)
- 1/3 cup honey or maple syrup
- 1/4 cup mini chocolate chips (optional add-in)
Instructions
- Line an 8×8 inch baking pan with parchment paper, leaving an overhang on two sides for easy removal.
- In a large bowl, combine the rolled oats, protein powder, and chocolate chips, if using. Mix these dry ingredients well.
- Add the peanut butter and honey (or maple syrup) to the bowl.
- Mix all ingredients together using a sturdy spoon or your hands until a thick, uniform dough forms. The mixture should hold together when pressed.
- Transfer the dough mixture into the prepared pan. Press it down firmly and evenly into the bottom of the pan using the back of a spatula or your fingers. Make sure the surface is compact for chewy protein bars.
- Place the pan in the refrigerator and chill for at least 1 hour, or until the bars are firm enough to cut cleanly.
- Lift the block of bars out of the pan using the parchment paper overhang. Cut into 10 or 12 equal bars.
- Store your homemade protein bars in an airtight container in the refrigerator for up to two weeks.
Notes
- For a lower sugar option, substitute the honey/maple syrup with a sugar-free syrup alternative, adjusting the liquid slightly if the mixture seems too dry.
- If you want a copycat Perfect Bar texture, ensure your nut butter is natural and creamy, not the stiff, separated kind.
- You can substitute peanut butter with almond butter or sunflower seed butter for variety.
- If the mixture is too crumbly, add one teaspoon of water or milk at a time until it binds together properly.
Nutrition
- Serving Size: 1 bar
- Calories: 240
- Sugar: 8g
- Sodium: 110mg
- Fat: 14g
- Saturated Fat: 3g
- Unsaturated Fat: 11g
- Trans Fat: 0g
- Carbohydrates: 20g
- Fiber: 3g
- Protein: 15g
- Cholesterol: 0mg