
We’ve all been there, right? You pull that perfectly shaped chicken breast out of the skillet, excited for dinner, only to find the outside is gorgeous, but the inside is dry? It’s the absolute worst kitchen tragedy! But don’t you worry about that anymore. I’m sharing the exact, no-fail method here for true, honest-to-goodness pan seared chicken that gives you that deep, savory crust *and* keeps every single drop of moisture locked inside. That’s my promise to you. Here at CravyBite Kitchen, Jess Carter is serious about making sure your simple weeknight meals are both spectacular and reliable. We skip the tricks and stick to technique, making sure you get the results you expect every time you turn on the stove. If you’re looking for those quick easy weeknight dinners that truly work, you’ve found your go-to guide.
- Why This Is the Best Pan Seared Chicken Recipe (EEAT Focus)
- Essential Ingredients for Flavorful Pan Seared Chicken
- Step-by-Step Instructions: How to Cook Chicken in a Skillet
- Tips for Foolproof Pan Seared Chicken Success
- Making a Quick Pan Sauce After Your Pan Seared Chicken
- Serving Suggestions for Your Golden Brown Seared Chicken
- Storage and Reheating Instructions for Leftover Pan Seared Chicken
- Frequently Asked Questions About Skillet Chicken
- Nutritional Estimates for This Easy Stovetop Chicken Dinner
Why This Is the Best Pan Seared Chicken Recipe (EEAT Focus)
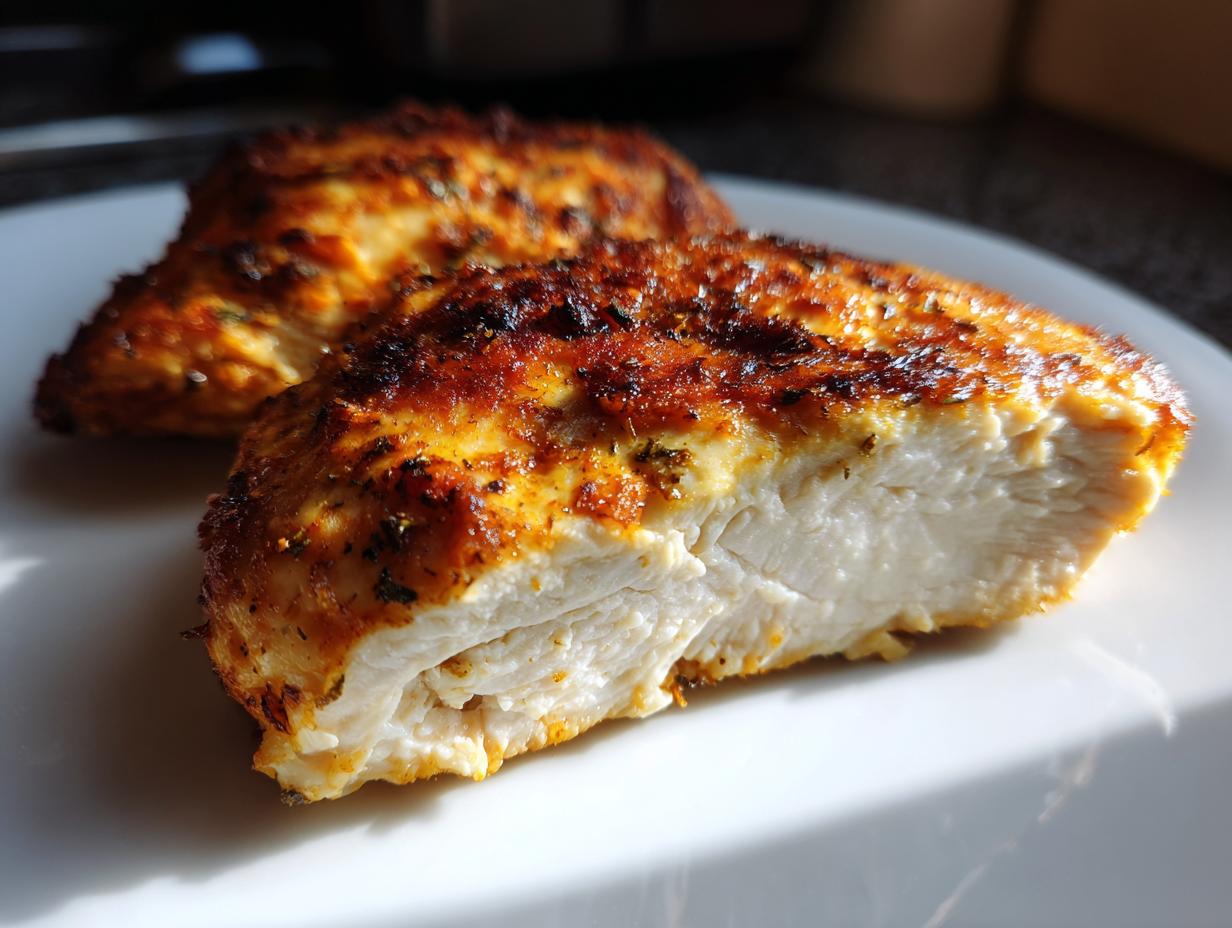
Honestly, there are a million ways to cook a chicken breast, but focusing on the proper technique is what separates a good dinner from a truly great one. This is why I call this the Best pan seared chicken recipe—it’s about control! We nail down three main things: completely dry chicken, getting that oil shimmering hot, and then managing the heat perfectly once the flipping happens. That’s the secret to that beautiful crust you keep searching for. Because Jess has that background in nutrition, you know I obsess over cooking things safely to 165 degrees, which is the foundation of this Juicy pan seared chicken breast technique.
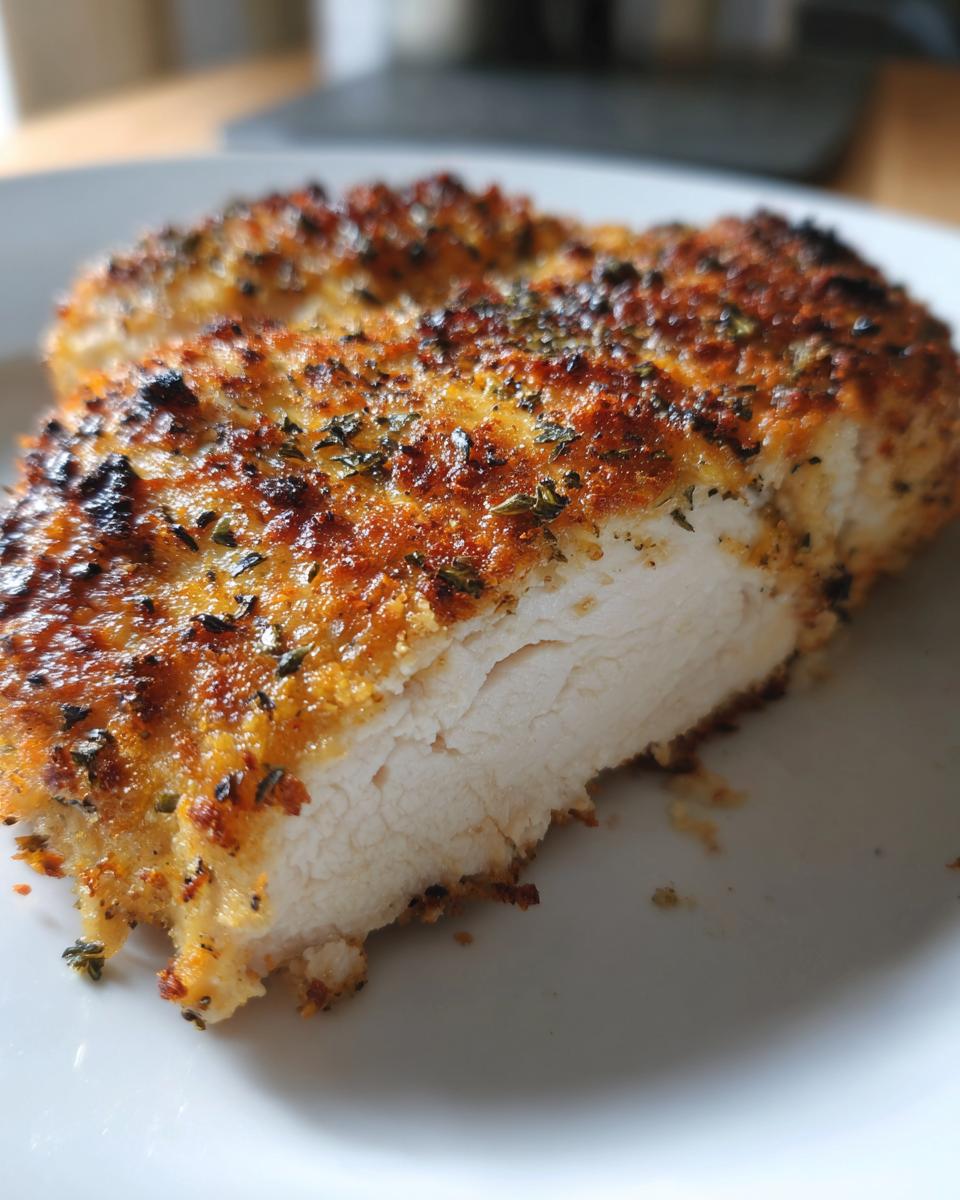
Achieving That Perfect Golden Brown Seared Chicken Crust
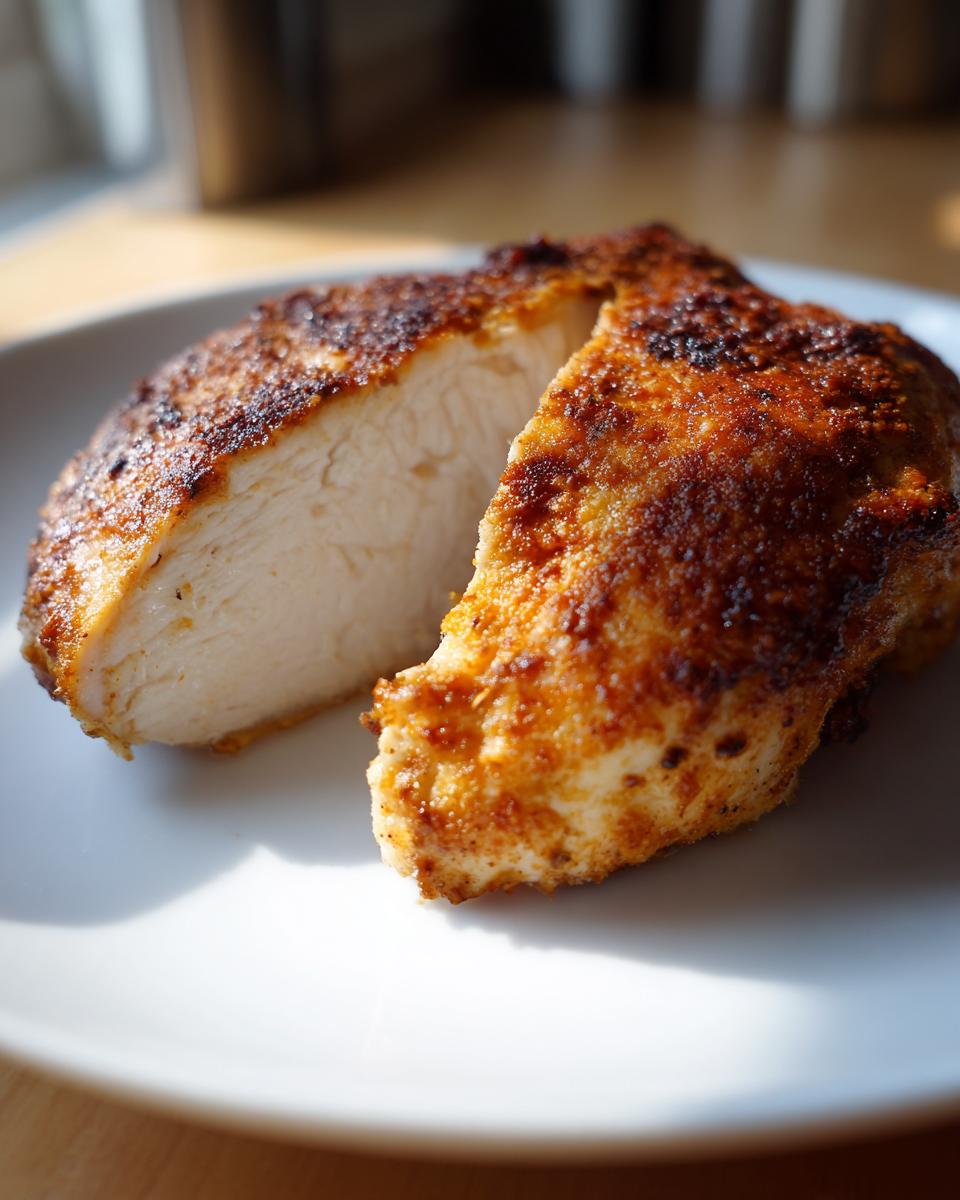
If you want that deep color, you have to let the Maillard reaction do its magic, and that only happens on dry real estate. Think about it—water steams, oil sears! You absolutely must pat your chicken breasts bone dry with paper towels. Don’t rush this; moisture is the enemy of crust. Once you drop that seasoned chicken into hot oil, resist the urge to poke or move it for a good five minutes. That stillness builds up the beautiful, flavorful brown crust we’re aiming for. It’s all about patience at the start!
If you want another fantastic skillet meal, check out my recipe for one-pan honey garlic chicken and green beans—it’s just as reliable!
Essential Ingredients for Flavorful Pan Seared Chicken
Building that robust flavor starts before the heat even hits the pan. For this recipe, we’re keeping things simple and focused on quality staples. You’ll need two boneless, skinless chicken breasts, weighing about six to eight ounces each—we want decent thickness for searing! Our seasoning is a simple mix of salt, pepper, garlic powder, and paprika for color. Don’t forget the two tablespoons of olive oil and a full tablespoon of really good unsalted butter for that amazing finish. This combination is your ticket to the best flavor. If you want to elevate that butter flavor even more, you should totally check out my recipe for easy homemade garlic butter to use right here!
Ingredient Notes and Substitution Guidance
When it comes to the pan itself, I love my heavy cast iron—it holds heat like a champ, which is required for perfect pan seared chicken. Stainless steel is fine too, just watch your heat closely. Now, listen up: you absolutely must pat your chicken bone dry. I mean it! If you skip that step, you’re going to end up with sad, steamed chicken instead of that crust everyone talks about. It’s non-negotiable, friends; dry chicken equals crispy chicken!
Step-by-Step Instructions: How to Cook Chicken in a Skillet
So, you have your gorgeous ingredients ready? Fantastic! Now for the actual cooking. Knowing exactly how to cook chicken in a skillet without turning it into leather is the mark of a confident home cook, and I’m going to walk you through my reliable timeline so your chicken comes out perfect every time. We’re moving fast but purposefully here, so pay attention to the timing! If you’re looking for a fantastic one-pan concept after this, you absolutely have to try my creamy Tuscan chicken recipe—it’s a showstopper.
Preparing the Chicken for Optimal Searing
First things first: dryness! Grab those paper towels and blot those chicken breasts until they feel dry to the touch. We need that surface crisp, not steaming! Next, mix up your seasonings—salt, pepper, garlic powder, and paprika—and cover both sides generously. Super important tip that Jess learned from years of trial and error: if your breasts are thick on one end and thin on the other, take a rolling pin and just gently pound the thick part until everything is roughly the same thickness, about three-quarters of an inch. This guarantees even cooking, which is a cornerstone of trustworthy recipes!
The Crucial Searing and Basting Phase for Pan Seared Chicken
Get your heavy skillet over medium-high heat and add your olive oil until it just starts to shimmer—that’s your signal. Gently set the chicken away from you in the pan. Here’s the non-negotiable part for incredible texture: leave it alone for a solid four to six minutes! Don’t peek! Once you’ve got that deep, golden crust, flip the chicken, and immediately drop your heat down to medium-low. Now, toss in that tablespoon of butter. Tilt your pan and spoon that melting, glorious butter over the top of the chicken constantly for about three to five minutes. This basting is exactly how to sear chicken without drying it out; it finishes cooking it gently while bathing it in flavor!
Tips for Foolproof Pan Seared Chicken Success
Getting that perfect color is exciting, but if you want this to be your new go-to, truly Skillet chicken recipe foolproof, we need to talk about a couple of final details. First, never ever crowd your pan! If you’re making more than two pieces, cook them in batches. If the pan is too full, the temperature drops instantly, and all that beautiful fat and moisture just steams the meat instead of searing it. Trust me, waiting an extra five minutes to cook the second batch is always better than serving mushy chicken!
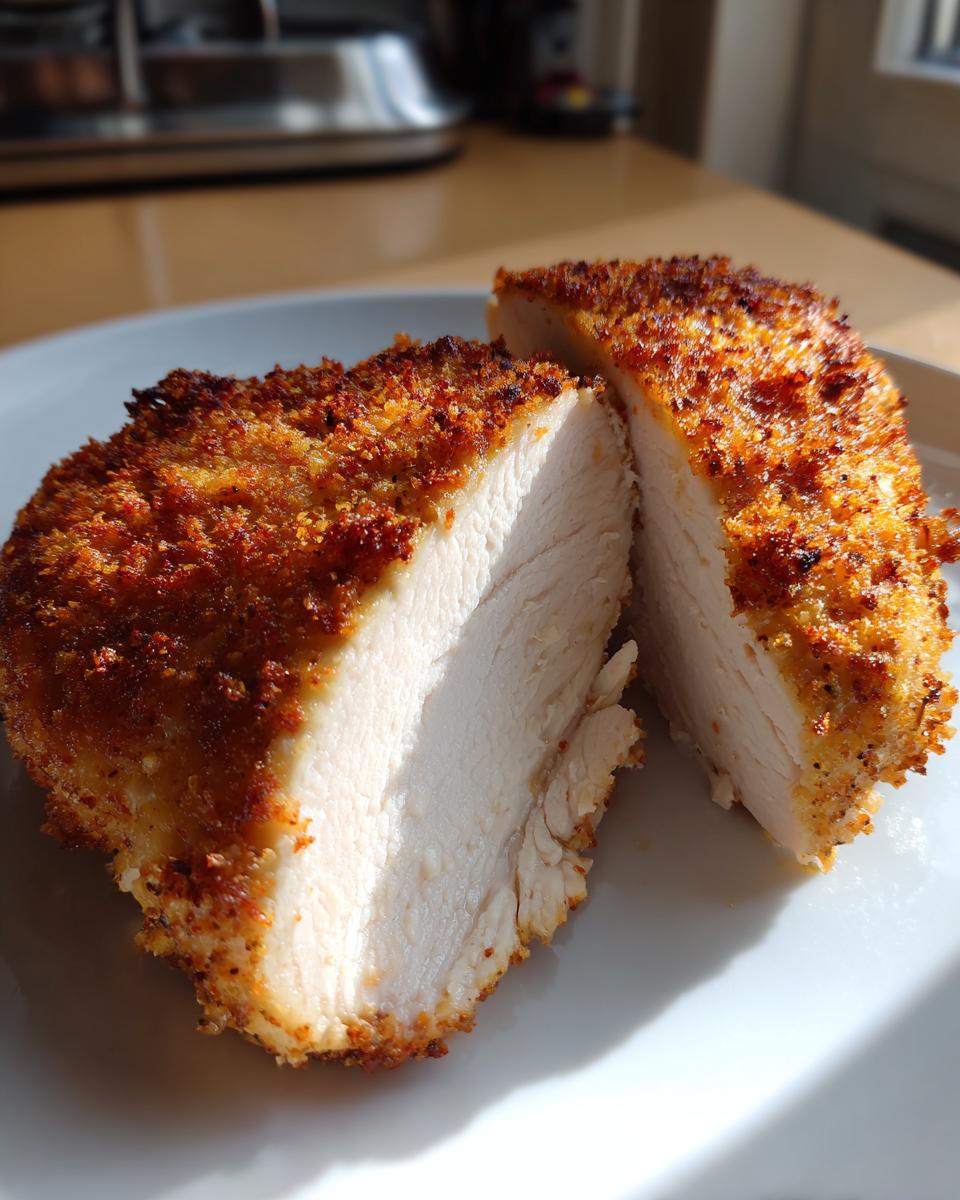
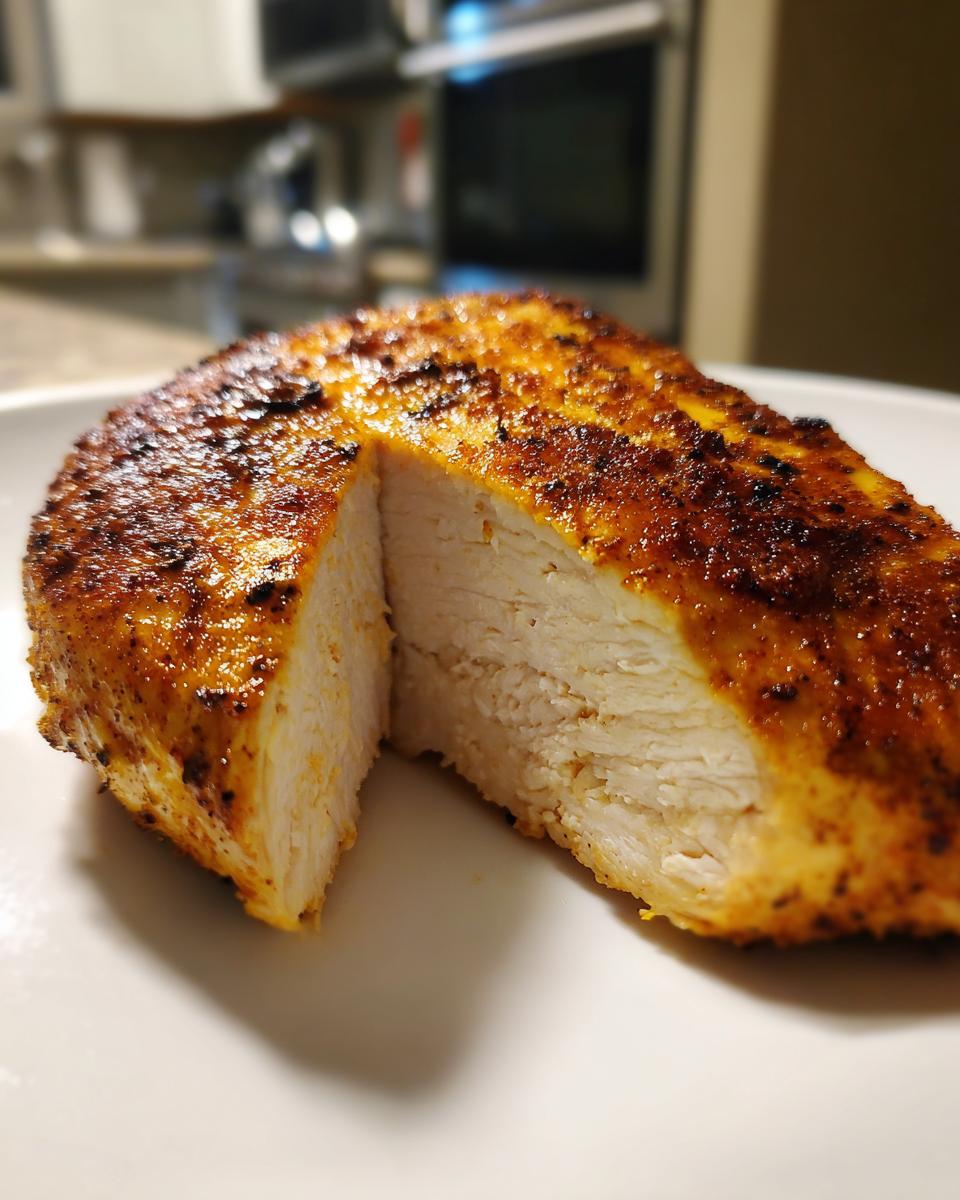
Resting the Meat for Maximum Juiciness
I know you’re hungry, but you absolutely cannot skip the rest! When the internal temperature hits 165 degrees, those muscle fibers are tight and holding all their delicious juices hostage. If you cut into the pan seared chicken right away, all that moisture runs out onto the cutting board, leaving you with dry meat. Let it rest on the board, tented lightly with foil, for a good five to ten minutes. This gives the juices time to relax and redistribute throughout the entire breast. It’s the gentle finish your hard work deserves!
When you’re ready for a great side dish to go with this, my recipe for garlic parmesan chicken and potatoes is a perfect match!
Making a Quick Pan Sauce After Your Pan Seared Chicken
Okay, so you followed the steps, your chicken is resting perfectly, and you have this amazing skillet sitting there that smells like pure heaven, right? Those dark, crusty bits stuck to the bottom? That’s called *fond*, and it’s liquid gold for flavor! Do not waste them! This is how you turn your simple pan seared chicken into an easy stovetop chicken dinner centerpiece.
As soon as you remove the chicken, keep the pan over medium-low heat. Toss in about half a cup of liquid—chicken broth works best, but even a splash of white wine or water works in a pinch. Immediately grab a whisk or a wooden spoon and scrape, scrape, scrape at the bottom of the pan! All those tasty brown bits will lift right off and mix into your liquid. Let that mixture simmer and reduce down just until it thickens slightly. That’s your sauce!
If you want to make it a little richer without much effort, you can whisk in a tiny pat of butter right at the end, or check out my recipe for an easy 10-minute creamy garlic sauce that pairs beautifully with this seared flavor profile. Drizzle that magical sauce right over your rested chicken, and dinner is instantly elevated!
Serving Suggestions for Your Golden Brown Seared Chicken
Now that you’ve mastered getting that incredible crust on your chicken, we need some supporting acts! This beautiful pan seared chicken deserves some classic American pairings that come together easily, because who wants to spend hours on sides after nailing the main event? I recommend starting with something creamy and comforting, like my mom’s best mashed potatoes—the fluffier, the better!
If you’re leaning towards greens, you can’t go wrong with some simple roasted vegetables. I actually have a dynamite garlic herb roasted veggies recipe that takes about 20 minutes in the oven while your chicken is resting, so it’s perfect timing!
Another winner is a simple, bright side salad tossed with a quick vinaigrette. The acidity cuts through the richness of the butter we used for basting, keeping the whole meal feeling fresh.
Storage and Reheating Instructions for Leftover Pan Seared Chicken
First off, if you actually have leftovers, you cooked bigger than you needed to—good job! But for those times you do save some of that gorgeous pan seared chicken, storage is easy. Pop the cooled pieces into an airtight container. They’ll be great in the fridge for about three to four days. That’s the easy part!
Reheating is where most folks mess up and dry out perfectly good chicken. Don’t just microwave it naked! To keep things juicy, try this simple trick: put the slices in a small, oven-safe dish, add just a splash of broth or water—like a tablespoon—cover it tightly with foil, and warm it up in a 300-degree oven for about ten minutes. It gently steams the chicken back to life!
If you’re looking for more ways to repurpose that leftover amazingness for amazing quick easy weeknight dinners, slice it thin and toss it into tacos the next day!
Frequently Asked Questions About Skillet Chicken
I know you’re going to love this method, but sometimes questions pop up when you’re in the heat of the moment! Here are the things folks always ask me about achieving that perfect pan seared chicken right on the stovetop. Don’t sweat the small stuff; these answers are designed to give you the confidence you need!
What internal temperature should pan seared chicken reach?
This is non-negotiable for safety and results! The USDA says chicken is done when it hits 165 degrees Fahrenheit in the thickest spot. I always use an instant-read thermometer; it’s the only real way to guarantee you haven’t overcooked it. Insert it into the side of the thickest part—that’s how Jess ensures reliability!
Can I use chicken thighs instead of breasts for this pan seared chicken technique?
Oh, absolutely! Thighs are more forgiving because they have more fat, so they rarely dry out. With thighs, you can generally let them cook a few minutes longer, and you definitely don’t need to worry nearly as much about the resting phase. They are wonderful for a quick chicken weeknight meal!
If you want another way to use thighs, check out my guide on the chicken cutlets pan sear method—you can adapt it easily!
Nutritional Estimates for This Easy Stovetop Chicken Dinner
I always like to have a general idea of what we’re eating, especially when whipping up quick meals like this pan seared chicken! Here is a ballpark look at what one chicken breast serving might contain:
- Calories: 300
- Protein: 45g
- Fat: 12g
- Carbohydrates: 1g
Now, just a reminder because I respect the science: these numbers are pure estimates based on the exact ingredients listed. If you use wild garlic butter or toss in a big splash of wine for your sauce, those numbers are going to shift a little. It’s still a fantastic, high-protein choice for any high-protein meal!
PrintFoolproof Pan Seared Chicken Breast for a Juicy Finish
Learn the best technique for pan searing boneless, skinless chicken breasts on the stovetop to achieve a golden-brown crust and juicy interior every time.
- Prep Time: 5 min
- Cook Time: 10 min
- Total Time: 20 min
- Yield: 2 servings 1x
- Category: Dinner
- Method: Stovetop Searing
- Cuisine: American
- Diet: Low Fat
Ingredients
- 2 boneless, skinless chicken breasts (about 6–8 oz each)
- 1 teaspoon salt
- 1/2 teaspoon black pepper
- 1/2 teaspoon garlic powder
- 1/4 teaspoon paprika
- 2 tablespoons olive oil
- 1 tablespoon unsalted butter
Instructions
- Prepare the chicken: Pat the chicken breasts completely dry using paper towels. This step is crucial for a good sear.
- Season the chicken: In a small bowl, mix the salt, pepper, garlic powder, and paprika. Sprinkle the seasoning mix evenly over both sides of the chicken breasts.
- Heat the skillet: Place a heavy-bottomed skillet (cast iron is recommended) over medium-high heat. Add the olive oil and let it heat until it shimmers slightly, just before it starts to smoke.
- Sear the first side: Carefully place the seasoned chicken breasts away from you into the hot skillet. Do not move the chicken for 4 to 6 minutes to allow a deep golden-brown crust to form.
- Flip and reduce heat: Flip the chicken breasts. Immediately reduce the heat to medium-low.
- Add butter and baste: Add the tablespoon of butter to the skillet. As the butter melts, tilt the pan slightly and use a spoon to scoop the melted butter over the top of the chicken breasts repeatedly for about 3 to 5 minutes.
- Check for doneness: Cook until the internal temperature reaches 165 degrees Fahrenheit in the thickest part of the breast. Total cook time will vary based on thickness.
- Rest the meat: Remove the chicken from the skillet and place it on a cutting board. Tent loosely with foil and let it rest for 5 to 10 minutes before slicing.
Notes
- For thicker breasts, pound them to an even thickness (about 3/4 inch) before seasoning to promote even cooking.
- If you want to make a quick pan sauce, remove the chicken, add a splash of chicken broth or white wine to the hot pan, scrape up the browned bits (fond), and simmer until slightly reduced.
- Do not overcrowd the pan; sear one or two pieces at a time to maintain high heat for a proper sear.
Nutrition
- Serving Size: 1 breast
- Calories: 300
- Sugar: 0
- Sodium: 450
- Fat: 12
- Saturated Fat: 4
- Unsaturated Fat: 8
- Trans Fat: 0
- Carbohydrates: 1
- Fiber: 0
- Protein: 45
- Cholesterol: 130