
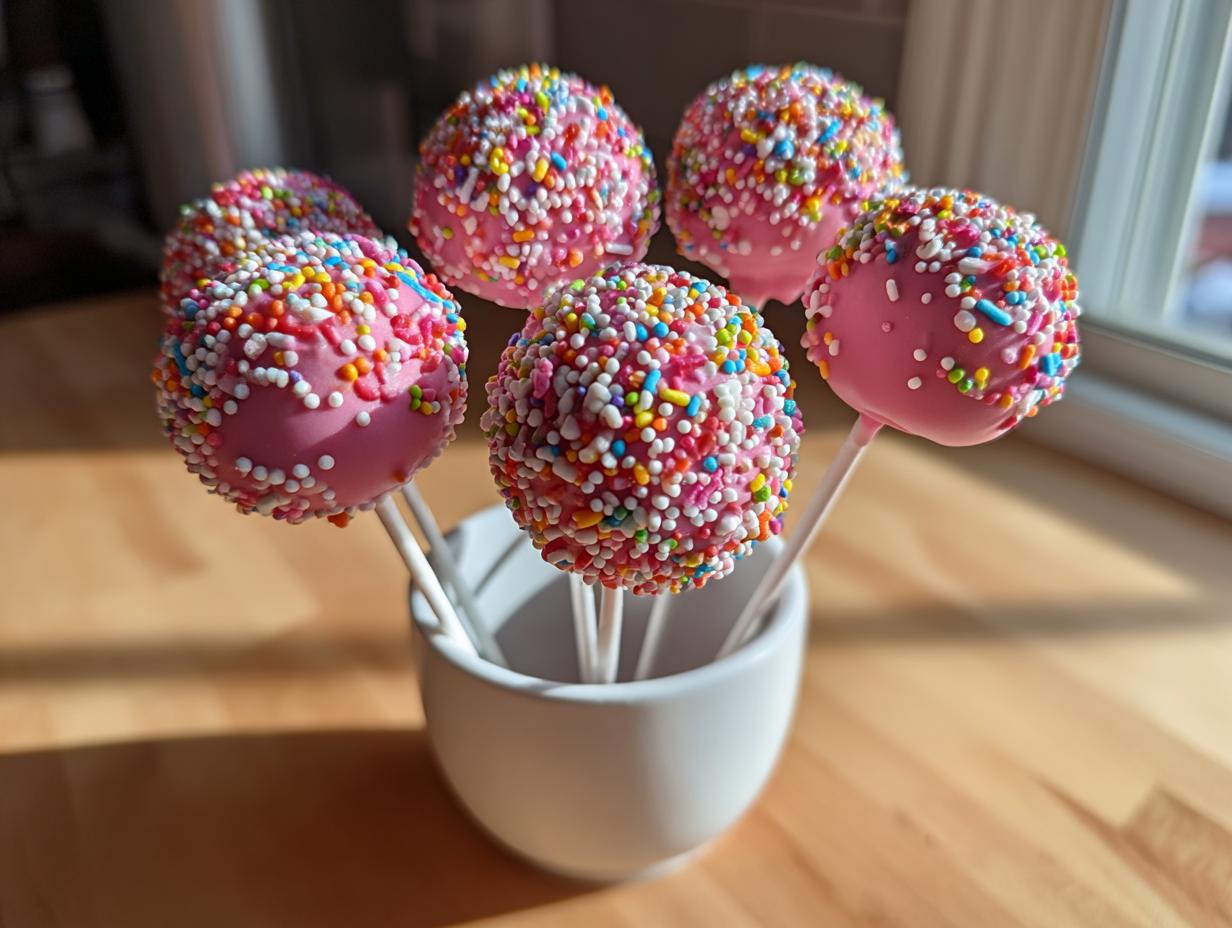
Oh my gosh, are you dreaming about that perfect little pink sphere from the coffee shop, too? I’ve spent way too much time trying to replicate the magic of the **starbucks cake pop** right here in my own kitchen. Forget those dry, sad imitations you might have tried before; I promise you, the secret lies in how you bind the cake and, honestly, the coating technique.
As Jessica Carter, I wanted to make sure this copycat recipe honored the rich tradition of American bakery treats—it has to have that signature density and a coating that sets up perfectly smooth and crack-free. After batch after batch, I finally nailed the proportions. We’re getting bakery-style perfection, trust me!
- Why You Will Make These Starbucks Cake Pop Copycats Again and Again
- Essential Ingredients for Starbucks Birthday Cake Pops Recipe
- The Process: Making Homemade Starbucks Cake Pops from Scratch
- Expert Tips for Perfectly Coated Cake Pops Tutorial (No Cracks)
- Starbucks Pink Cake Pops at Home: Ingredient Substitutions
- Storage and Reheating for Your Starbucks Cake Pop Creations
- Frequently Asked Questions About Copycat Bakery Style Cake Pops
- Serving Suggestions for Your Gourmet Cake Pop Recipes
- Nutritional Estimate for One Starbucks Cake Pop
Why You Will Make These Starbucks Cake Pop Copycats Again and Again
- You get that unmistakable, dense, fudgy interior that makes the real deal so satisfying. No airy, crumbly balls here!
- We use simple store-bought ingredients for efficiency, making this the ultimate quick fix for a sweet craving.
- The coating technique I show you is designed to give you a smooth, professional finish every single time—less mess, more shine.
- It’s totally customizable! While we are focusing on the classic pink birthday flavor, you can easily switch up the cake mix color and sprinkles.
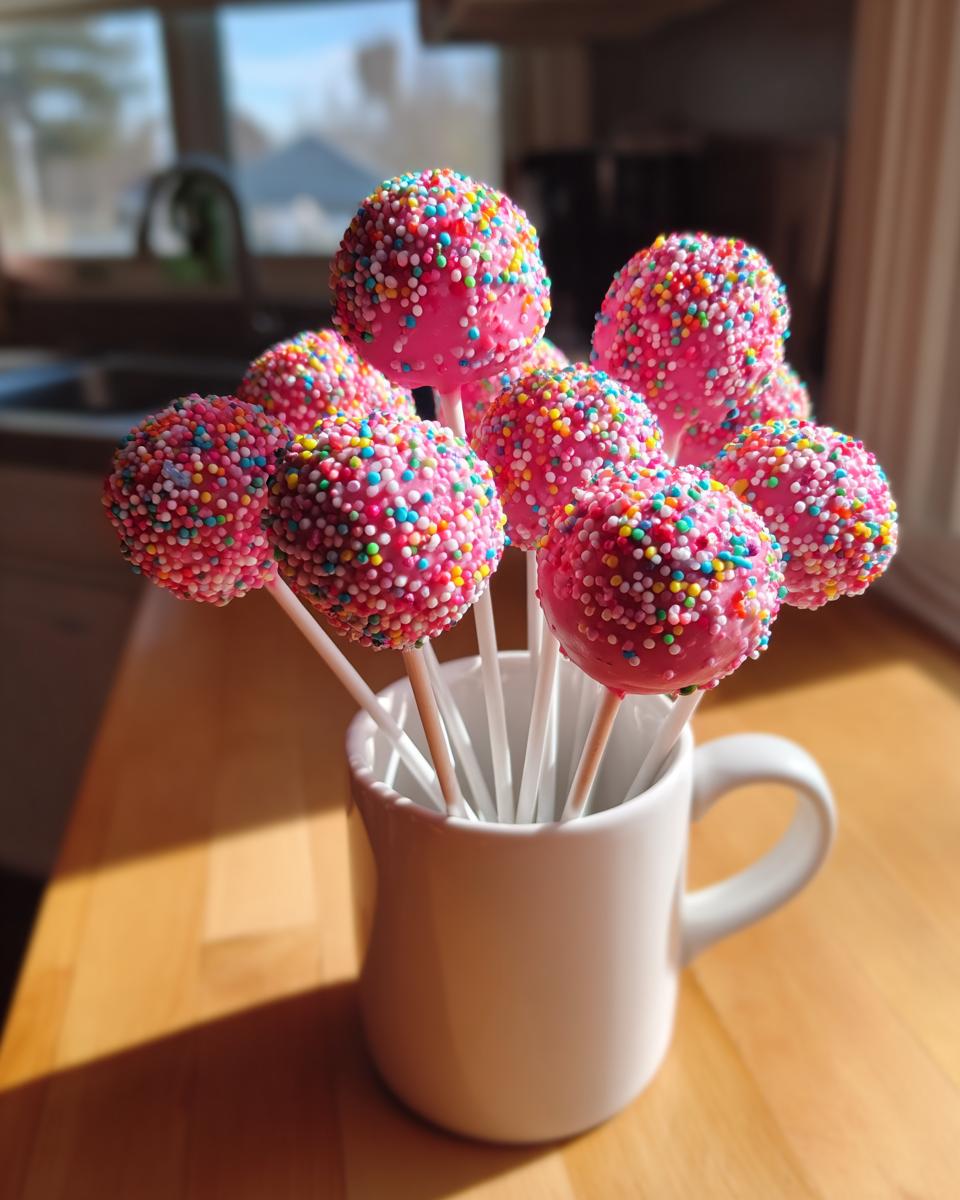
- They look gourmet perched on a platter, but honestly, they take less time than a complicated layer cake. They are perfect for parties!
- I promise **no cracking**! We tackle the biggest issue right away so you don’t waste those beautiful candy melts. If you want more fantastic, easy-to-make sweets, check out my page on delicious desserts and treats!
That’s the short version of why I keep making these over and over again. They just work, every time I need that little pink pick-me-up!
Essential Ingredients for Starbucks Birthday Cake Pops Recipe
Okay, let’s talk supplies! Since we’re aiming for that exact flavor profile, the quality of your base five ingredients really matters here. We are keeping this super straightforward, which is why this **starbucks birthday cake pops recipe** is so easy to pull off.
For the cake base, you need one standard box of white cake mix—don’t try to be fancy and use a gourmet mix, the box stuff gives us the right density! You’ll also need the ingredients the box calls for, usually a couple of eggs and some oil.
The real binder magic comes from about half a cup of store-bought vanilla frosting. Seriously, the pre-made kind has the perfect fat-to-sugar ratio to hold everything together without being too sticky. I usually grab a tub when I’m making my famous buttercream, so I always have some on hand! If you end up needing a reliable foundation for everything else, you can check out my guide for vanilla buttercream frosting recipe for best stability.
And for the coating? You absolutely must grab a bag of good white candy melts. Compound chocolate wafers are your friend here; they set up hard and shiny without the headache of tempering real chocolate. We’re finishing the look with pink gel coloring because liquid dyes can mess up the coating texture, and, of course, those colorful rainbow sprinkles!
The Process: Making Homemade Starbucks Cake Pops from Scratch
Alright, buckle up, because this is where we transform simple cake mix into that dense, coveted treat. Don’t stress about the steps; I’ve broken them down just like I learned them over years of trial and error. This isn’t rocket science, but it does demand patience at a couple of key moments. Follow my lead, and you’ll have a batch of **easy cake ball recipe** wonders that are ready for dipping!
Baking and Creating the Cake Pop Dough Base
First things first, bake that white cake mix according to the box directions in a 9×13 pan. The flatter the cake, the less weirdly shaped bits we have to deal with! Once it’s out of the oven, the absolute most important thing? Let it cool completely! I mean *completely*. If it’s even slightly warm, your dough will turn into soup when you add the frosting, and that’s not good for structure.
Once cool, crumble that beautiful cake into a huge bowl. Toss out any of those dark, crusty edges—we only want the tender interior! Now, time for the glue: the vanilla frosting and the vanilla extract go right in. Use your hands, get messy, or use your mixer if you prefer, but you have to work it until it feels like one uniform, thick dough. If it seems a little too dry and won’t hold a shape, add milk or cream just a teaspoon at a time. It needs to feel firm, not crumbly. If you want some background on making the base dough, I have a great guide on an easy cake ball recipe!
Chilling and Sticking the Cake Balls for Dipping
This chilling phase is non-negotiable if you want to avoid heartbreak when dipping. Roll your dough into uniform, one-inch balls—I use a small cookie scoop for consistency. Lay them on parchment paper and stick them in the fridge for at least 30 minutes. They need to be solid!
While they chill, we set up our stick anchors. Dip the very tip of your cake pop stick into some of that reserved melted coating (we’ll talk about the coating next!). Insert that sticky tip about halfway into your chilled cake ball. This little dab of frosting acts like cement for the stick, and trust me, it stops the whole ball from falling off in the melted chocolate bath later. Pop those stuck pops back into the freezer for five or ten minutes to really cure that anchor.
How to Make Dipped Cake Pops Smooth and Perfectly Coated
This is the moment of truth! Melt your white candy melts slowly in the microwave, stirring every 20 seconds. Stir in just a tiny bit of coconut oil or shortening—this is the secret sauce that thins the coating so it flows beautifully instead of sitting on too thick and cracking later. Add a few drops of pink gel food coloring and mix until it’s that perfect Starbucks shade.
Once your sticks are firmly attached and the balls are cold, it’s assembly time. Hold the stick and dunk the cake ball completely into the pink flood. Work quickly! Use a gentle twisting motion to cover everything, and then hold the pop over the bowl. Gently tap the stick on the side of the bowl—tap, tap, tap—to let the excess coating drip away. You want a thin, even layer!
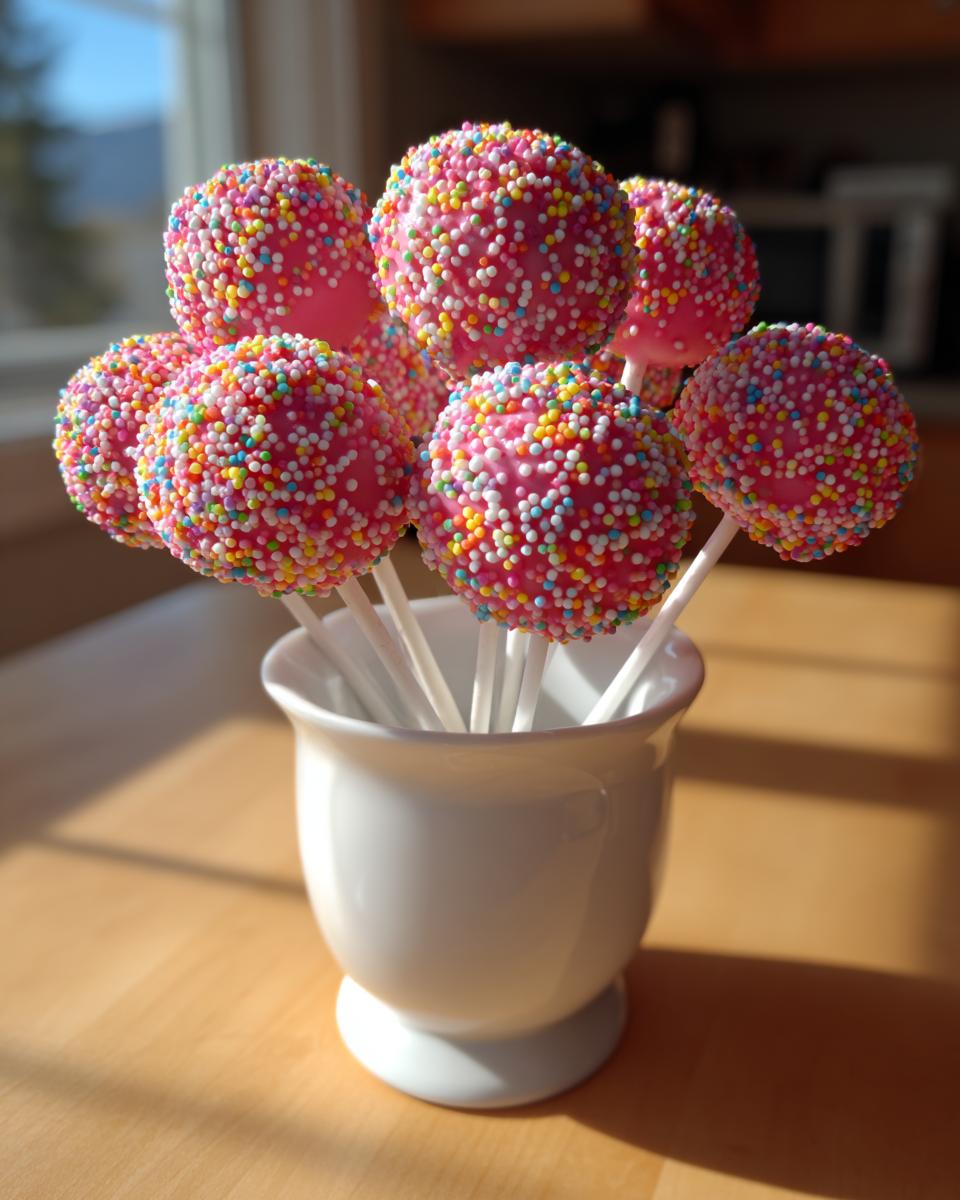
As soon as that excess drips off, quickly shower the pop with those rainbow sprinkles before the coating starts to set. Place the finished pop straight into a styrofoam block or stand to dry. Letting them set at room temperature (if it’s cool) or in the fridge allows that smooth coating to set up perfectly for that **copycat bakery style cake pops** finish!
Expert Tips for Perfectly Coated Cake Pops Tutorial (No Cracks)
Okay, we’ve covered the assembly, but let’s talk about the big arch-nemesis of any cake pop maker: the crack! When I see my beautiful pink coating start to splinter after setting, I always want to scream. But fear not, this happens when there’s a huge temperature difference between your cake ball and your melted coating.
The main goal for a smooth, **no crack cake pop coating** is keeping those cake balls frosty cold when they hit the warm pink dip. Don’t pull them straight from the freezer, though—let them sit for about five minutes so they aren’t rock solid.
Also, remember that tiny bit of shortening or oil we added to the melts? That’s crucial. It lowers the viscosity, meaning the coating flows thinly and evenly, and it also helps the final shell stay flexible instead of turning brittle. If your coating starts getting thick mid-batch, just pop it back in the microwave for ten-second bursts to loosen it up. For even smoother results on other icing projects, I sometimes rely on the methods I share for cookie icing recipes that harden smoothly!
Starbucks Pink Cake Pops at Home: Ingredient Substitutions
I totally get it—sometimes you’re deep into baking and realize you are missing that one specific box of cake mix, or maybe you just prefer making things from scratch! Since we are aiming for that iconic flavor, substitutions need to be smart, not sloppy.
For the cake base, if you absolutely must skip the box mix, you can certainly use your favorite homemade white cake recipe. Just remember: the texture needs to be dense, more like a pound cake than a light sponge. Make sure whatever cake you bake is really dry before you crumble it, otherwise your dough will be too soft!
Now, frosting! If you don’t have standard vanilla frosting, you *can* use cream cheese frosting, but I warn you—it will add a slight tanginess that the original **starbucks cake pop** doesn’t really have. If you use it, maybe cut back on the vanilla extract slightly.
The biggest area people ask about is the coating. Candy melts (or compound chocolate) are the easiest way to get that fast, smooth, shiny finish with no fuss. If you want to get fancy and use real chocolate wafers, you have to temper them, which is a whole other adventure using a candy thermometer. I usually only suggest that for **gourmet cake pop recipes** when I have extra time! For a simple home setup, stick to the melts—they give you that great no-crack shell we talked about.
Storage and Reheating for Your Starbucks Cake Pop Creations
Okay, once you’ve gone through all that work to get that thick, perfect pink coating, we definitely want to make sure these little guys last! How you store them depends on a couple of things, mainly what kind of frosting you used in the cake ball mixture.
Because we used standard vanilla frosting, which is mostly sugar, these **homemade starbucks cake pops** are actually pretty resilient at room temperature for a short time. If your house is cool—say, under 70 degrees Fahrenheit—you can let them sit out on the counter in an airtight container for up to three days. This is actually my preferred way! Cold temperatures can sometimes make that candy coating feel a little too hard, and we want that satisfying ‘smooth’ bite.
If your kitchen is warm or humid, or if you made them way ahead of time, go ahead and refrigerate them. Pop them into a single layer in a sealed container. They should easily last about a week in the fridge. Just make sure you let them sit on the counter for at least 30 minutes before serving. They need to warm up a tiny bit so that dense cake ball softens again and the chocolate shell isn’t rock hard when you bite into it!
Don’t even think about trying to microwave them—that will melt the coating completely! If they are stubbornly cold, just letting them sit on a plate for a bit does the trick. Enjoy them fresh, because honestly, they taste the absolute best on day one!
Frequently Asked Questions About Copycat Bakery Style Cake Pops
Can I make these without baking the cake first—is there a good cake pop recipe no bake?
That’s a great question for when you’re in a hurry! If you want a truly no-bake version, you can completely skip baking the white cake mix. Instead, you would use a store-bought, unfrosted, crumbly white cake or even crushed vanilla sandwich cookies (like Oreos without the filling). You’ll need to use a much wetter frosting binder when mixing the crumbs, though, since you aren’t starting with a baked, partially dry cake. It works in a pinch, but the texture won’t be quite as dense as my tested version!
What are the best candy melts for cake pops to guarantee a smooth dip?
This is my biggest secret for getting that flawless look! Forget the cheap stuff. The **best candy melts for cake pops** are actually higher-quality compound chocolate wafers, like Ghirardelli or Wilton’s primary line. They melt smoother and generally require less added oil which keeps your coating stronger. If you are using basic store-brand discs, you absolutely must thin them down with a tiny bit of shortening or coconut oil, as we discussed.
Do these copycat bakery style cake pops need to be kept in the fridge?
Not necessarily! If you used standard shelf-stable frosting in the mix, they do best stored in an airtight container at cool room temperature for up to three days. That keeps the cake part soft. If your kitchen is super warm, or if you plan to keep them longer than three days, pop them in the fridge but remember to let them warm up a bit before serving so they aren’t too hard to bite into. They are always best eaten the day they are made, though!
How do I make sure my sprinkles stick before the coating dries?
Speed is everything here! You need your sprinkles ready right next to your bowl of melted pink coating. The second you lift the cake pop out of the pink dip *after* tapping off the excess, immediately shower the sprinkles over the wet chocolate. Don’t set the pop down first! If you’re working quickly, they will adhere perfectly to create that fun, festive look. See more tips on desserts over at my treats page!
Serving Suggestions for Your Gourmet Cake Pop Recipes
Now that you’ve got these gorgeous, bakery-quality little guys staring back at you, the question becomes: how do we present them? Honestly, you don’t need much because they are already showstoppers, but I love ideas that make them feel extra special for a party or just a little weekend treat for the family. They shine brightest when paired with the right beverage!
Since these **starbucks cake pop** copycats are super sweet and cake-y, my absolute favorite pairing is a strong cup of coffee. A nice, hot black coffee or an Americano cuts through that sweetness perfectly and makes you feel like you really are at your favorite coffee spot. If you are serving them to the kiddos, a simple glass of ice-cold milk is always the way to go!
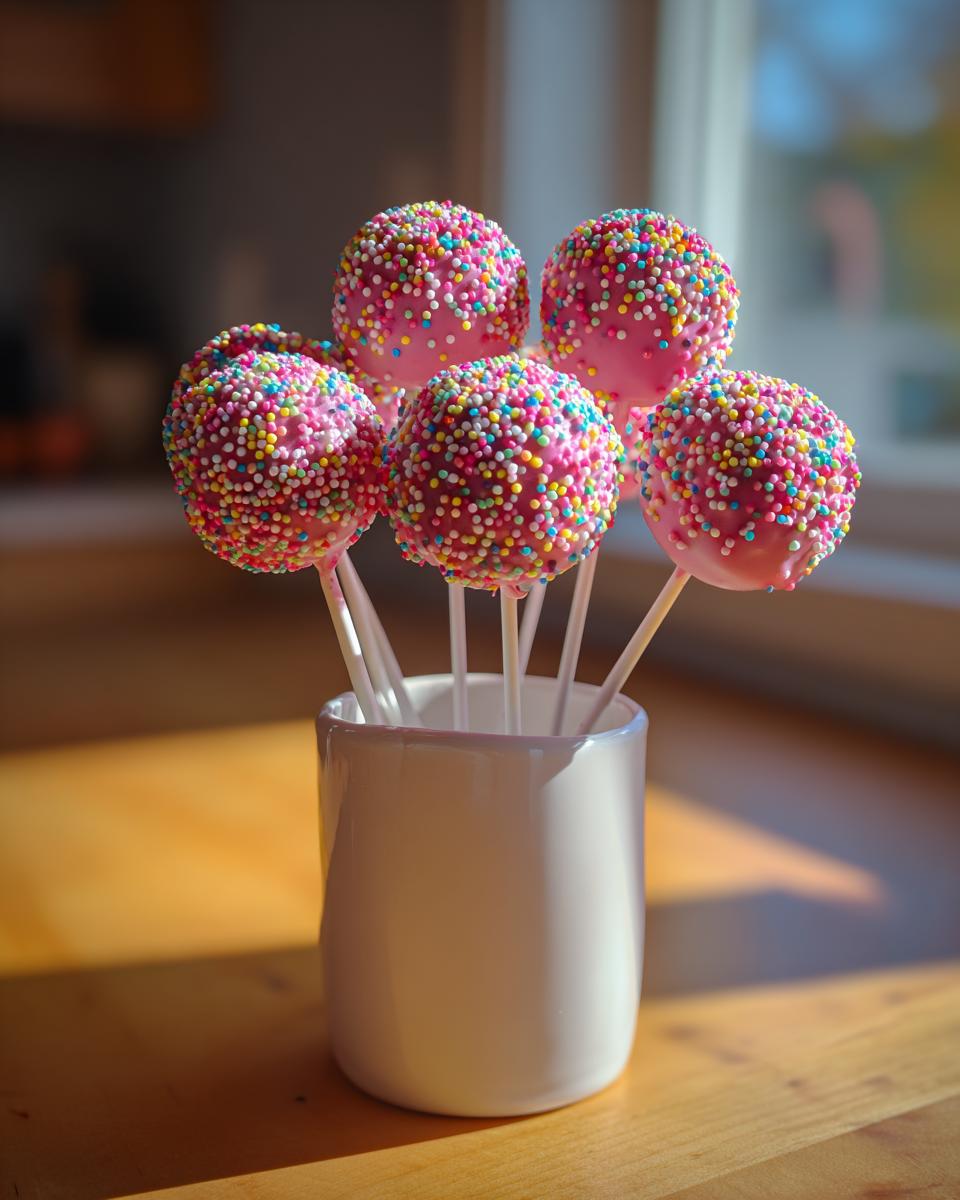
If you’re making a bigger spread, like for a birthday or shower, treat them like little edible decorations. Skip trying to lay them flat on a plate where the sprinkles might get smushed. Instead, use a styrofoam block—you know, the same one you let them dry in—and stick them upright in pretty patterns. You can even cover the styrofoam base with something festive, like brown sugar or even some shredded coconut if you want a little textural contrast!
For a real centerpiece moment, try grouping them by color if you’ve made a few batches, or mix them with other treats. They look stunning tucked around the base of a larger cake! Speaking of coffee pairings, if you ever want to move onto something slightly more robust, my recipe for moist pistachio coffee cake makes the best brunch addition when you have company!
Ultimately, these little **gourmet cake pop recipes** are all about celebrating that moment. Whether you serve them solo by the coffee pot or stack them high on a tiered stand, I guarantee everyone will ask where you bought them. They just scream ‘special occasion’!
Nutritional Estimate for One Starbucks Cake Pop
I always get asked about the numbers, and while I am focused on flavor and tradition here at CravyBite Kitchen—not counting every single calorie, trust me!—I pulled together a general estimate for one of these beauties. I want to be totally upfront: because we’re using a cake mix and standard candy melts, this is definitely a treat and not really an everyday snack.
Please keep in mind that these are just rough estimates, okay? Your size of the balls or the specific brand of white cake mix you choose will change the final count slightly. This estimate is based on yielding 24 pops from the whole batch, using standard ingredients as listed in the recipe. Use this as a guide, not gospel!
Here’s what we’re looking at for one little, perfectly pink, **starbucks cake pop**:
- Serving Size: 1 cake pop
- Calories: 180
- Sugar: 20 grams (Yep, it’s a sweet one, but totally worth it!)
- Sodium: 120 mg
- Fat: 10 grams
- Saturated Fat: 6 grams
- Trans Fat: 0 grams (We love that!)
- Carbohydrates: 22 grams
- Protein: 2 grams
- Cholesterol: 15 mg
It’s a delicious little package of joy! Remember, this is for the pure, unadulterated birthday cake version. If you start adding extra frosting layers or heavy drizzles, those numbers are going to climb, but that’s part of the fun of making your own **copycat bakery style cake pops**—you control the portion size!
PrintCopycat Starbucks Birthday Cake Pops Recipe

Make bakery-style cake pops at home that taste just like the popular Starbucks Birthday Cake Pop. This recipe focuses on achieving the right texture and a smooth, crack-free candy coating.
- Prep Time: 30 min
- Cook Time: 35 min
- Total Time: 65 min
- Yield: 20-24 cake pops 1x
- Category: Dessert
- Method: No Bake Assembly
- Cuisine: American
- Diet: Vegetarian
Ingredients
- 1 box (15.25 oz) white cake mix
- Ingredients required by cake mix box (usually eggs, oil, water)
- 1/2 cup vanilla frosting (store-bought or homemade)
- 1 teaspoon vanilla extract
- 1/4 cup milk or heavy cream (optional, for texture adjustment)
- 1 bag (12 oz) white candy melts or high-quality white chocolate wafers
- 1 tablespoon vegetable shortening or coconut oil (for thinning coating)
- Pink food coloring (gel preferred)
- Rainbow sprinkles for decoration
- Cake pop sticks
Instructions
- Prepare the white cake according to the package directions, using the required wet ingredients. Bake the cake in a 9×13 inch pan. Let the cake cool completely.
- Crumble the cooled cake into a large bowl, removing any overly browned edges.
- Add the vanilla frosting and vanilla extract to the cake crumbs. Mix thoroughly with your hands or a stand mixer until a uniform, dough-like consistency forms. If the mixture is too dry, add milk or cream one teaspoon at a time until it holds together when pressed.
- Roll the mixture into small, uniform balls, about 1 inch in diameter. Place the balls on a parchment-lined baking sheet.
- Chill the cake balls in the refrigerator for at least 30 minutes to firm up. This step is crucial for dipping.
- While the balls chill, prepare the coating. Melt the white candy melts (or chocolate wafers) according to package directions, usually in short intervals in the microwave. Stir in the shortening or coconut oil to thin the mixture slightly for easier dipping.
- Add a few drops of pink gel food coloring to the melted coating and stir until the color is uniform.
- Prepare your dipping station: have the chilled cake balls, melted pink coating, cake pop sticks, and sprinkles ready.
- Dip the tip of a cake pop stick about halfway into the melted coating. Insert the coated end of the stick about halfway into a chilled cake ball. This acts as ‘glue.’ Return the cake pop to the freezer for 5-10 minutes to set the stick firmly.
- Hold the stick and dip the entire cake ball into the pink coating, rotating it to cover completely. Gently tap the stick against the side of the bowl to allow excess coating to drip off.
- Immediately sprinkle the wet coating with rainbow sprinkles.
- Place the finished cake pop upright in a styrofoam block or cake pop stand to set completely at room temperature or in the refrigerator.
Notes
- For the smoothest coating, use high-quality candy melts or compound chocolate. Real chocolate requires tempering, which adds complexity.
- If your coating hardens too quickly while dipping, reheat it briefly in 10-second bursts in the microwave.
- To prevent the coating from cracking, ensure the cake balls are very cold when dipping, and use a small amount of shortening/oil in the melts.
- Store finished cake pops in an airtight container at cool room temperature for up to 3 days, or refrigerated for up to one week.
Nutrition
- Serving Size: 1 cake pop
- Calories: 180
- Sugar: 20
- Sodium: 120
- Fat: 10
- Saturated Fat: 6
- Unsaturated Fat: 4
- Trans Fat: 0
- Carbohydrates: 22
- Fiber: 0
- Protein: 2
- Cholesterol: 15