
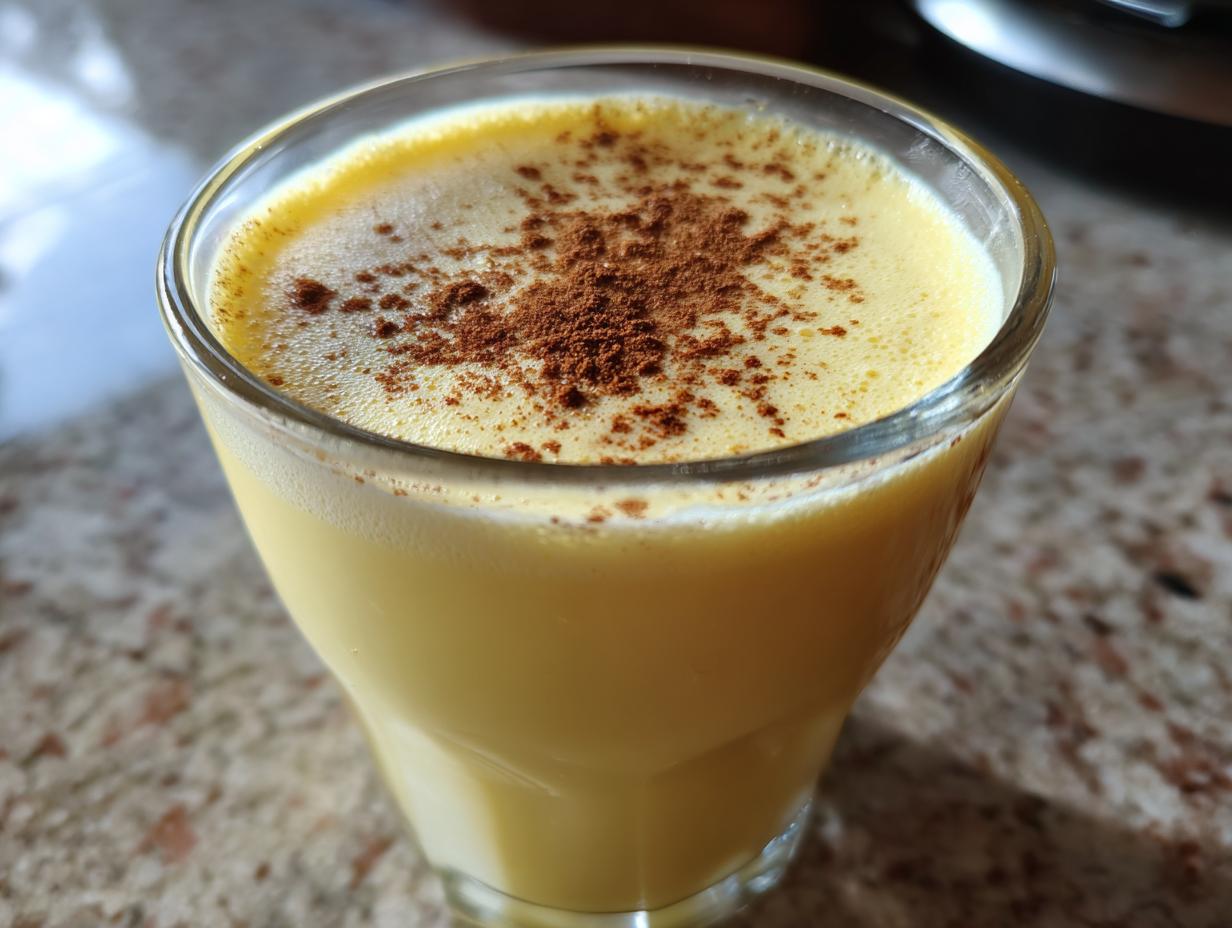
Christmas always feels a little incomplete without that first sip of something rich, deeply spiced, and wonderfully nostalgic. For me, nothing says ‘holiday tradition’ like a glass of perfect eggnog. Forget those thin, overly sweet cartons you grab at the store; we’re making the real deal here at CravyBite Kitchen! This homemade version is thick, creamy, and genuinely tastes like a velvet hug in a mug, which is exactly how authentic holiday cheer should feel. When I’m developing recipes, I always go back to the classics my family cherished. Making this from scratch isn’t just cooking; it’s connecting to those precious moments of gathering around the table when the scent of nutmeg fills the air.
- Why This Homemade Eggnog Recipe is a Classic Christmas Favorite
- Ingredients for the Best Eggnog from Scratch
- How to Make Eggnog: Step-by-Step Instructions
- Variations on Classic Eggnog: Beyond the Basics
- Tips for Success with Your Spiced Winter Drink
- Storage and Make Ahead Holiday Beverages
- Estimated Nutrition for Rich Festive Beverage
- Frequently Asked Questions About Homemade Eggnog
- Share Your Homemade Holiday Cheer
Why This Homemade Eggnog Recipe is a Classic Christmas Favorite
Honestly, once you taste this **Best Eggnog from Scratch**, you’ll toss the carton into the recycling without a second thought. Store-bought stuff just can’t compete with the depth of flavor we build here. Commercial versions are often pale imitations, relying heavily on stabilizers rather than real dairy and careful spice ratios. But when you make it yourself? Wow! You get this incredible, rich, **Creamy Holiday Drink** that actually tastes like Christmas exploded pleasantly in your mouth. We learned a lot about building texture in our creamy cheese grits, and those same principles—patience and layering richness—apply perfectly here, too.
- It achieves true richness thanks to using both whole milk *and* heavy cream—no cutting corners here!
- The spices—nutmeg, cinnamon, and cloves—are balanced perfectly so they sing without overwhelming the egg base.
- It freezes beautifully, meaning you can prep it ahead for those hectic party days.
- The texture is spectacular; it’s dense enough to coat a spoon but light enough to feel luxurious, not heavy.
We’re aiming for perfection, and because we’re cooking the egg base, we have total control over the final product. If you ever wondered how to make **creamy holiday drink**s that taste like they came from an old cookbook, this is where that magic starts.
Achieving That Velvety Custard Drink Texture in Your Eggnog
Okay, this is the make-or-break moment, so listen up! To get that **velvety custard drink** texture—that rich mouthfeel we love—you absolutely must temper your egg yolks correctly on the stovetop. I know those recipes online that say *just whisk it*, but trust me, that’s asking for trouble. Tempering means slowly introducing the hot milk mixture to the yolks, drop by drop at first, while stirring constantly. This is how I, Jess Carter, balance safety with texture. We’re aiming for 170°F (77°C) to gently cook those yolks until they thicken the liquid, creating that perfect, luxurious base. If you stop stirring, those yolks scramble, and nobody wants yellow flakes in their holiday cheer, right?
Ingredients for the Best Eggnog from Scratch
I’m going to give you the blueprint for the best rich festive beverage you’ll ever serve. When you make your **Homemade Eggnog Recipe**, you need to trust the measurements exactly, especially when it comes to the dairy and the eggs. I’ve listed everything below—and I mean *everything*—because precision is what moves us from ‘decent’ to ‘the best Christmas favorite’ territory! Don’t overlook the small amounts of salt or spice; they are crucial for balancing the richness of the sugar and milk. Get your ingredients measured out before you even think about turning on the stove; trust me, once you start cooking this, you won’t want to stop stirring to measure anything else!
- 6 large egg yolks
- 3/4 cup granulated sugar
- 1/4 teaspoon salt
- 1/4 teaspoon ground nutmeg (freshly ground if you can!)
- 1/4 teaspoon ground cinnamon
- 1/8 teaspoon ground cloves
- 1 cup whole milk
- 1 cup heavy cream
- 1 teaspoon vanilla extract
- Optional: 1/2 cup dark rum, brandy, or bourbon
Ingredient Notes and Substitutions for Perfect Eggnog
Little details really make a difference here. Regarding those spices, please, please use freshly ground nutmeg if possible. That pre-ground stuff loses its vibrant punch so fast, and you want that bright **Nutmeg Spice Drink** fragrance when you serve it. The heavy cream is non-negotiable if you want that signature thick texture; it’s the vehicle that carries all that amazing dairy richness. If you want to skip the spirits for a family-friendly party, that’s totally fine! Just omit that optional step, and you have a lovely **Non Alcoholic Eggnog** that still tastes decadent. We keep the milk and cream measurements exact because that ratio is what helps stabilize the custard without needing extra thickeners, keeping it light while still being incredibly rich.
How to Make Eggnog: Step-by-Step Instructions
Learning **How to Make Eggnog** seems intimidating because it involves cooking eggs with milk, but honestly, once you see it in action, you’ll realize it’s all about mindful cooking. We follow these steps exactly every single year, and they always result in that incredible, thick, creamy texture we’re after. Set out your saucepan ready to go, and remember, once we start cooking, we need to stay put for about 15 minutes. We are essentially making a custard here, so precision matters more than speed!
- In a medium saucepan, whisk the egg yolks, sugar, salt, nutmeg, cinnamon, and cloves until they look completely smooth and pale. Don’t leave any clumps of sugar behind!
- Whisk in the whole milk until everything is nicely incorporated and uniform in color.
- Now for the crucial part: cook this over medium-low heat. You absolutely must stir constantly using a wooden spoon or a heatproof spatula. I mean it—constant motion, scraping the bottom corners where the eggs like to settle.
- Keep stirring until that mixture thickens enough to actually coat the back of your spoon. If you dip your spoon in and run your finger across the back, the line should hold steady. We are targeting about 170°F (77°C) for safety and texture.
- Immediately move the pan off the burner! Strain that hot mixture through a fine-mesh sieve right into a clean bowl. This step is essential to catch any tiny bit of egg that might have cooked too fast.
- Stir in the heavy cream and that lovely vanilla extract.
- If you’re making the boozy version, stir in your choice of spirit now. Some folks like to use a splash of bourbon to really give it that traditional flavor kick. If you’re skipping the alcohol, just move right on to the next step!
- Cover the surface of the **eggnog** directly with plastic wrap—this is a non-negotiable step! It stops that ugly, thick skin from forming on top while it cools in the fridge.
- Chill everything for at least 4 hours, but seriously, aim for overnight. This allows those spices to truly meld together. If you want to see how much flavor develops in a slow-cooked dairy base, check out my easy stovetop homemade applesauce recipe—the principle of slow simmering is similar.
- Before you serve this festive drink, just give it a good whisk! Serve cold in pretty glasses, and don’t forget that final, beautiful dusting of fresh nutmeg right on top. If you want to see the original inspiration for this recipe, check out this great classic homemade eggnog idea!
Tempering the Eggs for Smooth Homemade Eggnog
The tempering process is why this recipe earns its stripes as a superior **Classic Eggnog Recipe**. We are gently raising the temperature of the yolks without scrambling them, which is why constant stirring over medium-low heat is key. If you use too high a heat, those yolks will curdle immediately, and you’ll end up with sweet, eggy soup instead of a **thick and creamy eggnog**. My nutrition background taught me that temperature control isn’t just about food safety; it’s about achieving that specific silky mouthfeel we’re looking for. Slow and steady wins this race every time.
Chilling Time: The Secret to Flavorful Eggnog
You *can* drink this right after chilling it for four hours, sure, but I’m begging you, push it to the next day! That overnight rest is truly the secret sauce for any great **spiced winter drink**. While it chills, the nutmeg, cinnamon, and whatever spirit you chose have time to marry the dairy and egg base. The flavor deepens from ‘nice’ to ‘unforgettable.’ Remember that plastic wrap trick? It keeps moisture in and prevents a rubbery skin from forming as the **eggnog** sits in the fridge. This make-ahead tip is a lifesaver during the holidays.
Variations on Classic Eggnog: Beyond the Basics
Part of the fun of perfecting a **Classic Eggnog Recipe**, like this one, is deciding what *else* you want to do with that gorgeous, rich base once it’s chilled. It’s fantastic on its own as a **Festive Drink Recipes** centerpiece, but sometimes you want to jazz things up for a special toast or use up the leftovers—which rarely happen, by the way! Because we took the time to make this base so incredibly smooth and thick, it takes beautifully to other applications. Honestly, a little creativity turns this **eggnog** from just a drink into a whole holiday flavor profile for your whole menu.
Making an Eggnog Old Fashioned Cocktail
If you’re hosting an adult gathering and want something a little more structured than just sipping it straight (though that’s lovely too!), turning this into an **Eggnog Old Fashioned Cocktail** is a fantastic idea. Remember that spirit addition in Step 7? If you went heavy on the rum or bourbon there, you’re halfway there! For a proper Old Fashioned twist, you just need to serve a smaller amount of the **eggnog** over a large ice cube, maybe with a splash of good whiskey and a little simple syrup if your base wasn’t quite sweet enough. It turns that creamy beverage into something genuinely sophisticated for your holiday party. If you want to explore more spirit-forward holiday drinks, you should definitely check out this guide on making an Eggnog Old Fashioned!
Using Eggnog in Festive Desserts
This thick, velvety liquid is a dessert in waiting! The density we achieve through careful tempering means it behaves beautifully when baked or chilled in other ways. People go absolutely wild for homemade **Eggnog Pie** where you swap out the traditional custard base for our chilled eggnog mix. It sets up perfectly firm! Have you ever tried an **Eggnog Crème Brûlée**? It has that signature crackly sugar top, but the custard underneath is deeply flavored with cinnamon and nutmeg. It’s show-stopping! If you love that festive flavor combination but prefer something baked, you might even want to look at my recipe for red velvet cheesecake—it shows how you can infuse rich flavors into desserts beautifully.
Tips for Success with Your Spiced Winter Drink
Getting this **spiced winter drink** right isn’t just about the cooking; presentation matters just as much when you’re serving up holiday cheer! I put a lot of love into making sure this **eggnog** knocks everyone’s socks off, and these last little details are what really seal the deal. Think of these as the finishing touches that turn a great drink into a memorable one.
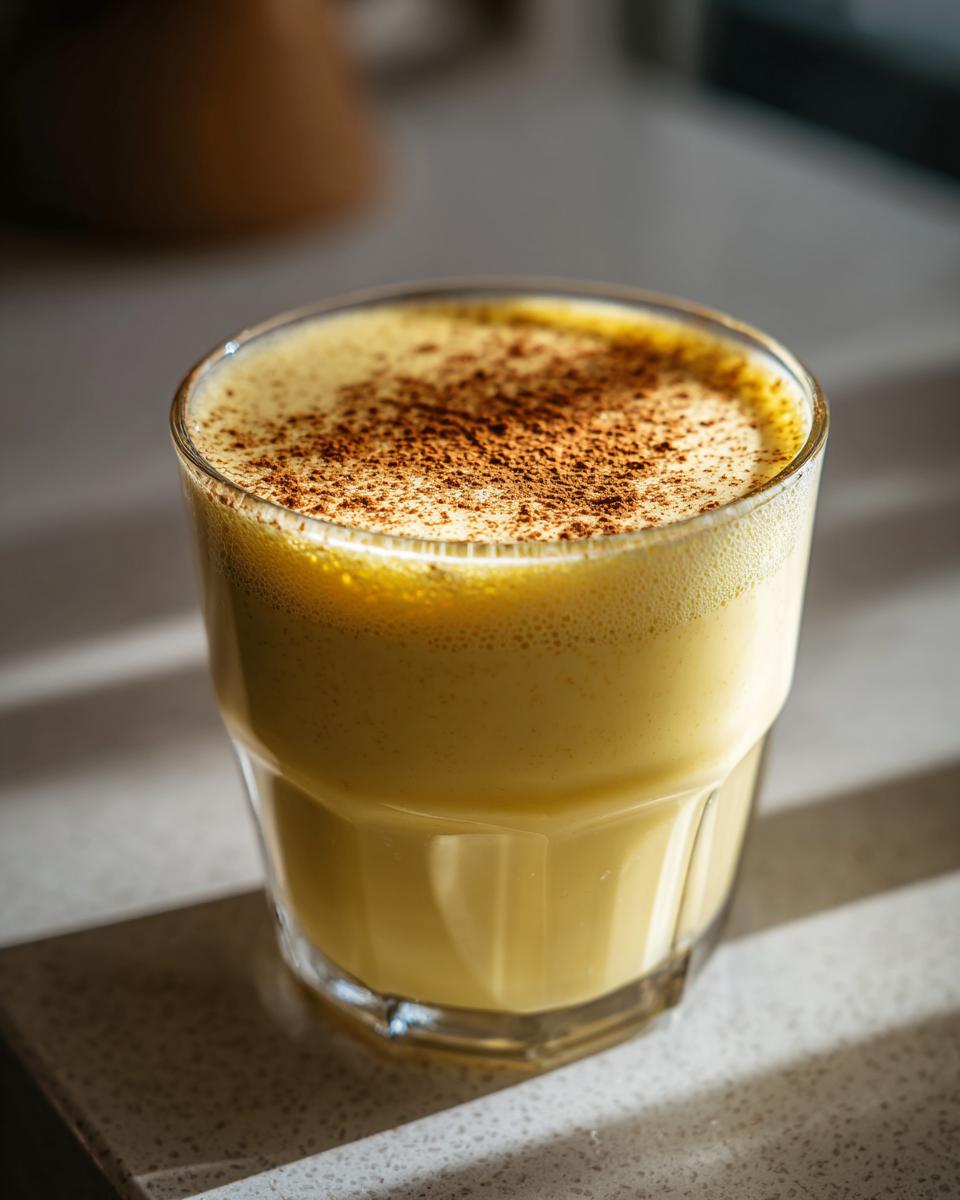
First thing: the vessel! Don’t serve this creamy goodness in just any old glass. Use a pretty little stemmed glass or a sturdy mug. It elevates the whole experience instantly. When my family serves it, we always use the crystal punch bowl, even if we only make half a batch. It just looks special sitting on the holiday table.
Second, always strain your mixture after cooking—I mentioned this in the instructions, but seriously, don’t skip it! Straining removes any slight hint of cooked egg that might have formed, ensuring that perfectly smooth, **velvety custard drink** consistency we worked so hard for on the stovetop. This step is non-negotiable for that ultra-premium texture.
Third, don’t buy the pre-ground nutmeg if you can help it. The difference between pre-ground and freshly grated nutmeg is night and day for this drink. That fresh grating releases volatile oils that give you that amazing aromatic punch right when you serve it. A tiny hand-held grater works perfectly for this. Serve cold and garnish generously with that fresh **nutmeg spice drink** topper.
Finally, if you plan on making a big batch for a party, think about making it a day ahead and keeping the spirits separate. You can add the rum or brandy right before serving; this keeps the flavor cleaner, especially if you have some guests who prefer the **Non Alcoholic Eggnog** version. It just saves you last-minute scrambling while guests are already mingling! If you’re looking for other easy, make-ahead dishes that save time on party day, you have to see how I prepare my easy oven baked BBQ chicken—it’s a lifesaver.
Storage and Make Ahead Holiday Beverages
One of the best parts about making homemade **eggnog**? It’s practically designed for holiday planning because it only gets better with age—for a little while, anyway! This recipe has fantastic staying power, which means you don’t have to whip this up right before the guests arrive when you’re already juggling appetizers and decorations. You can absolutely make this up to three days ahead of time. I often make a full batch on Tuesday, and by Christmas Eve, it’s even more complex and flavorful. It’s the ultimate stress-reliever when it comes to **Make Ahead Holiday Beverages** planning!
The key to keeping that **thick and creamy eggnog** texture intact is paying attention to how you store it. When you first strain and mix it, remember that crucial step: cover the surface *directly* with plastic wrap. This keeps air away, which is what causes that unpleasant skin to form when the dairy sits undisturbed. If you skip that, you’ll have to spend extra time whisking or even straining it again before serving.
When you pull it out of the fridge on party day, it’s going to look settled. That’s normal! The cream and milk base will have firmed up a bit, especially if you skimped on the alcohol or made the **Non Alcoholic Eggnog** version. Just grab a whisk—not a blender, we don’t want to add too much air—and give it a good, vigorous whisking for about 30 seconds until it smooths out again. It should return right back to that luscious, pourable consistency. It’s a wonderful time-saver, and honestly, letting it chill lets the nutmeg and clove really infuse everything perfectly. For more ideas on streamlining your holiday prep, take a peek at my thoughts on other make ahead holiday beverages!
Estimated Nutrition for Rich Festive Beverage
I always try to be transparent about what goes into our food, even when it comes to something as decadent as this **rich festive beverage**! Since we are working with fresh dairy, lots of egg yolks, and sugar, this homemade eggnog is definitely a treat, not an everyday sip, but that’s what the holidays are for, right? The nutritional information listed below is based on the recipe yielding 6 servings and **excluding any optional alcohol** (rum, brandy, or bourbon). If you decide to spike your batch, you’ll need to account for the extra calories, fat, and carbs from the spirits.
Keep in mind, these numbers are always estimates based on standard ingredient sizes, but they give you a good ballpark figure for this wonderfully traditional experience. This is why I love making our **Classic Eggnog Recipe** at home—we know exactly what’s going in it!
- Serving Size: 1 cup
- Calories: 350
- Sugar: 30g
- Sodium: 100mg
- Fat: 22g
- Saturated Fat: 13g
- Unsaturated Fat: 9g
- Trans Fat: 1g
- Carbohydrates: 32g
- Fiber: 0g
- Protein: 8g
- Cholesterol: 250mg
See that cholesterol number? That’s the power of those six rich egg yolks shining through! It’s part of what gives us that amazing **thick and creamy eggnog** quality. Enjoy responsibly, especially if you’re adding extra spirit!
Frequently Asked Questions About Homemade Eggnog
When you dive into making something as wonderful as **homemade eggnog**, you’re bound to have a few questions pop up! It’s a classic for a reason, but sometimes the old ways need a little translation for the modern kitchen. I’ve gathered the questions I get asked most often about achieving that stunning **creamy holiday drink** texture and flavor profile. If you’ve got a question that isn’t on the list, feel free to reach out via my contact page—I love hearing from you!
Can I use raw eggs instead of tempering them for this eggnog recipe?
Oh, honey, please don’t! While some very traditional recipes might call for raw eggs, I simply won’t stand by that advice anymore. My formal nutrition background tells me that we need to play it safe, especially when we’re serving guests. Tempering the eggs by cooking them slowly on the stovetop until they reach 170°F is the absolute best way to create that **Classic Eggnog Recipe** texture *and* ensure it’s safe for everyone. That gentle heat transforms the mixture into that luscious, velvety base we love without scrambling a single yolk. It’s the difference between an authentic **festive drink recipe** and a risky experiment!
What is the best alcohol to add to homemade eggnog?
This is the fun part, isn’t it? Our recipe gives you options because everyone’s taste is a little different, even during the holidays! If you want that deep, warming spice that pairs perfectly with the **nutmeg spice drink** profile, you can’t go wrong with dark rum or aged brandy. Bourbon is also phenomenal and adds a lovely smoky vanilla note that complements the spices beautifully. You add your choice in Step 7 once the base is tempered and slightly cooled. If you’re looking for advanced boozy variations, I saw a great reference for an eggnog recipe that discusses aging the final product, too!
Why is my homemade eggnog thinner than the store-bought kind?
If your **homemade eggnog** came out a bit thinner than you expected, it usually comes down to one of two things: either you didn’t cook the custard base long enough, or you didn’t let it chill completely. Remember, we are aiming for that moment when the mixture coats the back of the spoon, which means the yolks have thickened the liquid substantially. Also, remember how important chilling time is! The **thick and creamy eggnog** texture really sets up overnight in the cold. If it’s still a touch thin after chilling, try adding an extra 1/4 cup of heavy cream and whisking it well before serving.
Can I make this recipe Non Alcoholic Eggnog?
Absolutely, yes! That’s why I listed the spirits as optional—this custard base is phenomenal all on its own. If you skip the rum or brandy completely, you’ve got a wonderful **Non Alcoholic Eggnog** that is still rich, creamy, and packed with all those classic holiday spices. It’s a perfect **winter warmer drink** for the kids or for anyone who isn’t drinking alcohol that night. Just ensure you still follow the tempering instructions to cook the yolks safely, and chill it well for the best flavor development!
Share Your Homemade Holiday Cheer
Now that you have the blueprint for the **Best Eggnog from Scratch**, I truly hope you’ll give this a try before the holidays are over! There is simply nothing that compares to serving up a batch of rich, **creamy holiday drink** made with your own two hands. Once you taste that velvety texture infused with real nutmeg and spices, I know you’ll agree that this homemade version blows everything else out of the water.
When you do make it—whether you go all-in with the bourbon or stick to the delicious **Non Alcoholic Eggnog** version—please come back and let me know how it went! Seriously, drop a rating on this recipe. Those stars help other home cooks who are nervous about tempering eggs feel confident enough to try making their own **Classic Eggnog Recipe**. I read every single comment, and I love seeing photos of your gorgeous glasses filled with this festive treat.
Sharing recipes is all about building community, and your success with this **eggnog** inspires me every single day. If you found inspiration in my family’s approach to making this timeless drink, make sure you check out more stories and traditions on my About Page. Happy stirring, and cheers to a wonderful, well-spiced holiday season!
PrintClassic Homemade Eggnog: Rich and Creamy Holiday Drink

Make this easy homemade eggnog from scratch for a thick, creamy holiday treat that tastes better than store-bought versions. This classic recipe is perfect for Christmas gatherings.
- Prep Time: 15 min
- Cook Time: 15 min
- Total Time: 30 min
- Yield: 6 servings 1x
- Category: Beverage
- Method: Stovetop Cooking
- Cuisine: American
- Diet: Vegetarian
Ingredients
- 6 large egg yolks
- 3/4 cup granulated sugar
- 1/4 teaspoon salt
- 1/4 teaspoon ground nutmeg
- 1/4 teaspoon ground cinnamon
- 1/8 teaspoon ground cloves
- 1 cup whole milk
- 1 cup heavy cream
- 1 teaspoon vanilla extract
- Optional: 1/2 cup dark rum, brandy, or bourbon
Instructions
- In a medium saucepan, whisk the egg yolks, sugar, salt, nutmeg, cinnamon, and cloves until well combined.
- Whisk in the whole milk until the mixture is smooth.
- Cook the mixture over medium-low heat, stirring constantly with a wooden spoon or heatproof spatula. Do not let it boil.
- Continue cooking until the mixture thickens enough to coat the back of the spoon (about 170°F or 77°C). This tempering process takes about 10 to 15 minutes.
- Immediately remove the saucepan from the heat. Strain the mixture through a fine-mesh sieve into a clean bowl to remove any cooked egg bits.
- Stir in the heavy cream and vanilla extract.
- If making the alcoholic version, stir in your choice of spirit now.
- Cover the surface of the eggnog directly with plastic wrap to prevent a skin from forming.
- Chill in the refrigerator for at least 4 hours, or preferably overnight, to allow the flavors to meld.
- Before serving, whisk the chilled eggnog well. Serve in glasses, garnished with a fresh sprinkle of nutmeg.
Notes
- For a non-alcoholic eggnog, simply omit the spirits in step 6.
- You can make this eggnog up to three days ahead of time; chilling improves the flavor.
- To achieve a truly velvety custard drink texture, ensure you stir constantly while tempering the eggs on the stovetop.
- For a thicker result, you can gently heat the mixture until it reaches a slightly higher temperature, but watch carefully to avoid scrambling the eggs.
Nutrition
- Serving Size: 1 cup
- Calories: 350
- Sugar: 30
- Sodium: 100
- Fat: 22
- Saturated Fat: 13
- Unsaturated Fat: 9
- Trans Fat: 1
- Carbohydrates: 32
- Fiber: 0
- Protein: 8
- Cholesterol: 250