
Oh, can you just smell that? There’s nothing in the world that beats the aroma of bread baking, especially straight out of the oven. That smell just tells your entire house that something wonderful is happening! If you’ve been dreaming of sinking your teeth into incredibly soft, fluffy, and buttery dinner rolls, but you think you don’t have the time, I am here to tell you: you absolutely do! This recipe is my secret for getting truly bakery-style quality in about one hour total.
For me, making homemade things with my own two hands is how I show love. These rolls aren’t just a side dish; they are connection on a plate, perfect for pulling apart during family dinners. Trust me, once you make this quick batch, you’ll never go back to the frozen stuff. If you want the guaranteed softest result, remember to save yourself a moment right after they come out of the oven to brush them generously with butter before they even cool down. You can see my full step-by-step guide to making these amazing soft, fluffy, buttery dinner rolls below!
- Why These Are the Best Homemade Rolls You Will Ever Make
- Gathering Ingredients for Soft Dinner Rolls
- Step-by-Step Instructions for Fluffy Homemade Bread
- Finishing Your Rolls with a Buttery Glaze
- Variations: From Parker House Rolls to Texas Roadhouse Rolls Copycat
- Tips for Bakery Style Rolls Homemade Success
- Storage and Reheating Instructions for Your Rolls
- Frequently Asked Questions About Making Yeast Rolls
- Nutritional Estimates for These Soft Rolls
- Share Your Experience Baking These Rolls
Why These Are the Best Homemade Rolls You Will Ever Make
I’m telling you, these are truly the best homemade rolls out there, and the speed is what seals the deal for busy folks like us. We’re talking about fully baked, pull-apart perfection in about an hour! That’s the magic of this recipe—it delivers intense comfort food baking satisfaction without needing you tied to the kitchen all afternoon. The texture is unbelievably soft and fluffy every single time, thanks mainly to that generous buttery brush right when they exit the oven.
Here is a critical pointer from me, Jess: make absolutely sure your milk is warm, not hot, around 110°F. If it’s too hot, you’ll kill that eager yeast, and then you lose your speed advantage! I’ve ruined dough before by rushing that first step—don’t let that happen to you!
Quick Dinner Rolls Timeline Breakdown
Because the speed is so great, I wanted to map out where that hour goes so you can see how efficient this is:
- Prep & Mixing: About 15 minutes
- First Rise: 30 minutes
- Shape & Second Rise: About 20 minutes
- Bake Time: 15 to 18 minutes
See? It’s all about getting those quick rises going while you clean up your mixing bowls. If you love recipes that work fast, maybe check out my secrets for super ultra-fluffy Southern biscuits next!
Gathering Ingredients for Soft Dinner Rolls
Alright, let’s get our ingredients lined up right here on the counter. This recipe uses really straightforward pantry staples, which is why it’s so reliable for weeknights. But the quality of a few key items really makes the difference between a good roll and one of these melt-in-your-mouth wonders.
First, you’ll pull out some warmth: 1 cup of milk that has been heated just right, aiming for that 110°F sweet spot—if you don’t have a thermometer, it should feel warm, like a baby bottle, but definitely not hot. You’ll also need a large egg, and make sure that egg comes up to room temperature before you mix it in so it incorporates smoothly. For the fat component, we split the butter into two parts. You need 1/4 cup unsalted butter, melted down and allowed to cool a touch. The second, much larger portion, is 1/2 cup (that’s one whole stick!) of unsalted butter, kept very softened for brushing on top later.
For the dry folks, grab 3 1/2 cups of all-purpose flour—I keep an extra half cup handy just in case the dough needs a little love—plus 1 teaspoon of salt. Finally, don’t forget the activator: 2 1/4 teaspoons of active dry yeast AND 1/4 cup of sugar to get that yeast happy and bubbly.
Ingredient Notes and Substitutions for Perfect Rolls
When we talk about baking from scratch, ingredient quality matters! For the yeast, I’m using active dry yeast here, which needs that warm milk bath to wake up. If you happen to grab instant yeast instead? You can skip letting it sit and foam, but for this recipe, I stick to active dry because it gives me that extra confirmation that my yeast roll recipe is going to work when time is of the essence.
Again, that milk temperature! If you are unsure, stick a quick-read thermometer in there. 110°F is a must for those quick dinner rolls to avoid a flat batch. Now, about that butter topping? If you only have salted butter on hand, you are totally fine! Just cut back the added salt in the main mixture by about 1/4 teaspoon. The main thing is that final, generous brush—don’t skimp on the melting the butter for the top, that’s where the buttery flavor really sinks in!
Step-by-Step Instructions for Fluffy Homemade Bread
Okay, deep breath! We are going to turn these ingredients into glorious, soft rolls. Don’t let the yeast scare you; it’s just a little creature that needs a warm, happy home to thrive in. Take your time with the mixing, and I promise, the results are worth every second. This is how we guarantee those beautiful buttery yeast rolls start off right.
Activating Yeast and Mixing the Dough for Buttery Yeast Rolls
Step one: Wake up the yeast! In your big mixing bowl, pour in that warm milk (remember, 110°F!) and sprinkle the yeast and sugar right on top. Now, here’s the trustworthiness part: you absolutely must let this sit for 5 to 10 minutes. If you don’t see a nice layer of foam forming on the top, your yeast is dead, sweetie, and you need to start over with fresh yeast. Don’t worry, it happens to me too!
Once you have a nice foamy head, whisk in your room-temperature egg and that 1/4 cup of melted, slightly cooled butter. In another bowl, whisk your 3 cups of flour and that salt together. Slowly start adding the dry stuff to the wet stuff, mixing until it gets hard to stir and looks like a shaggy mess. Resist the urge to dump it all in at once!
Kneading and First Rise of the Rolls Dough
Now for the workout! Turn that shaggy dough out onto your counter, which you’ve just dusted lightly with flour. You need to knead this dough for a solid 5 to 7 minutes. You’re working to develop the gluten, which gives these fluffy homemade bread rolls their stretch. Keep incorporating that last bit of flour only as needed until the dough feels smooth and wonderfully elastic under your hands, but still soft—it shouldn’t be sticking aggressively to the counter.
Tuck it into a lightly oiled bowl, turning it once to coat. Cover it up tight, tuck it in a warm spot, and let it relax and grow for 30 minutes. You’re looking for it to double in size. That lovely, active dough is halfway there!
Shaping and Baking Your Quick Dinner Rolls
Okay, gently punch that air out—it’s so satisfying! Now, grab a knife or bench scraper and divide that dough into exactly 12 equal pieces. Roll each piece into a tight, smooth little ball, like you’re making tiny muscle men. Space these out nicely in your greased 9×13 pan. Give them space because they grow to become beautiful pull apart bread!
Cover them again, but this time, only let them rest for 15 to 20 minutes. We don’t want them to over-proof and collapse in the oven, so keep an eye on them; they should just look puffy. Preheat that oven to 375°F (190°C). Bake them for just 15 to 18 minutes until they are gorgeous and golden brown on top. You can check out some more advanced techniques for making sourdough discard rolls if you get adventurous later!
Finishing Your Rolls with a Buttery Glaze
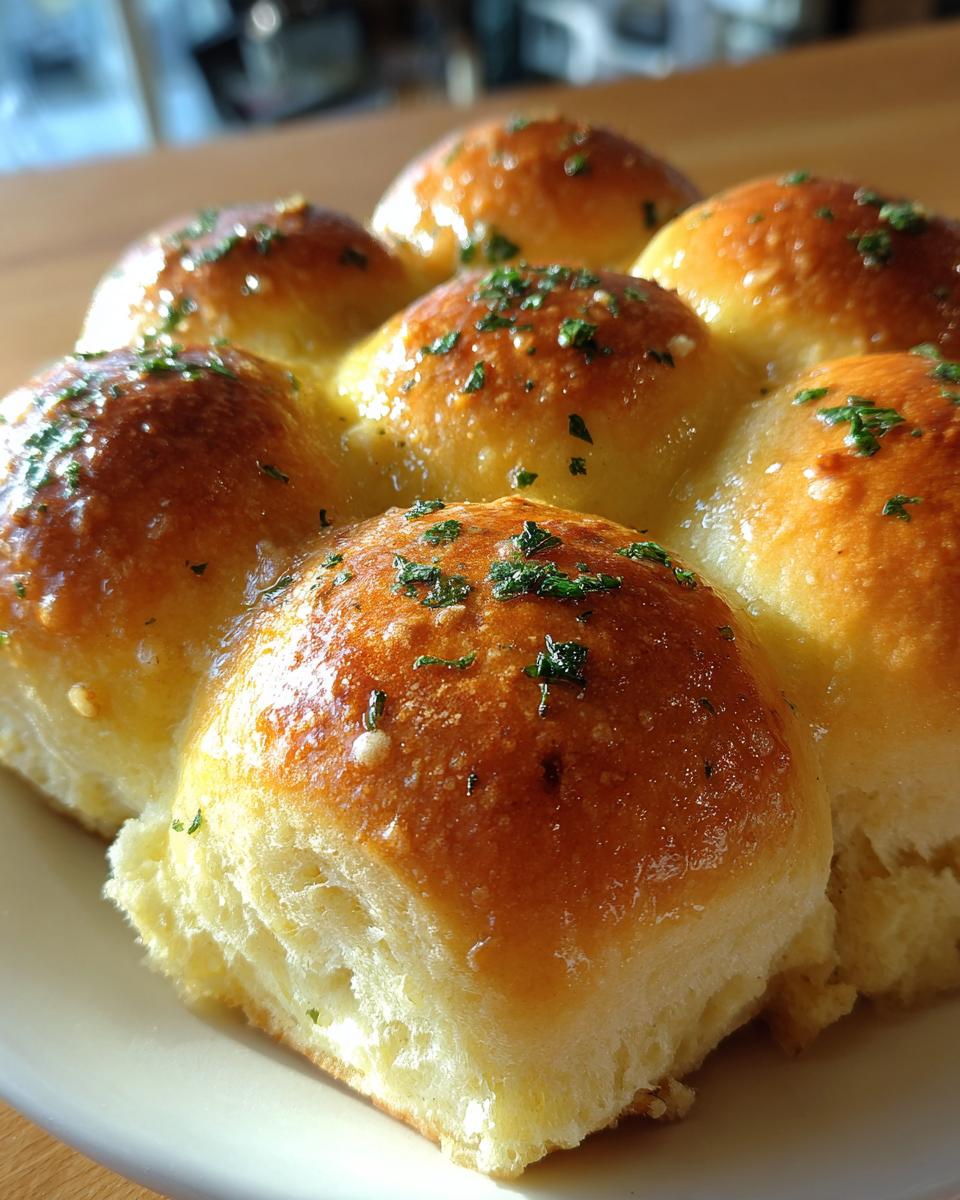
This last step right out of the oven? This is the moment that separates a good roll from the most amazing, decadent, melt-in-your-mouth experience you can imagine. Seriously, don’t let these beautiful rolls cool down even a little bit before you treat them. As soon as those golden tops come out, grab that remaining 1/2 cup of softened butter—the one we saved—and melt it down until it’s liquid gold.
You need to brush the tops generously, and I mean *generously*, with that hot melted butter. It soaks right into that warm crust, sealing in the moisture and giving you that incredible, shiny, buttery sheen that begs you to pull one right off the pan. That’s my non-negotiable rule, folks; Jess Carter always brushes them immediately!
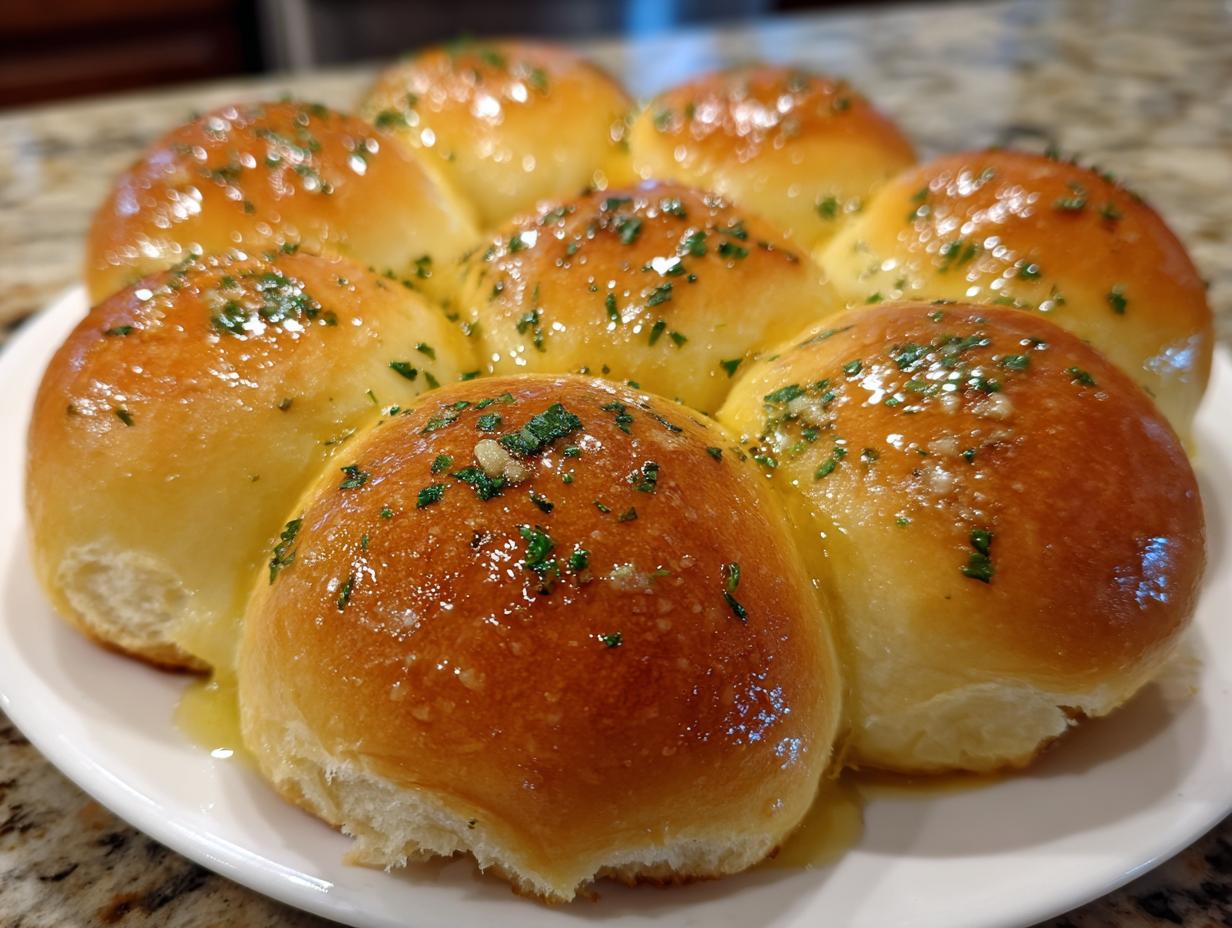
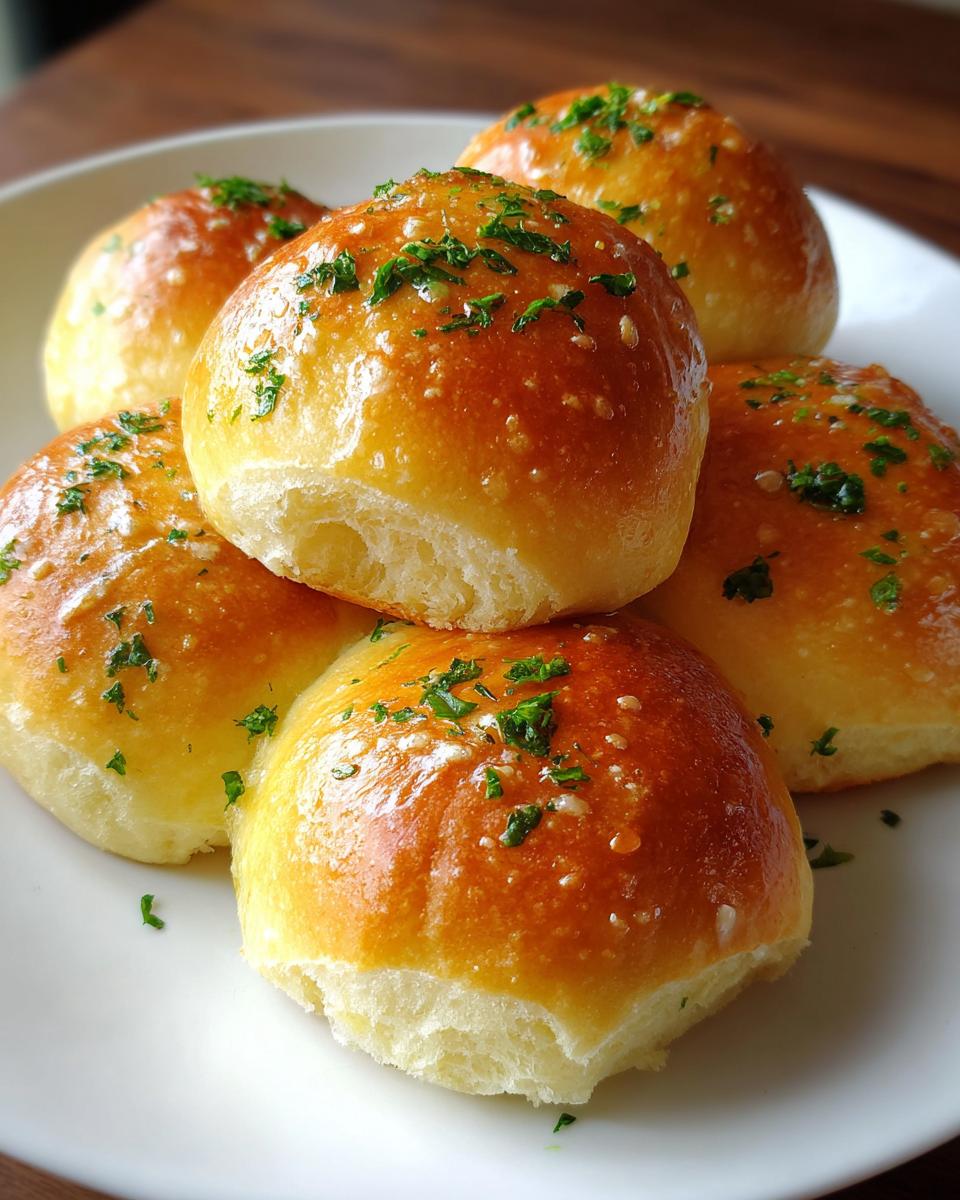
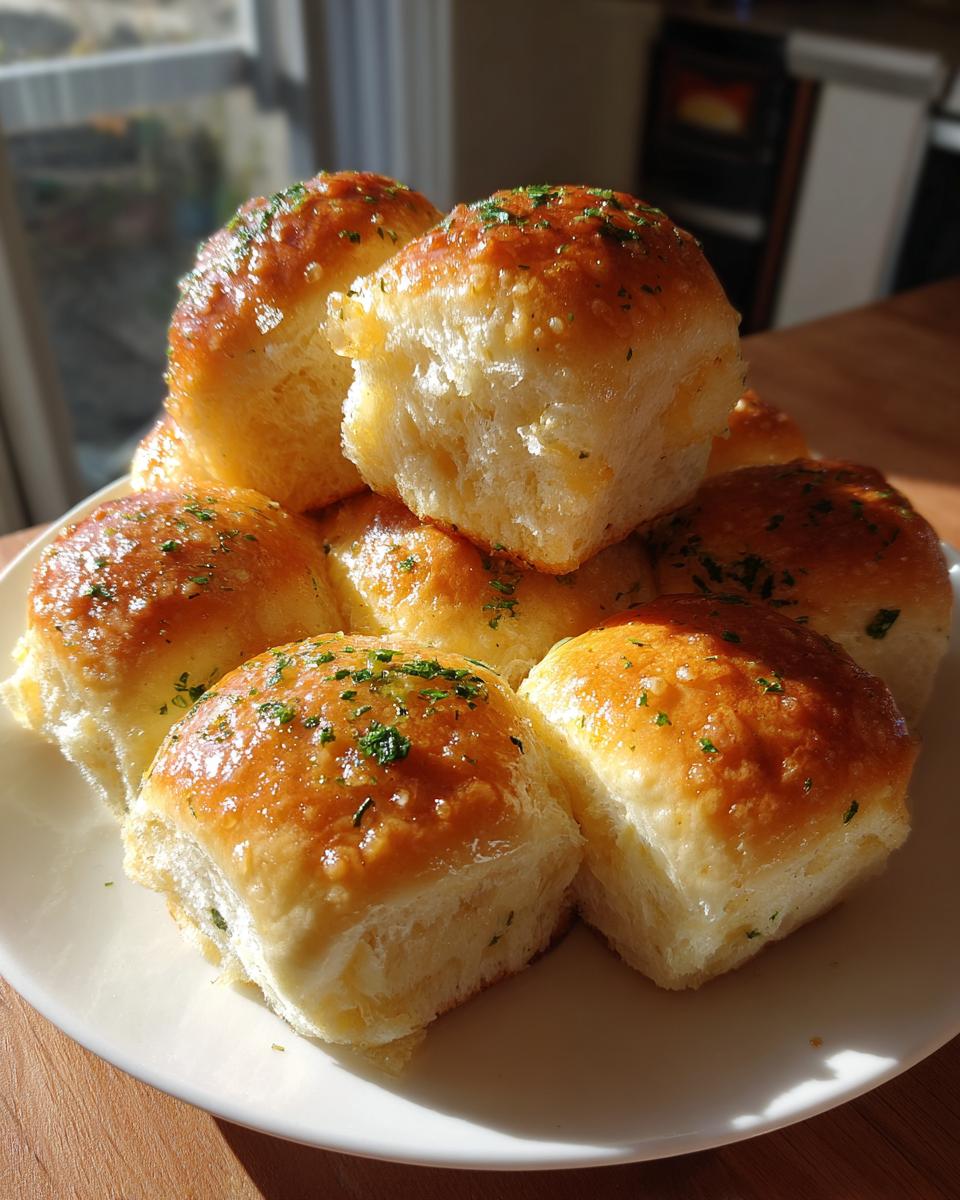
Now, if you want to elevate these from just regular soft rolls to something absolutely addictive, you have to try the garlic butter rolls variation. It’s so simple! While you melt that butter, just toss in two cloves of finely minced garlic and maybe a tablespoon of fresh parsley if you have some handy. Swirl it all together, and brush that savory mixture all over the tops instead of plain butter. Trust me, if you are serving these with pasta or soup, that garlic butter is going to make people ask for seconds before they’ve even finished their first roll. You can find my favorite simple base for that flavor here: easy homemade garlic butter.
Variations: From Parker House Rolls to Texas Roadhouse Rolls Copycat
The beauty of a great base dough, like this one, is that you can pivot it into so many different styles of amazing rolls depending on what your family loves or what you’re serving!
If you have a holiday coming up, or maybe you just want that elegant, folded look that lets the butter soak into the layers, turning these into Parker House Rolls recipe style is super simple. After you’ve divided the dough into 12 equal pieces, instead of rolling them into perfect balls, flatten each piece into a smallish rectangle. You give that rectangle a good brush with some of that softened butter we saved for the topping. Then, you fold it in half like you’re closing a greeting card. Then, take that folded piece and place the crease slightly overlapping onto the pan. They puff up beautifully together while baking, giving you those delicate, foldable portions.
Now, if you’re chasing that beloved chain restaurant vibe, we need a little flavor switch for a Texas Roadhouse Rolls copycat. The secret they use isn’t just the honey butter; it’s often a little dash of cinnamon mixed into the butter glaze you use after they bake. So, you follow the main recipe for the dough and the baking. But when they come out piping hot, ditch the plain butter for a mix of melted butter, a teaspoon of cinnamon—maybe a tiny sprinkle of sugar if you’re feeling it—and brush that right on top. You get that sweet, yeasty aroma wafting up immediately! If you want my go-to recipe for that famous cinnamon butter, I’ve written down exactly how I make it over here: cinnamon butter for that Texas Roadhouse copycat. Either way you go, you are guaranteed a batch of fantastic homemade rolls!
Tips for Bakery Style Rolls Homemade Success
You want that beautiful, professional look and feel? It’s totally doable right here in your own oven! This recipe is already designed for that fluffy, pillowy texture, but a few extra steps will push these right into that high-end bakery style rolls homemade category.
First, let’s talk about that milk temperature again—this is where science meets baking! If you trust me on nothing else, trust me on using that thermometer to hit 110°F for the initial yeast activation. That makes sure the yeast is active but not panicked!
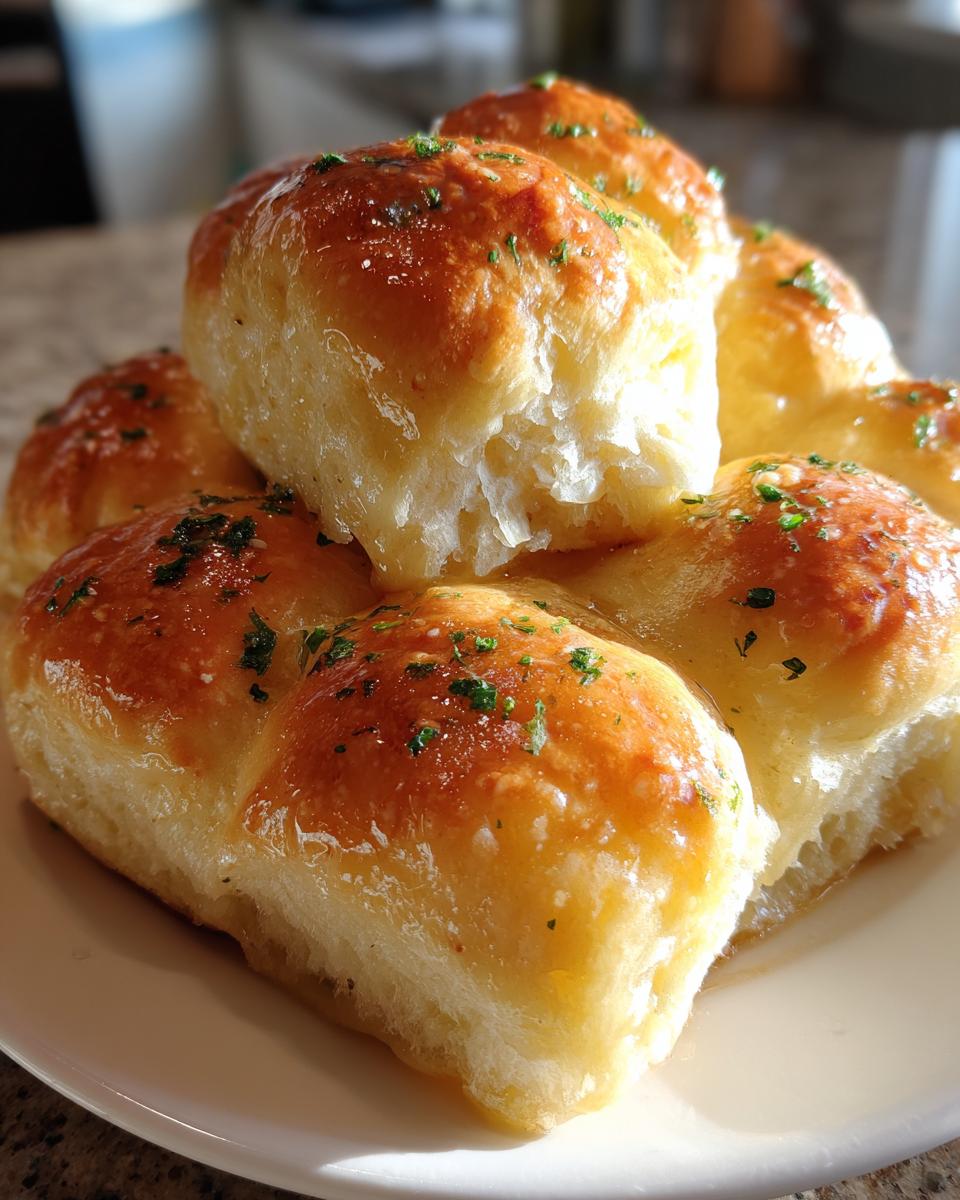
Next, for the best pull apart bread effect, make sure you leave just a tiny bit of touching space between your dough balls in that 9×13 pan. As they have their second rise, they will swell up and touch each other, creating those soft, vertical sides once baked. And don’t peek! Opening the oven door while these soft rolls are baking messes with the consistency of the heat, and we want them rising evenly up, not collapsing inward.
If you enjoy getting technical with your baking, my guide to making easy puff pastry goes into a lot more detail about why consistent oven temps are key! Give these tried-and-true tips a shot for your next batch.
Storage and Reheating Instructions for Your Rolls
Now that you have made these incredible, soft rolls, the biggest question is always: how do I keep them this soft until the next meal? Because these are so buttery and moist, they can dry out faster than regular bread if you just leave them on the counter, uncovered. Don’t let that beautiful work go stale!
For keeping them fresh, you absolutely must use an airtight container. Right after you brush them with that glorious melted butter (the plain or garlic version!), let them cool completely on a wire rack first. Once they are totally cool, transfer them into a sturdy container with a tight-fitting lid or even a heavy-duty zip-top bag, squeezing out as much air as you can. Stored this way on the counter, they should stay delightfully soft for about two to three days. If you need them to last longer, the freezer is your friend!
To freeze them, let them cool completely, wrap the whole batch tightly first in plastic wrap, and then slide that into a freezer bag. That double wrap protects them from freezer burn. They are great frozen for up to three months.
When you are ready to bring these soft dinner rolls back to life, you have two great options. If you only need one or two, the microwave is super fast—just pop one on a paper towel for about 10 to 15 seconds. That little burst of warmth brings back the fluff perfectly! If you are reheating the whole batch, wrap them loosely in foil and pop them into a 300°F oven for about 8 to 10 minutes. That gentle heat reheats them all the way through and makes the tops beautifully tender again without making them crispy. Enjoy those second-day rolls almost as much as the first batch!
Frequently Asked Questions About Making Yeast Rolls
I know that when you are baking from scratch, especially with yeast, you are probably going to have a few questions pop up along the way. Don’t you worry! I’ve gathered the ones I hear most often about this yeast roll recipe so you can bake with total confidence.
Can I use instant yeast instead of active dry yeast?
Yes, absolutely! I use active dry in the main recipe because I love that positive confirmation when I see the foam, but instant yeast works great too, and it actually speeds things up slightly. If you use instant yeast, you can skip Step 1 completely. Just whisk the instant yeast right into your dry ingredients (flour and salt) before adding them to the wet mixture later on. You don’t need that 10-minute waiting game for it to bloom!
My dough didn’t rise after the first proof. What happened?
Ugh, that is the worst feeling! Usually, when the dough fails to rise after waiting, it’s one of two things: either your milk was too hot and it killed the yeast, or your yeast was old. If your milk was around 110°F (warm, not hot), then your yeast probably expired. Check the date on the jar next time! If you are unsure about old yeast, never risk the whole batch—it’s better to run a quick test first to see if it foams up in the warm sugar water before you mix it into your dough.
Can I make the dough ahead of time and bake these rolls later?
You certainly can! This dough is great for a slow, overnight proof, which deepens the flavor even more. Once you’ve finished kneading (Step 5), instead of letting it rise at room temperature for 30 minutes, lightly coat the dough, place it in a bowl, cover it tightly, and tuck it into the refrigerator for up to 24 hours. When you are ready to bake, let it sit on the counter for about an hour to take the chill off before punching down and shaping it for its final quick rise. It’s a wonderful trick for holiday baking!
Can I freeze these rolls after they are baked?
Yes, but for the absolute softest experience, I always prefer freezing the dough before the final rise, as I mentioned above. However, if you want to freeze the finished rolls, make sure they are fully cooled. Wrap them super tight in plastic wrap, then slide that into a heavy-duty freezer bag. When you reheat them, they come back beautifully soft! If you want to learn more about the whole process of maintaining your starter or handling different doughs, I cover a lot of this foundational knowledge over in my guide on how to make sourdough starter from scratch.
Nutritional Estimates for These Soft Rolls
I always get asked about the details, and while my focus is truly on the love and connection baked into these, I know knowing what’s in your food matters too! Here are the general nutritional estimates for one of these glorious, buttery rolls based on the ingredients listed above. Remember, since we are baking from scratch, results can vary slightly depending on the brands of flour or butter you use.
This is a true comfort food serving, so keep that in mind! These estimates are based on dividing the recipe into 12 equal portions.
- Serving Size: 1 roll
- Calories: 240
- Fat: 11g
- Saturated Fat: 7g
- Carbohydrates: 31g
- Sugar: 5g
- Protein: 5g
I want to be clear here: these numbers are good guidelines, but they aren’t precisely calculated for commercial lab testing. Different brands of butter or how much you decide to brush on the top afterwards will change things slightly. So think of these as a good indicator for your weekly planning, but not a courtroom deposition! What matters most is that they taste incredible and make your family happy around the dinner table.
Share Your Experience Baking These Rolls
Now that you’ve got the recipe and maybe even a stack of warm, glorious rolls sitting on your counter, I have to know how they turned out! Seriously, seeing your success photos and hearing that you managed to whip up bakery-quality bread in about an hour makes my whole week.
If you followed along and these became as much of a hit in your house as they are in mine, please take a moment and give this recipe a star rating right here on the site. One star means “tasted like cardboard,” and five stars means “I think I’ll serve these every night!” Also, drop me a comment below—I love answering your little baking questions, especially if you ran into a snag or want to try a different flavor combination.
And here’s a specific request: Did you try brushing that amazing optional garlic butter on? If you ventured into the garlic butter rolls territory, tell me how it went! Was it too much garlic? Not enough? I’m always tinkering and love hearing how you adapted things in your own kitchen. If you need to reach out directly with a big question or suggestion, you can always hop over to my contact page, but I truly hope to see your comments right below this section!
Print1-Hour Soft and Buttery Dinner Rolls

Make incredibly soft, fluffy, and buttery dinner rolls in about one hour. This easy yeast roll recipe delivers restaurant-quality comfort food perfect for weeknight meals or holiday baking.
- Prep Time: 15 min
- Cook Time: 18 min
- Total Time: 63 min
- Yield: 12 rolls 1x
- Category: Side Dish
- Method: Baking
- Cuisine: American
- Diet: Vegetarian
Ingredients
- 1 cup warm milk (about 110°F)
- 2 1/4 teaspoons active dry yeast
- 1/4 cup granulated sugar
- 1 large egg, room temperature
- 1/4 cup unsalted butter, melted and slightly cooled
- 3 1/2 cups all-purpose flour, plus more for dusting
- 1 teaspoon salt
- 1/2 cup (1 stick) unsalted butter, softened, for brushing
Instructions
- In a large bowl, combine the warm milk, yeast, and sugar. Let this mixture sit for 5 to 10 minutes until it becomes foamy. This shows the yeast is active.
- Whisk the egg and the 1/4 cup of melted butter into the yeast mixture.
- In a separate bowl, whisk together 3 cups of the flour and the salt.
- Gradually add the dry ingredients to the wet ingredients, mixing until a shaggy dough forms.
- Turn the dough out onto a lightly floured surface. Knead for 5 to 7 minutes, adding the remaining 1/2 cup of flour as needed until the dough is smooth and elastic. It should be soft but not sticky.
- Place the dough in a lightly oiled bowl, turning to coat. Cover the bowl with plastic wrap or a clean kitchen towel. Let the dough rise in a warm spot for 30 minutes, or until it has doubled in size.
- Gently punch down the risen dough. Divide the dough into 12 equal pieces. Roll each piece into a smooth ball.
- Arrange the dough balls in a greased 9×13 inch baking pan, leaving a small space between each roll for them to touch as they bake.
- Cover the pan loosely and let the rolls rise again in a warm place for 15 to 20 minutes. They should look puffy.
- Preheat your oven to 375°F (190°C).
- Bake the rolls for 15 to 18 minutes, or until the tops are golden brown.
- While the rolls are still hot, melt the remaining 1/2 cup of butter. Brush the tops generously with the melted butter. Serve warm for the best homemade bread experience.
Notes
- For garlic butter rolls, mix 1/2 cup melted butter with 2 cloves minced garlic and 1 tablespoon chopped fresh parsley. Brush this mixture over the hot rolls immediately after baking.
- If you prefer Parker House Rolls, roll the dough into a rectangle, brush with melted butter, fold in half, and then slightly overlap the edges before placing them in the pan.
- To achieve bakery style rolls, ensure your rising area is warm, which speeds up the process and makes the dough fluffier.
Nutrition
- Serving Size: 1 roll
- Calories: 240
- Sugar: 5
- Sodium: 280
- Fat: 11
- Saturated Fat: 7
- Unsaturated Fat: 4
- Trans Fat: 0
- Carbohydrates: 31
- Fiber: 1
- Protein: 5
- Cholesterol: 30