
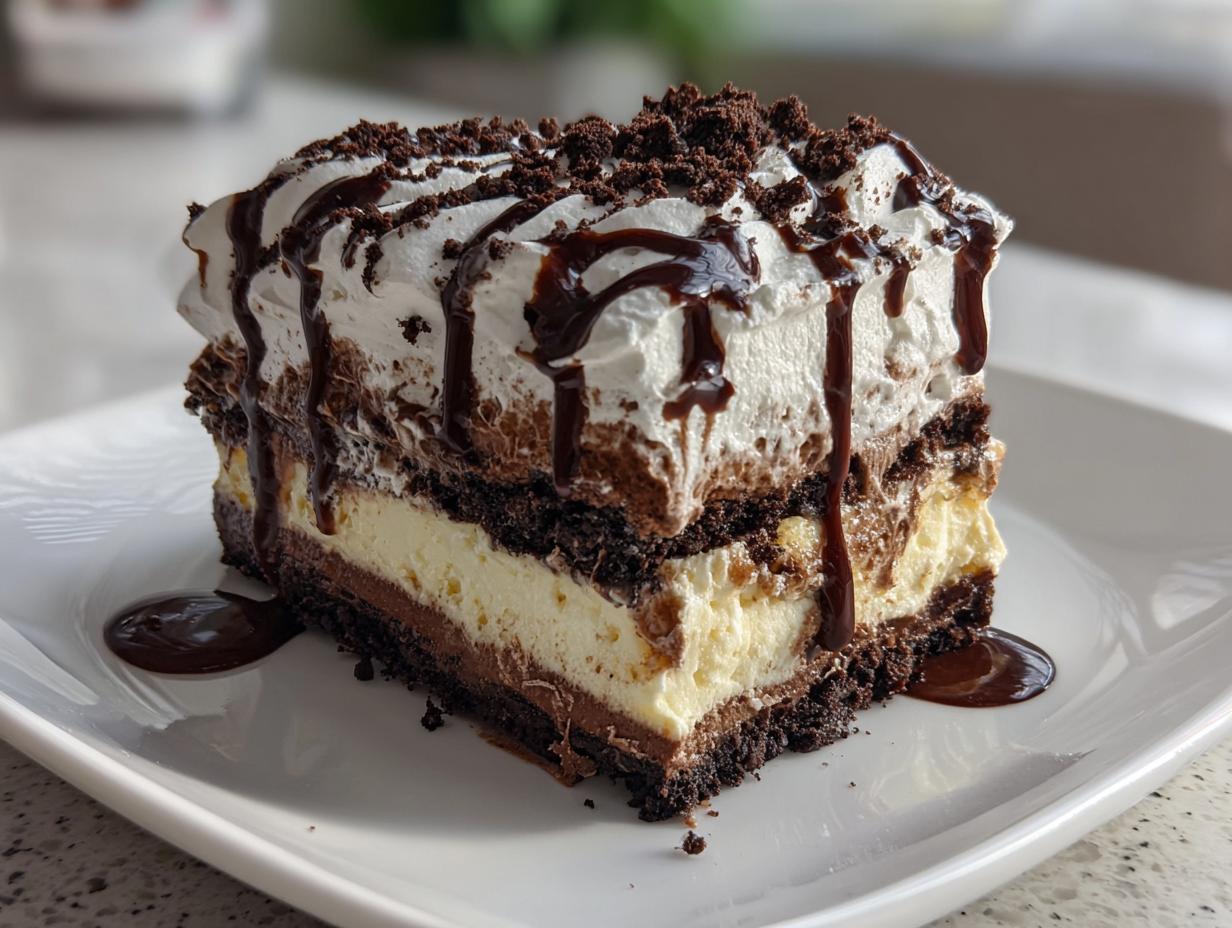
There is just something magical that happens when you bring out that first perfect, beautiful **ice cream cake** at a party, isn’t there? Whether it’s a scorching summer evening or a big birthday bash, that moment is guaranteed to bring out the smiles. I’m Jess Carter, and while I love the science of nutrition, I truly believe the best food nourishes the soul. That’s why I want to share my secret for the ultimate, foolproof, easy no-bake ice cream cake recipe. Forget complicated steps or heating up the oven! This layered dessert is so simple, you’ll feel like a dessert hero just assembling it in a springform pan. It’s perfect for birthdays, summer parties, or just because you deserve a phenomenal frozen treat.
- Why This Easy No-Bake Layered Ice Cream Cake is a Must-Make
- Ingredients Needed for Your Ultimate Ice Cream Cake
- Step-by-Step Instructions for the Best Ice Cream Cake
- Tips for Making a Perfect Customizable Ice Cream Cake
- Serving Suggestions for Your Ice Cream Party Food
- Storage and Make Ahead Tips for Your Ice Cream Cake
- Frequently Asked Questions About Making an Ice Cream Cake
- Nutritional Estimates for This Creamy Layered Cake
- Share Your Homemade Ice Cream Cake Creations
Why This Easy No-Bake Layered Ice Cream Cake is a Must-Make
Honestly, sometimes we just need a win in the kitchen without spending hours standing over a hot stove. This cake delivers every single time! It’s the definition of a **quick frozen dessert** that looks way more impressive than the effort it requires. Trust me on this one.
- It’s completely no-bake—we rely on the freezer, which is my favorite kind of magic!
- It’s unbelievably crowd-pleasing; who doesn’t love layers of ice cream?
- This is such a **customizable ice cream cake**; you can swap flavors like crazy.
- You can assemble this entire thing ahead of time, which is a lifesaver when hosting. Check out some other delicious desserts and treats to make while you wait for it to freeze!
Ingredients Needed for Your Ultimate Ice Cream Cake
Alright, let’s talk about what you need to bring this frozen dream to life. Because this is a **homemade ice cream cake** and we aren’t baking anything, the quality of what you start with really matters. Don’t worry, these are all standard stuff you can grab in one quick trip! My main rule here, especially when it comes to the ice cream, is that it needs to be *slightly* softened—not melted soup, but soft enough that you can glide a spatula through it easily. This is crucial for those beautiful, even layers.
Crust and Layer Components for the Ice Cream Cake
You’ll need a 9-inch springform pan for this whole operation. Seriously, don’t try a regular cake pan unless you want to wrestle with the cake for twenty minutes later! Here’s your shopping list:
- One 9-inch springform pan (this is non-negotiable!)
- 1 package (14.3 ounces) of those great chocolate sandwich cookies, like Oreos—we need the whole thing!
- 6 tablespoons unsalted butter, melted smooth
- 1.5 quarts vanilla ice cream, softened just a touch
- 1.5 quarts chocolate ice cream, also softened slightly so it spreads
- 1 cup of hot fudge sauce, warmed up just enough to be drippy
- 1 cup of those same crushed sandwich cookies for sprinkling on top
- 1 cup of whipped topping, soft and ready to go
- Optional, but highly encouraged: Sprinkles! Go wild for a **birthday ice cream cake** vibe.
Step-by-Step Instructions for the Best Ice Cream Cake
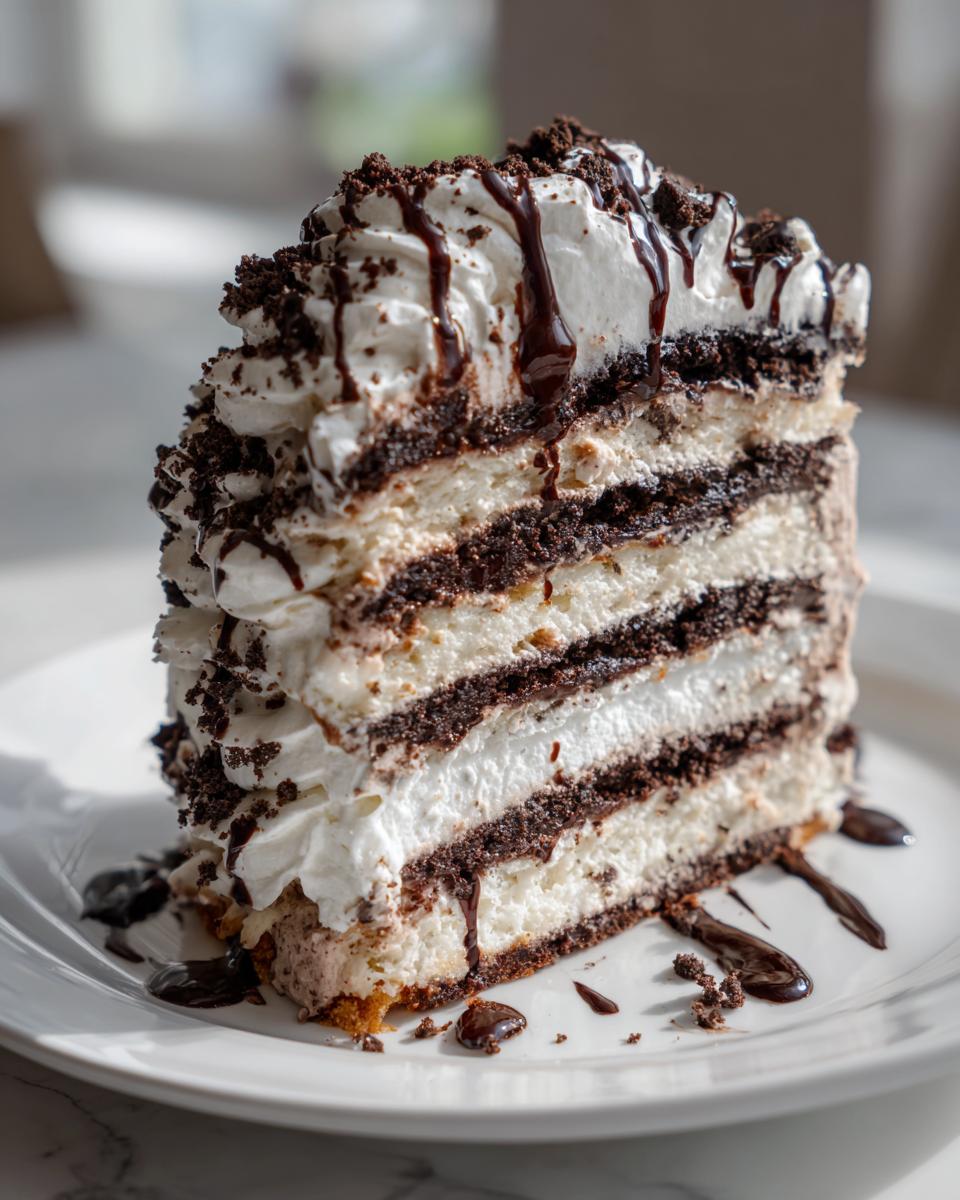
Okay, this is where the fun starts! Since we aren’t doing any actual baking—thank goodness—our success relies entirely on timing and freezer patience. Don’t rush the freezing steps; that’s what keeps our layers looking crisp and clean, giving you that gorgeous cross-section when you slice it later. This method ensures we get that **best ice cream cake** texture, not a sludgy mess!
Creating the Cookie Crust Base
First things first, let’s get that foundation down. Grab your food processor, or find a sturdy Ziploc bag and a rolling pin if you don’t want to pull out the heavy machinery—oops, sometimes that bag breaks, so be careful! You need fine crumbs from that whole package of cookies. Then, pour in that melted butter and mix it until it looks like wet sand. Press that mixture really, *really* firmly into the bottom of your prepared springform pan. Don’t be shy here; really pack it down! Once it’s smooth, pop that pan into the freezer for 15 minutes. This initial freeze is what sets up your crust, making it the perfect base for your **no bake ice cream cake**.
Layering the Ice Cream and Fudge for Your Ice Cream Cake
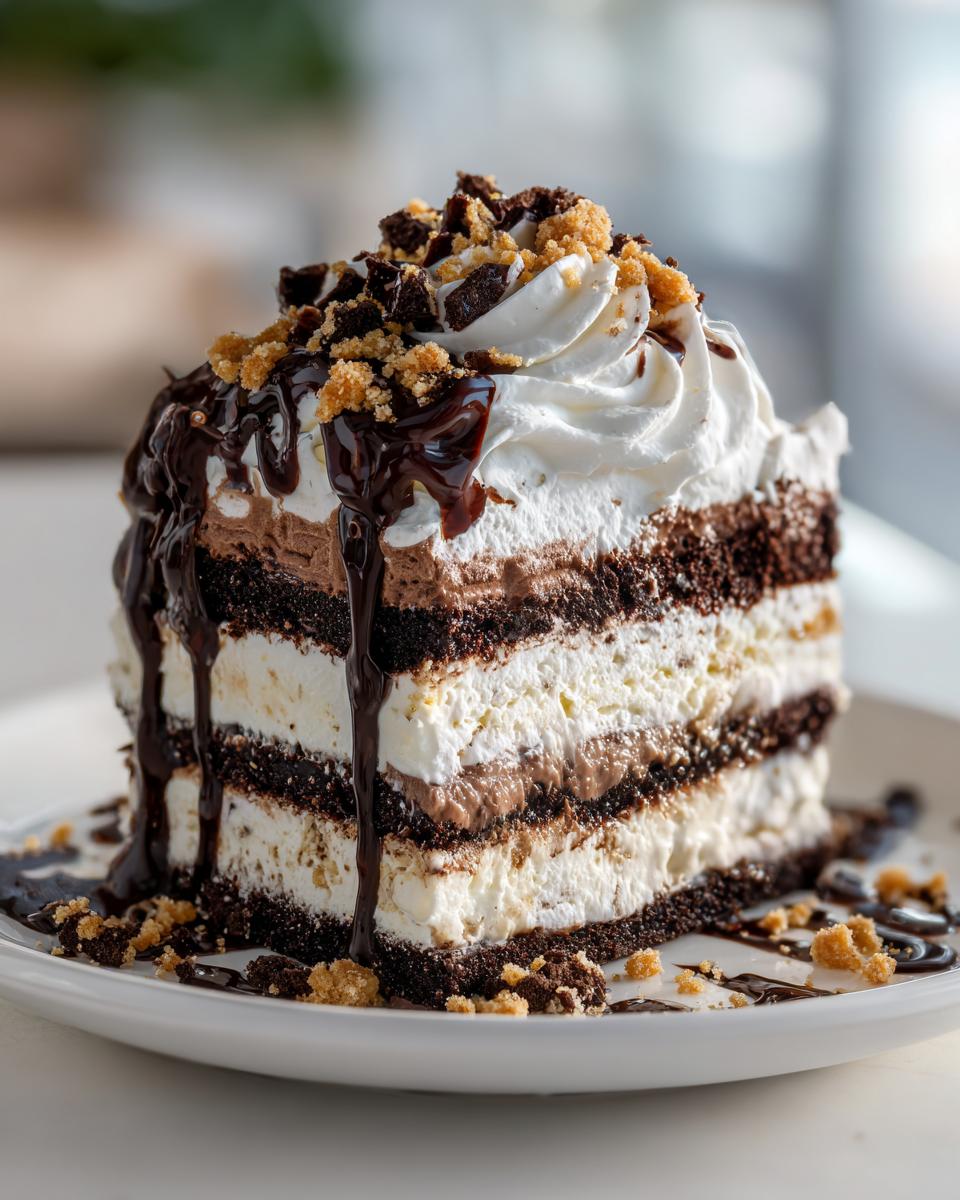
Pull that crust out. Now, take your slightly softened vanilla ice cream and spread it gently over the crust using an offset spatula. Try to get it as flat as possible, my friend. Back into the freezer it goes for at least an hour, or until it’s rock solid again. Why the wait? Because we don’t want the fudge sinking through the vanilla! Once firm, drizzle about half of that warm hot fudge right over the top. Freeze for another 15 minutes just to get the fudge to grip. Next, spread your softened chocolate ice cream over that fudge layer. Smooth it out, and then this layer needs the longest nap: freeze it for a good two hours, minimum, until it’s truly firm. This multi-step process is what gives you that fantastic, distinct **layer ice cream cake** look.

Finishing and Freezing the Homemade Ice Cream Cake
We are almost there! Now, take your soft whipped topping and spread it over that now-firm chocolate layer. This seals everything in nicely. Drizzle the rest of that warm fudge sauce right over the topping—make it look artistic! Sprinkle those remaining crushed cookies and any extra sprinkles you have lying around. Now comes the hardest part: covering the cake loosely with plastic wrap and forgetting about it for at least six hours, but truly, overnight is best for the **homemade ice cream cake** to set up completely. When it’s time to serve this showstopper, run a thin knife dipped in piping hot water around the edge of the pan. Wipe the knife between each cut. Slice, serve, and watch everyone dig in!
If you love making rich, fudgy things that set up perfectly, you might also want to check out my recipe for easy no-bake buckeye fudge—it’s another freezer favorite!
Tips for Making a Perfect Customizable Ice Cream Cake
Here are a few extra things I’ve learned over the years that make this recipe go from great to absolutely legendary. Since this is really the ultimate **ice cream cake**, taking a couple of extra seconds to customize it makes all the difference for your family or guests. Remember, the recipe instructions are fantastic, but here’s the insider scoop!
First, if you want that gorgeous Cookies and Cream explosion, it’s so easy! Just take about one cup of crushed Oreos and fold them right into that softened vanilla ice cream *before* you spread it onto the crust. It makes the whole thing one big celebration of crunchy goodness. I had a reader, Sarah, who made an amazing homemade ice cream cake variation using mint chip and coffee flavors, proving this is truly flexible!
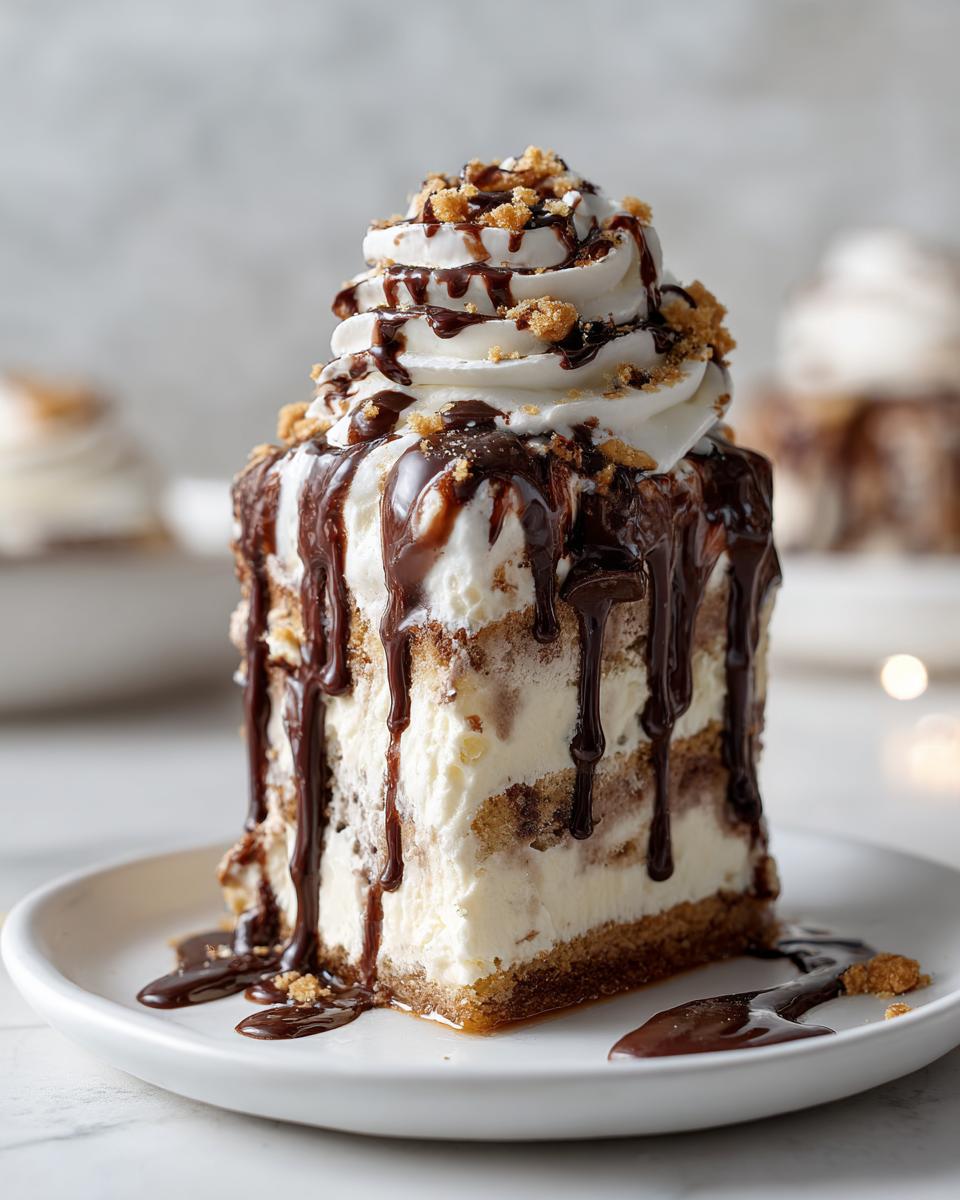
Another big trick for boosting flavor? Use the best ice cream you can find! Since there’s no baking involved, the ice cream *is* the star, so spring for that premium stuff for the **best ice cream cake** result. Also, if you’re looking to step it up to a **fudgy ice cream cake**, skip the cookie crust entirely. Instead, press a layer of store-bought brownies right into the bottom of your pan—it adds such a rich, dense base. If you love soft cookies, you should also check out my recipe for chewy chocolate chip cookies; imagine those crumbled on top!
And lastly, don’t stress the timing. This is designed to be a **make ahead frozen dessert**, so knowing it keeps well for up to two weeks tightly wrapped in the freezer means you can make it way ahead of your big event!
Serving Suggestions for Your Ice Cream Party Food
Since this **ice cream cake** is so rich, balancing it out with something lighter on the side is always smart, especially if you’re serving it after a big meal. For a real summer gathering party food vibe, I usually ditch the heavy sides and go for something bright. Think fresh strawberries or maybe some tangy pineapple slices—the acidity cuts right through the chocolate and creaminess perfectly.
It’s obviously fantastic for birthdays, but honestly, this recipe is great anytime you need a huge, cool payoff! If you need something equally refreshing to drink, try whipping up a batch of my easy frozen strawberry daiquiris. Now that’s a party!
Storage and Make Ahead Tips for Your Ice Cream Cake
The absolute best part about this **ice cream cake** is knowing you can make it way before you actually need it! It’s the ultimate stress reliever on party day, right? Because this is such a wonderful **make ahead frozen dessert**, you need to treat it gently in that deep freeze.
Once it’s fully set after that long overnight freeze—which you absolutely should do, by the way—you need to wrap it up like a precious treasure. Use a layer of plastic wrap first, pressing it gently against the top surface to minimize air exposure. Then, wrap the whole thing again, maybe adding a layer of foil over the plastic wrap. This double wrap stops any freezer burn from creeping in. I’ve kept these layered beauties tasting fantastic for up to two weeks this way! If you’re looking for other great ideas on sheet cakes that freeze well, check out this recipe for an ice cream sheet cake for inspiration on freezing large format desserts.
Frequently Asked Questions About Making an Ice Cream Cake
It’s completely normal to have questions when you’re trying a new frozen dessert! Making a **simple ice cream dessert** like this should be fun, not stressful. I’ve gathered up the most common things people ask me about assembling their homemade layer cakes to make sure your experience is perfect. We want this to be the ultimate frozen treat every time!
Can I use different ice cream flavors in this ice cream cake recipe?
Absolutely, that’s what makes it so much fun! Vanilla and chocolate are the tried-and-true classic combo, but really, go for what you love. If you want a real showstopper, Neapolitan—strawberry, vanilla, chocolate—looks stunning layered up. Or, how about doing a Cookies and Cream layer instead of the plain vanilla? You just soften the flavor you choose, spread it evenly, and freeze it solid before moving to the next component. Experimentation is highly encouraged here!
How do I get a clean slice when serving the frozen ice cream cake?
This is the trickiest part of serving any **layer ice cream cake**, but I have my method down pat! You *must* warm your knife. Don’t just run it under water; actually dip a long, thin knife deep into a tall glass of steaming hot water for about 10 seconds. Pull it out, give the blade a quick wipe on a paper towel so you don’t water down the cake, and slice straight down through the cake. You’ll get such a gorgeous, non-messy piece. Dip, wipe, slice—repeat for every single portion!
What if I want a fudgier texture, similar to a copycat ice cream cake?
Oh, I totally get the craving for that dense, fudgy layer, just like those store-bought favorites! If you want that specific texture, just swap out the cookie crust we made. Instead of crushing cookies and mixing them with butter, use an entire layer of baked brownie—either homemade or store-bought, just make sure it fits your 9-inch pan. Press that brownie firmly into the bottom, freeze it until it’s rock solid, and then proceed with the ice cream layers as normal. It makes an incredible **copycat ice cream cake** base that holds up beautifully. If you’re looking for quick recipes to go along with that, I have some great quick and easy weeknight dinners you can tackle easily!
Nutritional Estimates for This Creamy Layered Cake
Now, I know when we talk about a massive slice of **creamy layered cake** made with ice cream and fudge, we aren’t exactly aiming for diet food! But since I am trained in nutrition, I always want to give you a general idea of what you’re scooping up. Please remember these figures are estimates based on the standard ingredients listed in the recipe and might vary depending on the exact brands of ice cream or cookies you use. This is just transparency so you know what you’re serving!
- Serving Size: 1 slice
- Calories: 450
- Fat: 28g
- Saturated Fat: 16g
- Carbohydrates: 48g
- Sugar: 45g
- Protein: 6g
Share Your Homemade Ice Cream Cake Creations
That’s it—you officially have the blueprint for what I think is the very **best ice cream cake** out there. But honestly, this recipe shines the brightest when you make it your own! I absolutely live to see what amazing customizations you all come up with.
Did you manage to sneak in some peanut butter cups? Did you try a different cookie crust like Biscoff? Please, please, please leave a comment down below telling me about your flavor adventures! A rating helps other busy home cooks know this **simple ice cream dessert** is worth their time, too.
And if you snapped a picture of your beautiful creation—maybe it’s sitting pretty on your dessert table ready for a celebration—I’d love to see it! Feel free to tag me on social media or send me a message through my contact page. Nothing makes me happier than knowing my recipes are making it onto your tables and into your family memories. Happy scooping!
PrintEasy No-Bake Layered Ice Cream Cake
Make this easy, no-bake layered ice cream cake for your next celebration. This recipe uses simple ingredients to create a crowd-pleasing frozen dessert perfect for birthdays or summer parties.
- Prep Time: 25 min
- Cook Time: 0 min
- Total Time: 6 hr 25 min
- Yield: 10 servings 1x
- Category: Dessert
- Method: No-Bake
- Cuisine: American
- Diet: Vegetarian
Ingredients
- 1 (9-inch) springform pan
- 1 package (14.3 ounces) chocolate sandwich cookies (like Oreos)
- 6 tablespoons unsalted butter, melted
- 1.5 quarts vanilla ice cream, softened slightly
- 1.5 quarts chocolate ice cream, softened slightly
- 1 cup hot fudge sauce, slightly warmed
- 1 cup crushed chocolate sandwich cookies (for topping)
- 1 cup whipped topping (store-bought or homemade), softened
- Optional: Sprinkles for decoration
Instructions
- Prepare the pan: Line the bottom of a 9-inch springform pan with parchment paper.
- Make the crust: Crush the chocolate sandwich cookies in a food processor until fine crumbs form. Mix the crumbs with the melted butter until evenly moistened. Press this mixture firmly and evenly into the bottom of the prepared springform pan. Freeze the crust for 15 minutes.
- First ice cream layer: Spread the slightly softened vanilla ice cream evenly over the frozen crust. Smooth the top with an offset spatula. Freeze for at least 1 hour, or until firm.
- Fudge layer: Drizzle half of the warm hot fudge sauce over the hardened vanilla layer. Freeze for 15 minutes to set the fudge slightly.
- Second ice cream layer: Spread the slightly softened chocolate ice cream over the fudge layer. Press down gently to create an even layer. Freeze for at least 2 hours, or until completely firm.
- Final topping: Spread the whipped topping evenly over the chocolate ice cream layer. Drizzle the remaining hot fudge sauce over the whipped topping. Sprinkle the crushed cookies and optional sprinkles on top.
- Freeze: Cover the cake loosely with plastic wrap and freeze for a minimum of 6 hours, or preferably overnight, before serving.
- Serve: When ready to serve, run a thin knife dipped in hot water around the edge of the cake before releasing the springform side. Slice and serve immediately.
Notes
- For a Cookies and Cream variation, mix 1 cup of crushed Oreos into the softened vanilla ice cream before spreading the first layer.
- If you want a fudgier cake, use a store-bought brownie layer instead of the cookie crust. Press the brownie into the pan and freeze before adding the ice cream.
- This is a great make-ahead frozen dessert; it keeps well for up to two weeks in the freezer if tightly wrapped.
Nutrition
- Serving Size: 1 slice
- Calories: 450
- Sugar: 45g
- Sodium: 250mg
- Fat: 28g
- Saturated Fat: 16g
- Unsaturated Fat: 12g
- Trans Fat: 0.5g
- Carbohydrates: 48g
- Fiber: 1g
- Protein: 6g
- Cholesterol: 45mg