
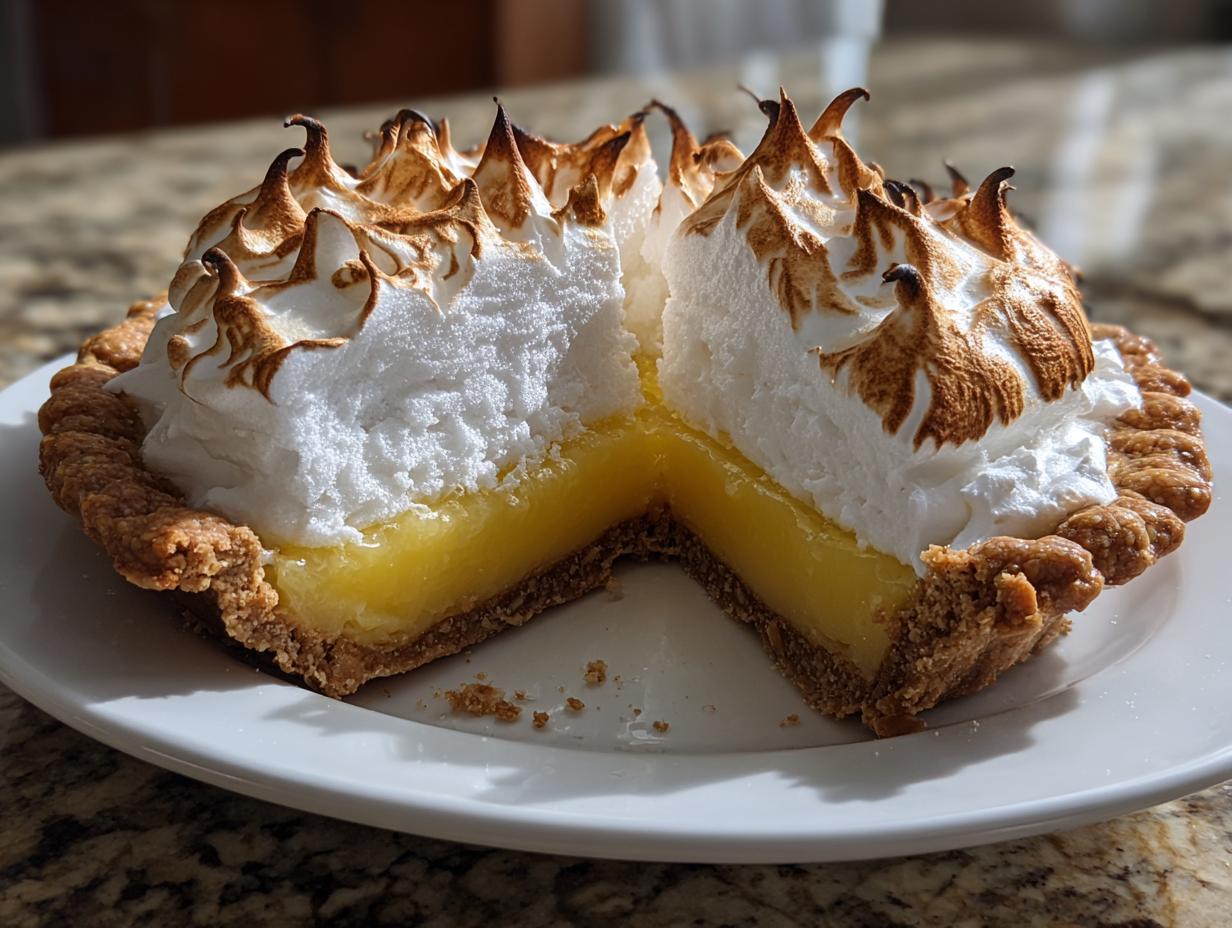
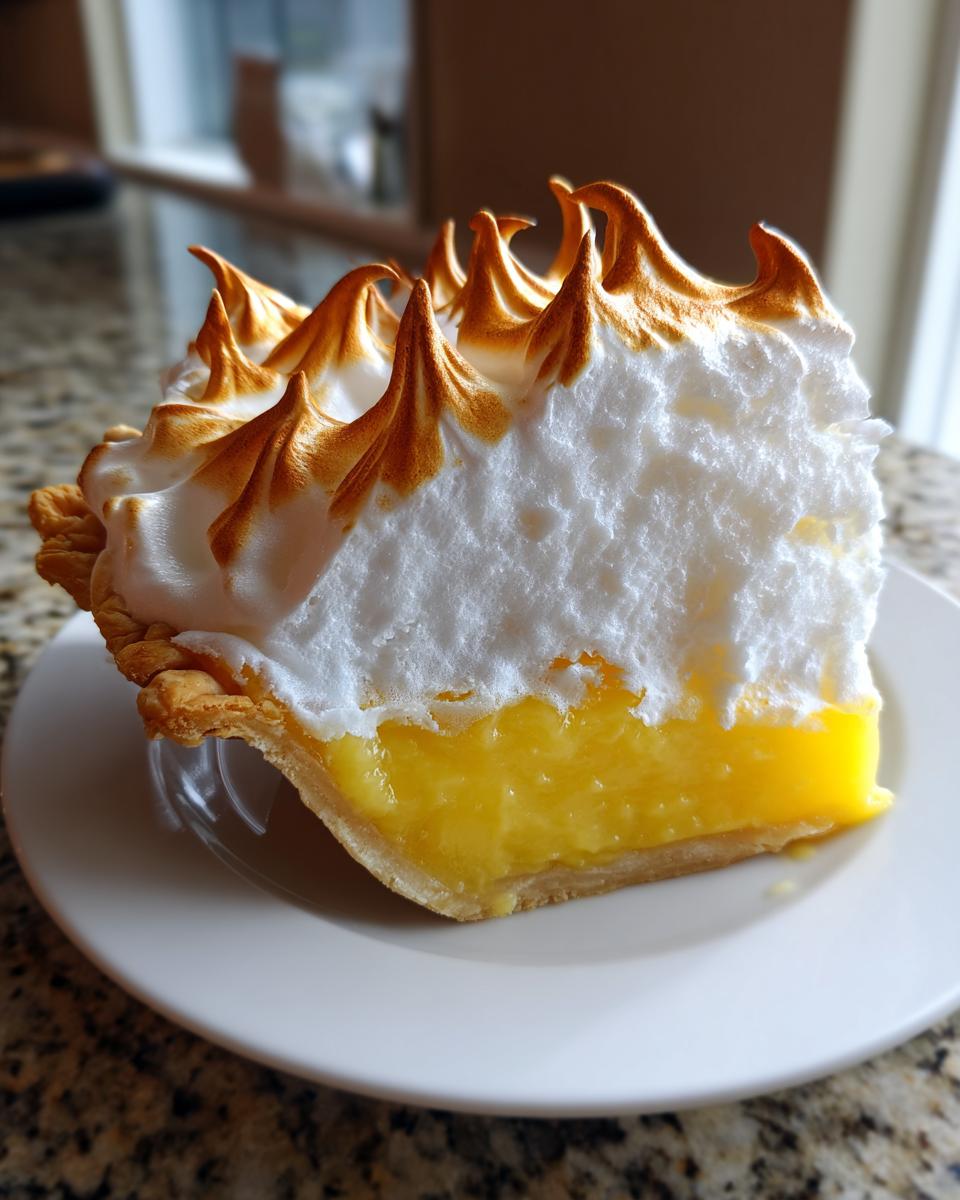
That perfect slice of pie—the one where the crust just shatters, the lemon filling is wonderfully zesty without being sour, and the meringue stands tall like a fluffy, golden cloud? That’s what we’re chasing today! Forget those boxes and dusty powders; we are making The Ultimate Homemade Lemon Meringue Pie completely from scratch. It’s a showstopper, truly, and it requires a little finesse. Having the science background I do, I understand exactly why certain steps matter, but sometimes, tradition just tastes better. Trust me, blending that scientific precision with the comfort of old-fashioned baking is how we get this iconic lemon meringue just right every single time.
- Why This Homemade Lemon Meringue Pie Recipe Stands Out
- Gathering Ingredients for Your Classic Lemon Meringue Pie Recipe
- How to Prepare the Best Lemon Meringue Pie From Scratch
- Tips for Success with Your Classic Lemon Meringue Pie
- Storage and Reheating Instructions for Lemon Meringue
- Frequently Asked Questions About Lemon Meringue
- Serving Suggestions for This Tangy Sweet Dessert
- Estimated Nutritional Data for a Slice of Lemon Meringue
- Share Your Family Favorite Pie Experience
Why This Homemade Lemon Meringue Pie Recipe Stands Out
When you’re going for a truly showstopping dessert, you need texture that sings. So many recipes fall flat—either the lemon filling is too runny, or worse, the beautiful meringue topping weeps puddles onto the table. Not here! I’ve tailored this lemon meringue blend to fight those issues head-on. My goal was always that perfect intersection of crispy crust, vibrantly tangy sweet dessert filling, and cloud-high peaks.
Here’s what sets this pie apart, straight from my kitchen:
- No-Weep Meringue: We use room-temperature egg whites and cream of tartar, plus a specific baking temperature to lock those peaks in place.
- Thick Custard: We let that cornstarch really do its job by boiling it just right, ensuring a firm filling that never slumps when sliced.
- Perfectly Balanced Flavor: It hits that bright, zesty note without tasting strictly like lemon candy. It just sings!
If you want a pie that tastes like you spent all day on it—even though you didn’t—this is the one. You can read a little more about my journey bridging baking science and tradition over on my About Me page!
Gathering Ingredients for Your Classic Lemon Meringue Pie Recipe
Okay, gathering your supplies is half the battle, but if you have everything ready, this Homemade Lemon Meringue Pie comes together surprisingly fast. We are going totally from scratch here, so grab your lemons! Don’t skimp on quality here; fresh juice and zest are non-negotiable for that vibrant flavor. Remember, the crust needs to be totally cool before we even think about adding the hot filling, so pre-bake that beauty first!
For the Buttery Pie Crust (Pre-Baked)
You need one full recipe for a standard 9-inch pie. Make sure it’s blind-baked until golden, and don’t even think about pouring the curd in until it’s completely cooled down—seriously, I let mine sit on the counter for ages!
- 1 recipe for Buttery Pie Crust (for a 9-inch pie)
For the Zesty From Scratch Lemon Custard
This section is what gives us that signature Zesty Lemon Pie punch. We are using simple pantry stars mixed with plenty of fresh citrus flavor here. This is where that delicious, thick texture comes from!
- 1 1/2 cups granulated sugar
- 1/3 cup cornstarch (This is our thickening superstar!)
- 1/4 teaspoon salt
- 1 1/2 cups cold water
- 4 large egg yolks, lightly beaten
- 1/2 cup fresh lemon juice (That’s usually 3 good, hefty lemons!)
- 1 tablespoon lemon zest
- 2 tablespoons unsalted butter
For the Fluffy Meringue Topping
The success of a tall, stable meringue depends heavily on these two things: the egg whites needing to be room temperature, and making sure your mixing bowl is spotless—no grease allowed! If you follow these measurements, you’ll get that gorgeous height.
- 4 large egg whites, at room temperature
- 1/2 teaspoon cream of tartar (Our secret weapon against weeping!)
- 1/2 cup granulated sugar (for the meringue)
How to Prepare the Best Lemon Meringue Pie From Scratch
Alright, this is where the magic happens! Getting these steps in the right order is vital for that perfect texture profile in your Classic Lemon Meringue Pie. We’re moving fast once the custard is cooked, because that heat helps set the meringue beautifully. Follow this sequence, and you won’t just have pie; you’ll have the Best Lemon Meringue Pie you’ve ever tasted.
Step 1: Preparing the Base and From Scratch Lemon Custard
First things first, make absolutely sure that 9-inch crust you baked earlier is sitting on a cooling rack and is totally cool to the touch. If it’s even warm, your filling will crack when you pour it in! Next, grab a medium saucepan for our luscious custard. Whisk together the 1 1/2 cups sugar, cornstarch, and salt. Gradually add the cold water, whisking until it’s smooth—no lumps allowed! Now, you need to cook this over medium heat, stirring constantly, until it thickens up and starts bubbling. That boil needs to stick around for one full minute; that activates the cornstarch fully. Remove it from the heat.
Here’s the crucial part: tempering! Take about a cup of that hot mixture and drizzle it *very slowly* into your 4 lightly beaten egg yolks while whisking non-stop. You’re slowly raising the yolks’ temperature so they don’t scramble when they hit the main pot. Once tempered, pour that yolk mixture right back into the saucepan. Return it to medium heat and stir until it thickens again and bubbles gently. Finally, take it off the heat and whisk in your lemon zest, fresh juice, and that lovely butter until it’s all glossy and melted. Pour this hot, from scratch lemon custard directly into your cooled crust.
Step 2: Creating the Fluffy Meringue Topping
While the custard is still hot in the shell, we whip the meringue—speed is your friend here! Grab your stand mixer bowl, making sure it is absolutely spotless and grease-free; that’s rule number one for volume! Beat your 4 room-temperature egg whites and cream of tartar until they start holding soft peaks. Now, slowly sprinkle in that final 1/2 cup of sugar, one tablespoon at a time, while beating on high speed. Keep going until you have stiff, glossy peaks that hold their shape. If you curl the whisk backward, the peak should stand straight up; that’s how you know you’ve got a stable fluffy meringue topping ready for action!
Step 3: Assembly and Baking the Lemon Meringue
Now, heap that meringue right onto the hot lemon filling. And I mean heap! You must ensure that the meringue seals against the inside edge of the crust all the way around. If you leave any gap, the meringue will shrink as it bakes and pulls away from the crust—nobody wants gaps! Use the back of a spoon to create those pretty swirls and peaks on top, as they’ll brown up nicely. Pop the pie into your preheated 350°F oven for about 12 to 15 minutes, just until those peaks turn that beautiful light gold color. You can also use a kitchen torch if you’re feeling fancy, which is faster!
The hardest part? Cooling! You have to let this masterpiece cool on the counter for at least 4 hours. Resist the fridge temptation until it’s completely cooled down, or you’re inviting weeping. You can check out some great tips on pie making over at The Recipe Rebel while your pie sets!
Tips for Success with Your Classic Lemon Meringue Pie
Listen, making this Classic Lemon Meringue Pie is a little like dating; sometimes you have to manage expectations and steer clear of drama. Every baker has faced that dreaded weeping meringue—it’s the pie equivalent of leaving the house with your fly down! Don’t let it discourage you. I’ve pulled together the tried-and-true advice my family learned over decades so you can nail that perfect presentation.
The biggest trick for success comes straight from my notes section: you have to make sure the meringue touches the crust all the way around. If there’s a gap, that hot filling underneath steams up and causes the meringue to shrink and weep later. Make sure those edges are sealed tight!
Another area people struggle with is the custard filling. Since we used cornstarch and didn’t boil it long enough, it stays flimsy. Remember that instruction to boil for a full minute after it thickens? That’s my signal that the starch is fully activated and ready to set up nice and firm for that clean slice you want.
Here are my non-negotiable hacks for a perfect pie, every time:
- Temperature Control is Everything: Seriously, room-temperature egg whites for the meringue. Cold whites just won’t whip up to the volume you need for those glorious, high peaks.
- Grease is the Enemy: I mean it—zero fat in that meringue bowl. Not a speck of yolk, not a drop of oil from your hands on the whisk attachment. Fat prevents those tiny air bubbles from forming properly.
- The Slice Secret: Don’t try to use a regular knife when serving your beautiful pie! It tears the meringue something awful. My trick is to dip a long, sharp knife into a glass of hot water and wipe it dry *before* every single slice. Cold water just makes it sticky; hot water cleans the blade for the next perfect cut.
If you’re having any trouble at all, I highly recommend checking out how the folks over at Rock Recipes tackle theirs; their pointers are solid gold for any lemon meringue beginner!
Storage and Reheating Instructions for Lemon Meringue
Now comes the hardest part of any baking adventure: resisting eating the entire lemon meringue pie in one sitting! Since we went to all this trouble to make a perfect, tall meringue, we have to be careful how we store it. Once you’ve let this gorgeous pie cool completely on the counter—and I mean *completely*, ideally for those four hours we discussed—you need to get it into the fridge. The lemon filling is cooked, but it’s still dairy-based and needs chilling for food safety, of course.
When you put it in the fridge, don’t wrap it tightly! Tightly sealing the pie traps condensation right against that beautiful meringue, and that’s a guaranteed ticket to weepingville. You want to cover it loosely. I usually use a large overturned bowl or tent a huge sheet of plastic wrap loosely over the top, making sure the plastic isn’t kissing the meringue peaks. This way, no moisture gathers directly on the toasted sugar layer.
Honestly, this pie is best eaten the day it’s made, or maybe the next morning. After about 24 hours, even with the best tips, the meringue starts getting a little sad and watery, and the crust can soften a bit. If you absolutely must reheat a slice (maybe you want it room temperature instead of ice-cold?), just don’t use the microwave! It turns the meringue into a sad, sticky mess. Stick it on a plate and let it sit out for about 30 minutes before eating. Enjoy every slice, but eat it fast!
Frequently Asked Questions About Lemon Meringue
I know you’ve probably got questions swirling around, especially after tackling that gorgeous meringue! It happens to the best of us. Making a true Lemon Meringue Pie is an art, but once you know the little secrets to keeping everything stable and sharp, it gets so much easier. These are the things folks ask me most often when they email me over at my contact page—so let’s clear up any doubts you have about this tangy sweet dessert!
What causes the meringue on a lemon meringue pie to weep?
Oh, the weeping! It’s usually one of two things causing a little puddle of syrup to form under the meringue. First, moisture gets trapped between the hot lemon custard and the meringue itself. That’s why we make sure to spread that fluffy topping all the way to the crust edge—it creates a seal! Second, if your egg whites weren’t at room temperature, or if you skipped that little pinch of cream of tartar, the structure just isn’t as tight as it needs to be. Keeping that curd hot when topping it, and cooling it slowly at room temp afterwards, makes a huge difference!
Can I make this Lemon Meringue Pie Recipe ahead of time?
Yes, you totally can break up the work, which is great for entertaining! I advise making the crust fully one day ahead and keeping it covered at room temperature. The lemon custard is also fantastic made a day ahead; just press a piece of plastic wrap directly onto the surface of the hot custard before chilling it. Then, the day you serve, whip up the meringue, top the (cooled!) custard, and bake! Assembling the whole thing too early is where things start to go downhill quickly.
Serving Suggestions for This Tangy Sweet Dessert
This bright, beautiful pie is the perfect centerpiece for any celebration. Because this tangy sweet dessert has such a assertive zing, I love cutting the richness with something simple. It shines brilliantly as one of our favorite Summer Dessert Recipes or a showstopper for those first warm days of Spring Baking Ideas.
If serving it shortly after it sets, a simple cup of dark roast coffee is perfection alongside it. If you’re feeling extra decadent (and you deserve it!), a tiny dollop of freshly whipped, unsweetened heavy cream on the plate helps balance the intense lemon flavor beautifully. Less is more here; let that incredible lemon meringue do the talking!
Estimated Nutritional Data for a Slice of Lemon Meringue
I know some of you are tracking macros, and others just like to know what you’re working with! Since we’re using real butter, fresh eggs, and pure sugar, this truly homemade lemon meringue is certainly a treat, not an everyday snack, bless its heart. Please remember that the nutritional info can shift based on your specific crust recipe and how much juice you get from those lemons, but this gives you a solid ballpark figure.
- Serving Size: 1 slice
- Calories: 380
- Sugar: 45g
- Sodium: 180mg
- Fat: 18g
- Protein: 5g
It’s definitely a splurge, but what an absolutely delicious splurge it is! If you skip the homemade crust and use a pre-made graham cracker one, things of course change drastically!
Share Your Family Favorite Pie Experience
Now that you’ve conquered this spectacular Lemon Meringue, I really want to know how it went! Did your meringue crown tower to the heavens? Did the filling set up perfectly? You know I live for the success stories, so please leave a rating below. I promise I read every single comment! If you shared photos online, tag me—I love seeing this Family Favorite Pie land on your tables!
Head over to my Terms of Use page if you need any clarification on sharing your creations!
PrintThe Ultimate Homemade Lemon Meringue Pie Recipe (From Scratch with Tall, Stable Meringue)

Make a classic, showstopping Lemon Meringue Pie completely from scratch. This recipe balances a zesty lemon custard with a buttery crust and a high, fluffy, toasted meringue topping that resists weeping.
- Prep Time: 30 min
- Cook Time: 35 min
- Total Time: 4 hours 5 minutes
- Yield: 8 servings 1x
- Category: Dessert
- Method: Baking
- Cuisine: American
- Diet: Vegetarian
Ingredients
- 1 recipe for Buttery Pie Crust (for a 9-inch pie)
- 1 1/2 cups granulated sugar
- 1/3 cup cornstarch
- 1/4 teaspoon salt
- 1 1/2 cups cold water
- 4 large egg yolks, lightly beaten
- 1/2 cup fresh lemon juice (about 3 lemons)
- 1 tablespoon lemon zest
- 2 tablespoons unsalted butter
- 4 large egg whites, at room temperature
- 1/2 teaspoon cream of tartar
- 1/2 cup granulated sugar (for meringue)
Instructions
- Prepare and blind-bake your 9-inch pie crust according to your preferred recipe. Let the crust cool completely.
- Prepare the Lemon Custard: In a medium saucepan, whisk together 1 1/2 cups sugar, cornstarch, and salt. Gradually whisk in the cold water until smooth.
- Cook the mixture over medium heat, stirring constantly, until it thickens significantly and comes to a boil. Boil for 1 minute, stirring. Remove from heat.
- In a separate bowl, whisk the 4 egg yolks. Slowly temper the yolks by whisking about 1 cup of the hot cornstarch mixture into the yolks.
- Pour the tempered yolk mixture back into the saucepan with the remaining hot mixture. Return to medium heat and cook, stirring constantly, until the custard thickens again and bubbles gently. Do not boil vigorously.
- Remove from heat. Stir in the lemon juice, lemon zest, and butter until the butter melts completely.
- Pour the hot lemon custard immediately into the cooled, pre-baked pie shell.
- Prepare the Fluffy Meringue Topping: In a clean, grease-free bowl of a stand mixer (or using a hand mixer), beat the 4 room-temperature egg whites and cream of tartar on medium speed until soft peaks form.
- Gradually add the 1/2 cup of sugar, one tablespoon at a time, while beating on high speed. Continue beating until stiff, glossy peaks form. This creates a stable meringue.
- Spread the meringue over the hot lemon filling, making sure the meringue touches the inner edge of the crust all the way around to prevent shrinking or weeping. Create decorative swirls with the back of a spoon.
- Bake the pie in a preheated 350°F oven for 12 to 15 minutes, or until the meringue peaks are lightly golden brown. Alternatively, use a kitchen torch to brown the peaks.
- Cool the pie completely on a wire rack at room temperature for at least 4 hours before slicing. Avoid placing it in the refrigerator too soon, as rapid cooling can cause the meringue to weep.
Notes
- To prevent meringue weeping, make sure your egg whites are at room temperature and your mixing bowl is completely free of any grease or yolk.
- For the best texture, pour the hot lemon custard into the crust before topping with the meringue.
- Slice the pie using a sharp knife dipped in hot water between each cut for clean servings.
Nutrition
- Serving Size: 1 slice
- Calories: 380
- Sugar: 45g
- Sodium: 180mg
- Fat: 18g
- Saturated Fat: 9g
- Unsaturated Fat: 9g
- Trans Fat: 0g
- Carbohydrates: 54g
- Fiber: 1g
- Protein: 5g
- Cholesterol: 110mg