
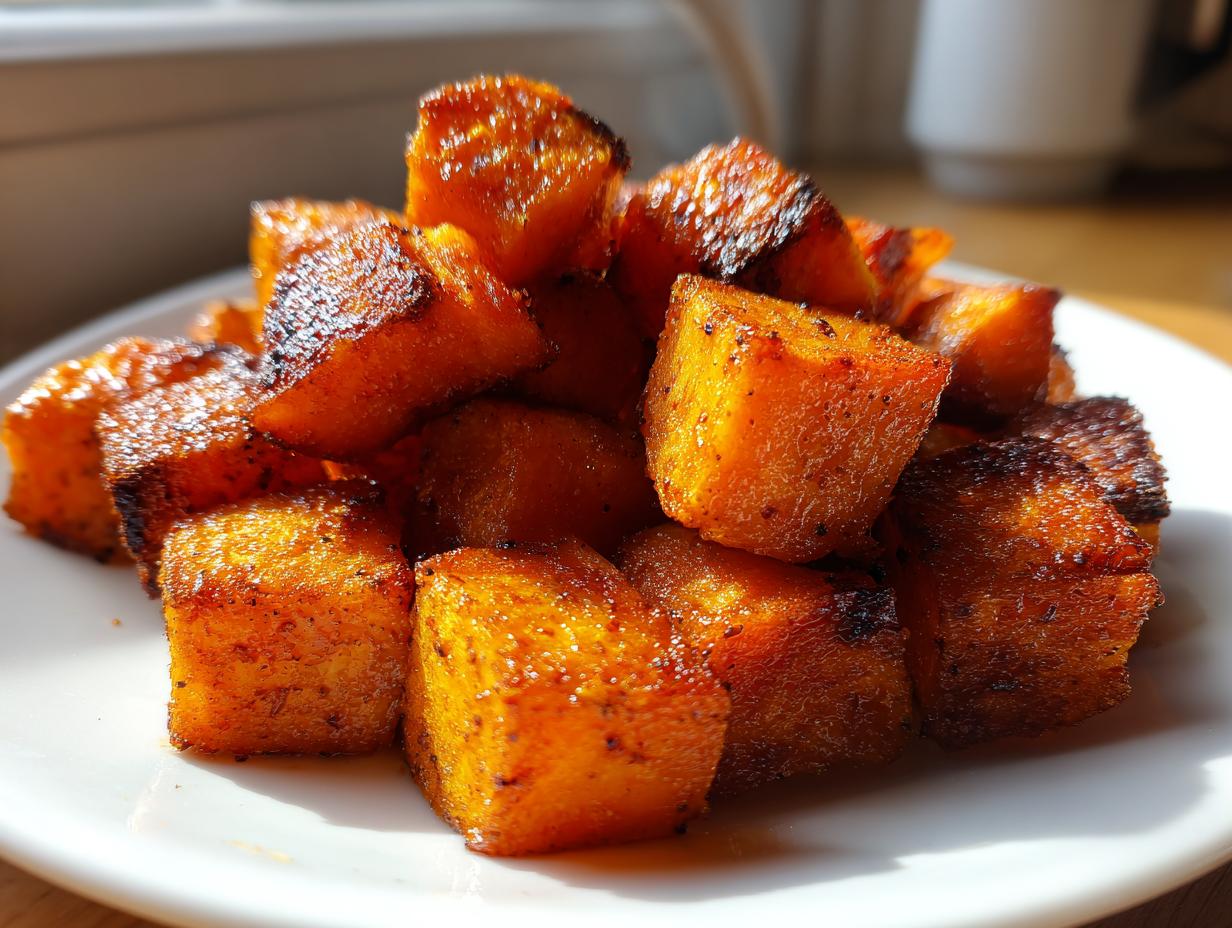
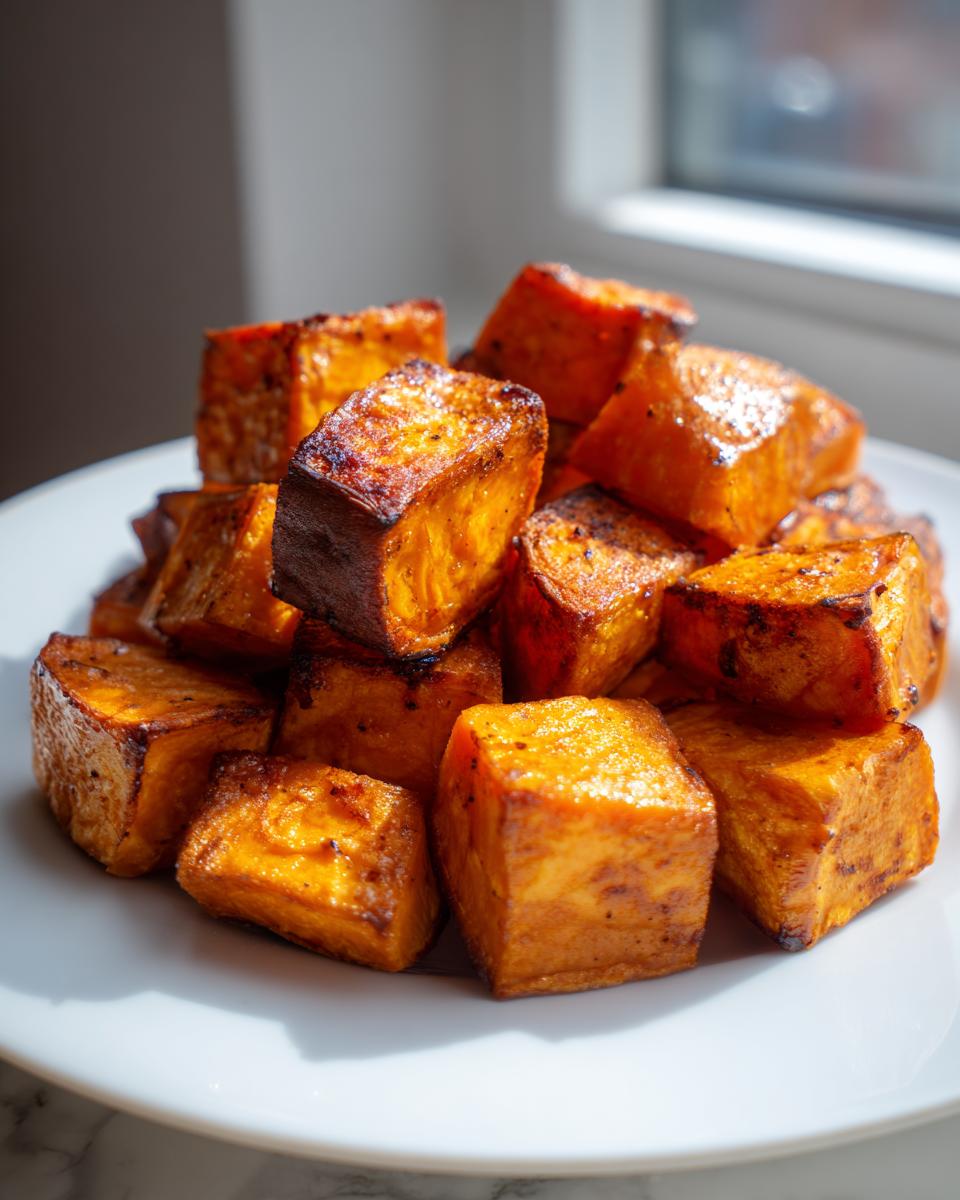
Oh, let me tell you, there is nothing sadder than a sweet potato that comes out of the oven soft and mushy all the way through. We’ve all been there! But I promise you, achieving those dream roasted sweet potatoes—deeply caramelized and crispy on the outside while staying wonderfully tender inside—is absolutely possible. This isn’t just some restaurant trick; this is rooted right here in the traditions I learned growing up in my family’s kitchen. Here at CravyBite Kitchen, I, Jess Carter, want to pass on the foolproof technique that guarantees you that perfect texture every single time, whether you’re making an easy weeknight side or something special for a holiday feast. You can learn more about our family’s kitchen story right here on the site.
- The Secret to Perfectly Crispy Roasted Sweet Potatoes
- Step-by-Step Instructions for Perfect Roasted Sweet Potatoes
- Flavor Variations for Your Roasted Sweet Potatoes
- Tips for Success with Oven Roasted Sweet Potatoes
- Storage and Sweet Potato Meal Prep
- Serving Suggestions for This Easy Sweet Potato Side Dish
- Frequently Asked Questions About Roasted Sweet Potatoes
- Nutritional Snapshot of This Healthy Roasted Vegetable
- Share Your Perfect Roasted Sweet Potatoes Experience
The Secret to Perfectly Crispy Roasted Sweet Potatoes
Okay, let’s drill down into what actually makes these potatoes sing! Achieving those beautiful, slightly burnt, caramelized edges we all crave isn’t luck; it’s physics, friends. The number one rule for getting amazing roasted sweet potatoes is high heat. We crank that oven up to 425°F! This shock of heat encourages the natural sugars to caramelize fast instead of just steaming the inside out.
The second non-negotiable rule is space. You absolutely must spread your pieces in a single layer on your sheet pan. If they are touching or piled up, they steam, and steam equals mush. Think of your sheet pan like prime real estate—every potato needs its own spot to brown nicely. Once they are coated just right, give them room to breathe. If you want to see what I mean about seasoning all your roasted goodies, check out my guide to roasted vegetables with garlic and herbs.
Essential Ingredients for Flavorful Roasted Sweet Potatoes
You don’t need a pantry full of fancy stuff for these to taste incredible. We rely on simple, honest ingredients. You’ll start with about three large sweet potatoes, which usually shakes out to two pounds of potatoes. Then, we use three tablespoons of good quality olive oil—don’t skimp here, as that fat is what helps carry the heat to create that crisp crust. For seasoning, I always use one teaspoon of kosher salt, half a teaspoon of black pepper, and half a teaspoon of garlic powder. If you’re feeling that smoky flavor like I often do, throw in a quarter teaspoon of smoked paprika; it’s small, but it makes such a difference!
Equipment Needed for Sheet Pan Sweet Potatoes
Don’t stress about specialized gear for this easy sweet potato side dish. You definitely need a large bowl—something big enough to toss everything without making a huge mess on the counter, please! A sturdy, rimmed baking sheet is crucial. Make sure it’s large enough that those potato cubes aren’t overcrowded; I sometimes have to use two pans, and that’s perfectly fine. Finally, you’ll need a rubber spatula for tossing them halfway through the roasting time. That’s seriously all you need to get started!
Step-by-Step Instructions for Perfect Roasted Sweet Potatoes
Alright, let’s get these jewels into the heat! Follow these steps exactly, and you’ll have the best roasted sweet potatoes you’ve ever made. I always check my oven temperature twice because getting that initial heat right is half the battle. If you’re making these on a busy night, remember this recipe is part of my collection of quick and easy weeknight dinners!
Preparing the Sweet Potato Cubes Recipe
First thing’s first: wash those sweet potatoes really well! Seriously scrub them—I usually leave the skin on because that’s where a ton of the nutrients hide, and the skin gets delightfully crispy, too. Now, grab your knife and cut them. Uniformity is your best friend here; aim for even 1-inch cubes or nice thick wedges, whatever shape you prefer. If some are big and some are tiny, the little ones will burn before the big ones are even tender. We want everything cooked through at the same time!
Coating and Spreading for Crispy Roasted Sweet Potatoes
Get those lovely cut potatoes into your big bowl. Drizzle on that olive oil—we need enough to coat everything nicely. Then, add your salt, pepper, and garlic powder. Remember in the last section I mentioned maple syrup or honey? If you want a touch of sweetness, toss that in now, too! Use your hands, or a big spoon—whatever works—and toss it all until every single piece of potato is shiny and coated evenly. Now for the most important part for crispy roasted sweet potatoes: get them single file onto that baking sheet. I mean it, single layer! No one wants a pile of steamed sweet potatoes.
The Roasting Time for Tender Sweet Potatoes
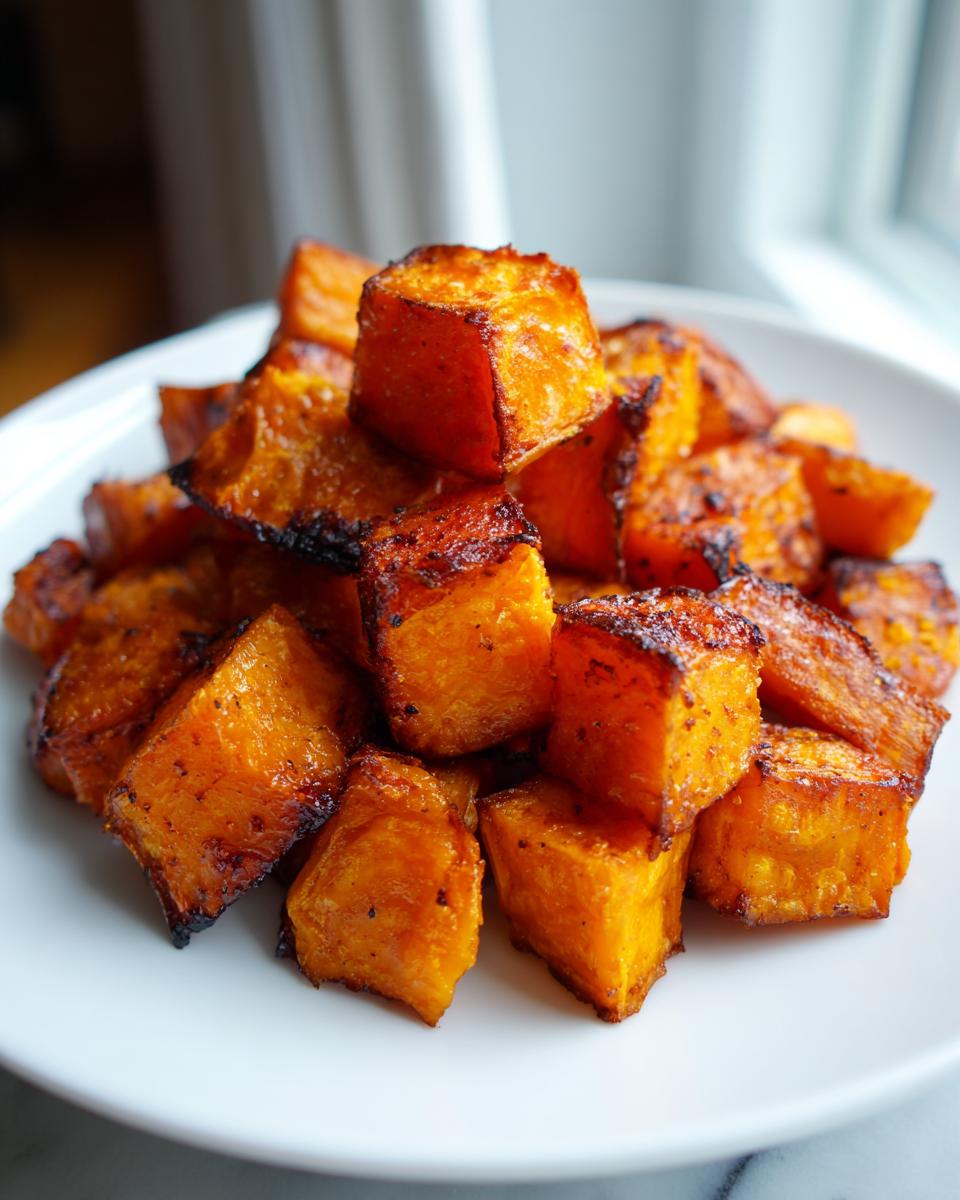
Get that pan into your screaming hot 425°F oven for 20 minutes. Set your timer! When that timer goes off, pull them out gently—careful, the pan is hot! Use your spatula and give them a good toss so the underside gets face time with the heat. Then, they go back in for another 10 to 15 minutes. You’ll know they are done when the edges are deeply, gorgeously golden brown and truly caramelized sweet potatoes heaven. They should be fork-tender inside. If you pierce one and it resists, give it five more minutes. Serve these perfect tender sweet potatoes immediately while they are piping hot!
Flavor Variations for Your Roasted Sweet Potatoes
You know, even though the basic olive oil and salt method gives you amazing roasted sweet potatoes, sometimes you just need to lean into a specific flavor profile. I love changing these up depending on what else is on the menu. It’s so easy to adjust the core recipe—which, remember, is high heat and no overcrowding—to swing sweet or savory. If you want another savory idea that pairs well, you have to try my recipe for garlic Parmesan melting wedges! Let’s look at my two go-to flavor switches!
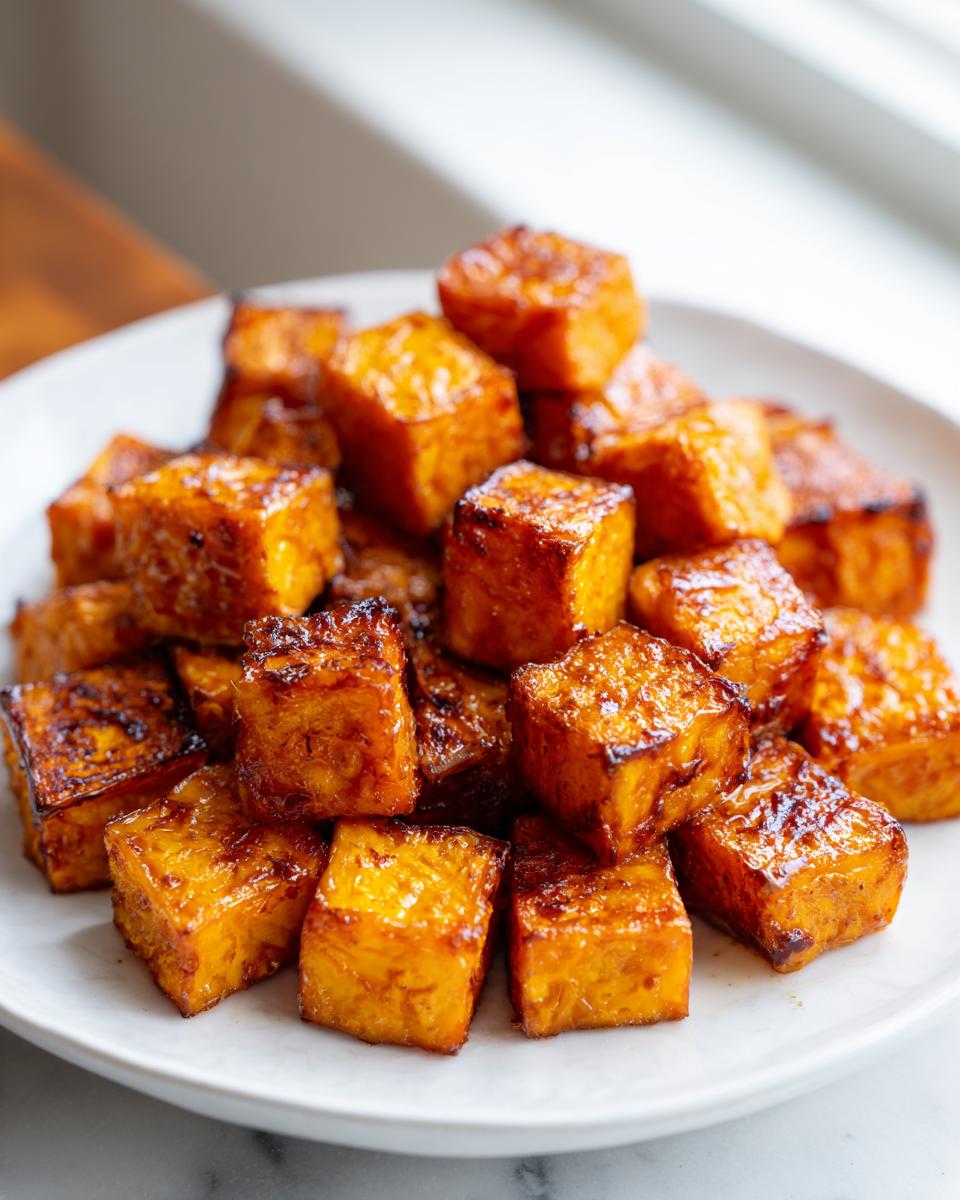
Making Honey Roasted Sweet Potatoes
If you are craving something that leans into that sweet side dish category, turning these into honey roasted sweet potatoes is the move. The trick here, and I mentioned it when we were tossing everything, is to add your sweetener right at the beginning with the oil and spices. I usually use one tablespoon of maple syrup or honey, depending on what I have. When you add it early, it coats the potatoes before the initial roast, letting the high heat start that gooey caramelization process right away. It pairs beautifully with a little cinnamon if you decide to sneak some in there, too! If you want something else sweet to go with it, check out this amazing holiday sangria recipe.
Creating Savory Garlic Roasted Sweet Potatoes
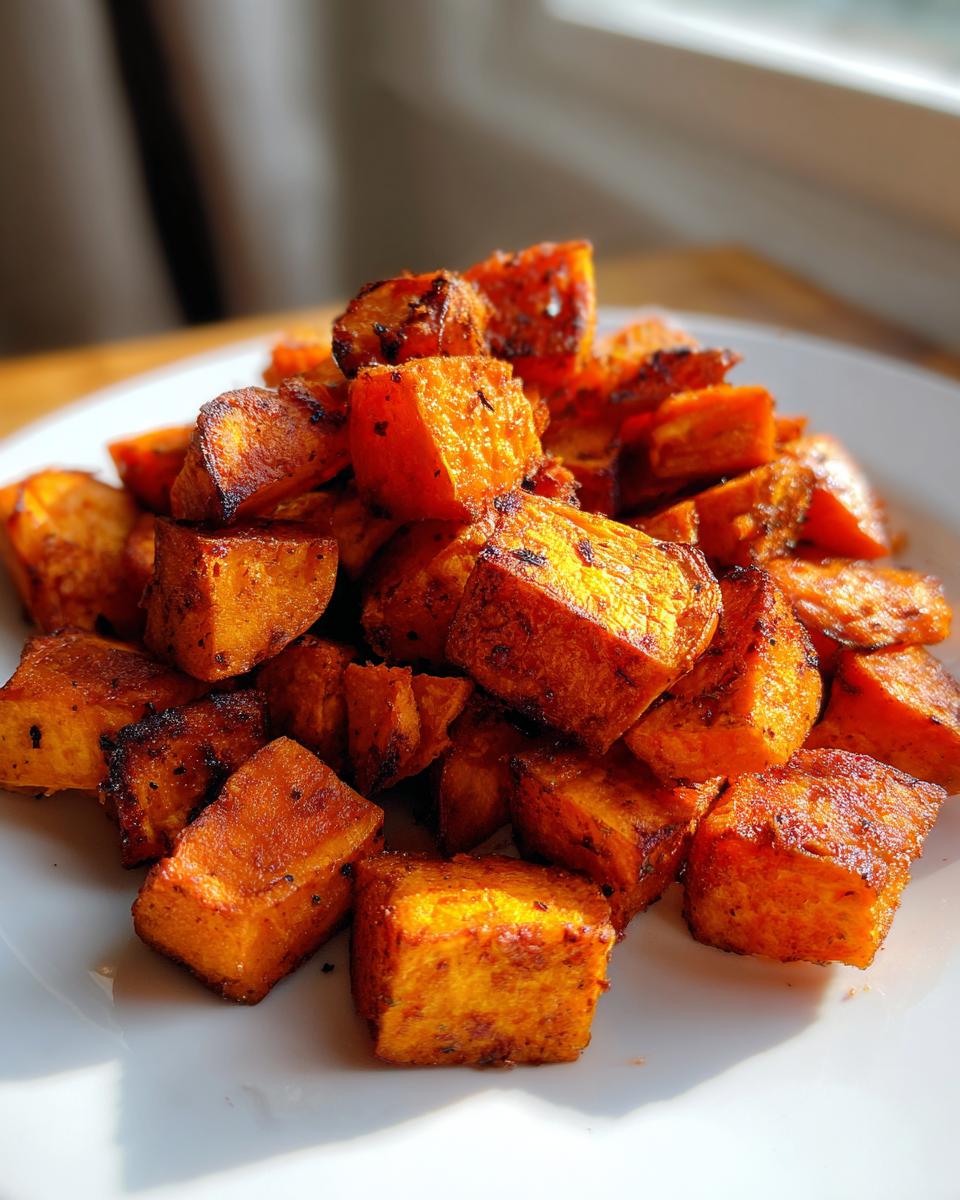
Now, for those nights when you have a big savory main dish, like roast chicken, we skip the sweetener entirely and focus on getting deep, savory flavor into those garlic roasted sweet potatoes. It’s all about building depth when the potatoes come out of the oven. If you want an extra layer of flavor, you can toss them with 1 tablespoon of cornstarch right along with the oil—that’s my secret for extra crunch! The savory magic comes last: when there are just about five minutes left on that final roast time, pull the pan out, sprinkle on a quarter cup of freshly grated Parmesan cheese, toss gently, and let it melt and crisp up right under the heat. It elevates them from a simple side to something truly special.
Tips for Success with Oven Roasted Sweet Potatoes
I’ve roasted so many pounds of sweet potatoes over the years, I swear my hands are permanently stained orange! But seriously, I want to save you any disappointment. Achieving the best results comes down to catching a few common pitfalls. If your results aren’t crisp and lovely, it usually boils down to one of two things we already touched on: heat or crowding the pan. But I’ve got a couple more insider tricks from my kitchen to guarantee success with your roasted sweet potatoes.
First, let’s talk about that extra crunch element. If you want to seriously step up the crisp factor—we’re talking next-level, almost chip-like edges—try coating your potatoes with a little cornstarch before they hit the oil. Just whisk one tablespoon of cornstarch right into your spices before you toss the potatoes. It sounds weird, I know, but that little bit of starch creates a dry barrier that helps the exterior of the potato become incredibly crisp when it hits the high heat. It’s my little secret weapon when I need these to hold up for meal prep!
Also, just a friendly whisper from an experienced cook: don’t use cold oil! If your oil is too cold when it hits the hot potatoes, it sticks to them instead of coating them evenly. I usually let my olive oil warm up just slightly on the counter while I’m cutting the veggies, or if I’m in a rush, I give it just 5 or 10 seconds in the microwave. A slightly warmer oil ensures a better, more even coat. For more crunchy vegetable ideas, you should totally check out my recipe for homemade crispy oven potato chips!
Storage and Sweet Potato Meal Prep
I know so many of you rely on making big batches of veggies on Sunday so you can toss them into quick lunches all week long, so let’s talk about sweet potato meal prep! These guys hold up really well, but we have to treat them right when we store them, or we risk sacrificing that beautiful crisp we worked so hard to achieve.
First, and this is huge, you must let them cool completely before you even think about putting a lid on anything. If you trap heat and steam in a container, that steam condenses, and boom—soggy potatoes again! I spread mine out on a big cutting board or a clean baking sheet for about 30 minutes until they are room temperature.
Once they are totally cool, pop those delicious cubes or wedges into an airtight container. I prefer glass containers, but any good, sturdy one works fine. Stored this way, they are generally good for about four days in the fridge. They are fantastic tucked into a salad or mixed into a grain bowl when you need a quick lunch idea. You can see some of my favorite simple lunch recipes that make great use of roasted vegetables right here.
Now, the reheating part is what really matters for texture if you want them to taste almost freshly roasted. Do NOT use the microwave if crispiness is your goal! The microwave heats the water molecules, making them steamy. Instead, I highly recommend giving them 5 to 8 minutes in a toaster oven or a regular oven set to about 350°F. You might even pop them on a dry skillet over medium heat for a few minutes. That little bit of dry, radiant heat will bring back that lovely caramelized edge we love so much!
Serving Suggestions for This Easy Sweet Potato Side Dish
Honestly, once you master those crispy edges, you’ll be reaching for this recipe all the time! It’s probably my favorite easy sweet potato side dish because it works with almost everything we eat around here. It’s not just for holidays anymore, which is great because I feel like I should be eating nutrient-dense root veggies every week!
If you roast them slightly savory, without any added honey or maple, they are amazing tucked inside a grain bowl. Think quinoa, some dark leafy greens like spinach or kale, maybe a little chopped avocado, and a squeeze of lime. They add the perfect sweetness and heartiness to make it feel like a complete meal, you know?
If you did the honey version, they pair just beautifully with a simple protein. My family loves having them alongside some baked chicken breast, especially if I’ve made my simple one-pan chicken and green beans. You can check out that one-pan honey garlic chicken recipe if you need a whole meal solution! They also make a fantastic, slightly sweeter counterpoint to something salty, like pork chops or even a steak.
And don’t forget breakfast! A couple of leftover cubes, warmed up, are heaven alongside scrambled eggs on a Saturday morning. They are truly versatile, which is exactly what a good, hearty side dish should be.
Frequently Asked Questions About Roasted Sweet Potatoes
Can I use sweet potato wedges instead of cubes?
Oh, absolutely you can! I often switch between cubes and wedges depending on how rustic I’m feeling that day. The main thing to remember is that wedges have a lower surface-area-to-volume ratio compared to cubes. What does that mean in practical terms? It means they might need just a little bit longer in the oven to get those gorgeous, deep edges. If you use wedges, just check them at the 35-minute mark, but be prepared to give them an extra 5 or 10 minutes until you see that perfect level of caramelized sweet potatoes you’re expecting. Texture is everything!
Why are my roasted sweet potatoes soggy instead of crispy?
This is the question I get asked the most, and usually, it comes down to two things, both of which we fight hard against in this recipe! Reason number one: Crowding the pan. Seriously, if those pieces are touching, they are going to steam instead of roast. They need space to breathe and get crispy! Reason number two: Not enough heat. If your oven isn’t fully preheated to 425°F before the pan goes in, you lose that initial crisping blast. Make sure your oven racks are ready and hot before you even place your sheet pan down. Stick to these two rules, and you’ll keep getting those wonderfully crispy roasted sweet potatoes we aim for.
Can I roast these sweet potatoes ahead of time?
Yes, you can totally roast them ahead of time, which is perfect for making that sweet potato meal prep happen! Like I mentioned before, the key is letting them cool completely before sealing them up in an airtight container. When it comes time to eat them, the microwave is your enemy if you want crunch. You have to reheat them using dry heat. Pop them in a toaster oven or on a baking sheet in your oven at about 350°F for about 7 minutes. This simple step brings back almost all of that amazing crispiness they had right out of the oven!
Nutritional Snapshot of This Healthy Roasted Vegetable
I know so many of you are counting macros or just generally trying to keep your plate colorful and nutritious, and I totally get that! While I focus on flavor here at CravyBite Kitchen, I also respect the science behind what we eat. Since sweet potatoes are one of the best and easiest healthy roasted vegetable options out there, I pulled the estimated nutritional profile for you based on the recipe ingredients.
It’s important for you to remember that these numbers are just an estimate, right? I mean, the size of your sweet potato, the exact brand of oil you use, or if you skip the optional maple syrup all change the totals. Think of this as a helpful guide, not a certified lab report! I always encourage you to use this information as a baseline when plugging them into your favorite tracking app.
Here is a quick look at what one serving (1/4 of the recipe) of these gorgeous potatoes provides:
- Calories: About 220
- Total Fat: Around 10 grams (that’s mostly the good stuff from the olive oil!)
- Carbohydrates: Roughly 33 grams
- Fiber: A nice boost at 5 grams—that’s great for staying full!
- Protein: About 3 grams
- Sugar: Around 8 grams (mostly natural sweetness from the potato itself)
- Cholesterol: Zero, naturally!
See? That’s a fantastic, hearty side dish packed with fiber and Vitamin A, courtesy of that beautiful orange flesh. If you love knowing the nutritional breakdown of your food, you might also enjoy browsing through my tips for healthy breakfast ideas!
Share Your Perfect Roasted Sweet Potatoes Experience
Wow, we made it! Now you know every little secret I have for getting those crispy edges and that melt-in-your-mouth interior. I truly hope these techniques help you banish the mushy sweet potatoes from your kitchen forever. Trust me, once you nail the high heat and the spacing, you’ll never look back!
I really, really want to hear how they turned out for you! This recipe shines brightest when you tell me what you did. Did you stick to the honey version, or did you go full savory with that Parmesan trick? Please take a second and leave a rating below—I love seeing those five stars light up! It helps other cooks decide to try these amazing roasted sweet potatoes.
Drop a comment telling me your absolute favorite seasoning combination. Whether you tried the simple salt and pepper or went wild with cayenne and maple, I want the details! If you need some fresh inspiration for what to serve them with, feel free to browse around, or maybe check out this other popular recipe from a friend, their version of crispy roasted sweet potatoes is great too.
If you have any lingering questions after making them, don’t hesitate to hop over to my contact page and send me a note. Happy roasting, everyone!
PrintThe Ultimate Guide to Perfectly Crispy Roasted Sweet Potatoes
Learn the foolproof method for making oven roasted sweet potatoes that achieve crispy, caramelized edges and a tender, soft interior every time. This easy sweet potato side dish is perfect for weeknight meals or holiday gatherings.
- Prep Time: 10 min
- Cook Time: 35 min
- Total Time: 45 min
- Yield: 4 servings 1x
- Category: Side Dish
- Method: Baking
- Cuisine: American
- Diet: Vegetarian
Ingredients
- 3 large sweet potatoes (about 2 pounds)
- 3 tablespoons olive oil
- 1 teaspoon kosher salt
- 1/2 teaspoon black pepper
- 1/2 teaspoon garlic powder
- 1/4 teaspoon smoked paprika (optional, for savory flavor)
- 1 tablespoon maple syrup or honey (optional, for slight sweetness)
Instructions
- Preheat your oven to 425 degrees Fahrenheit (220 degrees Celsius). Set an oven rack to the middle position.
- Wash the sweet potatoes well. You can peel them or leave the skin on, based on your preference.
- Cut the sweet potatoes into uniform 1-inch cubes or 1-inch thick wedges. Uniform size helps them cook evenly.
- Place the cut sweet potatoes in a large bowl. Drizzle with olive oil.
- Add the salt, pepper, and garlic powder. If you want a slightly sweeter flavor, add the maple syrup or honey now. Toss everything together until the potatoes are evenly coated.
- Spread the seasoned sweet potatoes onto a large, rimmed baking sheet. Do not overlap the pieces; they must be in a single layer for maximum crispiness. This is key for crispy roasted sweet potatoes.
- Roast for 20 minutes.
- Remove the pan from the oven and toss the potatoes gently with a spatula.
- Return the pan to the oven and roast for another 10 to 15 minutes, or until the edges are deeply golden brown and caramelized, and the centers are tender when pierced with a fork.
- Remove from the oven and serve immediately as an easy sweet potato side dish.
Notes
- For extra crispy roasted sweet potatoes, toss the potatoes with 1 tablespoon of cornstarch along with the oil and spices before roasting.
- If you prefer a savory profile, skip the maple syrup/honey and add 1/4 cup of grated Parmesan cheese during the last 5 minutes of cooking.
- For meal prep, store cooled leftovers in an airtight container in the refrigerator for up to 4 days. Reheat in a toaster oven or regular oven to restore crispness.
Nutrition
- Serving Size: 1/4 of recipe
- Calories: 220
- Sugar: 8
- Sodium: 450
- Fat: 10
- Saturated Fat: 1.5
- Unsaturated Fat: 8.5
- Trans Fat: 0
- Carbohydrates: 33
- Fiber: 5
- Protein: 3
- Cholesterol: 0