

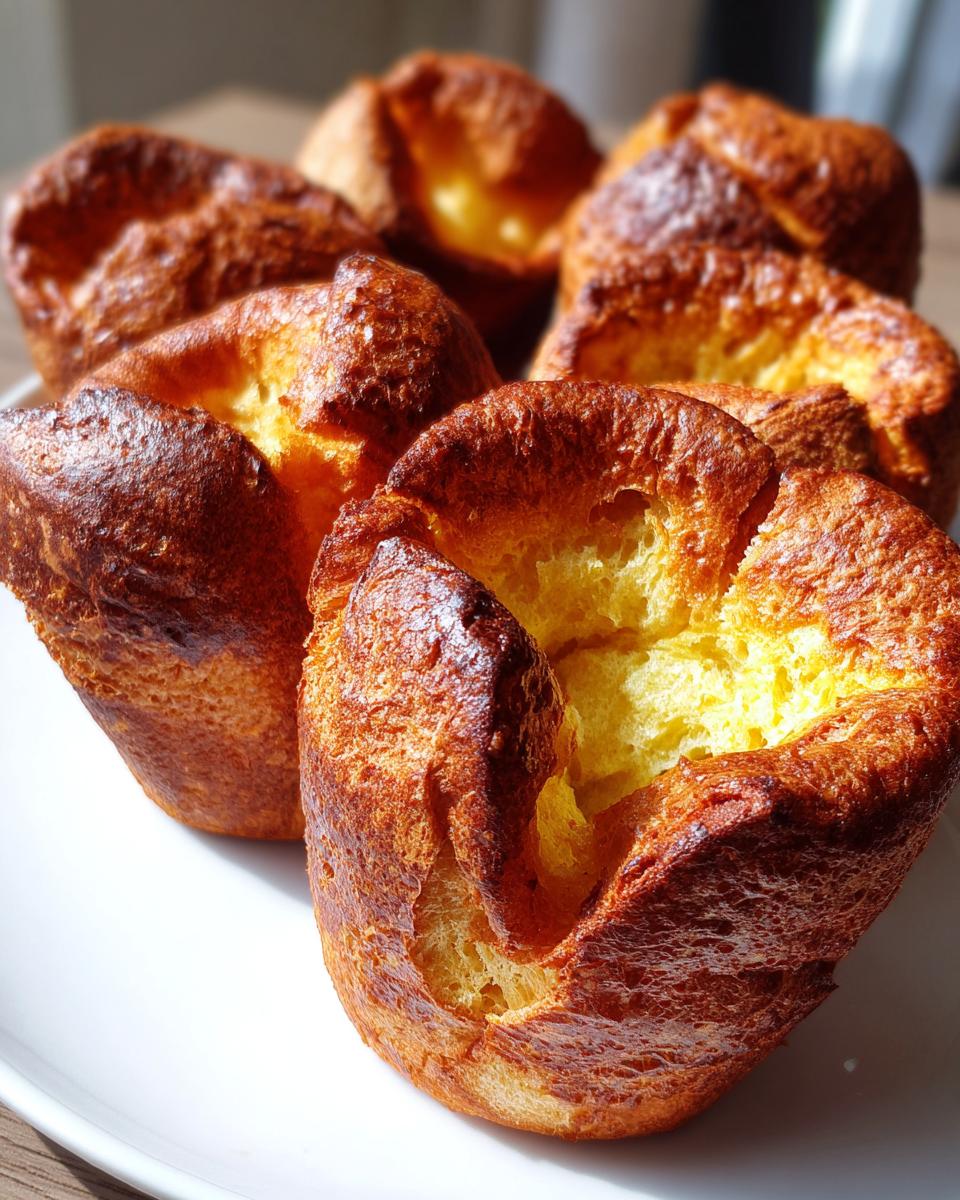
If you’ve ever felt the crushing disappointment of a flat, soggy Yorkshire pudding sinking on your plate, trust me, I’ve been there! Taming this classic British side dish used to feel like guesswork, but that changes today. I’m sharing what I truly believe is the Best Yorkshire Pudding recipe out there—guaranteed to give you that towering, crispy outside and beautifully airy, fluffy inside we all crave. Coming from my background blending nutrition science with my family’s deep home cooking heritage, I approach this recipe with a focus on reliability. This foolproof method uses simple pantry ingredients to deliver that perfect pop every single time you serve them with your Sunday roast. If you need quick dinner ideas later in the week, be sure to check out my tips for quick, easy weeknight dinners, but for now, let’s focus on making these perfect puffs!
- Why This Foolproof Yorkshire Pudding Recipe Works Every Time
- Ingredients for the Best Yorkshire Pudding
- How to Prepare Your Yorkshire Pudding Batter
- Baking Your Yorkshire Pudding: Achieving Golden Brown Puddings
- Serving Suggestions for Your Traditional British Side Dish
- Storage and Reheating Instructions for Leftover Yorkshire Pudding
- Answering Common Yorkshire Pudding Questions
- Nutritional Estimates for Homemade Yorkshire Pudding
- Share Your Perfect Yorkshire Pudding Creations
Why This Foolproof Yorkshire Pudding Recipe Works Every Time
What makes this a foolproof Yorkshire pudding recipe? Honestly, it’s the consistency and the temperature control. I’ve stripped away all the complicated steps and focused on the two things that matter most: a proper batter and screaming hot fat. You get incredible results using just a few cheap, basic pantry staples, which means this is a fantastic side dish when you’re feeding a crowd without breaking the bank.
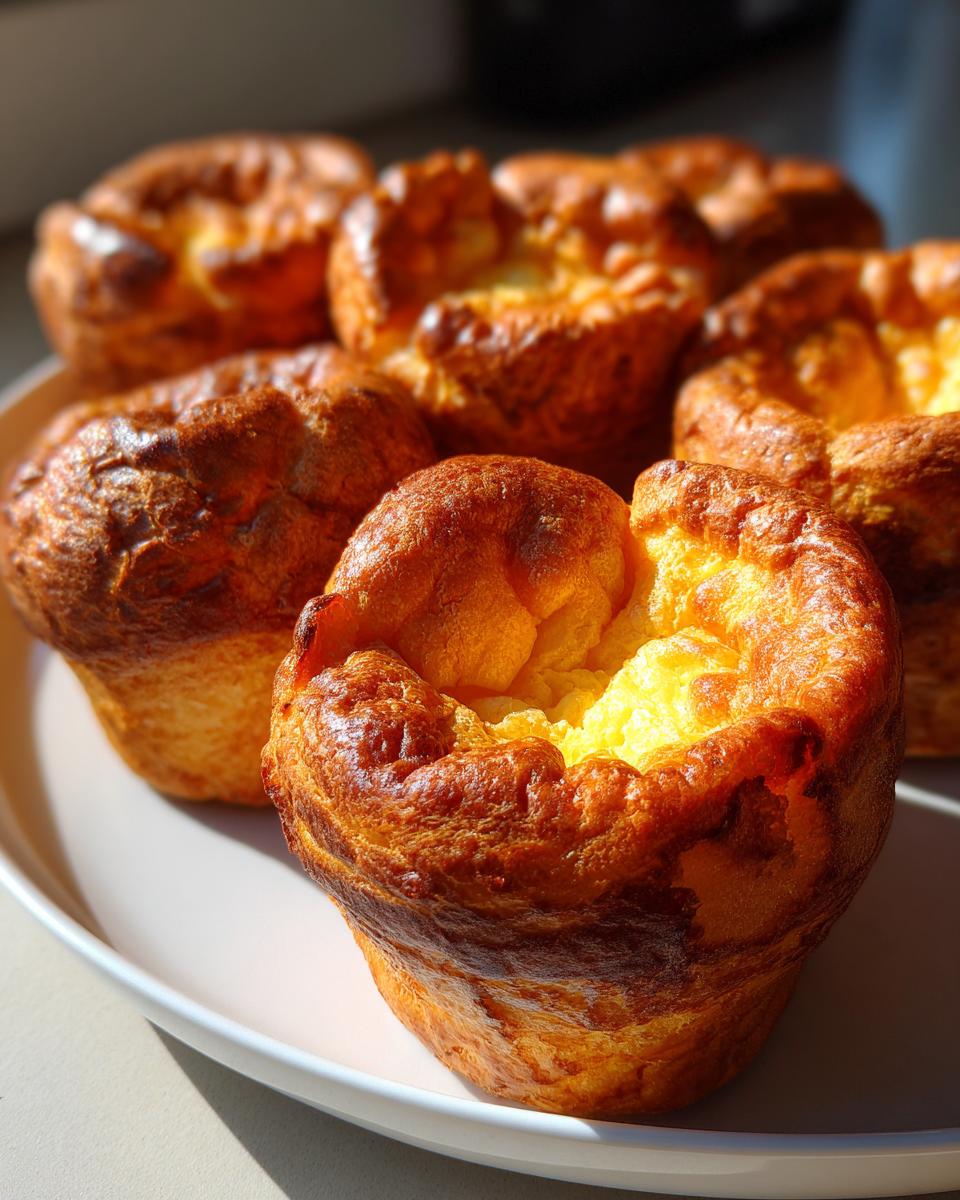
- It consistently produces that desirable contrast: super crispy edges and a wonderfully soft, airy center.
- The minimal ingredient list keeps things easy and budget-friendly.
- It’s reliable—if you follow the rules, you won’t end up with sad, flat disks.
Achieving Maximum Rise: The Science Behind Fluffy Yorkshire Puddings
When we talk about making these puff up tall, we’re talking pure thermal shock! First up: the fat in your tin must be smoking hot—I mean, almost alarming levels of heat before you even think about pouring the batter in. That initial blast of heat causes the liquid in the batter to instantly turn to steam, forcing that beautiful rise. Second, you have to let the batter rest. Resting is one of my favorite pudding batter secrets; it relaxes the gluten, meaning the structure can expand without fighting itself. Seriously, don’t skip that rest!
Ingredients for the Best Yorkshire Pudding
The beauty of a Yorkshire pudding recipe is how humble the list is. You probably have everything needed right now! We’re using the classic four-ingredient base plus the fat for baking. For the best crispiness, if you can find it, use beef dripping—it adds such an authentic flavor that oil just can’t match. If you are looking for something richer for your next batch of cheesy sides, you should check out how I make my ultimate creamy cheese grits!
Here is exactly what you need for 12 individual puddings:
- 4 large eggs
- 1 cup all-purpose flour (plain flour works perfectly)
- 1 cup whole milk
- 1/2 teaspoon salt
- 4 tablespoons beef dripping or vegetable oil (for the tin—remember, hot fat is key!)
Ingredient Notes and Substitutions for Yorkshire Pudding
I always recommend whole milk because that little bit of extra fat helps the pudding achieve that rich, soft interior. Don’t try to swap it for skimmed milk; it just won’t give you the same texture. For the flour, stay with standard all-purpose flour; it has the right balance of protein for structure. Now, I know some folks have dietary needs. While this recipe leans heavily on wheat flour, if you’re hunting for a Gluten Free Yorkshire Pudding recipe, it takes a completely different formulation to get that rise, so you’ll want to search specifically for a dedicated flour blend recipe!
How to Prepare Your Yorkshire Pudding Batter
Okay, this is where we build the foundation for lift-off! For Step 1, you’re just whisking everything together: the eggs, the flour, and the salt first. Mix those gently. Remember, we don’t want a tough pudding, so resist the urge to beat it furiously like you’re whipping meringue for a cake. Once you have that initial shaggy mixture, slowly stream in the milk. Keep whisking until you have this beautiful, thin liquid—it should look super smooth, really just like thin cream, not that thick pancake batter you might be used to. When I first started adapting my mum’s recipe, I made the mistake of adding the milk too fast, and I ended up with lumps! This Easy Yorkshire Pudding Batter needs patience to be perfectly smooth.
The Crucial Rest Period for Perfect Yorkshire Puddings
Now, here’s the secret part of Step 2 that so many people skip, and honestly, it’s why they end up with flat puddings. You *must* let the batter rest. I recommend at least 30 minutes right on the counter, but if you can manage it, chilling it in the fridge for a few hours or even overnight is honestly the secret to the fluffy Yorkshire puddings you see in magazines. When the batter rests, the gluten relaxes, which means when it hits that screaming hot fat, it expands easier and taller. It makes a huge difference in achieving that gorgeous puff!
Baking Your Yorkshire Pudding: Achieving Golden Brown Puddings
Alright, time for the main event! This phase is where your patience during the batter rest pays off, but you have to move quickly now. We need that oven blazing hot—450°F (230°C) is non-negotiable. Put your tin in there with the fat—whether it’s beef dripping or oil—and let it get screaming hot. I mean, when you flick a drop of water in, it should sizzle and almost vaporize instantly. That smoking hot fat is what guarantees those sky-high golden brown puddings you want!
When you pour the batter in (about one-third full per hole), you must work fast. That heat needs to stay trapped in the tin. Then, shove it straight back into the oven. Don’t dawdle! Resist the urge to peek, because that rush of cool air is the number one killer of a good rise. If you follow this method, you’ll get the puff you’re dreaming of. If you’re making individual ones, it cooks faster than one big pudding, but the rules about heat are the same. Speaking of variations, you can check out how I make amazing crispy air fryer potato wedges!
Tips and Tricks for a Tall Yorkshire Pudding Rise
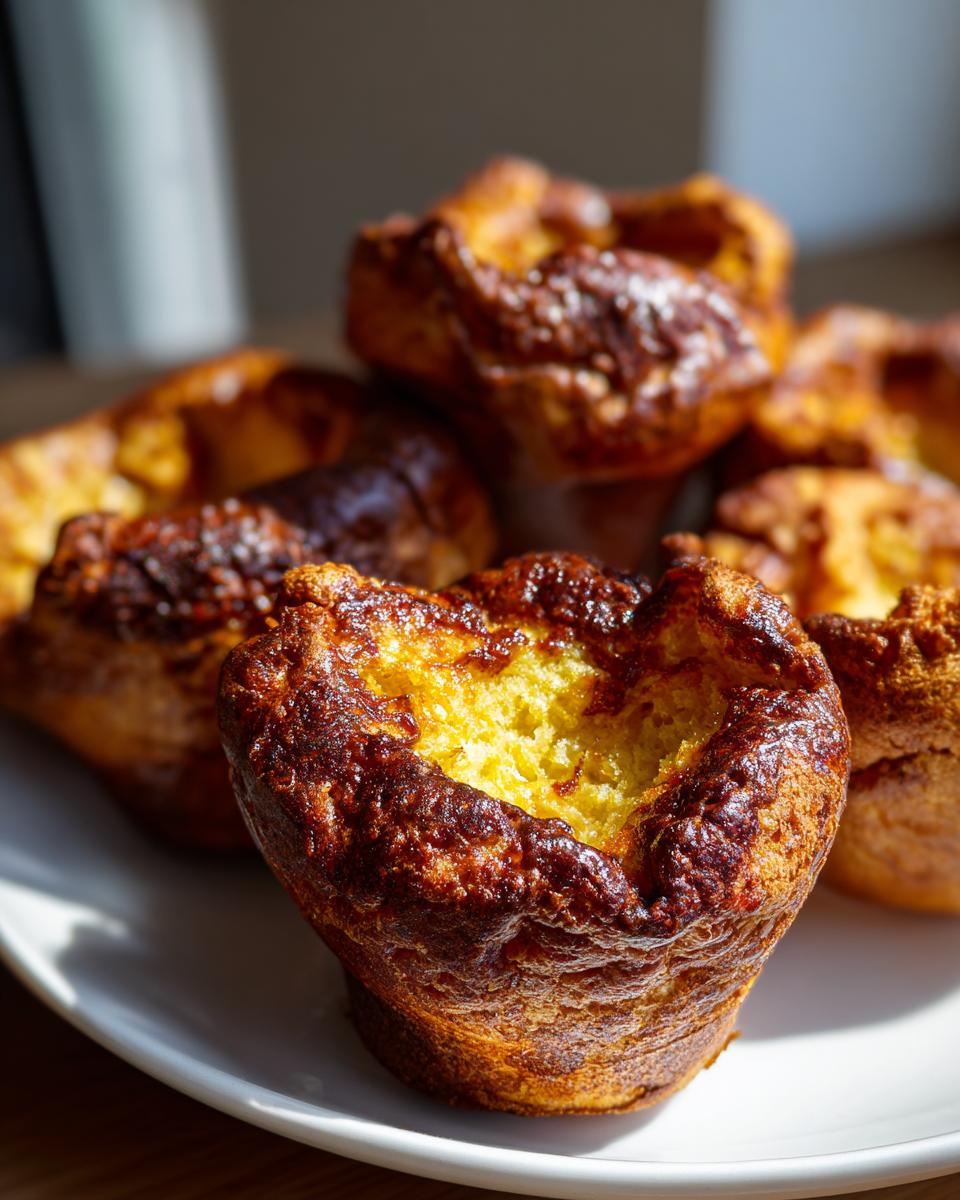
I cannot stress this enough: from the moment the batter touches that hot fat, you are not allowed to look! Opening the oven door, even for a second in the first 20 minutes, lets the internal temperature drop, and gravity wins—your beautiful puff collapses into a sad pancake. For individual Yorkshire puddings, the corners get crispier, which is lovely! If you want to see another celebrated method, check out how the professionals do it; they swear by their timing over at their crispy Yorkshire pudding recipe. Trust the heat, trust the recipe, and wait those full 20 minutes before even considering checking them for that beautiful golden color.
Serving Suggestions for Your Traditional British Side Dish
Well, now that you’ve achieved towering perfection, the question becomes: what do you serve this magnificent traditional British side dish with? Honestly, it really only belongs next to a massive Sunday roast. Roast beef is the classic partner, of course, but these are just as happy next to slow-cooked lamb or even crispy roast chicken.
The absolute best part, as you know, is the center! That light, airy pocket is specifically designed by the culinary gods to cradle gravy. When you pour that rich, savory sauce over your plate, watch how the pudding just soaks it all up—it’s heavenly. If you want a main course that justifies this level of side-dish dedication, you have to try my recipe for braised short ribs; talk about a meal!
Storage and Reheating Instructions for Leftover Yorkshire Pudding
Now, I know Yorkshire puddings are best right out of the oven, but let’s be real—sometimes you have leftovers, especially after a big holiday meal! Good news: these freeze beautifully. Once they are completely cooled, lay them flat on a baking sheet lined with parchment paper and pop them in the freezer until solid. Then, transfer them to a freezer bag. When you’re ready to reheat, do not reach for that microwave, I’m begging you! You need the oven or an air fryer set to about 375°F (190°C) for about five to eight minutes. That blast of dry heat brings back the crispiness you love, turning them back into perfect comfort food!
Answering Common Yorkshire Pudding Questions
I get so many questions about these! It’s totally normal when you’re making something that relies so much on temperature and timing. Since everyone’s journey to the perfect bake is a little different, I wanted to pull together the most common things people ask me about making this Yorkshire pudding recipe. If you’ve hit a snag on past attempts, the answers are usually buried right here in the science of heat and rest!
Is the Gordon Ramsay Yorkshire Pudding method different?
You know, everyone has their version! You see famous chefs like Gordon Ramsay showing off their giant, beautiful puddings on TV. And yes, those methods are fantastic, but they often involve specific measurements of oil or slightly different ratios. I always point people back to this classic method because it focuses on the physical reactions—the hot fat and the rested batter—which are the true keys. You’ll get every bit of the height and crispiness with my recipe without any unnecessary fuss. We’re aiming for that incredible, traditional outcome!
Can I make this Yorkshire Pudding Recipe ahead of time?
Absolutely, yes! This is one of my big time-savers. As I mentioned earlier, chilling the batter is fantastic for relaxing the gluten, which improves the rise, but it also means you can prep for your roast early. You can mix up the easy Yorkshire pudding batter the night before. Just keep it covered tightly in the fridge. When it’s time to cook, just let it sit on the counter for about 30 minutes while your oven heats up so it’s not stone-cold when it hits the hot fat. It makes getting that quick side dish for beef on the table so much easier!
Why are my Yorkshire Puddings flat?
Ugh, the flat ones are the worst! If you’ve tried everything and they still look deflated, it almost always boils down to just two major culprits. Reason one: your fat wasn’t hot enough. If the fat isn’t smoking when you pour the batter in, you lose that initial thermal shock needed for the upward push. Reason two: you got nervous and opened the oven door too soon! Seriously, you need to let them bake for at least 20 minutes untouched while they set. A sudden blast of cool air causes them to panic and settle right back down. If you keep that heat locked in, you’ll have puffy popovers every time.

If you have any other burning questions about this recipe or baking in general, feel free to reach out to me at CravyBite Kitchen anytime; you can find all the ways to connect on my contact page!
Nutritional Estimates for Homemade Yorkshire Pudding
I always get asked about the numbers, which makes sense since I have that background in nutrition science! While I love the tradition of home cooking, understanding what’s in our food is important too. Below are the estimated nutritional guidelines for one individual pudding made using the recipe above. Please keep in mind these are just ballpark figures.
The main variable here is the fat you use. Using beef dripping will naturally increase the saturated fat content compared to using a neutral vegetable oil. So, take these figures as a general guide for what you’re serving up alongside your main roast!
- Serving Size: 1 pudding
- Calories: 120
- Fat: 6g (This will fluctuate based on your chosen fat!)
- Saturated Fat: 2g
- Carbohydrates: 13g
- Protein: 5g
- Sugar: 1g
- Sodium: 150mg
A quick disclaimer: Since we are using basic pantry staples, this is a very cost-effective side dish, but remember these numbers are estimates. They don’t account for any gravy you are planning to smother them in, which, let’s be honest, is the best part of making these fluffy Yorkshire puddings!
Share Your Perfect Yorkshire Pudding Creations
Now that you’ve got the secrets—the smoking hot fat, the rested batter, and the “no peeking” rule—I can’t wait to see what tall, golden masterpieces you pull out of your oven! I feel like every person who masters this recipe joins a special little club. Seriously, when you make these for your next Sunday dinner, snap a picture and tag me on social media. I light up seeing your triumphs!
If you love this recipe and want to make sure you never lose it, give it a five-star rating right here on the page—that helps other home cooks find their way to the perfect Yorkshire pudding, too. We’re building a community here at CravyBite Kitchen based on sharing reliable, comforting food, and your feedback is a huge part of that. While you’re exploring the site, please take a moment to look over my privacy policy so you know how we keep our community safe.
Happy baking, and enjoy soaking up all that delicious gravy!
PrintThe Perfect Foolproof Yorkshire Pudding: Crispy Outside, Fluffy Inside

Make light, airy, and perfectly crisp Yorkshire puddings with this simple recipe. These traditional British side dishes puff up tall and golden brown, ideal for soaking up gravy from your Sunday roast.
- Prep Time: 10 min
- Cook Time: 25 min
- Total Time: 35 min
- Yield: 12 individual puddings 1x
- Category: Side Dish
- Method: Baking
- Cuisine: British
- Diet: Vegetarian
Ingredients
- 4 large eggs
- 1 cup all-purpose flour
- 1 cup whole milk
- 1/2 teaspoon salt
- 4 tablespoons beef dripping or vegetable oil (for the tin)
Instructions
- Prepare the batter: Whisk the eggs, flour, and salt together in a bowl until smooth. Gradually whisk in the milk until you have a thin, smooth batter, similar to thin cream. Do not overmix.
- Rest the batter: Cover the batter and let it rest at room temperature for at least 30 minutes, or chill in the refrigerator for up to 12 hours. Resting helps the gluten relax, leading to a better rise.
- Preheat the oven and fat: Place a 12-hole muffin tin (or a large roasting tin for one large pudding) into the oven. Add about 1 teaspoon of beef dripping or oil into each cup. Preheat the oven to 450°F (230°C). The fat must be smoking hot before you add the batter.
- Pour the batter: Carefully remove the hot tin from the oven. Quickly and evenly pour the batter into the hot fat, filling each cup about one-third full. Work fast to keep the heat in the tin.
- Bake: Immediately return the tin to the hot oven. Do not open the oven door for the first 20 minutes.
- Cook until puffed and golden: Bake for 20 to 25 minutes, or until the puddings are well-risen, deep golden brown, and crispy.
- Serve immediately with your roast dinner and gravy.
Notes
- For the best rise, the fat in the tin must be smoking hot before you pour in the batter.
- Use whole milk for a richer texture.
- If you want individual Yorkshire puddings, use a standard 12-cup muffin tin.
- This recipe uses simple pantry staples, making it a cost-effective side dish for your Sunday roast.
Nutrition
- Serving Size: 1 pudding
- Calories: 120
- Sugar: 1
- Sodium: 150
- Fat: 6
- Saturated Fat: 2
- Unsaturated Fat: 4
- Trans Fat: 0
- Carbohydrates: 13
- Fiber: 0
- Protein: 5
- Cholesterol: 60