
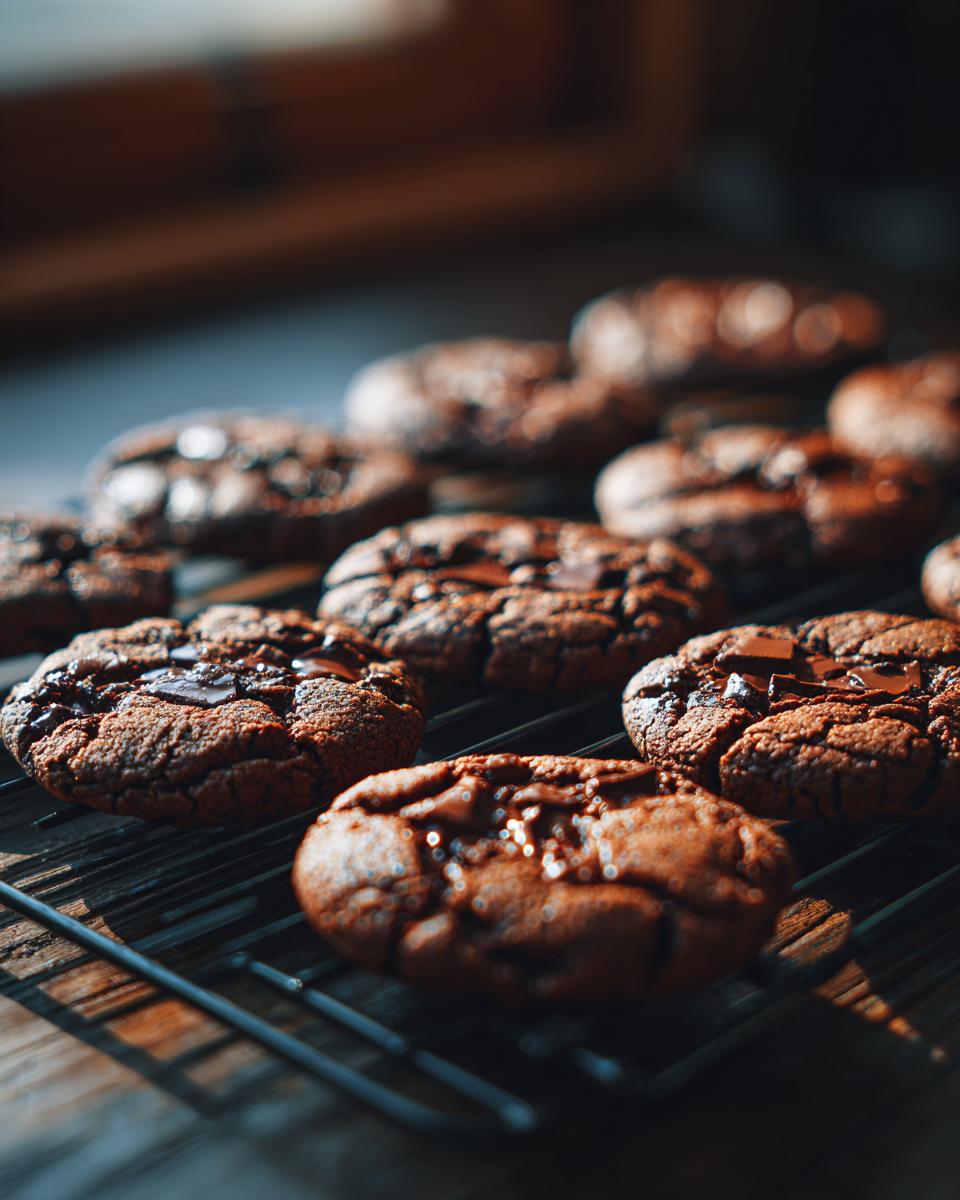
Oh, friends, let’s settle this once and for all: the search for the perfect cookie ends right here! Do you dream of cookies that actually look like they came straight out of a fancy bakery case? I’m talking about cookies that are incredibly thick, wonderfully soft and chewy, and just melt in your mouth with those glorious, gooey centers? Well, guess what? I have cracked the code, and you won’t even need to wait for dough to chill! This is my absolute favorite version because it proves that classic American baking, done right, beats everything. As I always say over at CravyBite Kitchen, we are making the best chocolate chip cookies known to humankind, and we’re doing it fast.
- Why These Are the Best Chocolate Chip Cookie Recipe You Will Ever Make
- Ingredients for Perfect Chocolate Chip Cookies
- Simple Steps to Make Soft and Chewy Cookies
- Expert Tips for Perfect Chocolate Chip Texture
- Storage and Reheating Instructions
- Troubleshooting Common Chocolate Chip Cookies Issues
- Serving Suggestions for Your Homemade Chocolate Chip Cookies
- Frequently Asked Questions About These Chocolate Chip Cookies
- Nutritional Estimate for These Cookies
Why These Are the Best Chocolate Chip Cookie Recipe You Will Ever Make
I know everyone claims to have the Best Chocolate Chip Cookie Recipe, but seriously, ours is different. We cracked the code to getting those sturdy, thick cookies without the waiting game—no overnight chilling required! The magic is all in manipulating the fats and sugars just right to guarantee that Perfect Chocolate Chip Texture every single time we dive into baking. You’ll be amazed how fast these come together, yet how professional they taste. If you want more ideas on nailing chewiness, check out my post on ultimate chewy cookies!
Achieving Bakery Style Cookies at Home Texture
The secret weapon here is using melted butter, and you’ll find this tip everywhere if you look at professional bakers. When you melt the butter instead of creaming softened butter, you limit the air incorporated into the dough. This keeps the cookies dense and thick, preventing them from spreading into thin, sad pancakes. It’s the fastest way to get that amazing, substantial, Bakery Style Cookies at Home feel!
The Advantage of Our No Chill Chocolate Chip Cookies
Listen, I get it. Sometimes you need a cookie *now*. That’s why I love these No Chill Chocolate Chip Cookies. This method cuts out the frustration of waiting hours for the dough to firm up. Despite skipping that step, the use of melted butter and the specific sugar ratio ensures you still get beautiful, thick edges and those glorious, slightly under-baked, soft centers. It’s the definition of an Easy Chocolate Chip Cookies win!
Ingredients for Perfect Chocolate Chip Cookies
Okay, pulling these homemade chocolate chip cookies together quickly means we need to pay attention to how we prep certain components. Don’t sweat the measurement; just grab your scale if you have one, but the cups work beautifully, too! Notice how I specified the butter must be melted and cooled a tiny bit—that’s important for the texture we are going for. Also, room temperature eggs blend in so much smoother for those gooey center cookies! I think you’ll find this ingredient list straightforward, especially since we skip the chilling step. For an amazing topping later, you might want to check out my recipe for easy homemade chocolate syrup to drizzle on top once they cool!
- 1 cup (2 sticks) unsalted butter, melted and slightly cooled
- 1 cup packed light brown sugar
- 1/2 cup granulated sugar
- 2 large eggs, room temperature
- 1 tablespoon vanilla extract
- 2 1/4 cups all-purpose flour
- 1 teaspoon baking soda
- 1/2 teaspoon salt
- 1 1/2 cups semi-sweet chocolate chips (or a mix of chips and chunks)
- Flaky sea salt, for topping (optional)
Simple Steps to Make Soft and Chewy Cookies
Now for the fun part—this is where we put the ingredients to work! Don’t worry if your kitchen feels hectic; even though these are Easy Chocolate Chip Cookies, technique matters a tiny bit for that signature texture. We’re preheating to 350°F, which is the sweet spot for baking these thick beauties. Remember, since we aren’t chilling, the order and speed of mixing are how we control everything. Get your baking sheets ready with parchment paper, because these need it! We’re aiming for cookies that are huge and impressive, so make sure you scoop them generously. This whole process, from mixing to putting them in the oven, flies by, making this one of my favorite Comfort Food Baking recipes! If you need some quick dinner ideas to build up an appetite before you tackle these, check out my favorites over at simple lunch recipes.
Mixing the Wet Ingredients for Gooey Center Cookies
First things first, grab that slightly cooled, melted butter and whisk it vigorously with both sugars! You want this mixture to look sort of grainy, like wet, brown sand. Don’t stop mixing until it’s totally combined and smooth. Then, beat in those room temperature eggs one at a time and add your vanilla. If you do this right, you’ve already set yourself up for those gorgeous Gooey Center Cookies. It’s all about emulsifying that fat before we introduce the structure!
Combining Wet and Dry for Ultimate Chocolate Chip Cookies
Time for the flour mixture! Add your dry ingredients—flour, soda, salt—to the wet mixture slowly. And here is where you need the light touch: slow speed on the mixer or just fold it in by hand! As soon as you see those last streaks of flour disappear, STOP! Seriously, put the spatula down. Overmixing the flour develops gluten, and gluten is what makes bread chewy, but it makes cookies tough, not the soft and Ultimate Chocolate Chip Cookies texture we are hunting for.
Baking and Setting the Thick Chocolate Chip Cookies
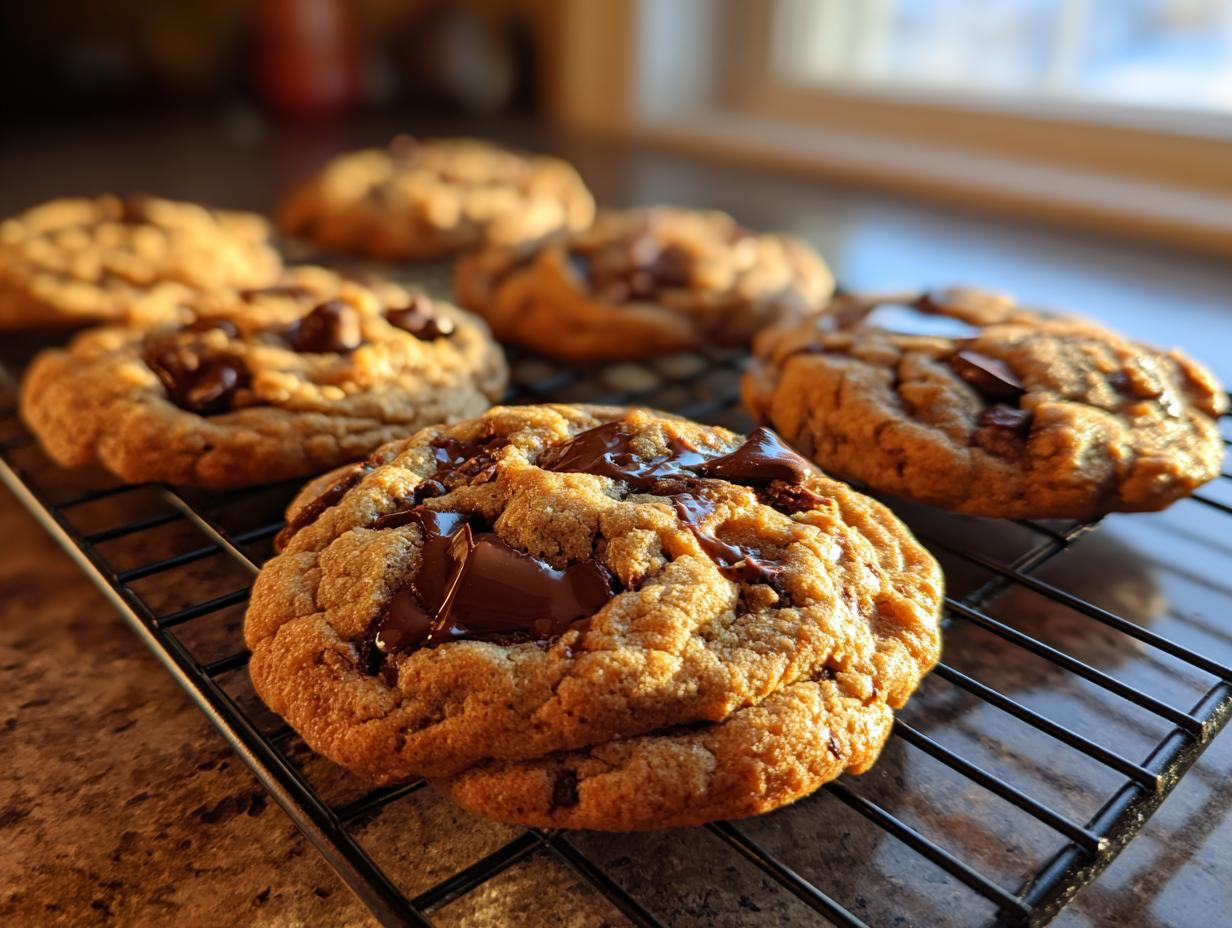
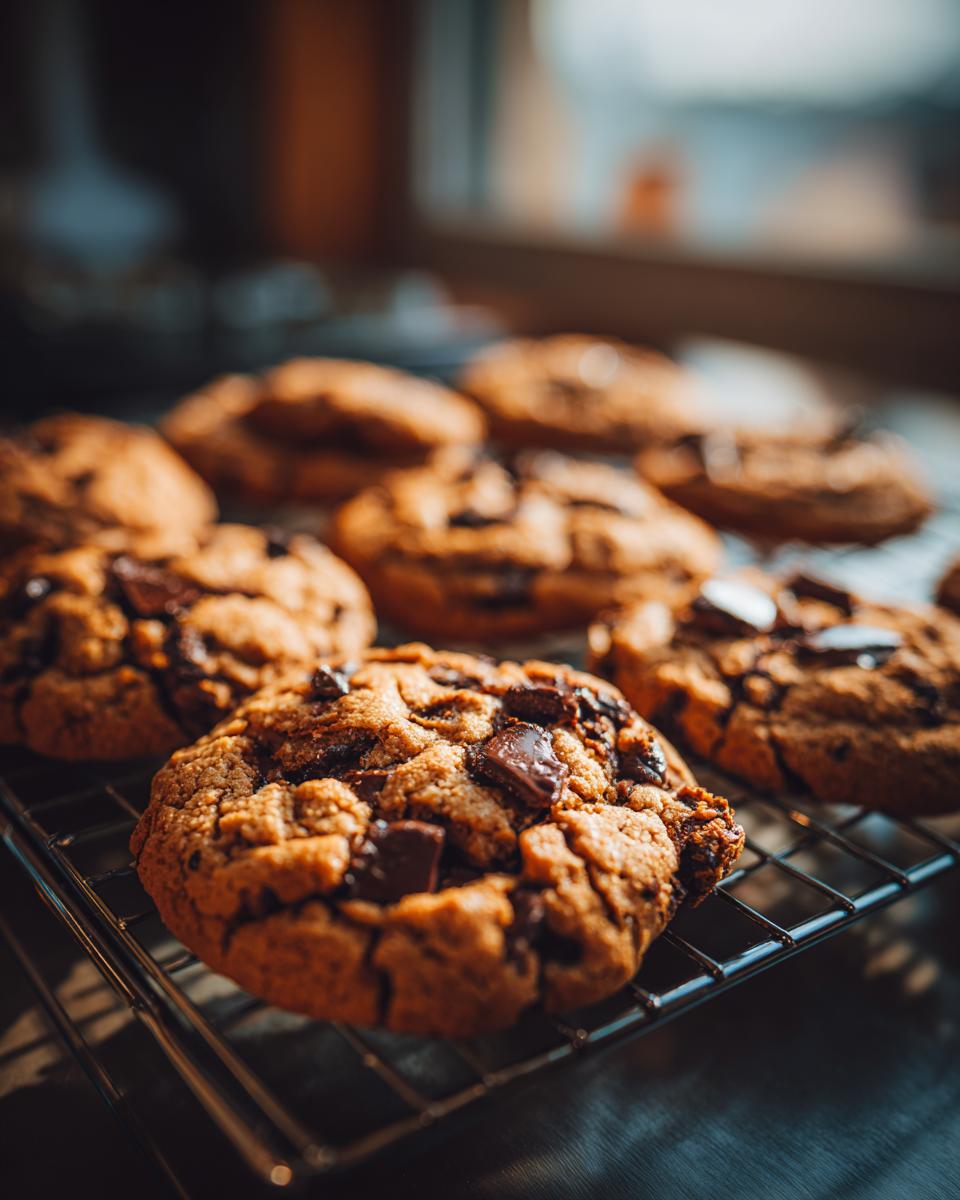
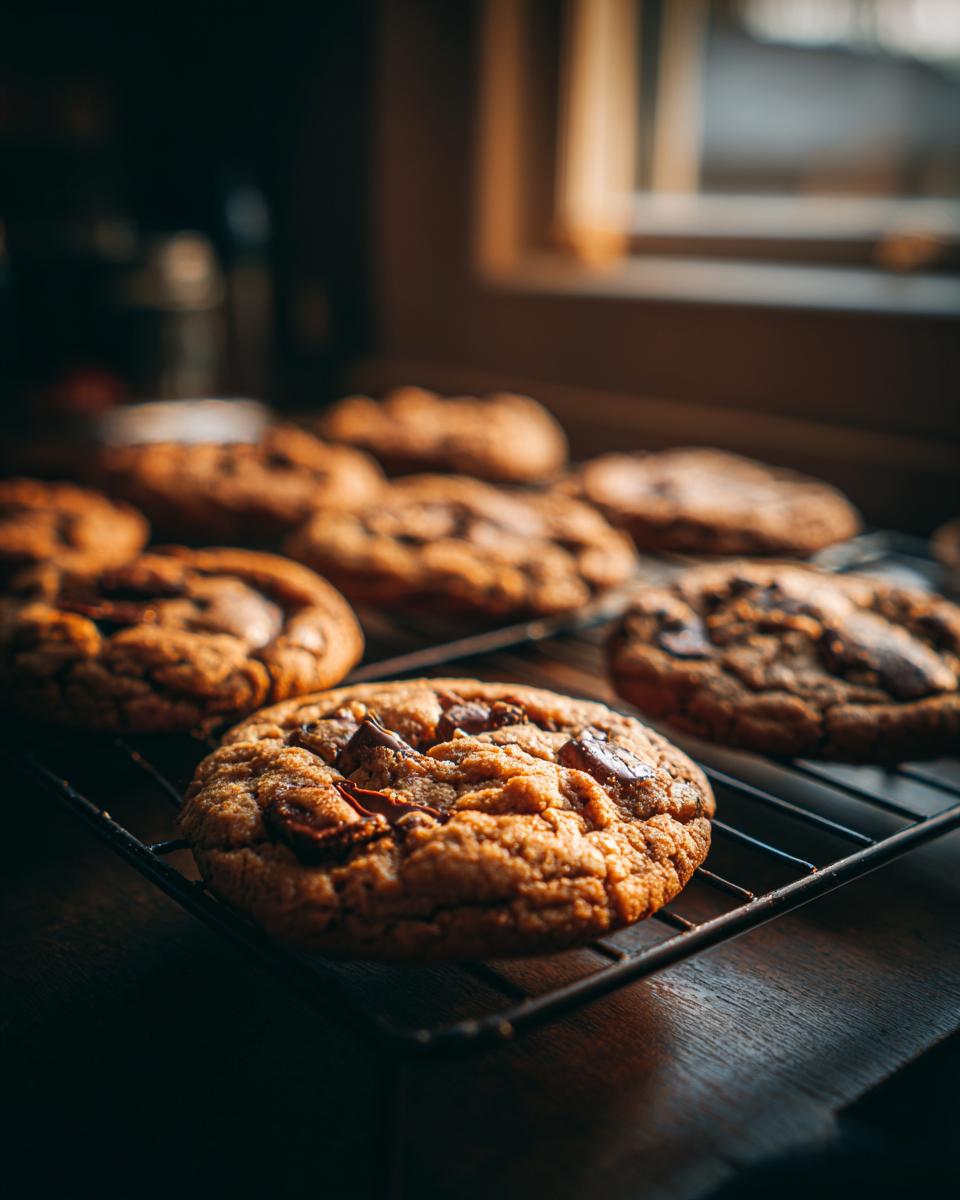
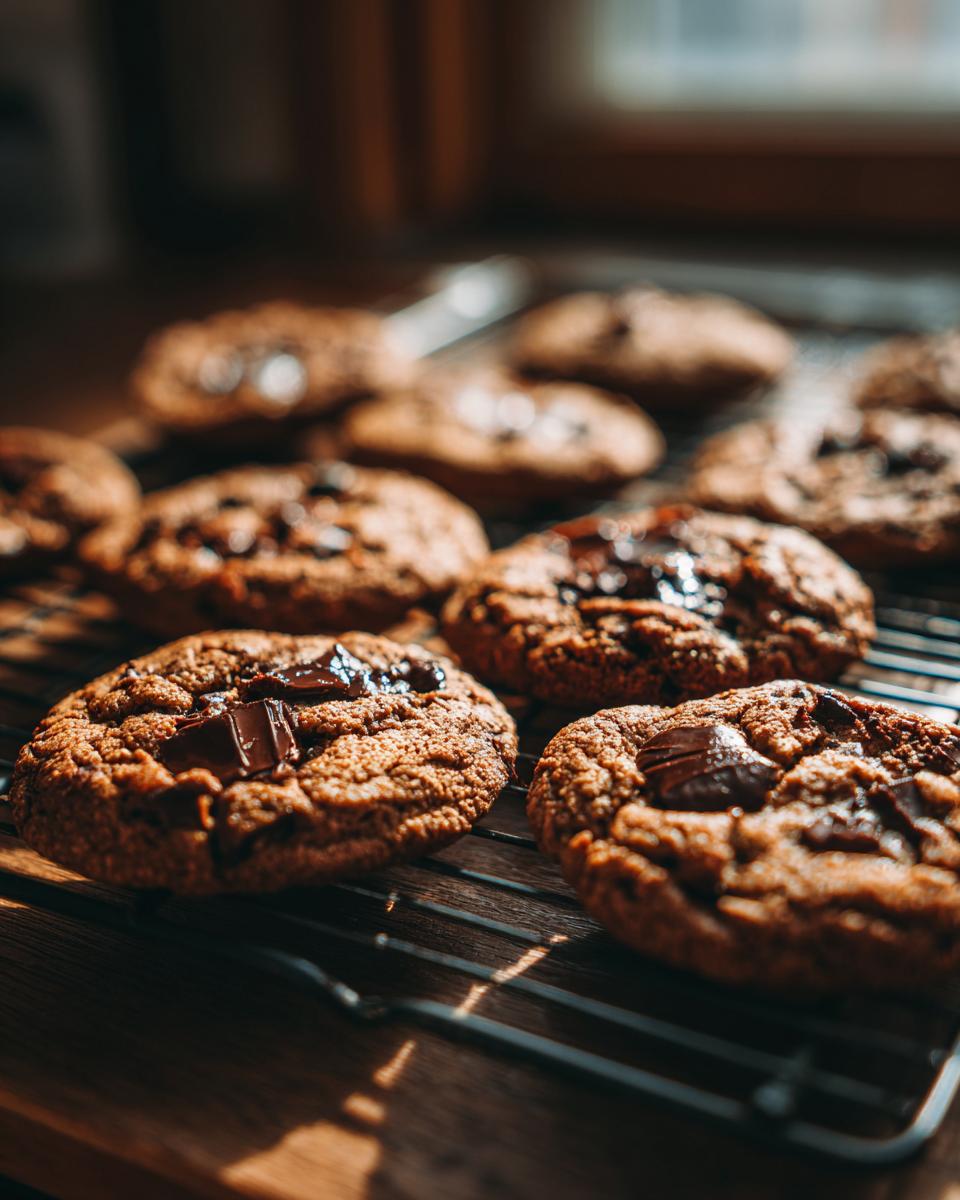
Scoop them big—I mean, really big scoops! Three tablespoons per cookie is my go-to for maximum thickness. When they bake, look for the edges to set up and look golden brown, but don’t let the centers solidify. If the centers still look quite soft, maybe even a little glossy, they are done! Pull them out! The most crucial part for texture comes next: let them sit right there on that hot baking sheet for a full five minutes. This lets them firm up just enough so they don’t collapse into puddles when you move them, securing that dreamy, soft center.
Expert Tips for Perfect Chocolate Chip Texture
Honestly, once you nail down the basic method for these chocolate chip cookies, it’s all about the small tweaks that separate a good cookie from a legendary one. My formal training in nutrition taught me tons about ingredient interaction, and those little science bits really shine here. Mastering these nuances is how you guarantee that incredible, satisfying chewiness time after time. We want that perfect balance across the board, and these little secrets make a huge difference in the final product!
Ingredient Notes and Substitutions for Homemade Chocolate Chip Cookies
If you want chew, you need to respect the sugar! I always lean heavily on brown sugar over white sugar because that molasses content holds onto moisture beautifully, which is exactly what keeps your homemade chocolate chip cookies soft long after they’ve cooled. Don’t try to switch to all white sugar unless you want a crispier, flatter cookie, okay? Also, for the chocolate itself, don’t just rely on standard semi-sweet chips! My favorite trick—and this really ramps up the indulgence factor—is using about two-thirds standard chips and one-third chopped chocolate bars (like a good quality dark chocolate). The different melt points give you those pockets of pure, molten chocolate perfection. You can even find some awesome decorative fun icing recipes if you’re feeling extra fancy!
Storage and Reheating Instructions
Now, the hardest part of this whole process is convincing yourself not to eat all eighteen of these incredible chocolate chip cookies the day they come out of the oven! But if you manage to have leftovers (wow, good for you!), storage is key to keeping that delightful chewiness intact. Because we used melted butter, they tend to be softer than cookies made with creamed butter, which is great, but it means they need proper protection.
Always store your cooled cookies in a truly airtight container at room temperature. Don’t try refrigerating them; that moisture loss will make them hard faster than you can say “double batch.” I usually layer mine with small squares of wax paper between them, especially if they are super gooey, just to stop them from sticking together into one giant, delicious cookie mass.
If they happen to firm up a little overnight—which can happen with any cookie—don’t stress! They are easily revived. Pop one on a microwave-safe plate and give it a quick five to ten seconds. Just a little flash of heat is enough to bring that center right back to that perfect, melty, gooey state. It’s amazing how quickly they rebound! If you’re looking for another simple dessert idea that holds up well, you should definitely check out my recipe for an easy no-bake ice cream pie.
Troubleshooting Common Chocolate Chip Cookies Issues
Even though I claim this is the easiest recipe out there for chocolate chip cookies, sometimes things just happen in the kitchen, right? Don’t panic if your first batch doesn’t look exactly like mine! Since we are working with melted butter here, our solutions for troubleshooting tend to focus on temperature and dough density rather than creaming technique. If you follow my instructions on baking time, you should get those irresistible soft centers, but let’s cover the top three hiccups I hear about.
If your cookies spread way too thin, it usually means your ingredients were too warm when you added the flour, or maybe you measured your flour slightly light. Try chilling the scooped dough balls for just 15 minutes if they seem oily before baking. For the opposite problem, if your cookies come out dry and cakey, you likely added too much flour, or maybe you baked them a minute or two too long—remember, slightly underdone is the goal!
And for those sad, brown edges? That usually means your oven temperature is running hot, or perhaps you placed your baking sheet too close to the heating element. Try moving the rack to the center position next time. If you’re looking for another recipe where technique really matters, you have to try my easy homemade garlic butter recipe!
Serving Suggestions for Your Homemade Chocolate Chip Cookies
Once these treats are perfectly set—golden edges, gooey middle—it’s time to serve them up! Nothing beats the true comfort of a warm, homemade snack. My favorite way to enjoy these is slightly warm with a huge glass of ice-cold milk, the kind you can really dunk into without fear of immediate structural collapse. They are also heavenly crumbled over a scoop of good vanilla bean ice cream!
If you’re having guests over, try serving them alongside my recipe for classic bread pudding with vanilla sauce for a truly decadent dessert spread. Trust me, having a fresh stack of these ready elevates any casual evening!
Frequently Asked Questions About These Chocolate Chip Cookies
I figured you might have a few lingering questions about getting your hands on those perfect, thick, homemade chocolate chip cookies! Baking is all about communication, so let’s talk through the common sticking points so you can conquer any batch you make. We want every experience you have with this recipe to result in bliss!
Can I substitute the melted butter for softened butter in this chocolate chip cookies recipe?
Oh, you absolutely *can*, but I really, really advise against it if you are chasing that chewy, dense texture! Remember, the beauty of this recipe comes from using melted butter; that’s what minimizes air in the dough, leading to those thick, chewy results. If you swap it for softened, creamed butter, what you will end up with are noticeably flatter, puffier, and more cake-like chocolate chip cookies. They will still taste good, of course, because it’s chocolate and sugar, but you lose that perfect textural element we worked so hard to achieve!
What is the best way to get gooey center cookies?
This is my favorite question! You actually achieve the best gooey center cookies by lying to your oven a little bit. You need to pull those cookies out when they look *just* slightly underbaked in the very middle—the centers should still look glossy and a bit unset. They will continue cooking on that hot baking sheet during the five-minute rest period, which sets the edge without drying out the middle. Also, using a mix of semi-sweet chips *and* some chopped chocolate chunks makes a huge difference. Those chunks melt into molten pockets of chocolate heaven, guaranteeing that gooey core!
If you ever want to use up any leftovers in a fun way, try crushing them up and using them in my recipe for easy homemade garlic butter recipe—kidding! (But seriously, these cookies are great on their own!) Don’t forget how to store them properly to keep that gooey factor locked in!
Nutritional Estimate for These Cookies
I always try to keep things simple in the kitchen, and that extends to how we look at nutrition! Keep in mind that these figures are just an estimate, based on standard ingredients, and your exact results will change depending on the brand of butter or chocolate chips you use. We always focus on comfort and flavor first here at CravyBite! For official details regarding data usage, please review our privacy policy.
- Serving Size: 1 cookie
- Calories: 240
- Sugar: 18g
- Sodium: 140mg
- Fat: 13g
- Protein: 3g
Bakery Style Soft and Chewy Chocolate Chip Cookies (No Chill)
Make thick, bakery style chocolate chip cookies at home that are soft and chewy with gooey centers. This easy recipe requires no chilling time.
- Prep Time: 15 min
- Cook Time: 12 min
- Total Time: 27 min
- Yield: 18 large cookies 1x
- Category: Dessert
- Method: Baking
- Cuisine: American
- Diet: Vegetarian
Ingredients
- 1 cup (2 sticks) unsalted butter, melted and slightly cooled
- 1 cup packed light brown sugar
- 1/2 cup granulated sugar
- 2 large eggs, room temperature
- 1 tablespoon vanilla extract
- 2 1/4 cups all-purpose flour
- 1 teaspoon baking soda
- 1/2 teaspoon salt
- 1 1/2 cups semi-sweet chocolate chips (or a mix of chips and chunks)
- Flaky sea salt, for topping (optional)
Instructions
- Preheat your oven to 350°F (175°C). Line two large baking sheets with parchment paper.
- In a large bowl, whisk together the melted butter, brown sugar, and granulated sugar until fully combined. The mixture will look like wet sand.
- Beat in the eggs one at a time, mixing well after each addition. Stir in the vanilla extract.
- In a separate medium bowl, whisk together the flour, baking soda, and salt.
- Gradually add the dry ingredients to the wet ingredients, mixing on low speed or by hand until just combined. Do not overmix.
- Fold in the chocolate chips using a spatula.
- Scoop the dough using a large cookie scoop (about 3 tablespoons per cookie) and place them 3 inches apart on the prepared baking sheets. For thicker cookies, gently press the dough balls slightly inward to create a mound shape.
- Bake for 10 to 13 minutes. The edges should look set and golden brown, but the centers should still look slightly soft and underbaked.
- Remove the baking sheets from the oven. Immediately sprinkle the tops of the cookies with flaky sea salt, if using.
- Let the cookies cool on the baking sheet for 5 minutes before transferring them to a wire rack to cool completely. This helps them set into a soft and chewy texture.
Notes
- For the best gooey centers, use a mix of chocolate chips and chopped chocolate bars.
- If you prefer crispier edges, bake for an additional 1 to 2 minutes, watching closely.
- This recipe uses melted butter, which helps create a chewier texture without needing to chill the dough.
Nutrition
- Serving Size: 1 cookie
- Calories: 240
- Sugar: 18g
- Sodium: 140mg
- Fat: 13g
- Saturated Fat: 8g
- Unsaturated Fat: 5g
- Trans Fat: 0.2g
- Carbohydrates: 30g
- Fiber: 1g
- Protein: 3g
- Cholesterol: 35mg