
If you are still reaching for that plastic bottle of commercial syrup, friends, we need to talk. Seriously, you can kick that imitation, overly sweet stuff to the curb! I’m Jess Carter, and as someone who loves feeding my family wholesome food while honoring that nostalgic American kitchen heritage, I’ve perfected the recipe that changes everything. Forget spending extra money for something that tastes artificial. I guarantee you, this ultimate 5-minute homemade chocolate syrup is richer, silkier, and frankly, miles better than anything you can buy off the shelf. It’s fast, uses basic pantry staples, and truly delivers that decadent chocolate hit you crave. Welcome to the magic of making your own chocolate syrup!
- Why This Homemade Chocolate Syrup is Better Than Store-Bought
- The Ultimate 5-Minute Homemade Chocolate Syrup Ingredients
- How to Make Easy Chocolate Syrup Recipe on the Stovetop
- Tips for Success with Your Chocolate Syrup from Cocoa Powder
- Variations: Vegan Chocolate Syrup and Sugar Free Chocolate Syrup Options
- Serving Suggestions for Your Quick Dessert Topping
- Storage and Making Homemade Syrup Gifts
- Frequently Asked Questions About Homemade Chocolate Syrup
- Share Your Best Homemade Chocolate Sauce Experience
Why This Homemade Chocolate Syrup is Better Than Store-Bought
Honestly, there’s a big difference between what you buy in the store and what comes straight off my stovetop. Store-bought syrups often rely on corn syrup and artificial flavors to hit that shelf stability, but that means we miss out on real flavor! My approach guarantees you get the most incredibly satisfying, rich chocolate drizzle every single time. Plus, it’s so quick, you’ll never look back. It’s fantastic for making things like my easy no-bake Buckeye fudge recipe!
- It tastes brighter because we’re using real cocoa powder, not artificial flavorings.
- It has zero corn syrup hiding in there—we use straight-up sugar for clean sweetness.
- The texture is unparalleled; it’s the definition of a silky chocolate sauce.
Achieving That Perfect Silky Chocolate Sauce Texture
The real secret to avoiding that grainy texture you sometimes get right out of the mixer is that quick, gentle boil. You only need 60 seconds on the heat once it starts bubbling, I promise! That tiny amount of time is just enough to fully dissolve every single sugar crystal and hydrate the cocoa powder properly. When you take it off the heat and let it cool down, that’s when the magic happens, settling into that luxurious, smooth consistency that you can pour beautifully over anything. Trust me on the timing; I learned this blending nutrition science with old-school stovetop methods!
The Ultimate 5-Minute Homemade Chocolate Syrup Ingredients
You’re going to be amazed at how short this ingredient list is! This is why I call it my go-to pantry staple chocolate sauce. Everything you need should be waiting in your cupboards right now. No weird stabilizers or long shopping lists here—just pure, chocolatey goodness coming together faster than you can drive to the store!
Pantry Staple Chocolate Sauce Components
- 1 cup granulated sugar
- 1 cup unsweetened cocoa powder (make sure it’s unsweetened!)
- 1 cup water
- 1 teaspoon vanilla extract
- Pinch of salt (this is vital for balancing the sweetness!)
How to Make Easy Chocolate Syrup Recipe on the Stovetop
This is where the kitchen really comes alive, and where we prove just how quick this easy chocolate syrup recipe really is! You only need about five minutes of actual cooking time to get this done. Don’t try to rush the heating process; keep the heat at medium and just rely on your whisk! Seriously, continuous stirring prevents the cocoa from settling on the bottom and burning, and that’s a texture nightmare we absolutely want to avoid.
Step-by-Step Instructions for Rich Chocolate Drizzle
Grab a small saucepan—nothing fancy needed here. Here’s exactly what you do:
- First, combine the sugar, the cocoa powder, and your cup of water right there in the saucepan. Give it a quick whisk before you even turn on the stove!
- Set that pan over medium heat. You’ll need to whisk constantly now until you see the sugar completely dissolve; the mixture will stop looking gritty. Watch closely because once it heats up, it moves fast!
- Once it hits a gentle simmer—that means small, lazy bubbles—keep whisking and let it boil gently for exactly 60 seconds. This is my E-E-A-T moment: that one minute is crucial for activating the cocoa’s flavor and setting up the consistency so you end up with that gorgeous, rich chocolate drizzle instead of grainy thin liquid.
- Pull the pan off the heat right after that minute. Stir in the vanilla extract and that crucial pinch of salt.
- Now, this next part takes patience: let it cool down completely! Don’t think there’s a problem if it still looks a little runny when you pour it out; this chocolate syrup from cocoa powder thickens up wonderfully as it cools, turning into the perfect drizzle for our easy snow ice cream recipe later on.
- Once it’s cooled to room temperature, pour the final product into your storage jar. See? Five minutes of hands-on time!
Tips for Success with Your Chocolate Syrup from Cocoa Powder
Now that you know the basic method for this super quick chocolate syrup from cocoa powder, I want to share a couple of my favorite tricks to push this recipe right over the top. Because I studied nutrition, I’m always looking for ways to pack flavor in without adding extra junk, and these little adjustments really help elevate this from just ‘good’ syrup to ‘the best homemade chocolate sauce’ you’ve ever tasted.
Flavor Boosts and Ingredient Adjustments
If you want a really deep, dark, almost mocha-esque flavor—especially if you’re using this topping for coffee or lattes—you absolutely have to try swapping out some of the water. My top tip is to substitute half the water (1/2 cup) with strong brewed coffee. It doesn’t make the syrup taste like coffee, believe me, it just intensifies that gorgeous chocolate note!

The absolute most important physical step is the whisking. You must keep that whisk moving, especially once the mixture starts heating up. Cocoa powder loves to sink to the bottom of the saucepan and scorch before you even know it’s happening! Burning compromises the whole batch, so use that whisk constantly until it bubbles. It’s an easy fix, and it keeps your end result tasting clean and luxurious. For some other amazing flavor swaps, check out my recipe for cinnamon butter copycat!
Variations: Vegan Chocolate Syrup and Sugar Free Chocolate Syrup Options
I know not everyone eats the same way, and honestly, that’s where my background in nutrition comes in handy! We can easily customize this chocolate syrup recipe to fit almost any dietary need, which makes it fantastic for sharing with friends or just managing what we eat at home. Whether you are looking for a specific type of topping or trying to cut back on sugar, we have you covered. It’s amazing to have a reliable vegan option ready to go!
Making a Healthier Chocolate Syrup
For those aiming for a Sugar Free Chocolate Syrup, you can absolutely swap out that granulated sugar for a granulated zero-calorie sweetener, like erythritol or monk fruit blends. You might need to knock the heat down just a touch because these replacements can react differently under high heat, but the general cooking method stays exactly the same. Remember that while cooking this version is fast, it won’t thicken quite as much until it chills completely, so don’t panic if it looks thin right off the stove! For more in-depth ideas on sugar substitutions, exploring a resource like the one linked here Sugar Free Chocolate Syrup can be helpful, though I often find simple experimentation works best.
If you are making a Vegan Chocolate Syrup, the main thing I always tell people is to double-check their sugar source, as some refined white sugar is processed using bone char, which isn’t vegan-friendly. Everything else in this standard recipe (cocoa, water, vanilla, salt) is usually vegan-approved, making this one of the easiest sauces to adapt!
Serving Suggestions for Your Quick Dessert Topping
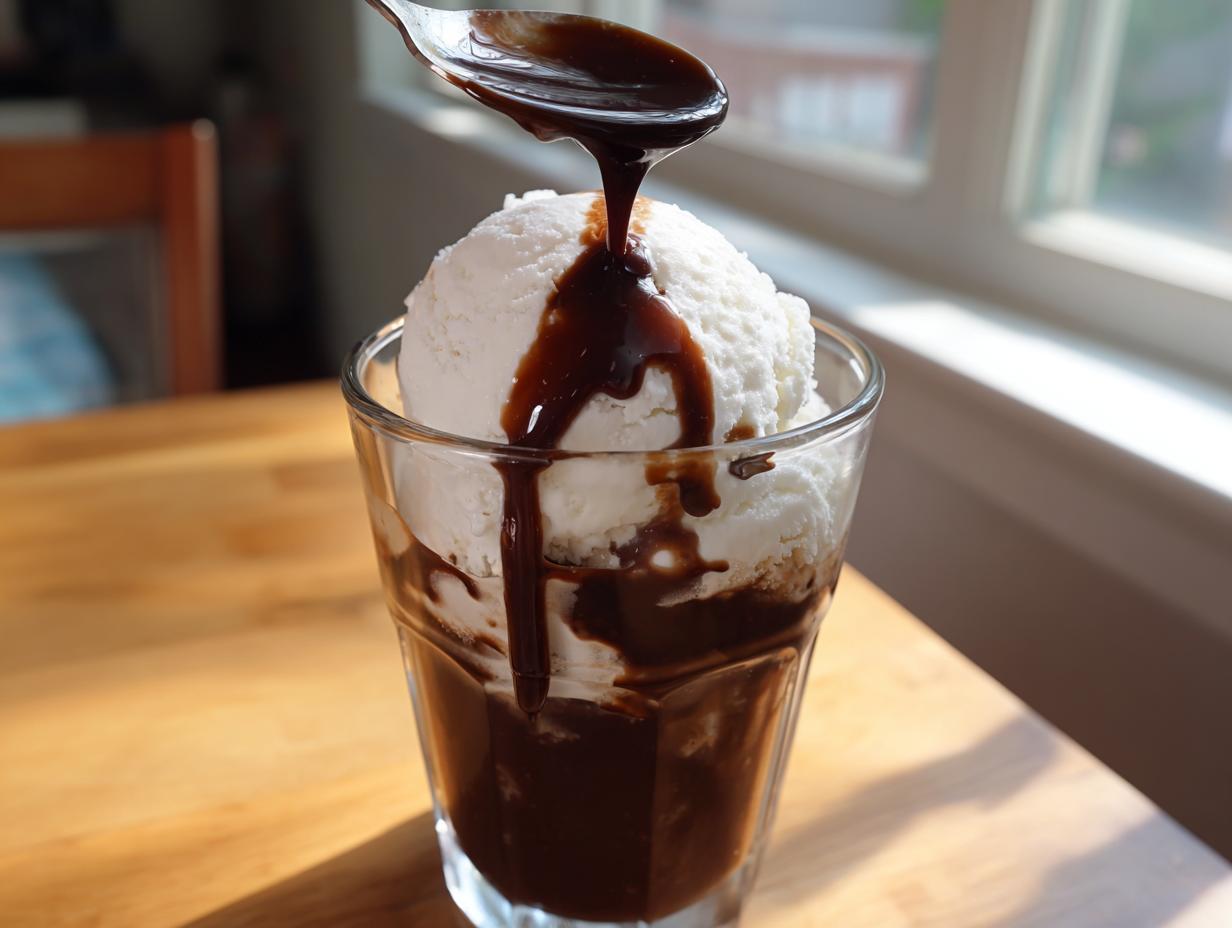
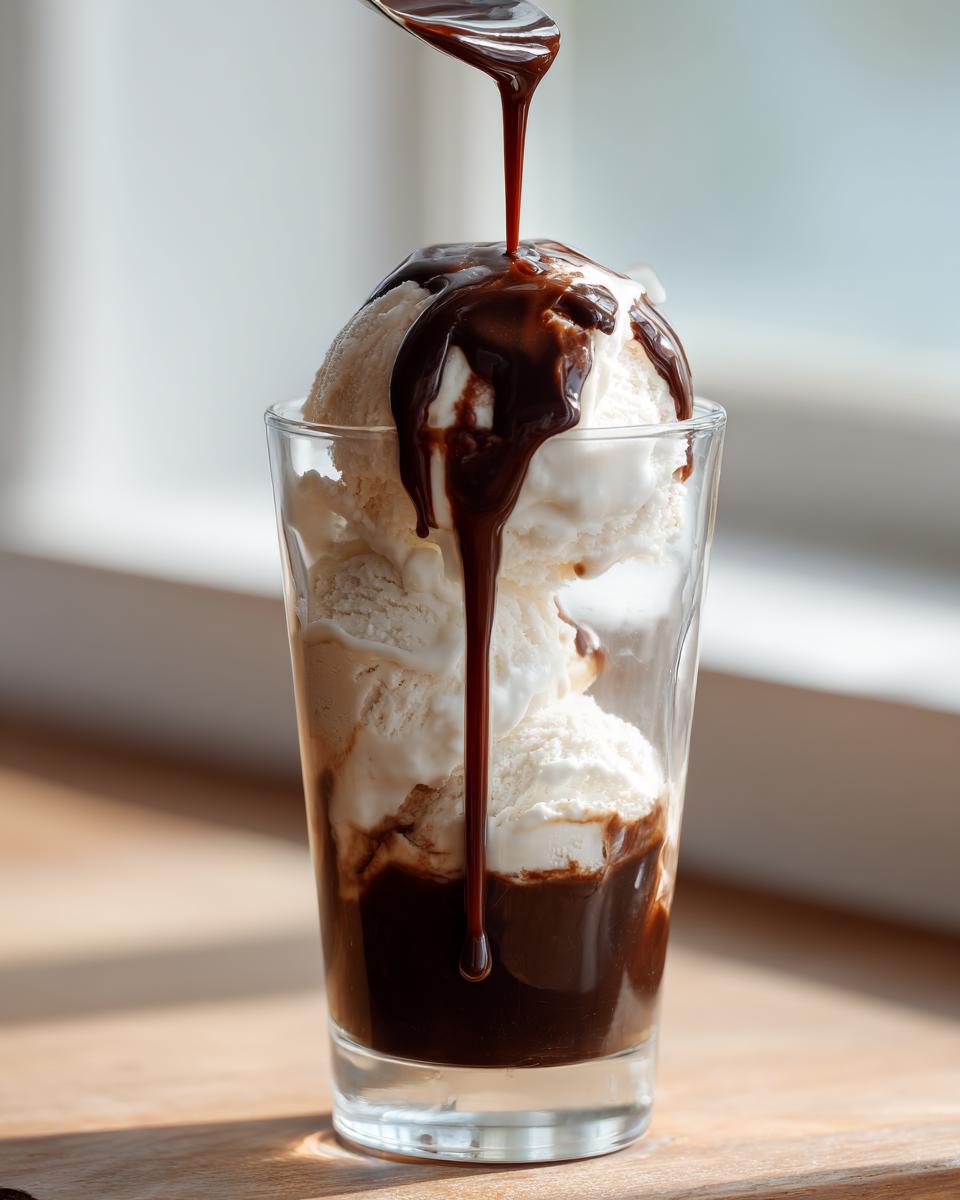
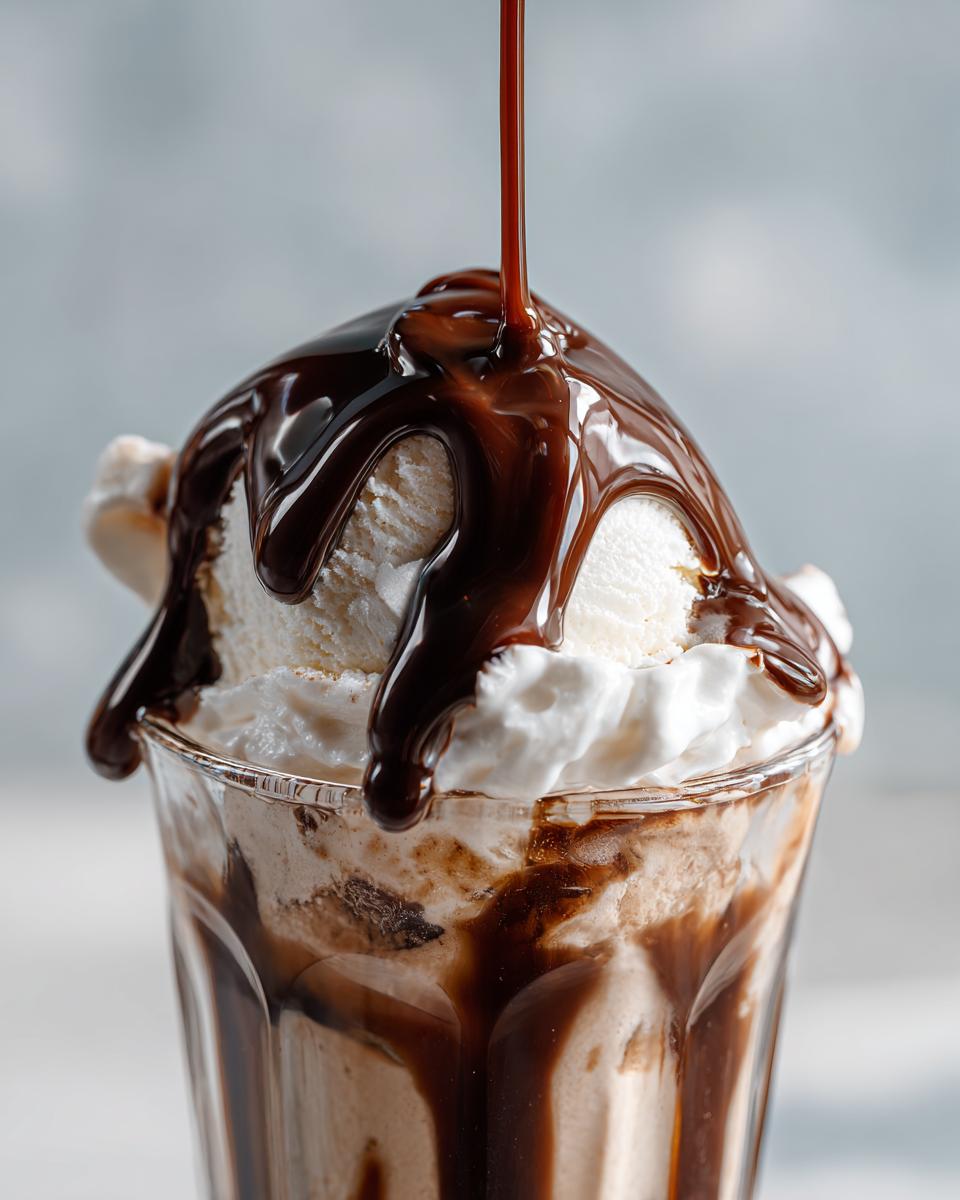
Okay, now that you have this gorgeous, quick dessert topping ready—and I mean truly ready in minutes—the fun part begins: figuring out what delicious mess to put it on! Honestly, you’re going to want to drizzle this over everything sweet in your house. This homemade version makes the absolute best chocolate topping for ice cream; it hardens up just right when it hits the cold scoop but stays wonderfully fluid if you pour it right away.
It’s my secret weapon for instant gratification! A perfect swirl turns plain milk into the most satisfying chocolate milk recipe topping imaginable—so much better than the stuff from the grocery store, right? Also, don’t forget breakfast! It’s phenomenal on my fluffy buttermilk pancakes, or even whisked into hot coffee for a quick homemade mocha. If you’re feeling fancy, I sometimes use it as a base for a rich chocolate dip for fresh fruit, too. Want more ways to use up extra sauce? Check out this quick easy homemade chocolate syrup recipe for extra inspiration!
Storage and Making Homemade Syrup Gifts
So, what happens when you make too much of this awesome sauce? (Spoiler alert: You always make too much!) Luckily, this chocolate syrup stores like a dream! Just pour that cooled, thickened goodness into a clean, airtight jar, and tuck it away in the refrigerator. It stays perfect and rich for up to three weeks—my batch rarely lasts that long, though!
Because it’s so simple and tastes so much better than the bottled stuff, it makes for the sweetest Homemade Syrup Gifts. Imagine whipping up a big batch and bottling it up nicely with a handwritten tag. It’s such a thoughtful, inexpensive gift for neighbors or teachers during the holidays. You can find some great packaging ideas over on this resource, or just pair a jar with a loaf of my cranberry walnut bread for a truly heartfelt present!
Frequently Asked Questions About Homemade Chocolate Syrup
I always get so many questions when I post this recipe on social media—which tells me you all are just as obsessed with ditching the store-bought stuff as I am! It’s natural to have a few questions when you’re aiming for that perfect best homemade chocolate sauce consistency. Here are the ones I hear most often when folks are making their first batch of this rich drizzle.
Troubleshooting Common Issues with Chocolate Syrup
The number one thing people panic about is the thickness! If you’ve just finished cooking and your syrup seems way too thin compared to the bottle you usually buy, don’t sweat it for even a second. Remember what I mentioned? This is an amazing chocolate syrup from cocoa powder recipe, and it thickens up significantly as it cools down to room temperature. Seriously, let it chill for at least an hour before you judge it!
If you’ve given it a good long chill and it’s still running like water, that usually means it needed just a *smidge* more time on the heat to fully activate the starches in the cocoa. You can gently reheat the cooled syrup and let it simmer for another 30 to 60 seconds while whisking gently. Always taste it first, though, because usually, patience is the real secret ingredient!
Can I freeze this chocolate syrup?
Oh, that’s a great question! While you *can* technically freeze this quick dessert topping, I usually don’t recommend it. Since we aren’t using corn syrup or stabilizers, the texture can sometimes get a little grainy or separate slightly when it thaws out after being frozen solid. It’s designed for refrigeration and lasts three weeks there, which is plenty of time to enjoy it on everything, right? If you need a massive batch, I suggest just making two batches to keep refrigerated rather than freezing one.
What’s the difference between chocolate syrup and chocolate sauce?
That’s a fun distinction! Technically, in the kitchen, we often use them interchangeably, but the main difference comes down to thickness and intent. A pure chocolate syrup is generally thinner—perfect for mixing evenly into milk or coffee, like for a latte. A homemade chocolate sauce usually implies a slightly thicker consistency, often achieved by using less water or adding a tiny bit of cornstarch or cream, making it better for drizzling heavily over ice cream or brownies. My recipe lands beautifully in the middle—thin enough to mix, thick enough to drizzle!
If you have any other burning questions about making your own batch, feel free to drop me a line on my contact page!
Share Your Best Homemade Chocolate Sauce Experience
So, that’s it! We’ve whipped up the best, silkiest homemade chocolate sauce imaginable, and it took less than ten minutes of your time. I really hope you taste the difference that skipping the store aisle makes—this truly is decadent chocolate in its simplest form.
Now, I want to hear about it! Did you use your rich chocolate drizzle over pancakes for a special breakfast? Maybe you finally mastered that perfect mocha? Please jump down below and leave a rating for this chocolate syrup from cocoa powder recipe. Your feedback really helps me know what you all love cooking at home.
And hey, if you loved how easy and satisfying this simple recipe was, don’t be a stranger! Keep coming back to CravyBite Kitchen. I’m always working on bridging that gap between nutrition knowledge and real, comforting American cooking, just like my heritage taught me. You can learn more about my story here and find more practical recipes built for your busy life!
PrintThe Ultimate 5-Minute Homemade Chocolate Syrup: Rich, Smooth & Better Than Store-Bought

Make rich, smooth homemade chocolate syrup in under 10 minutes using simple pantry ingredients. This quick dessert topping is better than store-bought versions and perfect for ice cream, milk, or pancakes.
- Prep Time: 5 min
- Cook Time: 5 min
- Total Time: 10 min
- Yield: About 1.5 cups 1x
- Category: Dessert Topping
- Method: Stovetop Cooking
- Cuisine: American
- Diet: Vegetarian
Ingredients
- 1 cup granulated sugar
- 1 cup unsweetened cocoa powder
- 1 cup water
- 1 teaspoon vanilla extract
- Pinch of salt
Instructions
- Combine the sugar, cocoa powder, and water in a small saucepan.
- Place the saucepan over medium heat. Whisk constantly until the sugar dissolves and the mixture begins to simmer.
- Continue whisking and let the mixture boil gently for 60 seconds. Do not overcook.
- Remove the saucepan from the heat. Stir in the vanilla extract and salt.
- Allow the syrup to cool completely. It will thicken as it cools.
- Pour the cooled chocolate syrup into an airtight container for storage.
Notes
- For a richer flavor, substitute 1/2 cup of the water with 1/2 cup of strong brewed coffee.
- To make this vegan chocolate syrup, confirm your sugar source is bone-char free.
- Store this homemade syrup in the refrigerator for up to three weeks.
Nutrition
- Serving Size: 2 Tablespoons
- Calories: 100
- Sugar: 18g
- Sodium: 5mg
- Fat: 1g
- Saturated Fat: 1g
- Unsaturated Fat: 0g
- Trans Fat: 0g
- Carbohydrates: 26g
- Fiber: 1g
- Protein: 1g
- Cholesterol: 0mg