
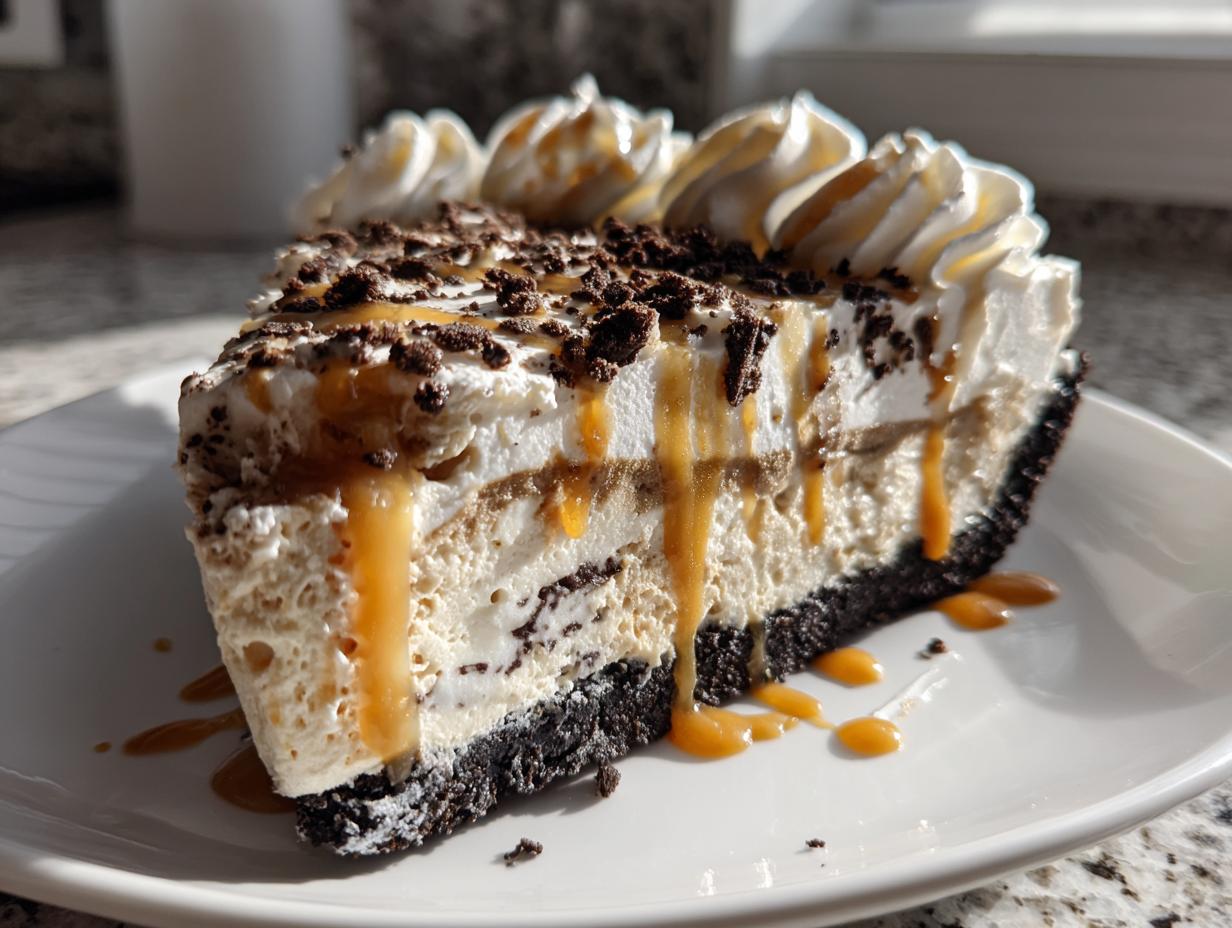
Whew, is it just me or did summer sneak up on us with a vengeance this year? When those truly hot days hit, sometimes standing over a hot oven just isn’t an option. That’s when I turn to my absolute favorite way to celebrate—the glorious, no-bake ice cream pie! This is the No-Bake ‘Ultimate Celebration’ Ice Cream Pie, and trust me, it’s what you need in your freezer right now.
As Jess Carter, I’ve spent years learning how to bridge that gap between needing something quick and wanting something that tastes like you spent all day on it. This recipe takes that classic, crowd-pleasing frozen dessert format and makes it wonderfully simple, while still ensuring it feels like a showstopper for any party or birthday you might have coming up.
- Why This No-Bake ice cream pie Recipe is Your New Celebration Favorite
- Gathering Ingredients for Your Ultimate Celebration ice cream pie
- Step-by-Step Instructions for a Perfect No Bake ice cream pie
- Tips for Success Making Your Homemade ice cream pie
- Storage and Reheating Instructions for Your ice cream pie
- Serving Suggestions for This Summer ice cream pie
- Frequently Asked Questions About Making ice cream pie
- Nutritional Estimates for One Slice of ice cream pie
- Share Your Ultimate Celebration ice cream pie Creations
Why This No-Bake ice cream pie Recipe is Your New Celebration Favorite
Seriously, if you need a showstopper that involves zero oven time, you need this recipe in your life. It hits every mark for anyone looking for a truly simple, yet totally decadent, treat. It’s the secret weapon for busy weeks, and if you love other easy frozen treats, check out my recipe for easy no-bake buckeye fudge—it’s similar in that hands-off magic!
- It’s almost entirely hands-off! Minimal mixing means minimal mess, which I always appreciate.
- This is the ultimate **make ahead frozen dessert**. You assemble it completely before your guests arrive, freeing you up to actually enjoy the party.
- The Oreo crust is wonderfully crunchy and pairs perfectly with the creamy layers. It’s truly an **easy ice cream pie recipe** that doesn’t taste easy!
Perfect for Summer ice cream pie and Parties
When the temperature climbs, nothing beats something impossibly cold. This is one of those **frozen dessert recipes** that just screams “summer celebration.” Whether it’s a backyard BBQ or just a Tuesday night where you need something cool and refreshing, this pie delivers instant joy. It’s so customizable, too—which means you can tailor the flavors for any holiday or birthday!
Gathering Ingredients for Your Ultimate Celebration ice cream pie
Okay, let’s talk supplies! Gathering what you need for this No-Bake ‘Ultimate Celebration’ ice cream pie is the longest part of the process, I promise. Because we aren’t baking anything, precision matters, especially when it comes to ensuring those creamy layers set up perfectly. We are going with a classic vanilla base paired with my favorite swirl, salted caramel, but don’t let that stop you from trying other combinations!
For the Oreo crust ice cream pie Base
The crust is the foundation, and it needs to be rock solid before we move on. You’ll need:
- 1 1/2 cups finely crushed Oreo cookies (that’s usually about 20-25 cookies, depending on the size!).
- 1/4 cup unsalted butter, melted until perfectly liquid.
We want a nice, moist sand texture when we mix these together so you can press it firmly into place. Don’t skimp on pressing it down!
For the Creamy ice cream pie Filling Layers
This is where the magic happens, folks. I always recommend pulling your ice cream out about 10 minutes before you start layering so it’s soft enough to spread easily—we want it smooth, not soupy!
- 1 1/2 quarts vanilla ice cream (choose your favorite brand, but I lean toward high-butterfat options for creaminess).
- 1 1/2 quarts salted caramel ice cream. If you can’t find that, a rich fudge swirl or even coffee ice cream works beautifully here!
For the Whipped Topping and Garnishes
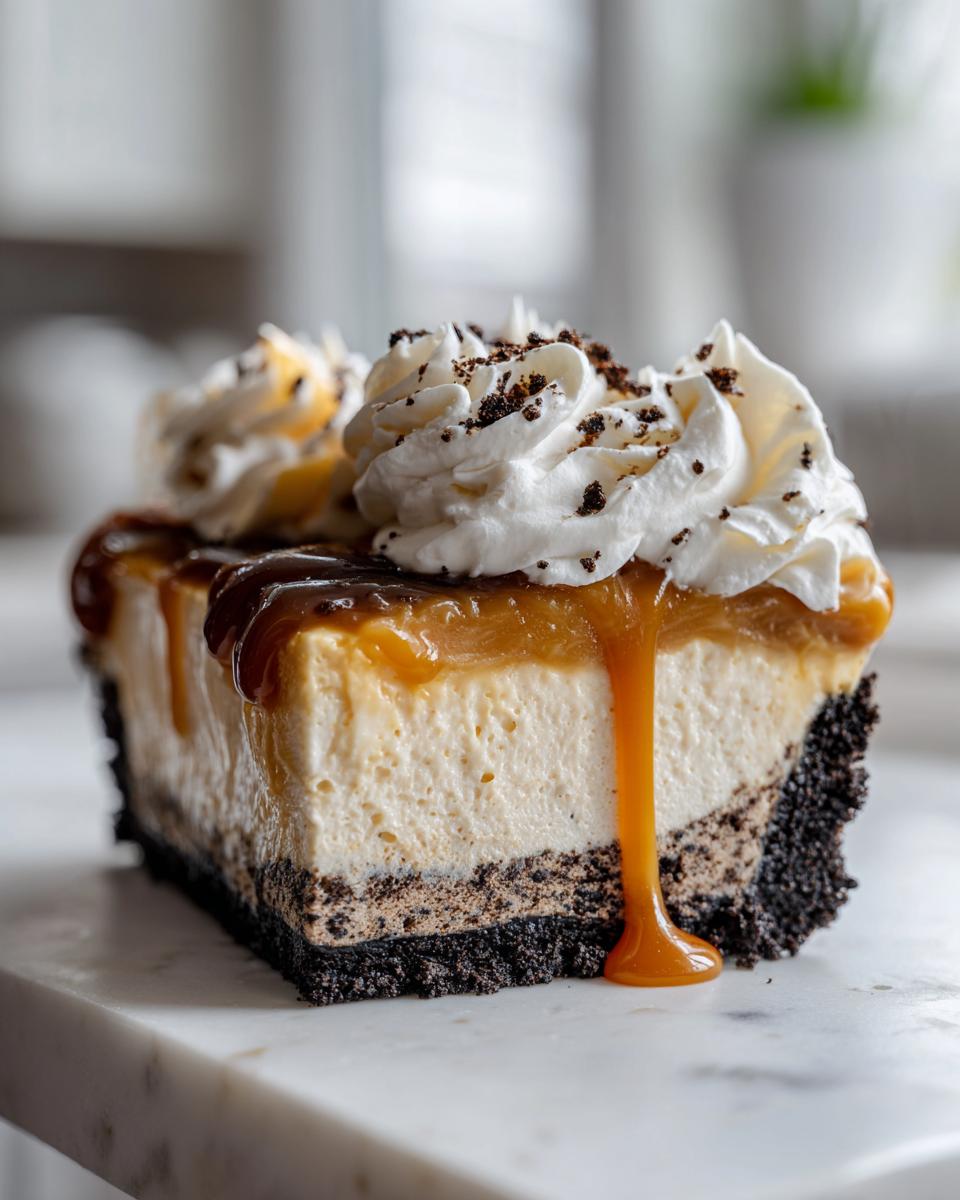
We finish this gorgeous frozen dessert recipes with a luscious topping. You can absolutely skip this and just serve it firm, but why would you want to?
- 1 cup heavy whipping cream, nice and cold.
- 2 tablespoons powdered sugar (it dissolves much faster than granulated!).
- 1 teaspoon pure vanilla extract.
- Optional things you can use to decorate: extra chocolate syrup, a drizzle of homemade caramel sauce, or some chopped peanuts for crunch!
Step-by-Step Instructions for a Perfect No Bake ice cream pie
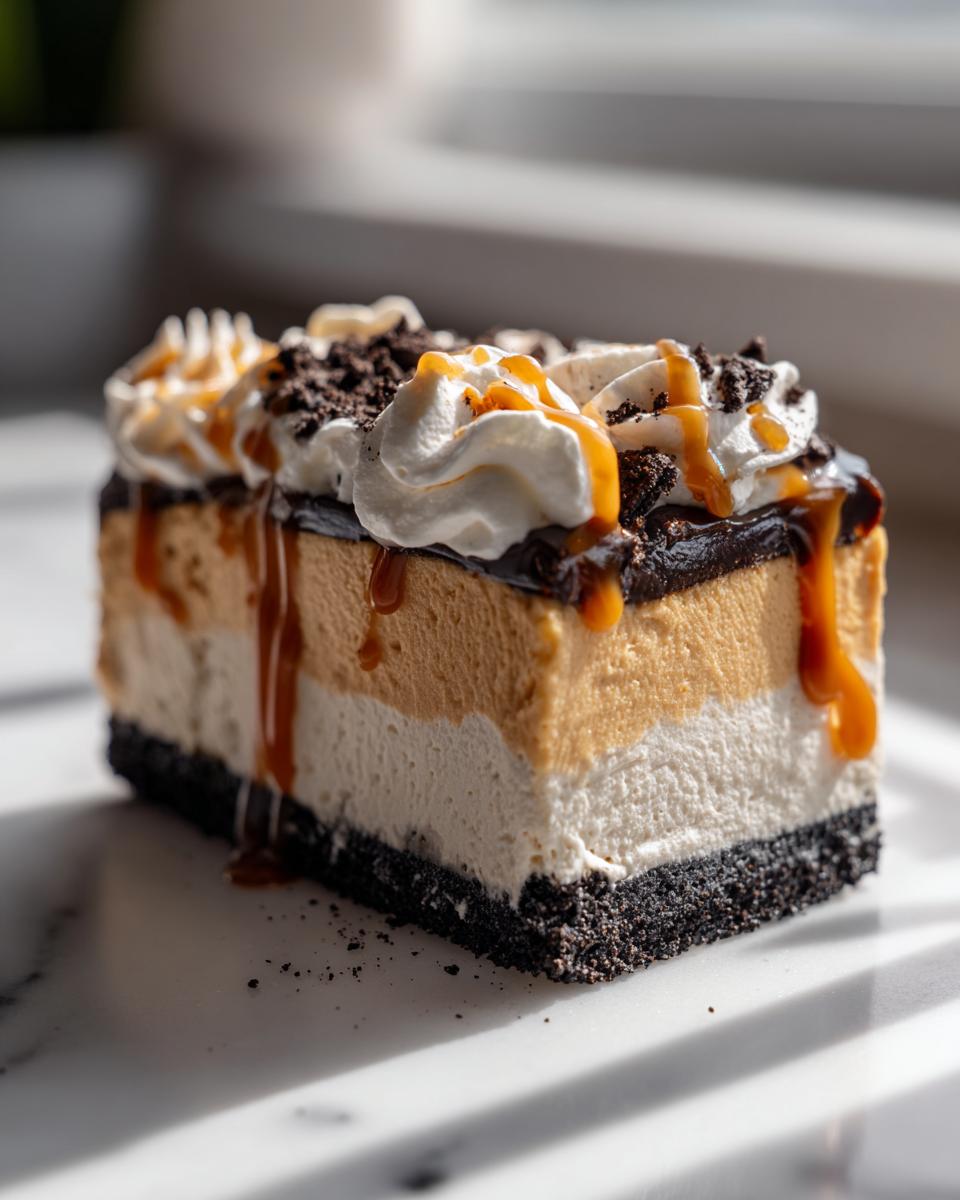
Alright, here is where we put it all together! Making this **creamy ice cream pie** really boils down to timing everything perfectly so you get those beautiful, distinct layers and a final product that slices like a dream. Don’t rush the freezing steps—that’s my biggest piece of advice for any **frozen dessert recipes**! If you’re curious about other great make-ahead ideas, my easy gingerbread cupcakes are another wonderful option for no-stress baking.
Creating and Freezing the Oreo crust ice cream pie
First things first, we need that crust to hold everything together. Grab your 9-inch pie plate. Mix up your crushed Oreos and that melted butter until everything looks uniformly wet, like dark brown sugar. Then, press that mixture down into the pie plate. I mean *press* it! Use the bottom of a flat measuring cup to really compact the crumbs against the bottom and up the sides. A firm crust means no crumbling when you serve it later. Pop that into the freezer for at least 30 minutes while you get your ice cream ready.
Layering the Ice Cream for a Decadent ice cream pie
Once the crust is nice and hard, take your slightly softened vanilla ice cream and spread it evenly over the base. It should glide pretty easily if you’ve let it warm up for just a few minutes on the counter. Back into the freezer it goes for another quick 30 minutes to set that base layer. Next, take your salted caramel (or whatever flavor you chose!) and spread it right on top of the set vanilla. Use an offset spatula to make the top look smooth and professional—it really makes a difference when you serve it!
Final Freeze and Whipped Topping Preparation
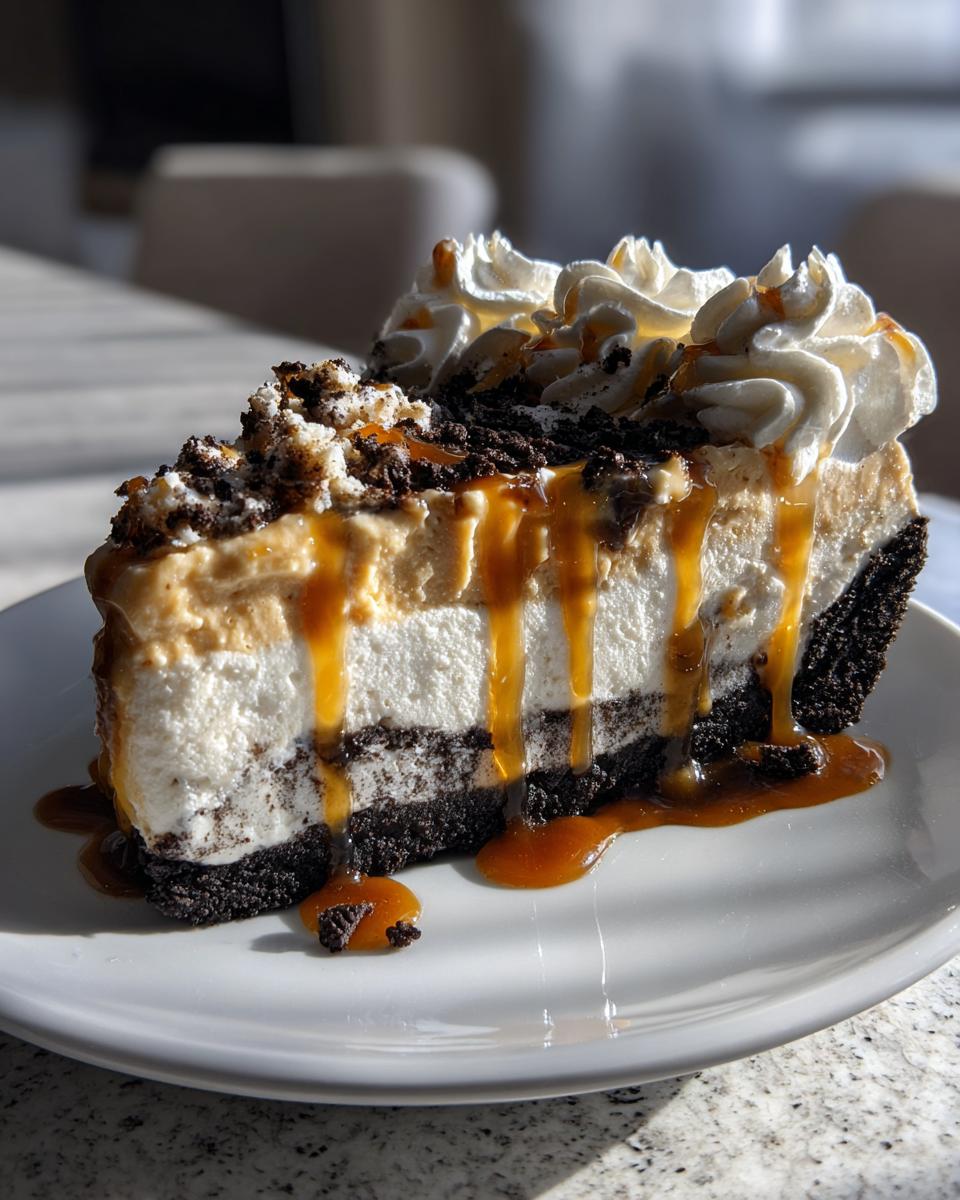
This long freeze is non-negotiable for achieving an amazing slice! Cover the whole pie loosely—plastic wrap is perfect for this—and let it freeze for a minimum of 4 hours, but honestly, overnight is better. While that sets up, you can whip up your topping. Use a cold bowl and beat that heavy cream, powdered sugar, and vanilla extract until you get lovely stiff peaks. Once that pie is rock solid, top it right before serving with the whipped cream and any finishing touches you planned!
Tips for Success Making Your Homemade ice cream pie
If you want your **homemade ice cream pie** to look and taste like it came from a fancy shop, a few small habits make a huge difference. Remember, since we aren’t baking, timing becomes our temperature control! I use all these little tricks every time I make this, and I even follow similar rules when I tackle a good baked version, like my classic New York style cheesecake recipe.
Achieving the Best No Bake ice cream pie Texture
The biggest mistake people make is letting their ice cream get too soft before layering. You want it pliable enough to spread—think like very thick frosting—but not melty! If it’s soup, it’ll just seep into your crust. Also, be gentle during that long freeze time. Always cover the pie loosely with plastic wrap first. Why loose? If the plastic touches the whipped cream before it solidifies, you’ll tear up your beautiful topping when you eventually try to remove the wrap!
Customizing Your ice cream pie Flavors
While vanilla and salted caramel are amazing together, this is your chance to get creative! Think about flavors that complement each other by texture or taste. For example, if you swap the caramel layer out for chocolate fudge, try adding some chopped nuts right into the fudge layer for extra bite. Mint chip and dark chocolate is another killer combination that works brilliantly in this no-bake format. Just remember to keep your two layers relatively similar in firmness so they stack nicely!

Storage and Reheating Instructions for Your ice cream pie
Because this is practically the definition of a **make ahead frozen dessert**, storing it correctly is super important! You’ve put in the effort, so let’s keep that pie perfect. Once you have applied your whipped topping, wrap the entire pie tightly—and I mean tightly—in plastic wrap first. Then, I always add a layer of foil over that. This double-wrapping keeps out any freezer smells and prevents ice crystals from forming on top.
You don’t reheat an ice cream pie, of course! But you do need to let it sit on the counter for about 10 to 15 minutes before slicing, depending on how cold your freezer runs. That little bit of thaw time makes serving so much easier. If you made the pie base ahead of time, you can keep that crust-only version wrapped up for a week. For ultimate results, I stash mine away using the technique I use for my easy protein balls—wrapped securely and frozen solid!
Serving Suggestions for This Summer ice cream pie
Since this **ice cream pie** is so rich and decadent, you don’t want to weigh the whole meal down with heavy sides, right? When I serve this as one of my **cool and refreshing treats**, I keep the accompaniments light. A small side of fresh, sliced strawberries or maybe a simple bowl of perfectly ripe blueberries pairs beautifully with the vanilla and caramel flavors.
For drinks, forget heavy sodas! I love making a big batch of something bright and tangy to cut through the richness. My favorite is whipping up a big pitcher of my strawberry daiquiri recipe—minus the rum if the kids are around! It just cleanses the palate perfectly between those cold, sweet bites.
Frequently Asked Questions About Making ice cream pie
It’s natural to have questions when you’re making a fancy-looking, but actually super easy, dessert like this! I always hear similar things when people try my **no bake ice cream pie** for the first time. Don’t hesitate to experiment, but let’s tackle the big concerns right now so your **frozen dessert recipes** turn out flawlessly every time!
Can I use a different crust for this ice cream pie recipe?
Absolutely you can! While the Oreo crust ice cream pie is my go-to because it’s so rich, you can certainly switch it up. Graham crackers work wonderfully; just reduce the sugar you add slightly since they are often sweeter than Oreos. You could even use vanilla wafers or shortbread cookies. The key thing, for any **homemade ice cream pie**, is making sure you press that crumb mixture down really firmly so you have a solid base that won’t give way when you try to serve those thick, **creamy ice cream pie** slices!
How far in advance can I make this no bake ice cream pie?
This is honestly one of the best features! Since this is a total **make ahead frozen dessert**, you can assemble the entire thing—crust, all ice cream layers, and even the whipped topping—up to a week ahead of time! Just make sure you follow that crucial wrapping step I mentioned: plastic wrap first, then foil, wrapped very snugly. This keeps out any freezer burn or funky smells. It’s my lifesaver when planning kids’ birthdays or hosting parties!
Need another simple, foolproof treat to keep on hand? My recipe for graham cracker toffee is another freezer-friendly winner!
Nutritional Estimates for One Slice of ice cream pie
Now, because this is homemade and uses full-fat ingredients—because why wouldn’t we?—I always like to give you a heads-up on the numbers. This **ice cream pie** is definitely an indulgence, so think of it as a special treat! I’ve pulled together the estimates based on the recipe I share above, but remember, these are just guides. If you use a lighter ice cream or a sugar substitute, your final tally will change!
When I developed this recipe, my goal wasn’t low-cal; it was incredible flavor that truly celebrates. Here is what you can generally expect for one slice of our Ultimate Celebration **ice cream pie**:
- Serving Size: 1 slice
- Calories: 450
- Sugar: 45g
- Sodium: 320mg
- Fat: 28g
- Saturated Fat: 16g
- Unsaturated Fat: 12g
- Trans Fat: 0.5g
- Carbohydrates: 48g
- Fiber: 1g
- Protein: 5g
- Cholesterol: 55mg
See? It’s rich! But like my formal nutrition background taught me, food is for enjoyment too. Giving you these numbers just helps you plan when to pull out this truly **decadent ice cream pie** for the perfect moment!
Share Your Ultimate Celebration ice cream pie Creations
Now that you’ve mastered this **easy ice cream pie recipe**, I absolutely want to see what you’ve created! Don’t keep all that frozen dessert goodness to yourself!
When you pull that stunning, layered **ice cream pie** out of the freezer and top it with those gorgeous whipped peaks, snap a photo! Tag me over on social media—I love seeing how you customize the flavors. If you tried my salted caramel suggestion, let me know how it went, or if you went totally wild with something like cherry chocolate or mint cookie, I need the details in the comments below!
If this recipe made your warm afternoon better, do me a huge favor and leave a quick rating at the top of the page. Your feedback helps other home cooks find reliable, comforting desserts like this one. Head over to my About Page if you want to read more about my cooking journey and philosophy. Happy freezing!
PrintNo-Bake Ultimate Celebration Ice Cream Pie

Make this easy, no-bake ice cream pie with a crunchy Oreo crust and creamy layers. This customizable frozen dessert is perfect for birthdays or summer gatherings.
- Prep Time: 25 min
- Cook Time: 0 min
- Total Time: 4 hours 25 min
- Yield: 8 servings 1x
- Category: Dessert
- Method: Freezing
- Cuisine: American
- Diet: Vegetarian
Ingredients
- 1 1/2 cups crushed Oreo cookies
- 1/4 cup unsalted butter, melted
- 1 1/2 quarts vanilla ice cream, softened slightly
- 1 1/2 quarts salted caramel ice cream, softened slightly (or fudge swirl)
- 1 cup heavy whipping cream
- 2 tablespoons powdered sugar
- 1 teaspoon vanilla extract
- Optional toppings: chocolate syrup, chopped peanuts, caramel sauce
Instructions
- Prepare the crust: Mix the crushed Oreo cookies and melted butter in a bowl until fully combined. Press the mixture firmly and evenly into the bottom and up the sides of a 9-inch pie plate. Freeze the crust for at least 30 minutes.
- Layer the ice cream: Remove the crust from the freezer. Spread the softened vanilla ice cream evenly over the crust. Freeze for 30 minutes until firm.
- Add the second layer: Spread the softened salted caramel ice cream (or fudge swirl) over the vanilla layer. Smooth the top with a spatula.
- Freeze until solid: Cover the pie loosely with plastic wrap and freeze for a minimum of 4 hours, or until completely firm. This is a key step for a perfect slice.
- Prepare the topping: In a separate bowl, beat the heavy whipping cream, powdered sugar, and vanilla extract until stiff peaks form.
- Top and serve: Just before serving, spread or pipe the whipped cream over the frozen pie. Drizzle with chocolate syrup, caramel sauce, or sprinkle with chopped peanuts if desired. Slice and serve immediately.
Notes
- For an Oreo crust ice cream pie, use about 30 whole Oreo cookies to yield 1 1/2 cups of crumbs.
- You can substitute any two complementary ice cream flavors for a personalized homemade ice cream pie.
- Make this make ahead frozen dessert up to one week in advance; keep it tightly wrapped in the freezer.
Nutrition
- Serving Size: 1 slice
- Calories: 450
- Sugar: 45g
- Sodium: 320mg
- Fat: 28g
- Saturated Fat: 16g
- Unsaturated Fat: 12g
- Trans Fat: 0.5g
- Carbohydrates: 48g
- Fiber: 1g
- Protein: 5g
- Cholesterol: 55mg