
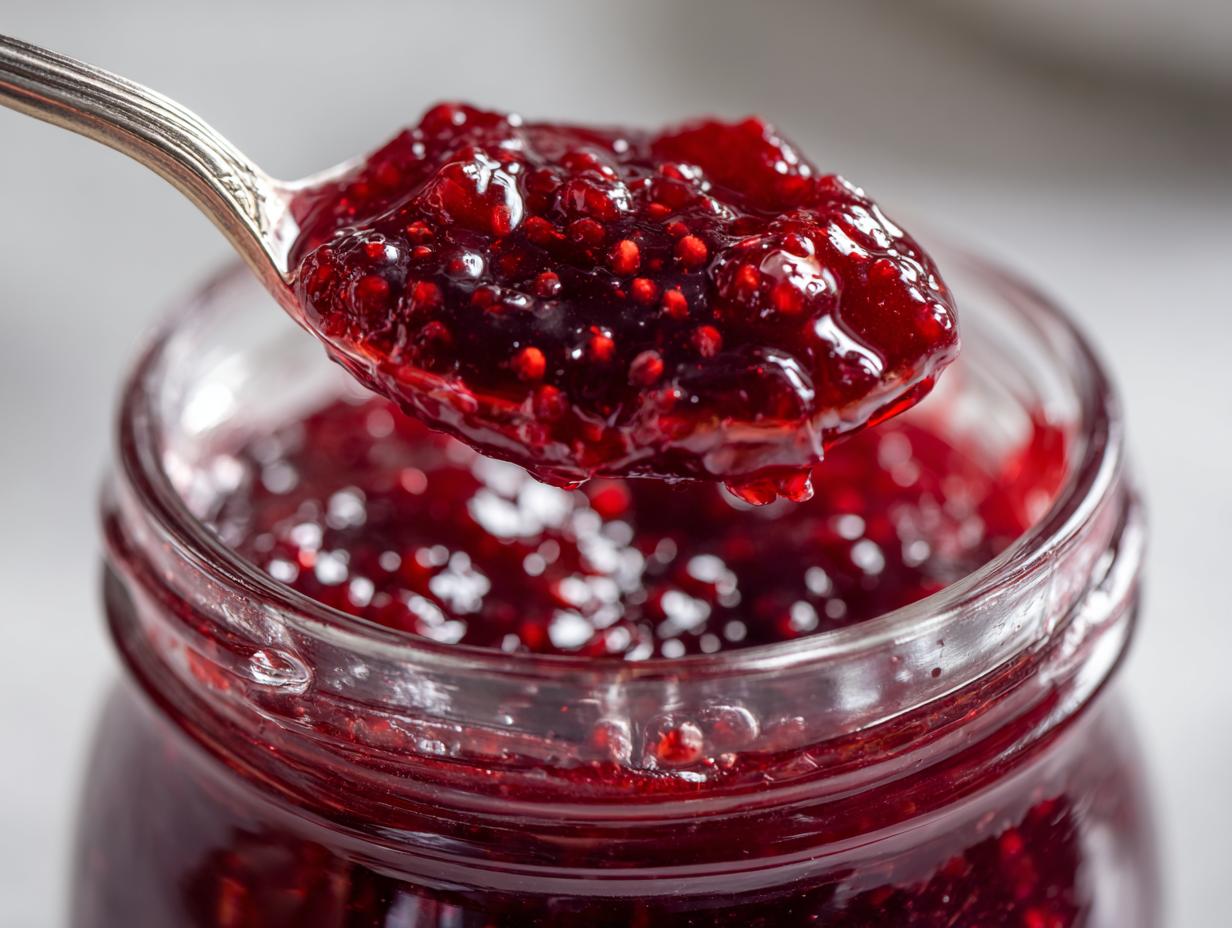
Oh, when summer hits and those raspberries are begging to be used, you just HAVE to make jam! I’m Jessica Carter, and trust me, I know a thing or two about making things taste amazing, both from my nutrition background and years spent learning the real secrets in my family’s kitchen. Forget those complicated recipes; this is the ultimate, simple homemade raspberry jam recipe because it requires zero commercial pectin. It’s quick, beginner-friendly, and gives you that vibrant, sweet-tangy flavor you dream about. We focus on honest ingredients here, so you get a reliably delicious spread every single time.
- Why This Easy Raspberry Jam Recipe Stands Out (No Pectin Needed)
- Gathering Your Ingredients for Perfect Raspberry Jam
- Essential Equipment for Making Raspberry Jam
- Step-by-Step Instructions for Your Quick Raspberry Jam
- Tips for Perfecting Your Homemade Raspberry Jam Recipe
- Preserving Your Raspberry Jam: Canning vs. Refrigerator Storage
- Serving Suggestions for Your Sweet Tangy Jam
- Frequently Asked Questions About Making Raspberry Jam
- Estimated Nutritional Information for Raspberry Jam
Why This Easy Raspberry Jam Recipe Stands Out (No Pectin Needed)
If you’ve ever felt intimidated by preserving fruit, I want you to know that this is the recipe that will change everything! We designed this for real home cooks. This isn’t some fussy process that takes all day; it’s a truly easy jam recipe that delivers maximum flavor with minimal fuss. You’ll be amazed at how simple it is to get that thick, beautiful texture.
- It’s ridiculously simple, using just three core ingredients—no strange additives needed!
- It’s perfect for beginner jam making; if you can boil water, you can nail this.
- The emphasis is on natural fruit goodness, making it a fantastic no pectin jam.
Quick Raspberry Jam Ready in Under an Hour
Seriously, we are talking about efficiency here. Your prep time is just ten minutes, and the total cook time gets you sipping jam on a cracker in about half an hour. That means you get the incredible reward of freshly preserved fruit without dedicating an entire weekend to the canner. Who has that kind of time?
The Power of Natural Set in Homemade Raspberry Jam Recipe
So, where is the magic for the set? It’s all natural! Raspberries actually have a decent amount of pectin themselves. By concentrating the fruit’s juices and combining it with the acid from the lemon and all that sugar, we encourage that natural pectin to form those lovely pectin strands. This is the secret to a great homemade raspberry jam recipe that sets up beautifully on its own.
Gathering Your Ingredients for Perfect Raspberry Jam
When you’re making something this simple, the quality of your starting ingredients really shines through. Don’t run to the store trying to find fancy gelling agents, because we don’t need them! We only need three things to make this incredible, tangy jam. Trust me, these pantry staples are worth keeping on hand for spontaneous summer cooking!
Here is exactly what you need for your small batch:
- 2 pints fresh or frozen raspberries (either works great!)
- 4 cups granulated sugar
- 1 tablespoon fresh lemon juice
That’s it! Keep that lemon juice handy; it’s our secret partner in getting that perfect set without adding commercial pectin to your fruit preserving ideas.
Essential Equipment for Making Raspberry Jam
Before we even think about putting fruit on the heat, let’s talk tools! Since we are aiming for a great set quickly, having the right equipment makes all the difference, especially if you are new to beginner jam making. You don’t need a whole specialized canning kitchen, but a few specific items will ensure your jam doesn’t scorch or end up too runny.
First up, you absolutely need a large, heavy-bottomed saucepan. I prefer my heavy stainless steel one because it distributes the heat so evenly. If you use a thin pot, that sugar and fruit will absolutely burn to the bottom while you’re waiting for it to boil!
Next, if you plan on canning your lovely homemade berry spread for the pantry, a candy thermometer is your best friend. I know some people rely on the cold plate test—and that’s great!—but for beginners, hitting that crucial 220 degrees Fahrenheit is the fastest, most reliable way to know your jam is safe and perfectly set. You’ll also need jars, lids, and anything to skim foam off the top once it boils.
Step-by-Step Instructions for Your Quick Raspberry Jam
Okay, this is the fun part where the magic happens! Since we’re aiming for a super fast set, we need to pay attention during the cook time. But don’t stress; this whole process is designed to go quickly. Once everything is combined, you’re looking at maybe 15 to 20 minutes of active cooking time before you have incredible raspberry jam ready to go!
Before you start heating things up, make sure any jars you plan to use for long-term storage are sterilized and warm, or have your clean refrigerator jars ready to fill. That pre-planning cuts down on panic later!
Breaking Down the Berries and Initial Simmer
First things first, toss those raspberries and that tablespoon of lemon juice into your big, heavy pot. You’ll cook this over medium heat, stirring here and there. The goal here is just to get them happy, mushy, and releasing all those lovely juices. This usually takes about five to seven minutes. You want them to look saucy, not like whole berries anymore. This initial simmer helps ensure that when we add the sugar, it dissolves much faster.
Reaching the Setting Point for Your Raspberry Jam
Once the berries are broken down, stir in all four cups of sugar until it vanishes completely. Now, increase your heat to medium-high. Bring the whole mixture to a full, rolling boil—that means it’s bubbling hard and you can’t stir it down! This is where you need to stand right there and stir constantly. I always tell my readers, because I learned this the hard way, that constant stirring prevents the sugar from scorching to the bottom of that heavy pan. Keep boiling hard until you hit 220 degrees Fahrenheit on that thermometer. If you don’t have one, grab a super chilled plate from the freezer, drop a spoonful of jam on it, and if it wrinkles when you push it, you’ve hit the set! Make sure you check out the instructions for how to make snow cream if you need a fun, quick follow-up activity!
Tips for Perfecting Your Homemade Raspberry Jam Recipe
Now that you’ve mastered the boil, let’s talk about small customizations that really elevate this small batch jam. My late grandmother always said the best fruit preserving ideas are the ones you can adapt to what you like eating most. Since this recipe is so straightforward, it’s the perfect base for tinkering! Remember, while the book says 30 minutes total, jams always like a little extra love sometimes.
The jars must be completely clean for any long-term storage, and you can read more about our general kitchen safety guidelines here if you have any concerns about procedures. But honestly, the trickiest part about berries is often the seeds, so let’s tackle that conversion first!
How to Make Seedless Raspberry Jam
Lots of people prefer a super slick, smooth spread, and making seedless raspberry jam is easy enough to do right here in this process. Right after the berries have cooked down and turned into that lovely sauce (that’s Step 2 in the instructions), you need to strain them *before* you add the sugar. Press that cooked fruit mixture firmly through a fine-mesh sieve—use the back of a spoon or a spatula to really push all that pulp through. You’ll be left with a wonderfully smooth liquid and a small pile of seeds to toss out. Then, you just stir in your sugar and proceed as normal!
Achieving the Best Set for Your Summer Fruit Jam
If you are making this jam purely to keep in the fridge and use over the next few weeks—no water bath canning necessary—you have a little more wiggle room with the cook time. If you’re not using a thermometer and you’re worried about the set, just keep simmering after skimming the foam. You’re looking for the visual cue: the summer fruit jam should look thick enough that when you tilt the pot slightly, it moves slowly, or even better, when you test it on that chilled plate, it wrinkles immediately when pushed. That means it’s perfectly jammy!

Preserving Your Raspberry Jam: Canning vs. Refrigerator Storage
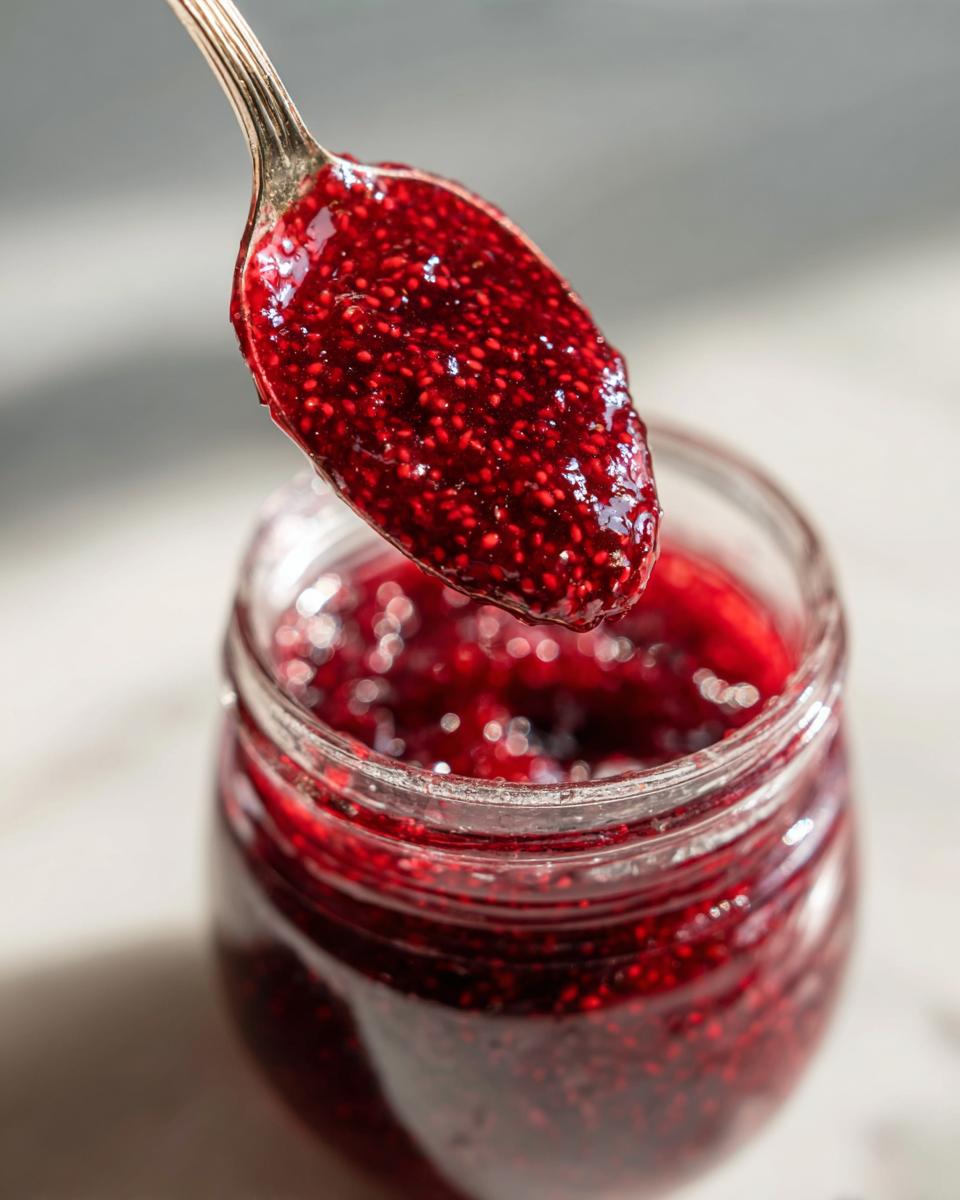
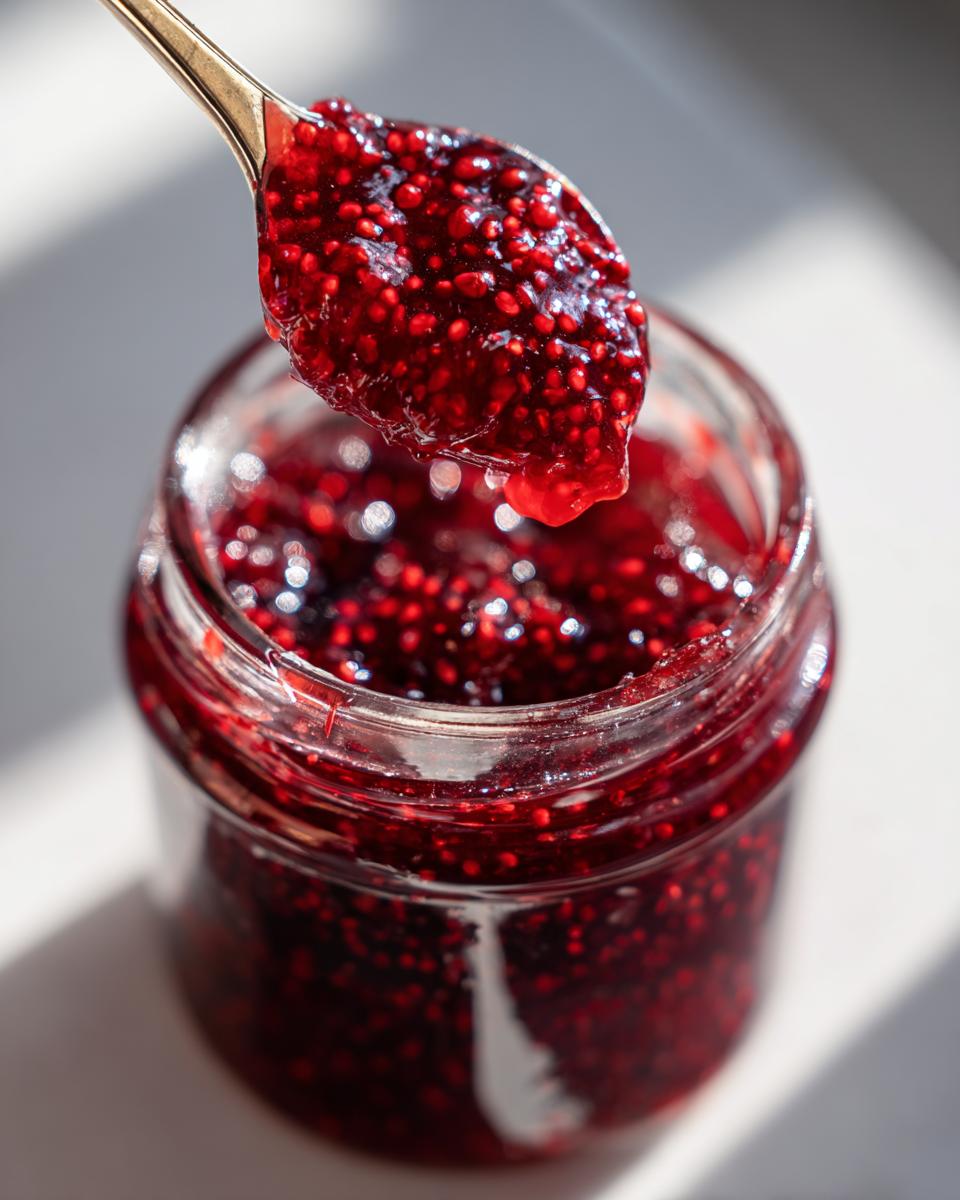
You’ve made the most delicious, sweet and tangy raspberry jam, and now you have a choice! Do you eat it all this week (and trust me, you’ll want to!), or do you put it up beautifully on a shelf for later? Both methods are totally fine here, but the preservation time changes everything, especially concerning food safety, which is super important to me.
For immediate use, say, if you plan on slathering it on your French toast within two or three weeks, you can just let those filled jars cool completely on the counter. Once cool, seal them tight and pop them into the fridge. Simple as that. That’s wonderful for a small batch you want to taste fresh!
However, if you want to stock your pantry and enjoy this jam all winter long, you need to process them using a boiling water bath canner. This step ensures shelf stability, which is crucial for any preserved fruit. It’s really straightforward: you process those filled, lidded jars in actively boiling water for exactly 10 minutes. Just remember, if you live somewhere high up, you have to adjust that time slightly, so always check your local guidelines for safe canning!
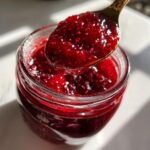
Serving Suggestions for Your Sweet Tangy Jam
Now, the moment of truth! You’ve successfully navigated the boiling, the setting, and the jarring, and you have this gorgeous, vibrant jar of homemade goodness. What do you do first? Oh, my favorite part is seeing how versatile this spread is! It’s not just for toast, though, don’t get me wrong, slathering this on a warm slice of homemade sourdough is pure heaven. It makes the ultimate breakfast toast spread.
But let’s get creative! Since this recipe yields such a thick, luscious texture, it’s fantastic for using as a baking component. Think about how wonderful it would be layered between cake sponges. I often use a jar of this as a decadent raspberry filling for cakes—it locks in moisture and gives you that incredible sweet-and-tart pop!
Here are a few ways I sneak this jam into my daily routine:
- Swirled into plain Greek yogurt for a quick, elegant breakfast.
- Melted down just slightly and drizzled over vanilla ice cream for an instant dessert topping.
- As a glaze replacement when baking pork chops or chicken—the sweetness caramelizes beautifully!
- Layered onto my famous stuffed French toast right before putting it in the oven.
Honestly, once you have this quick raspberry jam ready, you’ll find reasons to put it on everything. It just tastes that much fresher and brighter than anything you buy at the store!
Frequently Asked Questions About Making Raspberry Jam
I get so many questions when people try this homemade raspberry jam recipe for the first time, and honestly, that’s a great sign! When you’re trying out new fruit preserving ideas, it’s natural to have a few uncertainties. Don’t worry, that’s why I’m here. We want everyone to feel confident handling this beautiful fruit!
Can I use frozen raspberries for this easy jam recipe?
Yes, absolutely! You can totally use frozen raspberries for this easy jam recipe. It’s a lifesaver when fresh berries aren’t quite at their peak during the summer. The only little thing you might notice is that frozen berries take a tiny bit longer to thaw completely and release all their juices during that initial simmer in the pot. Just be patient with that first five-to-seven-minute stage, and everything else stays exactly the same!
How long does this no pectin jam last in the refrigerator?
This is critical information for anyone making a small batch jam that isn’t strictly canned for pantry storage. If you skip the water bath canning step completely and just store your finished jars of no pectin jam tightly sealed in the fridge, you should aim to use it up within about two to three weeks. That’s usually enough time for my family to devour a batch, but if you want it to last longer, you must follow the water bath canning instructions I shared earlier to make it shelf-stable!
What is the best way to achieve a vibrant raspberry flavor?
That bright, punchy flavor is exactly what we are going for! You want that beautiful balance of sweet and tart, and it all comes down to two things. First, use the ripest berries you can find—the deeper the color, the more intense the flavor will be. Second, don’t skimp on that fresh lemon juice! That acid isn’t just there to help the set; it really brightens up the natural fruit sugars, ensuring you get that vibrant raspberry flavor shining through in every single bite of your fresh berry preserves. Feel free to reach out if you have more questions; you can always find a way to connect with me at my contact page!
Estimated Nutritional Information for Raspberry Jam
Now, because I’ve spent time studying nutrition, I know that while jam is a treat, understanding what’s in your beautiful creation is important! Whether you’re budgeting carbs or just curious about what you’re enjoying on your toast, I’ve broken down the typical makeup of this wonderful preserve. Remember, making things from scratch means you control every ingredient, which is a huge win for feeding your family well.
This information is based on a standard serving size of two tablespoons of the finished product, but please keep in mind that since this is a totally homemade batch, these figures are just a solid estimate based on the ingredients we used. When you’re making this sweet tangy jam, you can adjust amounts and see how things shift!
- Serving Size: 2 tablespoons
- Calories: 105
- Sugar: 27g (That’s the fruit and the added sugar working their magic!)
- Fat: 0g
- Saturated Fat: 0g
- Carbohydrates: 27g
- Protein: 0g
- Sodium: 1mg
As you can see, the main focus here is on the fruit and, yes, the sugar required to set the jam beautifully without commercial help. It’s naturally low in everything else, making it a pure, fruit-forward experience!
PrintEasy Homemade Raspberry Jam Recipe (No Pectin Needed)
Make this simple, sweet, and tangy homemade raspberry jam using just three ingredients. This quick recipe is perfect for beginners and yields a vibrant spread ideal for toast or baking.
- Prep Time: 10 min
- Cook Time: 20 min
- Total Time: 30 min
- Yield: About 3 half-pint jars 1x
- Category: Preserves
- Method: Stovetop Cooking
- Cuisine: American
- Diet: Vegetarian
Ingredients
- 2 pints fresh or frozen raspberries
- 4 cups granulated sugar
- 1 tablespoon fresh lemon juice
Instructions
- Prepare your jars if canning. If making refrigerator jam, have clean jars ready.
- Combine the raspberries and lemon juice in a large, heavy-bottomed saucepan. Cook over medium heat, stirring often, until the berries break down and release their juices, about 5 to 7 minutes.
- Stir in the sugar until it is completely dissolved. Increase the heat to medium-high.
- Bring the mixture to a full, rolling boil that cannot be stirred down. Boil hard, stirring constantly to prevent scorching, until the jam reaches 220 degrees Fahrenheit on a candy thermometer, or until it passes the cold plate test (a small spoonful dropped onto a chilled plate wrinkles when pushed). This usually takes 10 to 15 minutes.
- Remove the pan from the heat. Skim off any foam that forms on the surface.
- Ladle the hot jam into your prepared jars, leaving 1/4 inch headspace. Wipe the rims clean.
- Process in a boiling water bath canner for 10 minutes, adjusting for altitude, or allow to cool completely for refrigerator storage.
Notes
- For seedless raspberry jam, press the cooked berry mixture through a fine-mesh sieve before adding the sugar.
- This recipe makes a small batch perfect for beginners or for immediate use.
- If you prefer a thicker set without canning, you can simmer the mixture longer until it coats the back of a spoon.
Nutrition
- Serving Size: 2 tablespoons
- Calories: 105
- Sugar: 27g
- Sodium: 1mg
- Fat: 0g
- Saturated Fat: 0g
- Unsaturated Fat: 0g
- Trans Fat: 0g
- Carbohydrates: 27g
- Fiber: 1g
- Protein: 0g
- Cholesterol: 0mg