
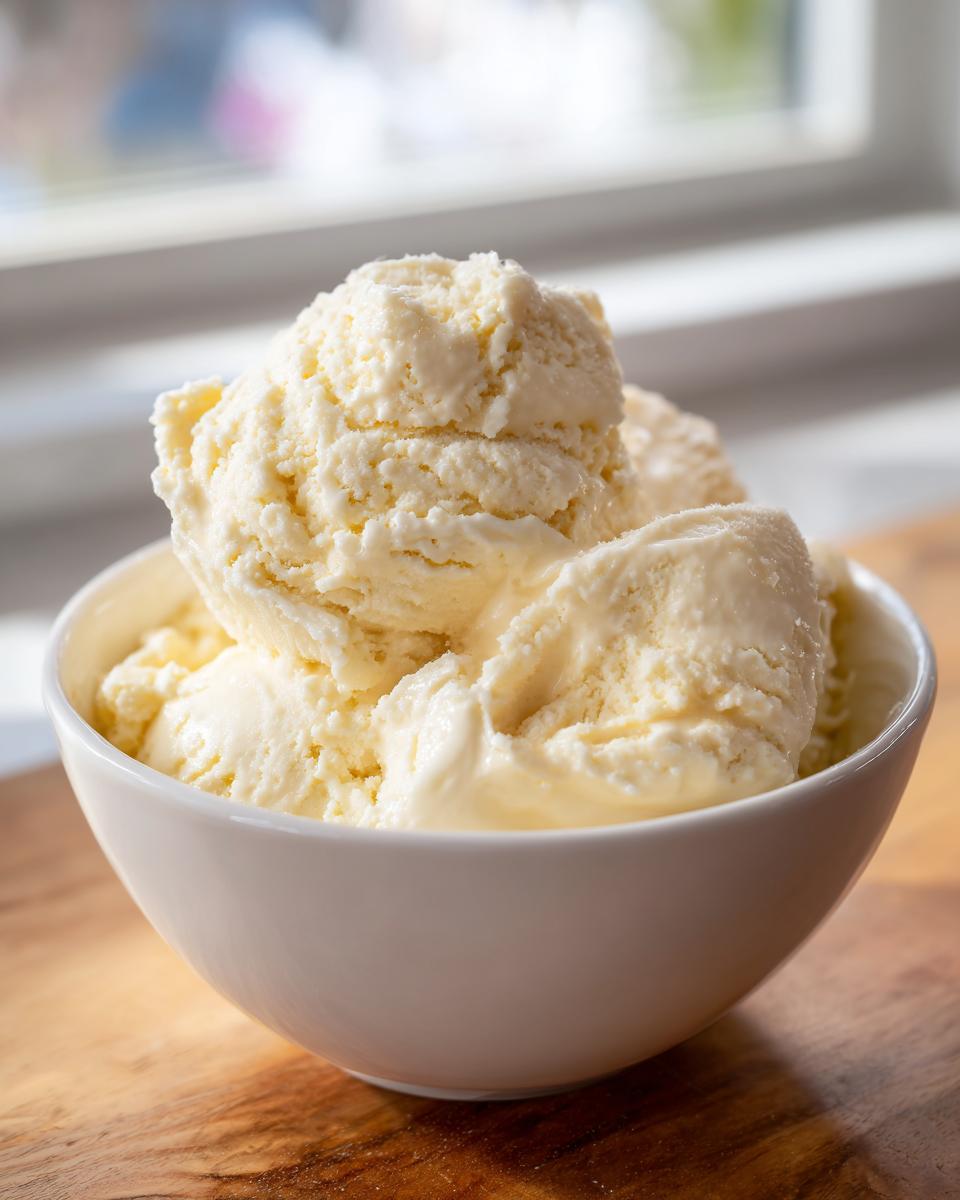
Oh, that silky, sweet nostalgia! There’s just nothing in the world like digging a spoon into a bowl of perfect, thick vanilla pudding. Remember those little plastic cups from the store? They just don’t hold a candle to the real thing we grew up on. Here at CravyBite Kitchen, we believe dessert should be honest, straightforward, and deeply comforting. That’s why I, Jess Carter, am sharing what I consider the absolute best guide for making truly authentic homemade vanilla pudding completely from scratch. Forget those box mixes; we’re using real milk, real eggs, and real patience to create that rich vanilla custard flavor our grandparents used to cherish. It’s simple cooking, done right!
- Why This is the Best Homemade Vanilla Pudding Recipe
- Gathering Ingredients for Homemade Vanilla Pudding
- The Easy Stovetop Pudding Recipe: Making Homemade Vanilla Pudding
- Tips for Achieving Thick and Creamy Pudding Without Lumps
- Ingredient Notes and Substitutions for Rich Vanilla Custard Recipe
- Serving Suggestions for Your Creamy Dessert From Scratch
- Storage and Reheating Instructions for Homemade Vanilla Pudding
- Frequently Asked Questions About Making Pudding
- Estimated Nutritional Data for Homemade Vanilla Pudding
Why This is the Best Homemade Vanilla Pudding Recipe
I know, I know—everyone says theirs is the best! But seriously, when you make this best homemade vanilla pudding recipe, the difference is immediate and amazing. Boxed mixes are fine in a pinch, but they just don’t carry the character of true, slow-cooked dairy and egg goodness. We are building flavor here, not just stirring powder into cold water!
Here’s why you need to ditch the box for good, especially if you are looking for delicious desserts and treats:
- Real Vanilla Aroma: You get that deep, heady scent from pure extract, not artificial flavoring. It’s heavenly!
- Texture Perfection: We control the ratios exactly, ensuring a perfectly thick and luscious texture that coats your spoon every time.
- Pantry Staples Only: Seriously, this recipe relies on core ingredients—milk, sugar, eggs—stuff you pretty much always have on hand for quick homemade dessert ideas.
Once you taste this rich vanilla custard, you’ll never look back, trust me on this one.
Gathering Ingredients for Homemade Vanilla Pudding
Making magic this good should feel easy, and that’s exactly how I design my recipes. When you’re making homemade vanilla pudding, you don’t need fancy powders or specialty items. We are relying on the classics—the real backbone of comfort food desserts! I pulled this simple list straight from my CravyBite Kitchen archives. Every single item here plays a crucial role in creating that iconic creamy dessert from scratch.
Keep an eye out for the small details, like making sure your egg yolks are lightly beaten before you start tempering them—that little step saves you a world of heartache later!
Here is exactly what you need to gather for four perfect servings of this old fashioned vanilla pudding recipe:
- 2 cups whole milk (I always reach for whole milk; it adds richness we need!)
- 1/2 cup granulated sugar
- 3 tablespoons cornstarch (This is our primary natural thickener!)
- 1/4 teaspoon salt
- 2 large egg yolks, lightly beaten
- 2 tablespoons unsalted butter (Always use real butter—it makes the finish so smooth.)
- 1 teaspoon pure vanilla extract
That’s it! No weird stabilizers or artificial colors needed here. Just honest ingredients ready to transform on your stovetop.
The Easy Stovetop Pudding Recipe: Making Homemade Vanilla Pudding
Alright, deep breaths! This is where the actual cooking happens, and trust me, mastering this easy stovetop pudding recipe is so much easier than you think. Making pudding from scratch is hands-on, but it’s deeply rewarding. The whole cooking process moves pretty fast once it gets going, which is why I always try to have my ingredients measured out first. We’re aiming for that perfect, no-fail result every time—no lumps allowed!
Preparing the Base Mixture
Think of this as building the sturdy foundation for your dessert. First, grab a medium saucepan. You need to whisk together your sugar, cornstarch, and salt until you absolutely can’t see any clumps floating around anymore. Once that dry mixture looks uniform, slowly start pouring in your two cups of milk while continuously whisking. You want it completely smooth before it ever sees the stove!
Now, put the pan over medium heat. This is critical: you must stir constantly with a whisk. I mean it—don’t walk away to check your phone! Keep that whisk moving across the bottom and up the sides. After about six to eight minutes, it’s going to start getting noticeably thick and start bubbling. Once it hits that first bubble, keep stirring and cooking for one full minute. This minute is so important because it cooks out any starchy flavor from the cornstarch, guaranteeing that lovely quick homemade dessert flavor we’re after.
Tempering Egg Yolks and Finishing the Cook
This step is the secret to the smooth finish, so pay close attention! Take those two lightly beaten egg yolks aside. You cannot just dump cold yolks into hot liquid—they’ll scramble faster than you can blink! This trick is called tempering: slowly pour about half a cup of that hot pudding mixture into the yolks while whisking the yolks *very* fast. You’re gently bringing their temperature up.
Once that’s incorporated, pour that warmed yolk mixture right back into the saucepan with the rest of the pudding. Put the pan back on medium-low heat. Stir constantly for just another minute or two until it thickens up even more. Stop before it boils again once the eggs are in! Finally, take it off the heat completely and stir in your two tablespoons of butter and that wonderful teaspoon of pure vanilla extract until everything melts together. Instant richness!
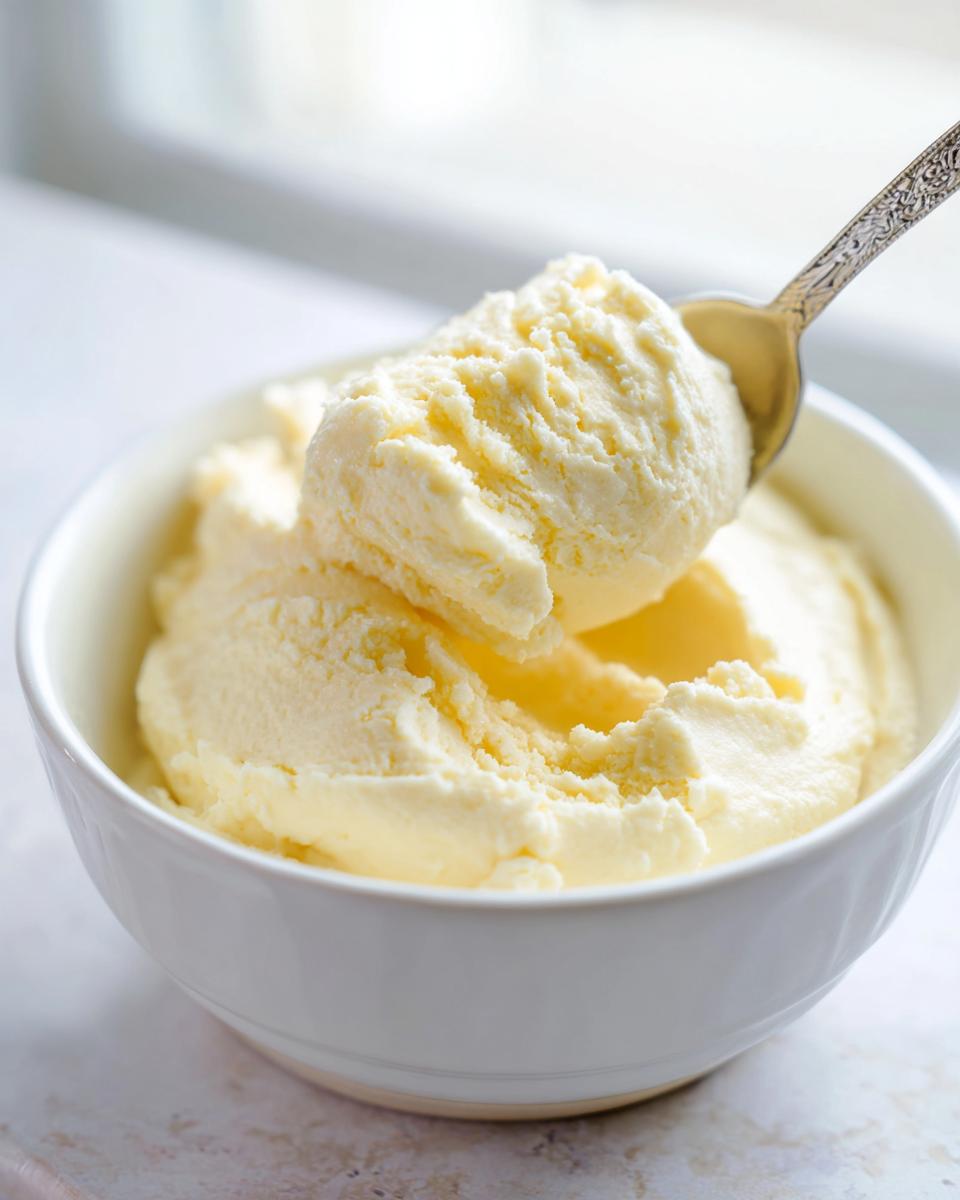
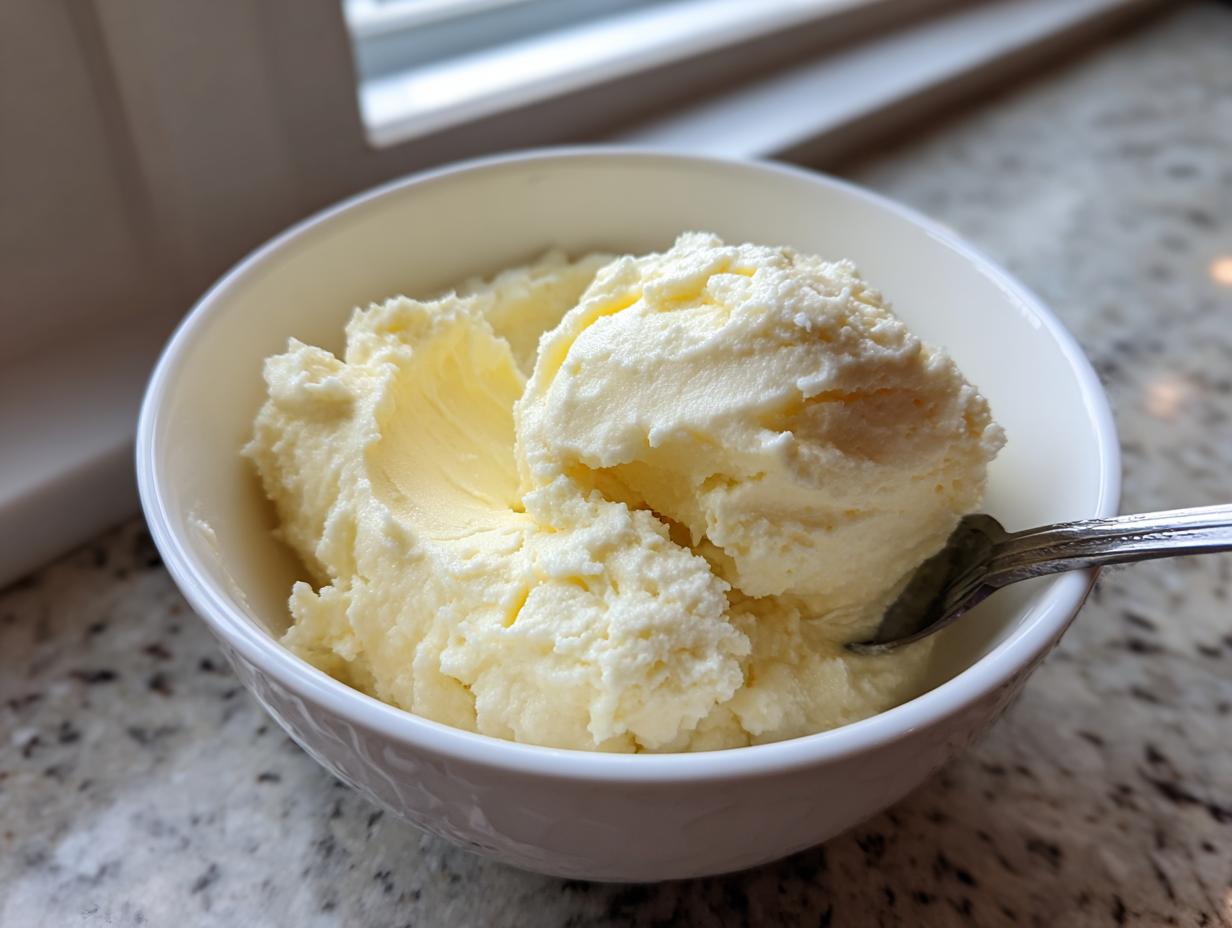
Chilling and Setting Your Homemade Vanilla Pudding
We’re nearly there! For a truly thick and creamy pudding tutorial outcome, chilling is non-negotiable. Pour your beautiful, warm pudding into a clean bowl. Now, here’s Jess’s big move to avoid that weird skin that always forms: take a sheet of plastic wrap and physically press it right onto the surface of the pudding. No air gaps! This keeps the moisture in and the skin out.
Tuck that bowl into the fridge for a minimum of three hours. Seriously, don’t rush it! It needs that time to fully set up into that dense, spoon-coating texture. When you’re ready to serve, just peel off the wrap and give it a really vigorous whisk—it comes back to life perfectly smooth.
Tips for Achieving Thick and Creamy Pudding Without Lumps
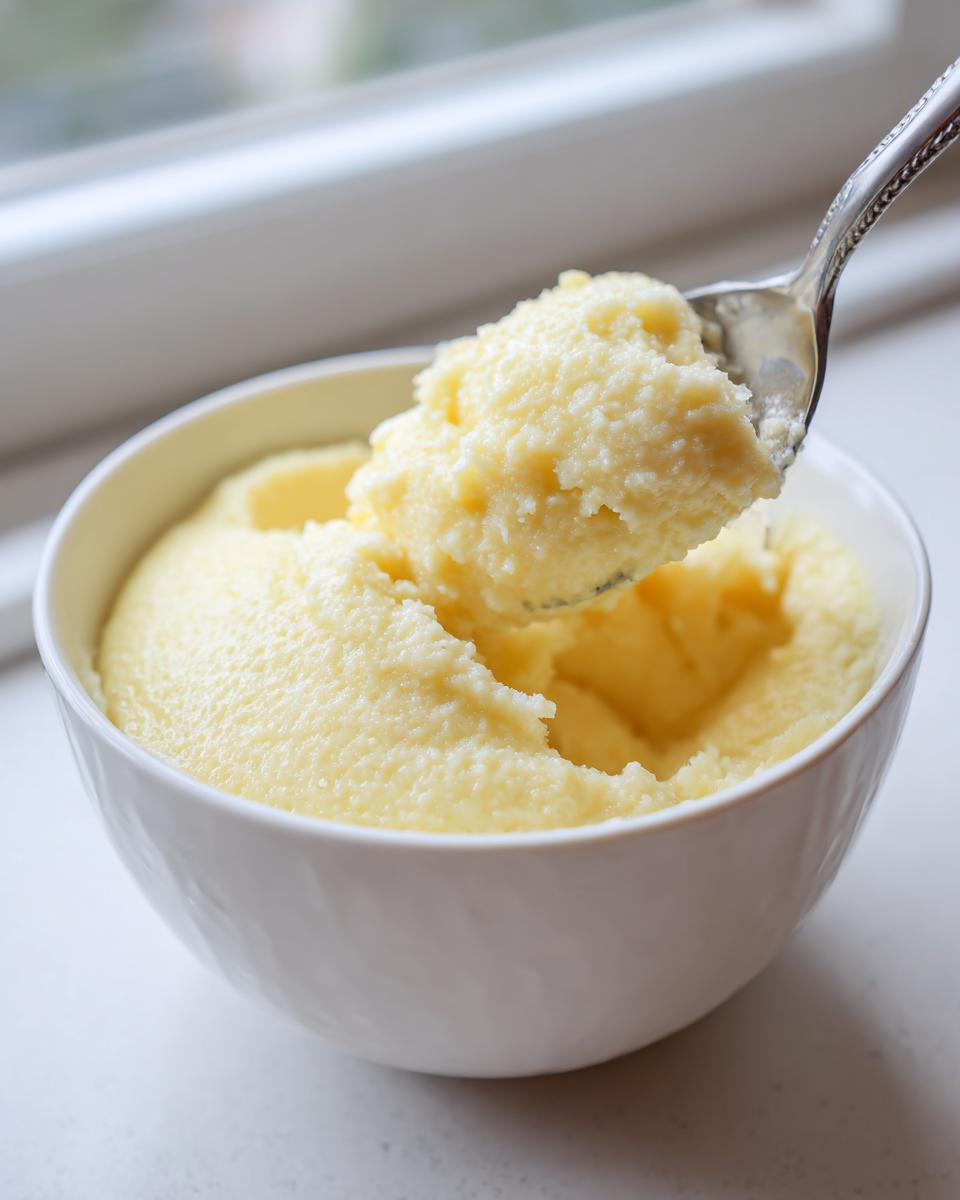
Oh, lumps! Lumps are the enemy of a perfect, comforting dessert. I remember the first time I tried making homemade vanilla pudding completely alone; I ended up with grainy lumps that tasted just a little more like paste than custard. That was embarrassing. Since then, I’ve learned exactly how to nail that thick and creamy pudding tutorial feel every single time!
It truly comes down to technique, not magic! First, never skimp on that cornstarch; it’s doing the heavy lifting for us here. Second, and this is non-negotiable for a silky end result: you absolutely must temper those egg yolks slowly. When you gradually introduce the hot milk to the yolks, you’re acclimating them so they blend seamlessly rather than seizing up into little cooked bits. If you follow that tempering step carefully, you reduce your chances of lumps by like 90 percent!
And for that final, gorgeous texture that makes people ask if you bought it from a fancy bakery? Make sure you give it a really good, hard whisk right before you serve it, especially if it’s been chilling for a while. That just brings the whole creamy dessert from scratch back together beautifully. Speaking of creamy perfection, if you want tips on achieving similar silkiness in pies, check out my secrets for silky banana cream pie filling!
Ingredient Notes and Substitutions for Rich Vanilla Custard Recipe
When we’re aiming for that truly rich vanilla custard recipe, the ingredients you choose matter way more than you might think. Sure, you *can* use skim milk or imitation vanilla, but honestly, why would you when you’re putting in this much effort?
For maximum richness, try swapping a quarter cup of the standard milk for heavy cream. It adds such a lovely, decadent mouthfeel that takes this from simple pudding to something truly elegant. And speaking of elegance, I highly recommend using pure vanilla extract. The artificial stuff tastes sharp, but pure extract brings that deep, warm woodiness that complements the dairy.
Now, for a little kick! This recipe is fantastic as is, but if you’re making it for a grown-up gathering, consider adding half a teaspoon of bourbon along with your vanilla. It amps up the complexity beautifully. If you love those warm, spirited flavors, you absolutely have to check out my bread pudding with bourbon sauce recipe!
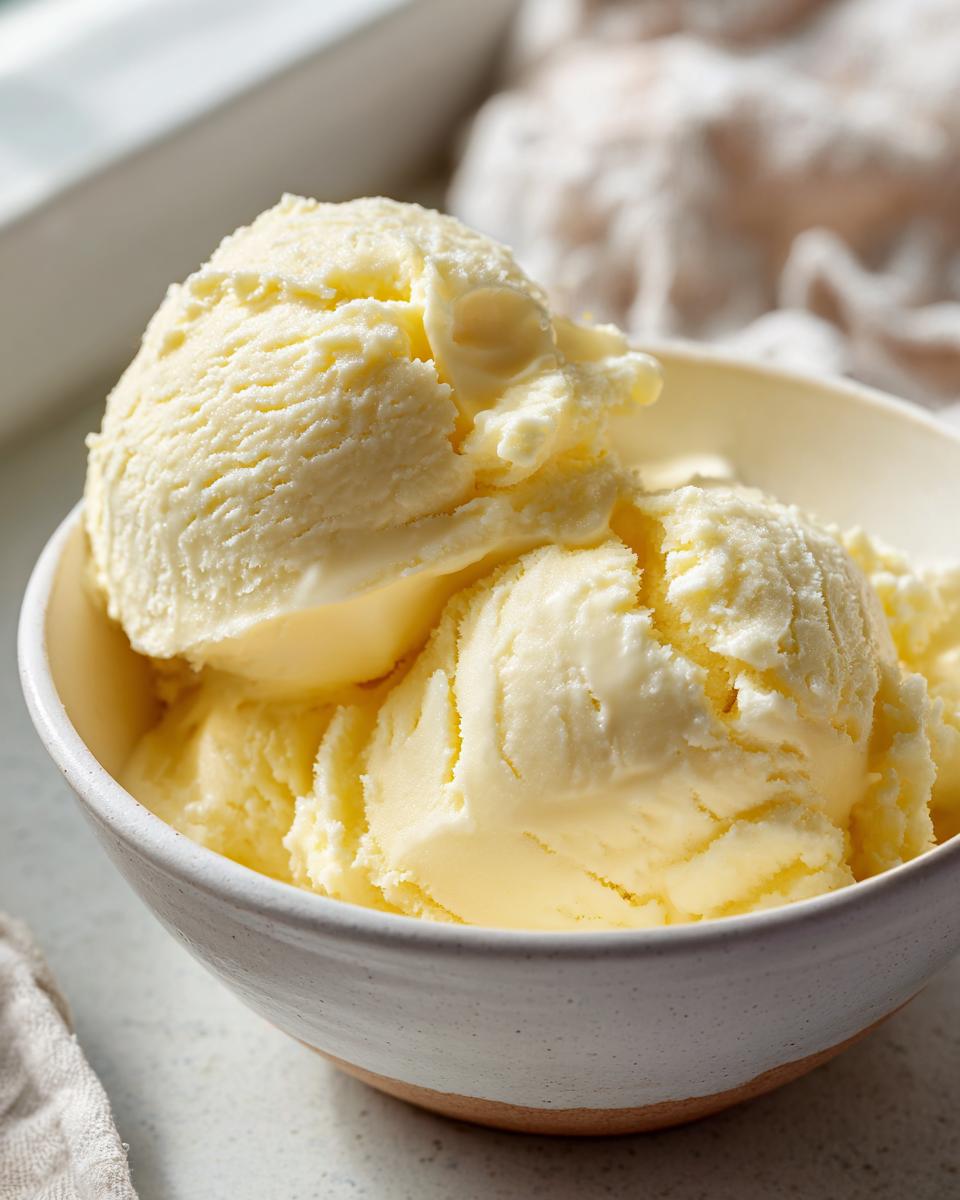
Serving Suggestions for Your Creamy Dessert From Scratch
Now that you have this gorgeous, thick pudding, half the battle is over! This creamy dessert from scratch is fantastic all on its own, served warm or perfectly chilled. But honestly, the best way to enjoy it is by piling toppings on! Think fresh raspberries or sliced bananas layered right on top. Little shortbread cookies crumbled over the top add the perfect crunch, too.
Because this recipe sets up so well, it’s also amazing as a component in bigger projects. If you are looking to really impress without turning on your oven, you’ve got to try layering it. We use this exact pudding anytime we make a trifle. If you want a fantastic no-bake layered option, check out my recipe for caramel apple trifle. It’s divine!
Storage and Reheating Instructions for Homemade Vanilla Pudding
The absolute best part about this homemade vanilla pudding is that it tastes even better the next day! Once it’s set, transfer your pudding to an airtight container. It holds up beautifully in the refrigerator for about three to four days. Now, after a day or two chilling, the texture might look a little firmer than when it first went in. Don’t panic!
This is where the trust comes back in. Just before you serve it, take it out and give it a really vigorous whisking. Trust me, that whisk breaks up any slight stiffness and brings back that incredible, silky, thick texture we worked so hard for! It’s the easiest revival trick in the book.
Frequently Asked Questions About Making Pudding
Whenever I share this recipe, folks always have a few hang-ups, usually about texture, because we’re aiming for that perfect classic comfort food desserts feel. You’ve mastered the stovetop, but want to make sure everything is perfect before you chill it down! Here are the questions I get asked most often about achieving pudding perfection.
Can I use only egg yolks for a richer homemade vanilla pudding?
That’s a great question if you’re chasing intense richness! Egg yolks definitely add gorgeous color and incredible richness, pushing it toward a true rich vanilla custard recipe. In this particular recipe, though, I rely on the cornstarch ratio to give us the primary structure to set up firmly. If you eliminated the egg whites completely and just used the yolks, you might find that while it’s richer, the pudding won’t set quite as firmly after chilling compared to using only the yolks as specified here. We use them strictly for that velvety mouthfeel and that lovely pale yellow color—they are essential but work alongside the cornstarch!
How do I prevent my stovetop pudding recipe from becoming too thin?
This worry usually crops up when people rush the cooking time! When you are making this stovetop pudding recipe, you need to ensure you cook the mixture for a full, solid minute *after* it starts vigorously bubbling. That minute allows the cornstarch to fully hydrate and gelatinize, which is what gives you that amazing thick and creamy pudding tutorial texture. You can’t skimp on that minute, or it will definitely be runny. Also, double-check your measurements—too much milk or too little cornstarch is a surefire recipe for soupy sadness!
Is this recipe suitable for use in a trifle or quick pudding recipe for layering?
Absolutely, yes! In fact, this texture is exactly what makes it perfect for layering. Unlike some looser custards that just soak into cake or cookies, this recipe sets up just enough so that it holds its shape beautifully between layers of fruit or cake pieces. The most important thing, though, is patience! You must chill it for those full three hours or more. If you try to use it warm—even slightly warm—for layering, it acts more like a sauce than a stable filling. Once it’s cold and firm, it’s the perfect partner for any creamy dessert from scratch layering project!
Estimated Nutritional Data for Homemade Vanilla Pudding
Now, I know for most of us in the kitchen, especially when cooking classic comfort food desserts, we aren’t exactly calculating macros—we are focused on joy! But since I have a little background in nutrition, I wanted to give you a little peek at what’s in a serving of this incredible homemade vanilla pudding.
Please remember, this is Jess talking here: these numbers are just estimates based on the standard ingredients I listed out earlier. If you use heavy cream instead of milk, or maybe add a splash of that bourbon we talked about, those numbers will definitely shift a bit! Treat this as a general guideline rather than a hard science for your delicious dessert treats.
Per serving (about 1/4 of the recipe):
- Calories: 250
- Total Fat: 10g
- Saturated Fat: 6g
- Cholesterol: 85mg (Thanks, egg yolks!)
- Sodium: 150mg
- Total Carbohydrates: 32g
- Sugar: 22g
- Protein: 8g
It’s a nice, balanced little treat. You get a little bit of protein and fat to keep you satisfied, alongside that comforting sweetness. It’s proof that an old fashioned vanilla pudding recipe made with real food can still fit into a balanced day!
PrintClassic Homemade Vanilla Pudding from Scratch

Make rich, creamy vanilla pudding using simple pantry ingredients. This stovetop recipe delivers authentic flavor without any box mixes.
- Prep Time: 10 min
- Cook Time: 15 min
- Total Time: 4 hours 25 min
- Yield: 4 servings 1x
- Category: Dessert
- Method: Stovetop
- Cuisine: American
- Diet: Vegetarian
Ingredients
- 2 cups whole milk
- 1/2 cup granulated sugar
- 3 tablespoons cornstarch
- 1/4 teaspoon salt
- 2 large egg yolks, lightly beaten
- 2 tablespoons unsalted butter
- 1 teaspoon pure vanilla extract
Instructions
- In a medium saucepan, whisk together the sugar, cornstarch, and salt until combined.
- Gradually whisk in the milk until the mixture is smooth.
- Place the saucepan over medium heat. Cook, stirring constantly with a whisk, until the mixture thickens and begins to bubble. This takes about 6 to 8 minutes. Do not stop stirring to prevent scorching.
- Once boiling, continue to cook and stir for 1 minute to fully cook out the cornstarch flavor. Remove the pan from the heat.
- In a small bowl, lightly whisk the egg yolks. Temper the yolks by slowly whisking about 1/2 cup of the hot milk mixture into the yolks.
- Pour the tempered yolk mixture back into the saucepan with the remaining milk mixture, whisking constantly.
- Return the saucepan to medium-low heat. Cook, stirring constantly, for 1 to 2 minutes until the pudding thickens further. Do not allow it to boil after adding the eggs.
- Remove from heat. Stir in the butter and vanilla extract until the butter is melted and fully incorporated.
- Pour the pudding into a clean bowl. Press plastic wrap directly onto the surface of the pudding to prevent a skin from forming.
- Chill in the refrigerator for at least 3 hours, or until completely cold and set. Whisk well before serving.
Notes
- For a richer flavor, substitute 1/4 cup of the milk with heavy cream.
- If you prefer a stronger vanilla taste, add 1/2 teaspoon of bourbon along with the vanilla extract.
- To avoid lumps, always temper the egg yolks slowly with the hot liquid before returning them to the main mixture.
- This recipe yields a thick and creamy pudding suitable for layering in trifles or serving with fresh berries.
Nutrition
- Serving Size: 1/4 of recipe
- Calories: 250
- Sugar: 22
- Sodium: 150
- Fat: 10
- Saturated Fat: 6
- Unsaturated Fat: 4
- Trans Fat: 0
- Carbohydrates: 32
- Fiber: 0
- Protein: 8
- Cholesterol: 85