
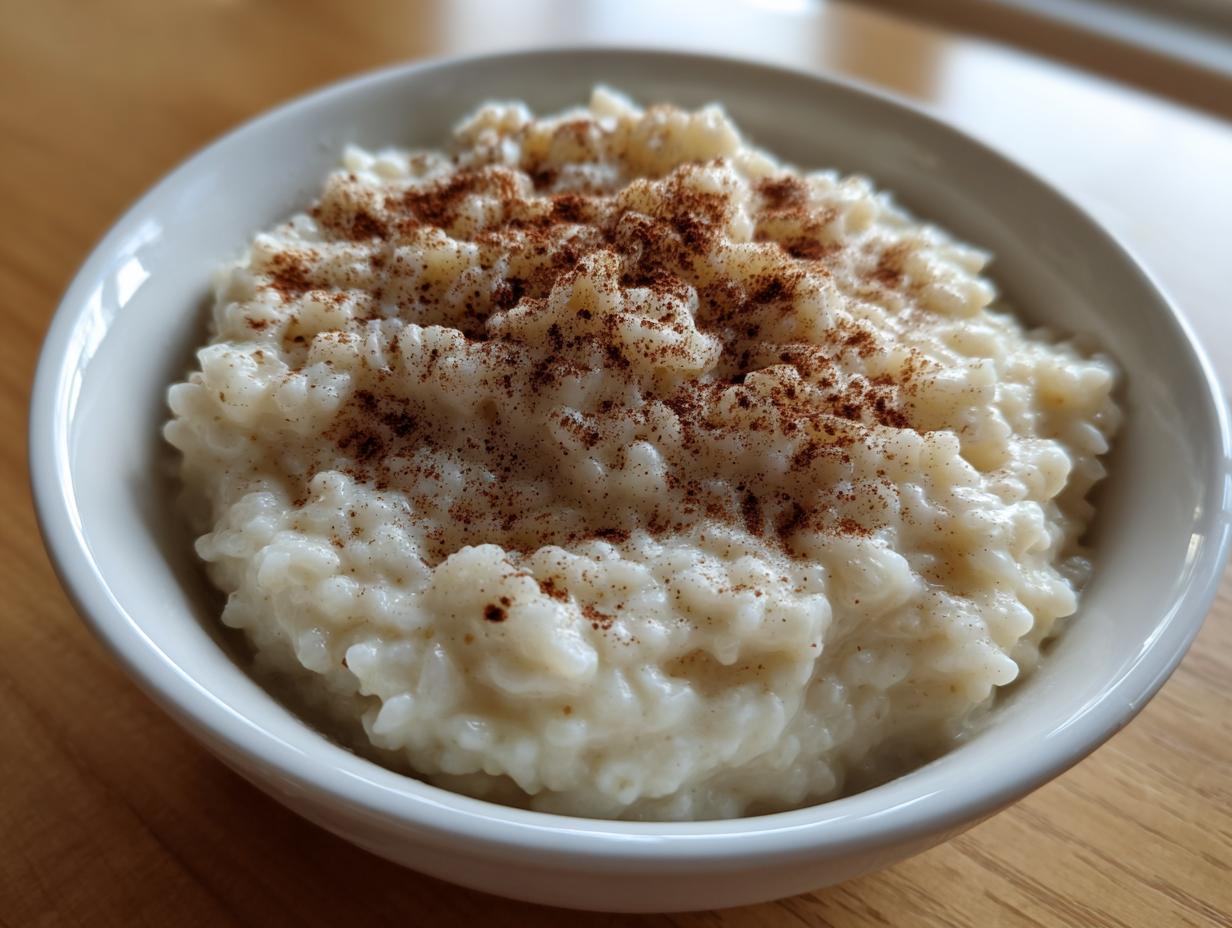
Isn’t there just something about a bowl of warm, sweet pudding that makes everything feel safe? That’s the magic of comfort food, and nothing tops our Classic Creamy Stovetop Rice Pudding for that cozy feeling. Trust me when I say this is truly the best rice pudding recipe you’ll ever make if you are chasing that perfect, thick, comforting texture everyone remembers.
Here at CravyBite Kitchen, we blend heart with science. I’m Jess Carter, and having spent years learning nutrition, I know exactly how simple ingredients work together. This rice pudding recipe isn’t just soulful; it’s incredibly reliable, taking you straight back to the best parts of home cooking, just like my family taught me. You can learn more about our approach to honest American cooking over at our story. Get your heavy pot ready; we’re making something special!
- Why This is the Best Rice Pudding Recipe for Comfort
- Essential Ingredients for Your Stovetop Rice Pudding Instructions
- How to Make Rice Pudding from Scratch: Step-by-Step Stovetop Rice Pudding Instructions
- Tips for Success with Your Old Fashioned Rice Pudding Recipe
- Flavor Variations for Your Rice Pudding Recipe
- Serving Suggestions for This Sweet Rice Dessert
- Storage and Make Ahead Creamy Pudding Options
- Frequently Asked Questions About Making Rice Pudding
- Nutritional Snapshot of This Homemade Pudding
- Nutritional Snapshot of This Homemade Pudding
Why This is the Best Rice Pudding Recipe for Comfort
I’ll tell you exactly why this stovetop method wins every time: it delivers that pure, thick, and creamy texture we all crave without needing an oven or a slow cooker. It’s an easy creamy rice pudding that truly feels like a hug in a bowl. This is my absolute go-to comfort food dessert when I need a taste of home.
Seriously, this rice pudding recipe saved my sanity during a very stressful finals week in college. I must have made five batches in one month! It’s simple enough that you can make it while worrying about ten other things, but the payoff? Unbelievable. You can find other simple delights perfect for busy schedules over at our dessert roundup.
Key Details for Your Classic Creamy Stovetop Rice Pudding Recipe
Here are the quick facts so you can plan your time perfectly:
- Prep Time: 10 min
- Cook Time: 60 min
- Total Time: 70 min
- Yield: 6 servings
- Method: Stovetop
- Category: Dessert
Essential Ingredients for Your Stovetop Rice Pudding Instructions
When we’re making this old fashioned rice pudding recipe, the ingredients are basic pantry staples, but their quality and type really matter for that perfect result. You’ll need one cup of medium-grain white rice; trust me, don’t use long-grain here, because the medium-grain releases just the right amount of starch to make this pudding thick and creamy without turning to mush.
We start with four cups of whole milk, which is non-negotiable for true richness, and one cup of water to help start the cooking process gently. We always add a half teaspoon of salt—don’t skip that, it balances the sweetness! For the sweet part, we measure out a half-cup of granulated sugar.
Now for the thickeners: two large eggs, lightly beaten, which we handle very carefully later on. Then we round it out with one teaspoon of vanilla extract and a half teaspoon of ground cinnamon for that signature warm spice flavor.
Ingredient Notes and Substitutions for this Rice Pudding Recipe
I want you to feel confident tinkering, but there are a few notes from my kitchen that really elevate this sweet rice dessert. If you want to lean into an even more luxurious texture, swap out one cup of that whole milk for heavy cream. It makes a decadent difference!
Another trick I learned when I was experimenting for a client? Throw in a strip of lemon zest—just the yellow part, no white pith, please—while the rice is simmering in the milk. You pull it out before serving, but that subtle citrus note just brightens the whole dessert up beautifully. It’s a secret weapon!
The most important thing to remember is that this pudding will thicken up a fair bit as it cools down. Seriously, it goes from creamy to almost cake-batter thick in the fridge! If you plan to eat leftovers the next day, you’ll definitely need to stir in a splash or two of extra milk when reheating it to bring back that wonderfully smooth, flowing consistency we love in this homemade pudding.
How to Make Rice Pudding from Scratch: Step-by-Step Stovetop Rice Pudding Instructions
Alright, let’s get down to business. This is where the magic happens on the stovetop, and frankly, this is what separates a decent pudding from the best rice pudding recipe out there. We need patience here, so put on some music or listen to a podcast, because stirring is key!
First up, you are going to grab your biggest, heaviest saucepan—a lightweight pan is your enemy here because it scorches things in a heartbeat! Toss in the rice, the whole milk, the water, and that little bit of salt. Set the burner to medium-high and bring that whole lovely mess up to a boil, but you have to stir it often. I mean it, constantly, especially once it gets warm!
Once it’s bubbling away, drop that heat way down to low. We’re simmering now, covered only halfway. Let that go for about 40 to 50 minutes. The rice needs to soften up completely, and the liquid should look way thicker than when you started. Stir it every few minutes so you don’t get that weird crust forming on the bottom. You can check out some of my other speedy weeknight meals when you need a quick break from stirring!
Now comes the crucial step for that easy creamy rice pudding texture: the eggs. Whisk your half-cup of sugar right into those two lightly beaten eggs. You must temper them, or you’ll end up with sweet scrambled eggs in your dessert! Slowly, and I mean slowly, add about a cup of that hot rice mixture into the eggs while you whisk the eggs constantly. Once they look warm and happy, pour that whole tempered mix back into the saucepan with the rest of the pudding.
Achieving Thick and Creamy Pudding Texture
This final cooking phase is the absolute moment of truth for achieving that signature thick and creamy pudding. You’re going to cook this gently over low heat, stirring non-stop, for just about three to five more minutes. Watch carefully, because the pudding will suddenly start to thicken noticeably. That’s the eggs setting up and binding everything together beautifully!
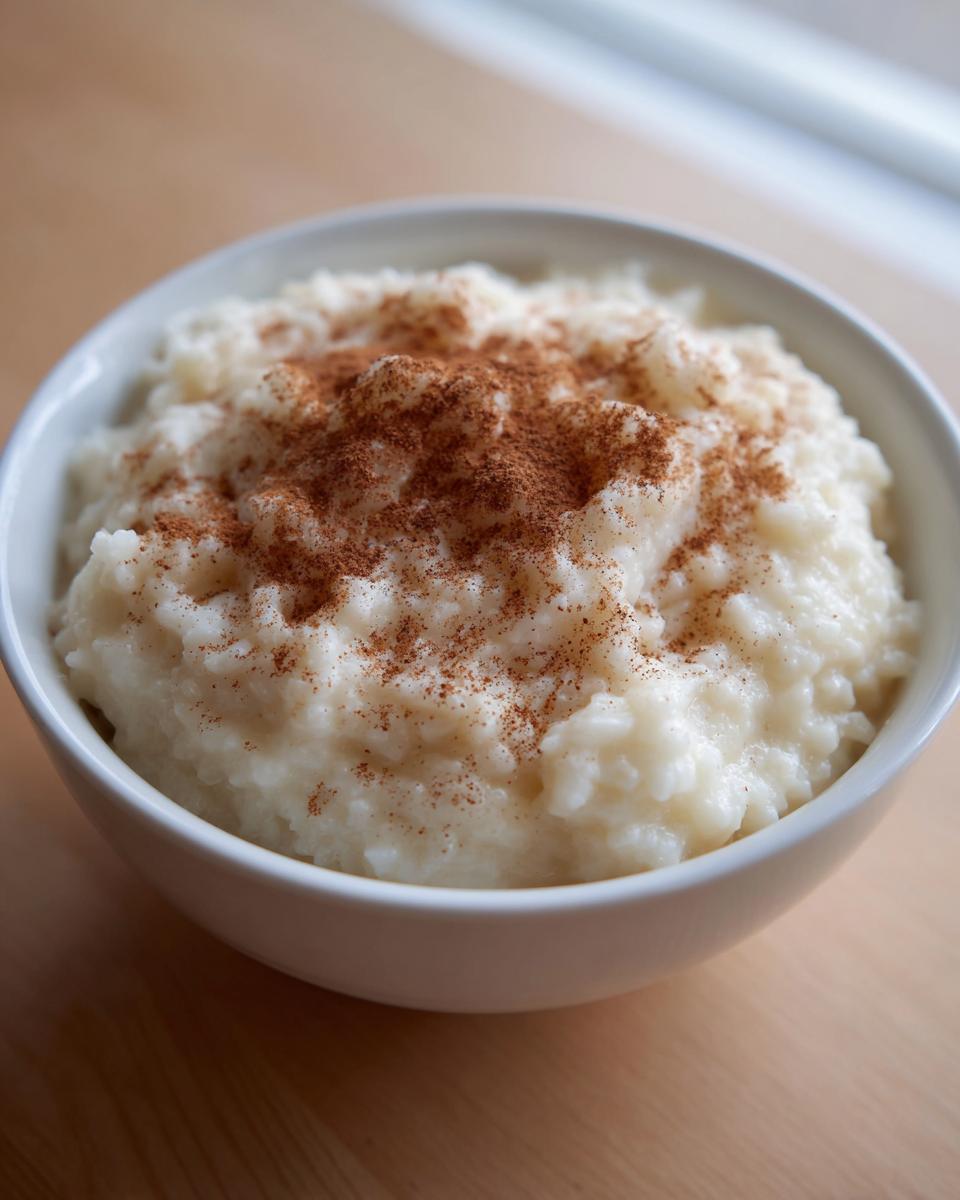
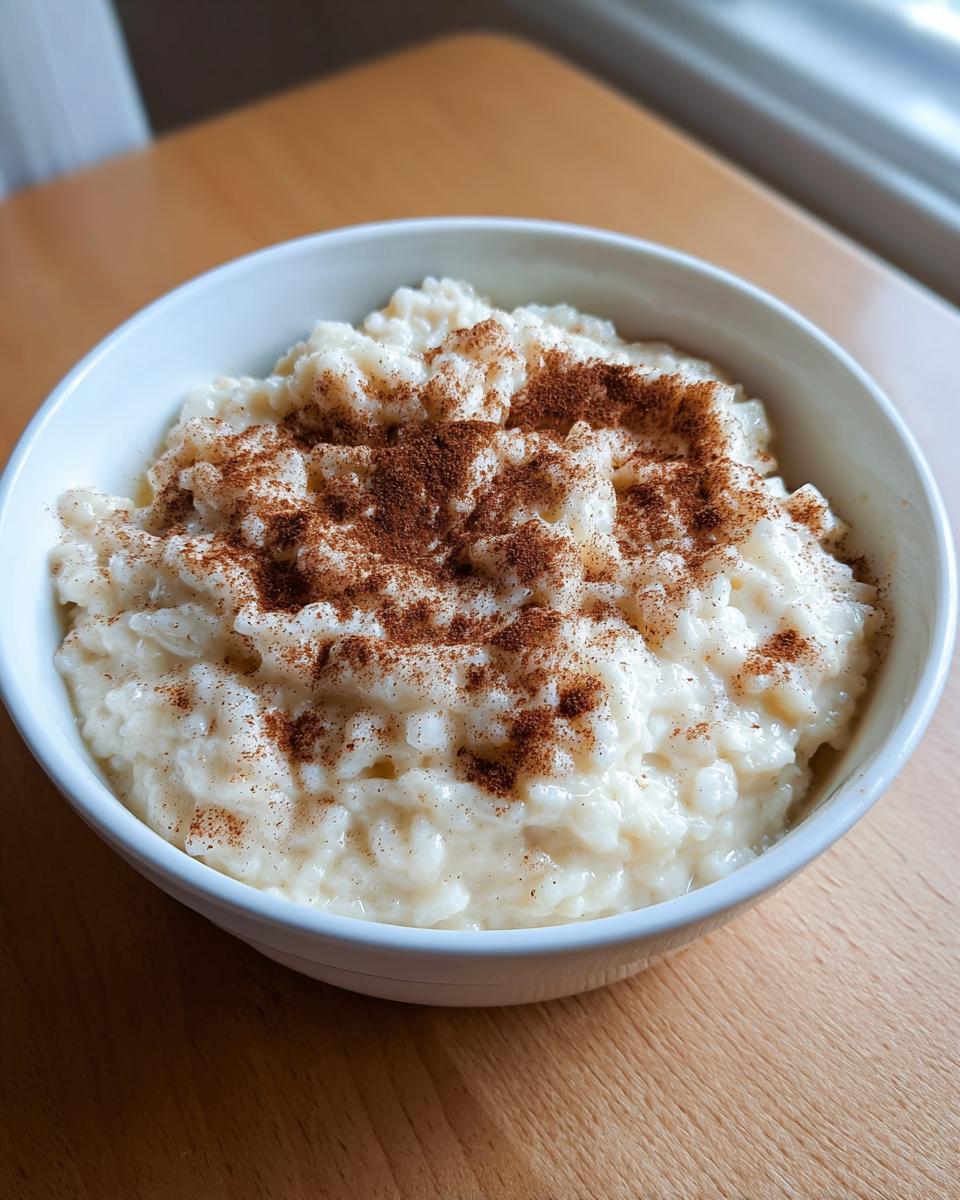
Crucially, listen to me on this one point: Do not let it boil after adding the eggs! A hard boil will curdle those eggs instantly and ruin that smooth texture we worked so hard for. Once it coats the back of a spoon nicely, pull it right off the heat. Stir in your vanilla and that half teaspoon of cinnamon. Instant warmth!
Tips for Success with Your Old Fashioned Rice Pudding Recipe
Making old fashioned rice pudding requires paying attention to a couple of technical spots, but once you nail these, you’ll never look back! My biggest piece of advice, which I’ve already hinted at, concerns the vessel you use. You absolutely must use a large, heavy-bottomed pan for this. Seriously, don’t even think about that thin aluminum pot you use for boiling pasta.
The milk solids and starch in the rice love to cling to the bottom of thin pots, and that spells scorching, which gives the whole batch a bitter, burned flavor. A heavy bottom distributes that low heat evenly, keeping everything moving smoothly and preventing any part of your beautiful pudding from turning into tar at the bottom edges.
Then there’s the rice itself. I always insist on medium-grain white rice for this stovetop method. Why? Arborio rice, for example, has too much starch and will break down into wallpaper paste, which is fine if that’s what you want, but that’s not this classic texture. Long-grain, like basmati, just won’t release the starch needed to give you that inherent creaminess that binds the milk and rice together. Medium-grain is the perfect middle ground—tender kernels suspended in a luxurious, creamy sauce.
If you’re looking for more foolproof dessert techniques that honor tradition, you should definitely check out my recipe for classic bread pudding! It follows some very similar stirring and thickening rules. You can find the details over at that classic bread pudding recipe.
Flavor Variations for Your Rice Pudding Recipe
While the basic vanilla and cinnamon give you that fantastic rice pudding recipe baseline, half the fun of home cooking is making it totally yours, right? It’s so easy to customize this base recipe without messing up that glorious texture we fought so hard to achieve on the stovetop.
If you’re looking for something warmer than just cinnamon, try swapping some of that cinnamon out for a generous pinch of freshly grated nutmeg when you add the spice at the end. Nutmeg pairs wonderfully with the milk and rice, giving it a deeper, almost holiday-like aroma. It’s a beautiful change, especially perfect for a chilly evening!
For a completely different profile, you can introduce extracts. A tiny splash of almond extract—and I mean tiny, maybe a quarter teaspoon—added right alongside the vanilla gives this sweet rice dessert a beautiful, marzipan-like sweetness that plays surprisingly well with the simple rice grains. It feels really sophisticated, even though it’s super easy.
And remember that lemon zest trick I mentioned earlier in the simmering stage? You can expand on that! Orange zest works just as beautifully, lending a bright, sunny note to the finished pudding. Some folks even like to fold in a tablespoon of high-quality cocoa powder right at the very end, just before the vanilla, to get a gentle chocolatey swirl running through it. It turns into a richer, darker dessert that my brother demands every time he visits. If you enjoy these kinds of cozy, comforting spices, you absolutely have to check out my chocolate cinnamon roll recipe—it captures that same warm, spiced feeling!
The point is, once you master the method for this homemade pudding, feel free to experiment! The key is to stick to the structure (especially the egg tempering!) and let your flavor boosters come in at the very end.
Serving Suggestions for This Sweet Rice Dessert
So, you’ve made the perfect, silken stove-top pudding—now comes the fun part: deciding how you’re going to eat it! This sweet rice dessert is honestly phenomenal both ways, warm or cold, and your serving choice can totally change the whole experience.
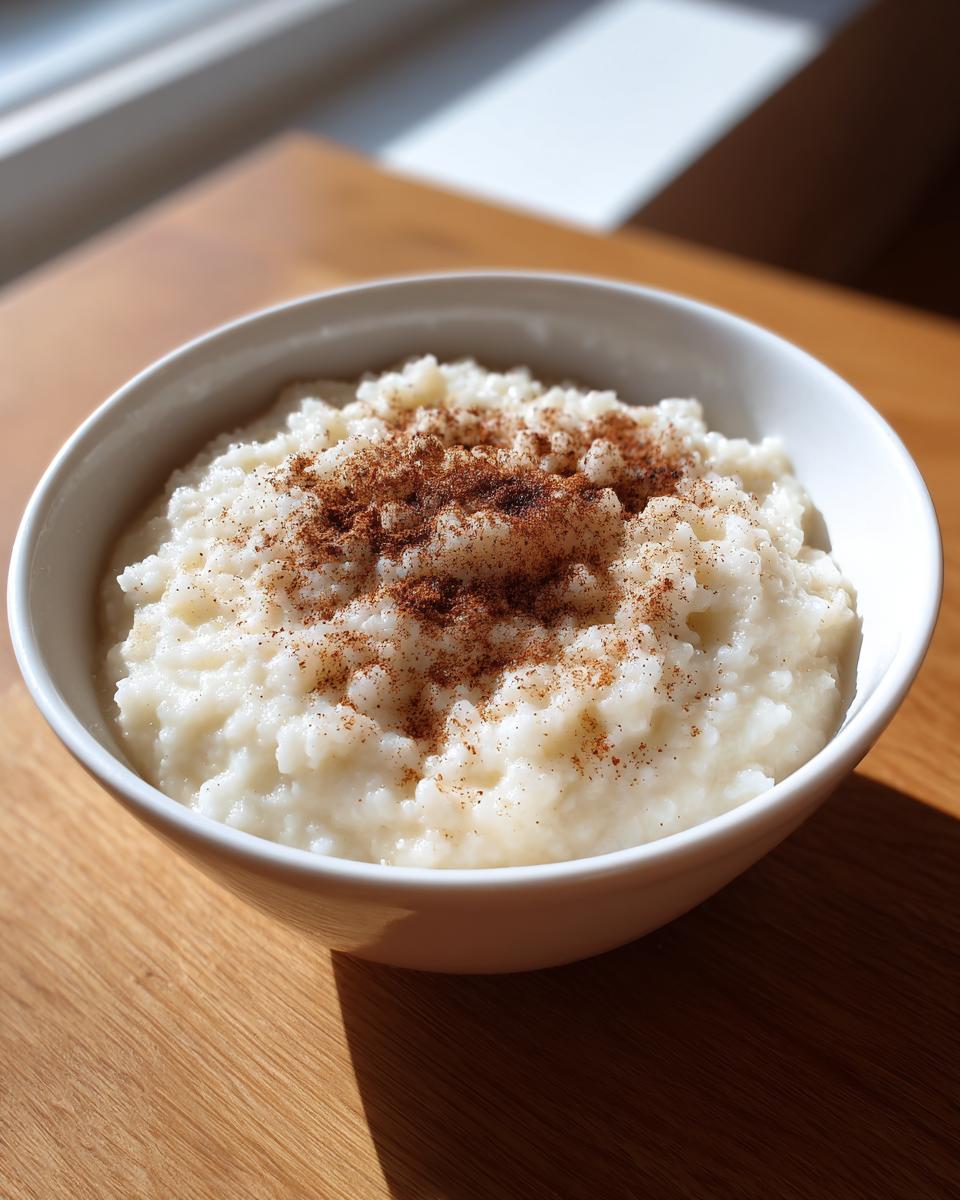
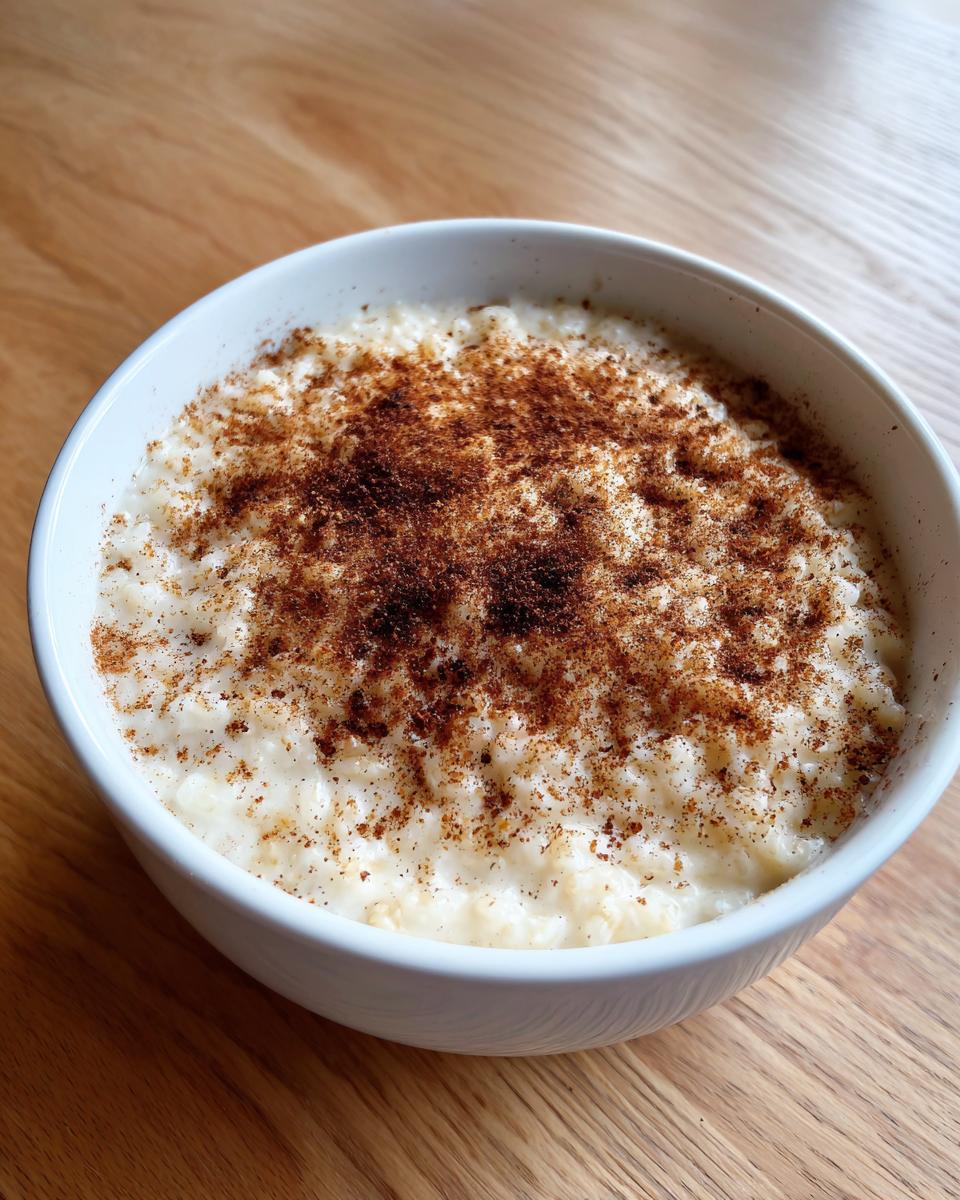
When it’s fresh off the stove, piping hot, this tastes like pure warmth settling into your soul. Serve it immediately in little bowls with just that half teaspoon of ground cinnamon that we already stirred in. That’s the classic, simple approach, and it never fails. It’s quick, comforting, and perfect for a cozy night in.
But if you chill this rice pudding recipe down completely—at least four hours in the fridge—it transforms! It gets substantially thicker, almost like a chilled custard slice. When I serve it cold, I like to treat it a little fancier because it holds its shape so well.
My absolute favorite way to eat chilled pudding is with a generous drizzle of store-bought caramel sauce. The cool, dense pudding against that slightly sticky, sweet caramel? Wow! It’s decadent, but still simple. It feels like something you’d get at a nice cafe, not something you made at home in 70 minutes!
If caramel isn’t your jam, fruit preserves are next in line. A spoonful of tart raspberry preserves or even some slightly cooked, sweetened apples on top cuts through the richness of the whole milk beautifully. Or, if you’re feeling really festive, maybe even a light sprinkle of toasted pecans or walnuts for a little crunch. Speaking of indulgent flavors, if you have a sweet tooth that needs tackling after this, you absolutely must check out my recipe for chocolate caramel toffee crunch cake—it’s next-level delicious!
The point is, this pudding is a blank canvas. Dust it, drown it in sauce, or eat it plain—you’ve created something wonderful!
Storage and Make Ahead Creamy Pudding Options
Life is busy, and that’s why I love that this is such a fantastic make ahead creamy pudding option. You can totally whip this up a day before you need it for guests! Store any leftovers tightly covered in the fridge; it’ll keep beautifully for about three or four days.
Now, when you pull it out later, remember what I said: it will be super thick. Don’t try to eat it straight from the fridge unless you prefer it that way! To bring back that perfect, flowing texture, just warm it gently on the stove over low heat, remembering to stir in a splash or two of fresh milk until it loosens up again.
If you’re planning for a gathering, making this the day before means less stress on serving day, which is always a win in my book! You can find my notes on making large batches hassle-free over at my guide to make-ahead desserts.
Frequently Asked Questions About Making Rice Pudding
I always get emails asking the same things about this recipe, and honestly, those are usually the biggest hurdles for folks trying it for the first time. Let’s clear up any confusion so you can nail this rice pudding recipe!
Can I use long-grain white rice instead of medium-grain for this recipe?
I strongly advise against it if you are chasing that classic, rich creaminess. Long-grain rice, like Basmati, just doesn’t release the necessary starch into the milk. If you use long-grain, you’ll end up with separate, distinct rice grains swimming in a thinner sauce—it won’t be the thick and creamy pudding you’re looking for. Stick to medium-grain or even short-grain Arborio for the best results here!
Can I skip the eggs in this rice pudding recipe?
You absolutely can skip the eggs if you need to avoid them, but be warned: the texture will change dramatically. Those lightly beaten eggs are what give this homemade pudding its structure and richness after tempering. If you skip them, the pudding will still taste good, but it will be much runnier, even after cooling. You’ll end up with something closer to cooked cereal rather than a true comfort food dessert.
How long does the pudding take to start thickening after adding the tempered eggs?
This is where you have to watch closely! Once you pour that tempered egg/rice mixture back into the pot, it only takes about three to five minutes of constant, gentle stirring over low heat to notice the change. It thickens surprisingly fast once it hits that point. If you notice it bubbling vigorously, pull it off the heat immediately! If you’re looking for other fast fixes, these simple dessert recipes might inspire you!
Can I use evaporated milk instead of whole milk?
Evaporated milk is much more concentrated than whole milk, so if you substitute it directly, your pudding will be incredibly thick and might become too sweet or heavy very quickly. If you want to use it, I’d suggest replacing only half of the whole milk called for, and then adding extra water to make up the volume. The flavor will be different—a bit deeper—but it works in a pinch!
Nutritional Snapshot of This Homemade Pudding
I know many of us are tracking what we eat, even when enjoying a great dessert. Since I’ve spent time in nutrition, here’s a quick look at the estimated profile of this rich, creamy treat. Remember, these numbers are based on the standard ingredient list provided and might vary slightly based on your exact measurements!
- Serving Size: 1 serving
- Calories: 320
- Fat: 8g
- Carbohydrates: 50g
- Protein: 12g
- Sugar: 25g
This is certainly an indulgent dessert, but knowing exactly what’s in your food, like in all our honest recipes, gives you peace of mind. This pudding has a decent little protein hit from the milk and eggs, too!
PrintClassic Creamy Stovetop Rice Pudding

Make this comforting, old fashioned rice pudding from scratch using simple ingredients for a thick and creamy dessert.
- Prep Time: 10 min
- Cook Time: 60 min
- Total Time: 70 min
- Yield: 6 servings 1x
- Category: Dessert
- Method: Stovetop
- Cuisine: American
- Diet: Vegetarian
Ingredients
- 1 cup medium-grain white rice
- 4 cups whole milk
- 1 cup water
- 1/2 teaspoon salt
- 1/2 cup granulated sugar
- 2 large eggs, lightly beaten
- 1 teaspoon vanilla extract
- 1/2 teaspoon ground cinnamon, plus extra for serving
Instructions
- Combine the rice, milk, water, and salt in a large, heavy-bottomed saucepan.
- Bring the mixture to a boil over medium-high heat, stirring frequently to prevent sticking.
- Reduce the heat to low, cover the saucepan partially, and simmer for 40 to 50 minutes, stirring every 5 to 10 minutes. The rice should be tender and the mixture should begin to thicken.
- In a small bowl, whisk together the sugar and the lightly beaten eggs.
- Temper the eggs: Slowly pour about 1 cup of the hot rice mixture into the egg mixture while whisking constantly. This prevents the eggs from scrambling.
- Pour the tempered egg mixture back into the saucepan with the remaining rice mixture.
- Cook over low heat, stirring constantly, for 3 to 5 minutes until the pudding thickens noticeably. Do not let it boil after adding the eggs.
- Remove the saucepan from the heat. Stir in the vanilla extract and 1/2 teaspoon of ground cinnamon.
- Serve warm or chill completely for a thicker texture. Sprinkle with extra cinnamon before serving.
Notes
- For a richer flavor, substitute 1 cup of the whole milk with heavy cream.
- If the pudding becomes too thick upon cooling, stir in a small amount of milk until you reach your desired consistency.
- You can add a strip of lemon zest during the simmering process for a subtle citrus note; remove before serving.
Nutrition
- Serving Size: 1 serving
- Calories: 320
- Sugar: 25g
- Sodium: 180mg
- Fat: 8g
- Saturated Fat: 4g
- Unsaturated Fat: 4g
- Trans Fat: 0g
- Carbohydrates: 50g
- Fiber: 1g
- Protein: 12g
- Cholesterol: 75mg