
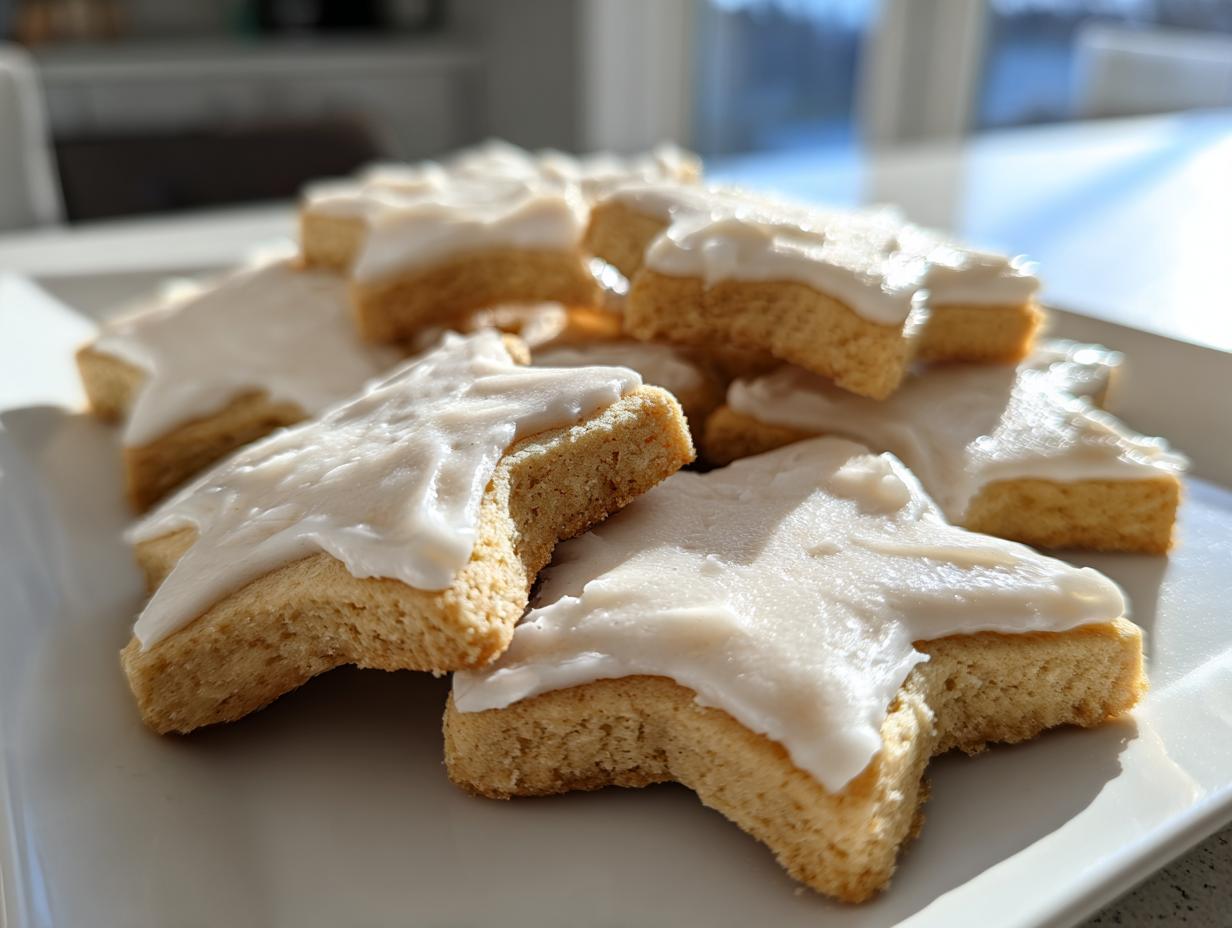
Oh, the holidays! Doesn’t the smell of sugar cookies baking just take you right back to your favorite childhood memory? If you’ve been searching high and low for that perfect batch of vegan sugar cookies—the kind that are delightfully soft and chewy, yet tough enough to survive a trip through the cookie cutter carnival—well, friend, stop searching! This is it. Here at CravyBite Kitchen, my philosophy, honed by years in the kitchen and a background in nutrition, is that baking should be joyful, not stressful.
We baked batch after batch to nail this structure, and I promise you, these hold their shape beautifully without baking up hard as rocks. We ditched the eggs and dairy, but kept all the buttery flavor and that perfect sliceable texture. If you love that melt-in-your-mouth quality, you might also want to check out my recipe for whipped shortbread cookies, because that tenderness is what we aim for!
Trust me, Jess Carter has done the kitchen science so you don’t have to fuss. These are reliable, comforting, and exactly what you need for your next big decorating session.
- Why These are the Ultimate Vegan Sugar Cookies (Texture & Stability)
- Gathering Ingredients for Perfect Vegan Sugar Cookies
- How to Make Vegan Sugar Cookies Step-by-Step
- The Perfect Vegan Sugar Cookie Icing Recipe
- Decorating Your Vegan Sugar Cookies for Any Occasion
- Storage and Reheating Tips for Soft Vegan Cookies
- Troubleshooting Common Issues with Vegan Sugar Cookies
- Frequently Asked Questions About Plant Based Holiday Treats
- Estimated Nutritional Profile for Vegan Sugar Cookies
Why These are the Ultimate Vegan Sugar Cookies (Texture & Stability)
Okay, people, this is the part where I explain why this recipe made the CravyBite banner. Most folks struggle with vegan sugar cookies because they either bake up flat and crispy or they spread like a puddle in the oven. That’s no good when you want shapes for decorating! We solved that problem with a combination of technique and a little bit of pantry magic. These cookies are the real deal—soft, perfectly chewy in the center, and sturdy enough that your little reindeer doesn’t end up looking like a melted puddle after 10 minutes in the heat.
Why risk a batch when you can trust this proven formula? You’ll find these deliver results every single time, just like my favorite soft and chewy classic snickerdoodle recipe!
- They stay soft and cakey, even after cooling completely.
- They don’t spread; your cut-out shapes stay sharp!
- They taste buttery and rich, even without the butter you grew up with.
- They are robust enough to handle heavy icing without cracking.
Achieving Softness in Vegan Sugar Cookies
Softness in a dairy-free cookie comes down to the fat-to-liquid balance. We use high-quality vegan butter sticks—don’t go for the soft tub spreads, they have too much water! The secret weapon here, though, is the cornstarch. It works alongside the flour to keep the cookie tender and slightly dense, absorbing just enough of that plant milk to stop the cookie from drying out. It’s just a tablespoon, but wow, does it make a difference!
Tips for Best Vegan Cut Out Cookies
If you skip chilling, you are signing up for cookie spread, plain and simple. It’s non-negotiable for cut-out cookies! Chilling the dough lets the fats firm up properly, which keeps those edges sharp while they bake. Even if you’re in a rush, give the dough at least two hours. If you’re planning ahead, you can chill it for up to three days—the flavor actually deepens!
Gathering Ingredients for Perfect Vegan Sugar Cookies
Now that you know *why* these turn out so amazing, let’s talk about what you need to grab from the pantry. Baking is all about precision, especially when you’re making **dairy free cookie recipes** that need to hold their shape! Don’t substitute wildly here; stick close to what I’ve listed for that perfect soft-yet-sturdy result. I know you want to use what you have, but these specific ratios are what gets us that ultimate texture.
Here is exactly what you need to gather before we even think about turning on the mixer. If you’re looking for other great savory applications for butter one day, be sure to check out my recipe for easy homemade garlic butter recipe!
- 1 cup vegan butter, softened
- 1 cup granulated sugar
- 1/4 cup unsweetened plant milk (soy or oat work well)
- 1 tablespoon cornstarch
- 2 teaspoons vanilla extract
- 1/2 teaspoon almond extract
- 3 1/2 cups all-purpose flour, plus more for dusting
- 1 teaspoon baking powder
- 1/2 teaspoon salt
Ingredient Notes and Substitution Guidance
Listen closely on the butter! For the absolute best results in texture and flavor, you really need to use high-quality, firm vegan butter sticks. Please, please avoid the soft, tub-style margarine spreads; they have too much water content, and that will cause your cookies to spread way too much, especially when you’re trying to make cut-outs. That’s where the structure comes from!
As for the liquid, I called for unsweetened plant milk. I generally stick to oat or soy milk because they have a little more body than almond milk. If you only have almond, it will work, but watch the dough closely—you might need a tiny bit less liquid overall. Also, the almond extract is totally optional, but honestly, it just elevates that classic vanilla flavor, so I highly recommend keeping it in there for those lovely, bright notes!
How to Make Vegan Sugar Cookies Step-by-Step
Alright, let’s get baking! This part is straightforward, but I put a lot of care into these steps because technique truly matters when you’re making vegan sugar cookies that need to be both soft *and* hold their shape. Remember, perfection comes from following the process, so don’t rush!
We’ll use the ingredients you just gathered. If you’re feeling ambitious after these, you can always try topping them with a decadent drizzle from my easy homemade chocolate syrup recipe, but for now, focus on that perfect dough.
- In a large bowl, cream together the softened vegan butter and granulated sugar until light and fluffy. This step is important for texture.
- Beat in the plant milk, cornstarch, vanilla extract, and almond extract until just combined.
- In a separate medium bowl, whisk together the flour, baking powder, and salt.
- Gradually add the dry ingredients to the wet ingredients, mixing on low speed until a soft dough forms. Do not overmix.
- Divide the dough in half, flatten each half into a disk, wrap tightly in plastic wrap, and chill in the refrigerator for at least 2 hours. Chilling helps the cookies hold their shape.
- Preheat your oven to 350°F (175°C). Line baking sheets with parchment paper.
- On a lightly floured surface, roll out one disk of dough to about 1/4 inch thickness. Use cookie cutters to cut out your desired shapes.
- Carefully transfer the cut-out cookies to the prepared baking sheets. Reroll scraps as needed.
- Bake for 8 to 10 minutes. For soft cookies, aim for the edges to be lightly golden but the centers still look slightly pale.
- Let the cookies cool on the baking sheet for 5 minutes before moving them to a wire rack to cool completely before decorating.
Mixing the Dough for Superior Vegan Sugar Cookies
Step one is everything: creaming the vegan butter and sugar. When I say “light and fluffy,” I mean it! You need to beat this mixture until it’s visibly lighter in color, almost pale yellow, and it holds soft peaks when you lift the spoon. This process whips air into the fats, which is how we get that wonderfully soft, chewy result later on. If you stop too soon, your cookies will be dense and heavy.
But be warned about Step 4! Once those dry ingredients hit the bowl, you switch to slow speed and stop mixing the second you see no more dry streaks of flour. Overmixing develops gluten in the flour, which is the exact enemy of soft cookies. Tough cookies are sad cookies, and we don’t make sad cookies here!
Chilling and Rolling Out the Dough
I cannot stress this enough: you *must* chill this dough for a minimum of two hours (Step 5). This isn’t just baking folklore; it’s essential science for cut-out cookies. Cold fat contracts, which means when those cut-outs hit the hot oven, they hold their shape instead of melting outwards.
When you roll them out, if your dough starts feeling tacky or sticking to your counter, dust *very* lightly with flour. A common mistake is adding too much flour here, which leads us right back to hard, dry cookies. If you find it’s getting soft while you’re cutting, slide the whole cookie sheet into the freezer for about ten minutes before you pop it into the preheated oven. That final blast of cold is your insurance policy for sharp edges!
The Perfect Vegan Sugar Cookie Icing Recipe
Look, a plain sugar cookie is great, but it’s practically begging for some colorful flair, right? Since we’ve spent all this time perfecting the best vegan cut out cookies, we absolutely can’t settle for a messy or dull topping. This is where our dedicated vegan sugar cookie icing recipe comes into play. I’m giving you instructions for a gorgeous, sturdy vegan royal icing that dries smooth—perfect for getting those clean lines for decorating—but don’t worry, I’ll include a quicker, softer buttercream option underneath if you’re in a real hurry!
This royal icing recipe is the one I trust when I need cookies to stack up nicely or travel well. If you want to learn more about getting that perfect, smooth finish that sets hard and doesn’t bleed, make sure you bookmark my guide on cookie icing recipes that harden smoothly!
Sturdy Vegan Royal Icing for Sharp Edges
Royal icing might sound fancy, but honestly, it’s dead simple when you skip the raw egg whites. We use meringue powder here—it’s safe, reliable, and gives that necessary structure.
To make about 2 cups of piping consistency icing, you’ll need:
- 3 cups powdered sugar, sifted meticulously (don’t skip sifting!)
- 3 tablespoons meringue powder
- 6 to 8 tablespoons warm water, added slowly
You just whisk the powdered sugar and meringue powder together first. Then, add 6 tablespoons of warm water and mix on low until you get a thick paste. If it seems too stiff for piping, add water *one teaspoon* at a time until it creates soft peaks. For detailed line work, you want it quite thick. For flooding the centers of the cookies, thin it out slightly more until it flows nicely off the whisk.
Quick Vegan Vanilla Buttercream Alternative
If you are whipping these up last minute and just want a soft, fluffy topping that never needs to harden (hello, Lofthouse style!), this simple buttercream is your best friend. It’s incredibly easy and lets you use vegan shortening alongside your vegan butter for structure.
Here’s the quick version:
- 1/2 cup softened vegan butter
- 1/2 cup vegetable shortening (the solid kind)
- 3 cups powdered sugar
- 1 teaspoon vanilla extract
- 1-2 tablespoons plant milk
Cream the butter and shortening together until fluffy. Gradually add the sugar, then the vanilla and milk until it’s light and spreadable. This frosting will stay soft, so if you stack cookies frosted this way, you need parchment paper between layers!
Decorating Your Vegan Sugar Cookies for Any Occasion
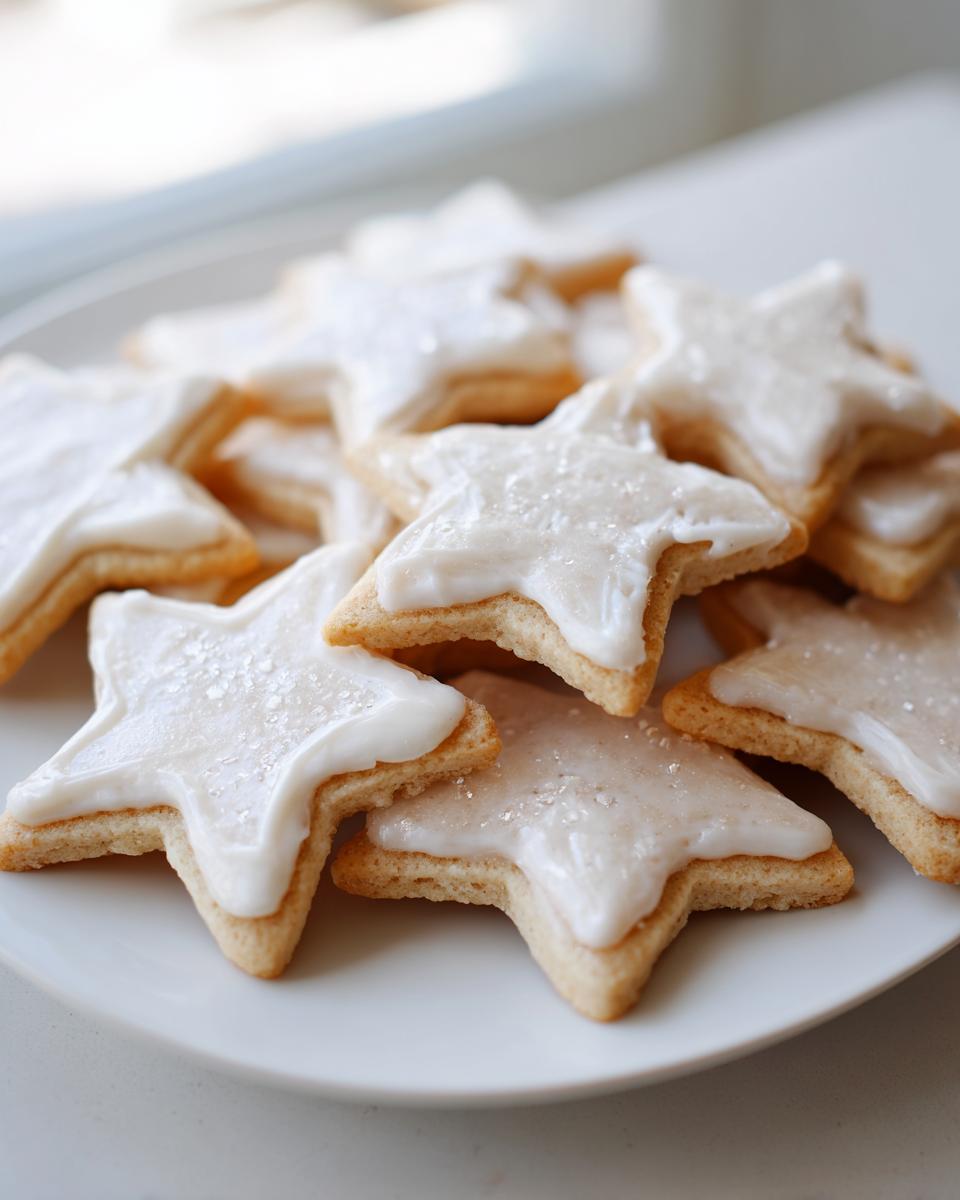
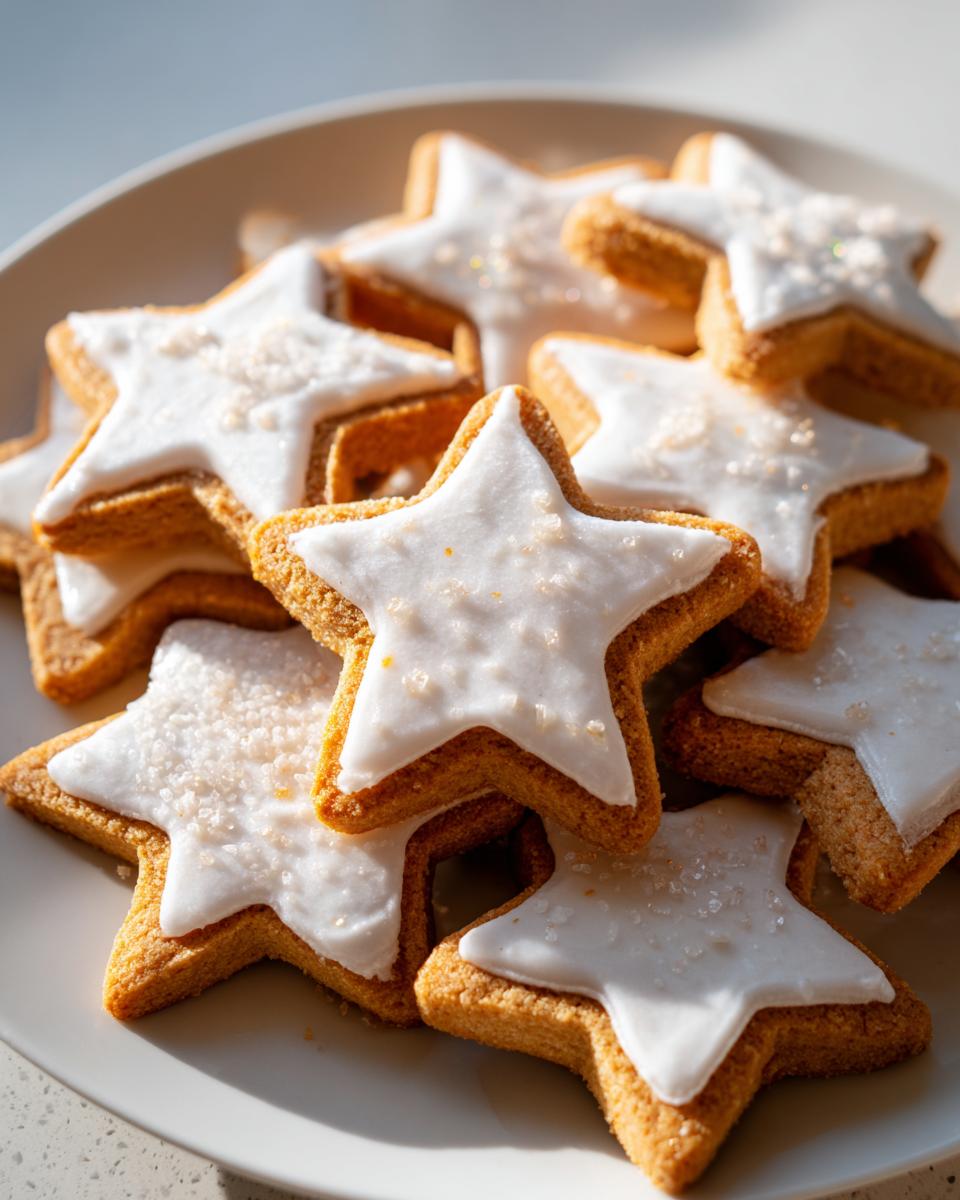
Having baked up a batch of sturdy, soft vegan sugar cookies means the fun part is finally here! Because we took the time to chill that dough and use the right amount of fat, these bases are ready for anything—from delicate piping to thick, fluffy frosting. Seriously, seeing those perfect, sharp-edged stars and trees come out decorated is the best feeling, especially when you’re making beautiful egg free holiday cookies that everyone at the party can enjoy.
If you’re aiming for that crisp, smooth finish like you sometimes see online, you’ll want to use the royal icing recipe I gave you above. If all you want is a soft, pillow-top look, use that buttercream alternative and don’t worry about letting it set up. No matter which way you go, remember to make sure those cookies are completely, 100% cool before you start icing, or you’ll just end up with a delicious, colorful mess!
For really vibrant colors, especially for Christmas, I stick to gel food coloring; liquid drops just don’t pack the punch needed on a light cookie. You can also use sprinkles liberally—the royal icing acts like glue to hold every nonpareil in place! If you’re looking for a sweet, slightly tart filling idea instead of hard icing for some of them, check out my easy raspberry jam no-pectin recipe; it pairs beautifully with the vanilla base.
And hey, if you’re looking for more fantastic vegan treats, I highly recommend checking out what Kaylie is doing over at Purely Kaylie for more inspiration on how to decorate these things!
Storage and Reheating Tips for Soft Vegan Cookies
So, you survived the baking, the icing, and the inevitable taste-testing session? Fantastic! Now we need to make sure these gorgeous **soft vegan cookies** actually *stay* soft until you’re ready to serve them—or until that inevitable craving hits tomorrow morning. The good news is that the ingredients we used, especially that touch of cornstarch, help them stay fresh longer than some other dry dairy free cookie recipes.
The key to longevity is cutting off the air, plain and simple. You want an airtight container, and I mean airtight! If you’re stacking them, make sure the icing is fully set, or use parchment paper squares between each layer when putting them in the container. This stops sticking and prevents any moisture from getting trapped around the icing.
If you store them properly at room temperature, they should be perfectly soft and chewy for a solid five days. Seriously, five days! We tested this extensively, because who can resist a holiday cookie stash?
Reviving Cookies That Are Just a Tad Too Firm
Now, let’s talk about the worst-case scenario: a few days pass, and maybe one cookie ended up too close to the edge of the container, and it’s just ever-so-slightly less soft than you remember. Don’t throw it out! That’s the beauty of a quality cookie base; it’s resilient.
If you have a microwave handy, this is a lifesaver. Take just one or two cookies (don’t try to warm up the whole batch at once!) and drizzle the tiniest, I mean *tiny*, bit of water or plant milk right on top. Then, microwave it for about 8 to 10 seconds on medium power. That little bit of steam regenerates the chewiness we worked so hard to bake into them perfectly. It brings them right back to that fresh-from-the-oven texture almost instantly.
Freezing Your Vegan Sugar Cookie Dough
If you aren’t ready to bake right away, you are in luck because these **chewy plant based cookies** freeze like a dream! After you’ve chilled the dough disks (Step 5 in the recipe), you can wrap them super tight in both plastic wrap and then foil. Pop them in the freezer for up to three months.
When you get the craving, just pull out a disk and let it thaw in the fridge overnight, or let it sit on the counter for about an hour until it’s pliable enough to roll out. You might need to knead in an extra tiny dusting of flour. Remember, cold dough is the secret weapon, so even if you thaw it, give it a quick 20-minute chill before you start cutting those shapes!
Troubleshooting Common Issues with Vegan Sugar Cookies
Even with the best recipe in the world, sometimes things get a little wonky in the oven, right? Don’t panic if your first batch doesn’t look exactly like the picture! That’s why I want to walk you through the few common hiccups I see when folks are making vegan sugar cookies. Knowing what went wrong saves you stress next time, and I’m here to troubleshoot with you!
Problem 1: My Cookie Dough Spread Everywhere!
This is the biggest cry for help I get, especially with cut-out cookies. If your shapes looked sharp when you put them in the oven but ended up looking like delicious, flat pancakes, you had one of two issues, or maybe both! First, the dough was too warm. If you skipped the chilling step, or if your kitchen is just naturally hot, the vegan butter melted too fast. You have to let the fat solidify!
Second, maybe you added too much liquid or not enough flour overall. Remember Step 4 in the instructions? We warned against overmixing, but if you needed to add more flour later just to bring the dough together, that’s fine—just be mindful that you need to chill *that* new dough too. If they spread, try chilling the dough scraps right on the counter while you cut the first batch!
Problem 2: My Cookies Came Out Hard and Crumbly
Ugh, the dreaded hard cookie. This usually signals one of two things, and neither one involves the recipe being incorrect, I promise! Most often, it means you baked them too long. For that signature soft and chewy texture we are chasing in these dairy free cookie recipes, you need to pull them out when they look *slightly* underdone in the very center. Look for just a hint of pale color, not deep golden brown around the edges.
The other culprit is overmixing after the flour went in—that develops gluten and makes them tough. The moment the flour disappears, stop the mixer! If you suspect you accidentally baked them too long, don’t worry; just zap them in the microwave with that tiny splash of milk like I mentioned before, and they’ll be chewy again in seconds!
Problem 3: The Dough Crumbles When I Try to Roll It Out
This is the opposite problem, and it usually means the dough is too cold or too dry. If you pulled that disk right out of the fridge and tried to roll it immediately, it’s going to crack and crumble on you. We need that pliable, soft consistency.
If you let it sit on the counter for 15 minutes and it’s *still* fighting you, that means you might have accidentally used slightly less liquid, or maybe your vegan butter was rock hard when you started. The fix? Don’t add more liquid; that ruins the cut-out factor. Instead, take the crumbled dough balls and knead them gently with your warm hands for about 30 seconds, or just let the dough sit on the counter for another 10 minutes. Warm hands are great for kneading out the cold spots without adding excess flour!
Frequently Asked Questions About Plant Based Holiday Treats
I know you probably have a few lingering questions—it’s hard to switch up classic recipes, even when diving into delicious plant based holiday treats! Baking questions are always popping up, so I compiled a few of the most common ones I get about these perfect vegan sugar cookies. Hopefully, this clears everything up so you can get back to decorating!
Are these cookies soft like Lofthouse cookies, or are they strictly cut-out cookies?
That’s a fantastic question, because nobody wants a brittle cookie! The beauty of this particular recipe is that it does both, which is why I call it the ultimate formula. If you bake them for the full 10 minutes, aiming for those edges to just barely turn golden while the center looks slightly pale (as outlined in Step 9), you get a cookie that is wonderfully soft, chewy, and tastes almost like a classic Lofthouse style cookie once you add the frosting.
However, because the dough is sturdy from the chilling process, if you wanted a slightly crisper edge, you could bake them for an extra minute or two. The dough holds its shape so well that it gives you that flexibility that many other soft vegan cookies recipes just don’t have.
Can I really freeze the dough ahead of time?
Absolutely, yes! In fact, if you’re looking for the easiest way to manage a huge batch for the holidays, I encourage you to make this dough in advance. That step where we divide it into disks and chill it? If you just wrap those disks super tight in plastic wrap and foil, they can hang out in the freezer for months. It’s a lifesaver! You get the benefit of a perfectly chilled base without having to dedicate half a day just to chilling time.
When you’re ready to bake, just transfer the dough disk to the fridge overnight, or let it sit on the counter for about an hour until it’s soft enough to roll without cracking. Easy peasy!
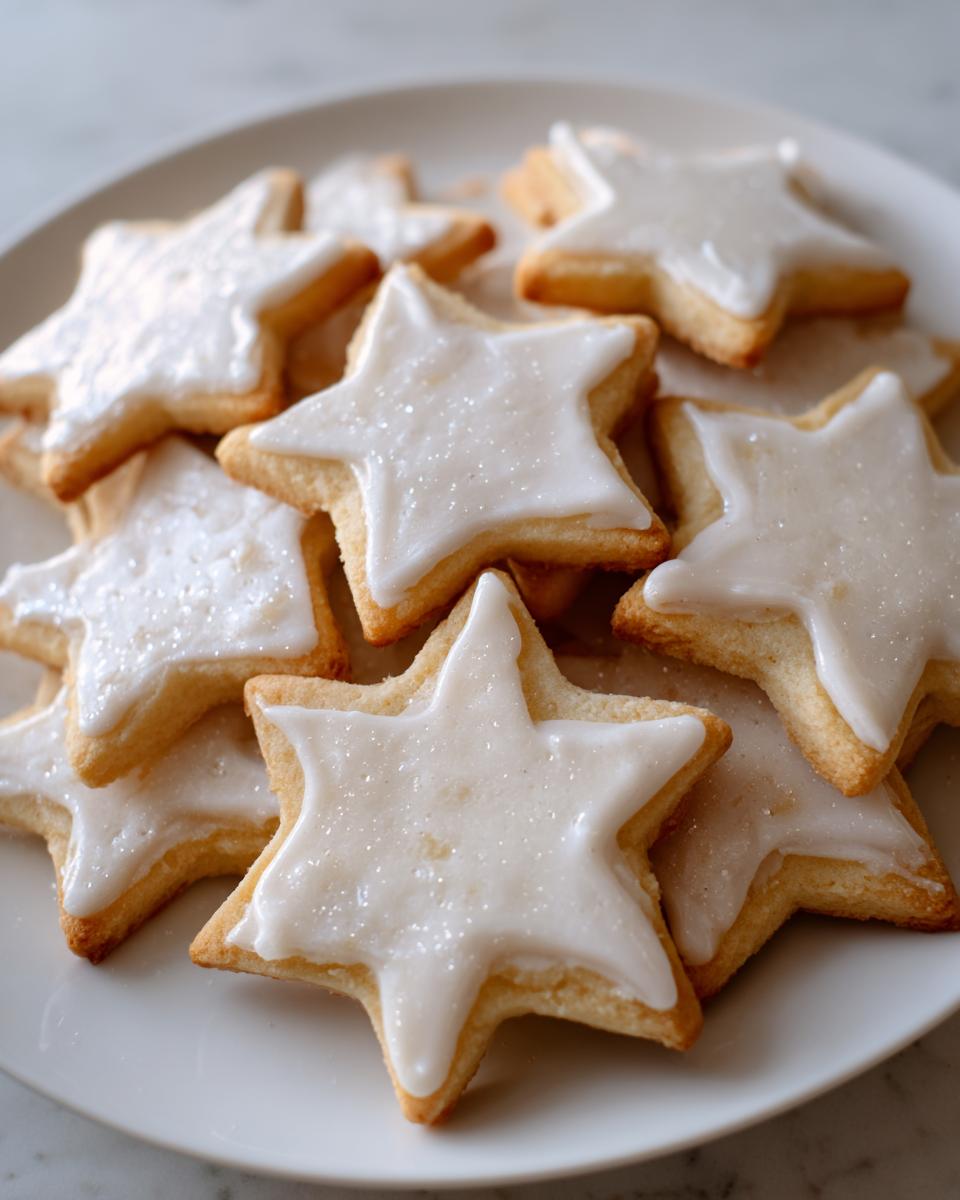
Are these considered the best vegan Christmas cookies?
Well, I might be biased, but I truly think they are! When people look for **best vegan Christmas cookies**, they want reliability and flavor that appeals to absolutely everyone—vegan or not. These deliver on both. They have that classic, slightly almond-and-vanilla flavor profile that screams classic holiday baking, and because they hold their shape, you can decorate them exactly like the traditional ones.
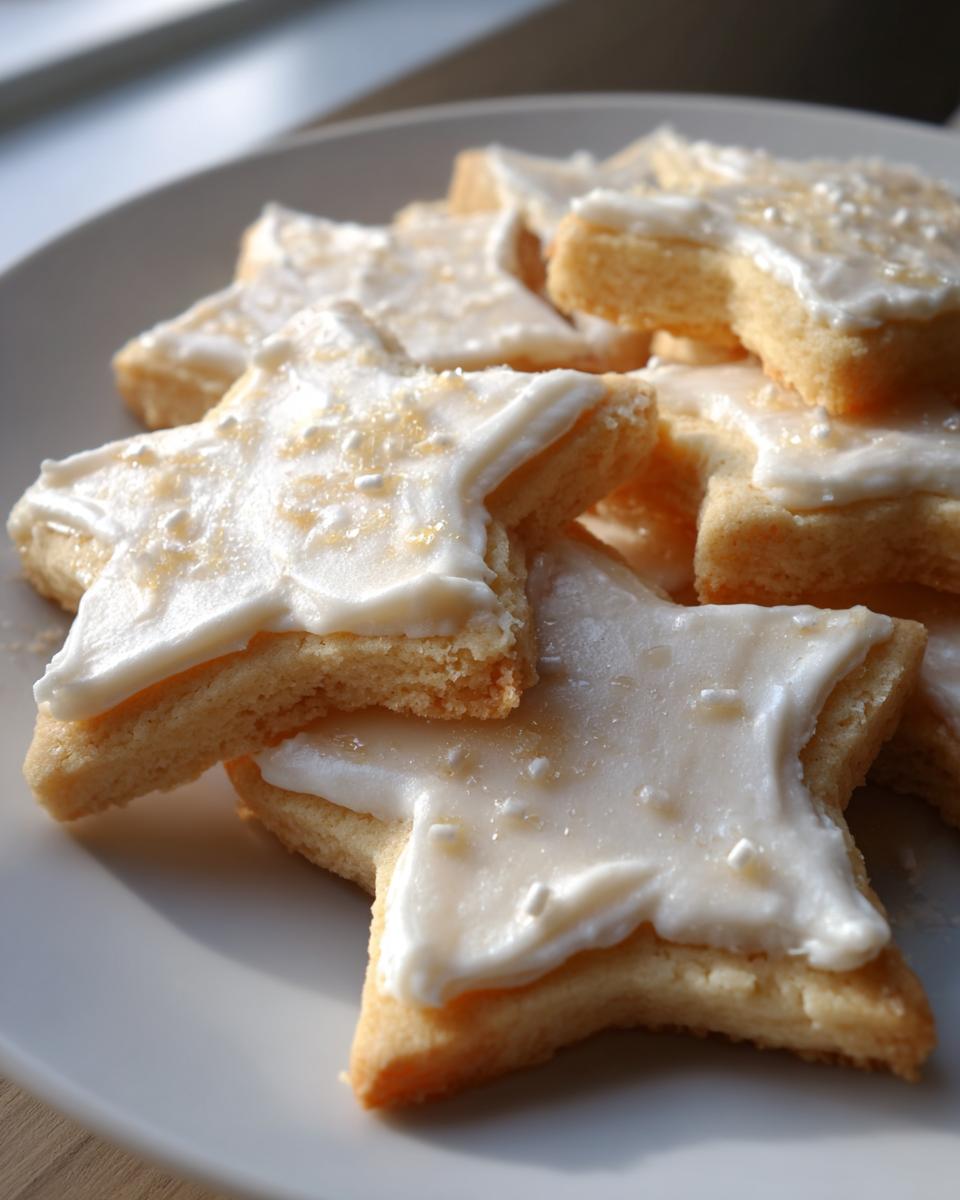
Plus, unlike some drop cookies which can be a little messy to frost, these clean, flat tops are perfect canvases. If you’re ever looking for other great savory recipes for the holidays, you should check out my favorite easy homemade garlic butter recipe; it’s amazing on rolls!
Do I have to use both vanilla and almond extract?
I really, really encourage you to use both if you can swing it! Vanilla is essential, of course, but the almond extract is what gives a classic cut-out cookie that little bit of sharp, bright flavor that cuts through the sweetness of the sugar and the icing. It just makes them taste “bakery-quality.”
If you have an allergy or just detest almond flavor, you can certainly skip it. If you skip it, bump your vanilla extract up to 2 1/2 teaspoons to compensate a bit. But I’m telling you, that half teaspoon of almond extract is the secret handshake for turning a good cookie into a *great* cookie!
Estimated Nutritional Profile for Vegan Sugar Cookies
Okay, listen up! I get asked all the time about the numbers behind the deliciousness, even though I always say the joy of making these **easy vegan dessert ideas** is what truly matters. Because I have that nutrition background from my early days, I wanted to be totally upfront about what you’re looking at when you enjoy one of these cookies. These estimates are based on standard ingredient choices and our yield of 24 cookies, but remember, results can vary based on your specific brand of vegan butter!
Treat this like a general guide, not a strict mandate, especially when we’re talking about homemade baking. Here are the estimated values for one cookie, based on the recipe provided:
- Serving Size: 1 cookie
- Calories: 180
- Sugar: 14g
- Sodium: 110mg
- Fat: 9g
- Saturated Fat: 2g
- Unsaturated Fat: 7g
- Trans Fat: 0g
- Carbohydrates: 24g
- Fiber: 0g
- Protein: 2g
- Cholesterol: 0mg
See? All that richness without any of the animal products! That zero cholesterol is a nice bonus when you’re serving these gorgeous **plant based holiday treats** at a big gathering. Enjoy them guilt-free!
PrintUltimate Soft & Chewy Vegan Sugar Cookies That Hold Their Shape

Make the best vegan sugar cookies that are soft, chewy, and sturdy enough for cutting out shapes and decorating. This recipe uses simple ingredients for reliable results every time.
- Prep Time: 25 min
- Cook Time: 10 min
- Total Time: 155 min
- Yield: 24 cookies 1x
- Category: Dessert
- Method: Baking
- Cuisine: American
- Diet: Vegan
Ingredients
- 1 cup vegan butter, softened
- 1 cup granulated sugar
- 1/4 cup unsweetened plant milk (soy or oat work well)
- 1 tablespoon cornstarch
- 2 teaspoons vanilla extract
- 1/2 teaspoon almond extract
- 3 1/2 cups all-purpose flour, plus more for dusting
- 1 teaspoon baking powder
- 1/2 teaspoon salt
Instructions
- In a large bowl, cream together the softened vegan butter and granulated sugar until light and fluffy. This step is important for texture.
- Beat in the plant milk, cornstarch, vanilla extract, and almond extract until just combined.
- In a separate medium bowl, whisk together the flour, baking powder, and salt.
- Gradually add the dry ingredients to the wet ingredients, mixing on low speed until a soft dough forms. Do not overmix.
- Divide the dough in half, flatten each half into a disk, wrap tightly in plastic wrap, and chill in the refrigerator for at least 2 hours. Chilling helps the cookies hold their shape.
- Preheat your oven to 350°F (175°C). Line baking sheets with parchment paper.
- On a lightly floured surface, roll out one disk of dough to about 1/4 inch thickness. Use cookie cutters to cut out your desired shapes.
- Carefully transfer the cut-out cookies to the prepared baking sheets. Reroll scraps as needed.
- Bake for 8 to 10 minutes. For soft cookies, aim for the edges to be lightly golden but the centers still look slightly pale.
- Let the cookies cool on the baking sheet for 5 minutes before moving them to a wire rack to cool completely before decorating.
Notes
- For the best cut-out results, chill the rolled-out dough on the baking sheet for 10 minutes before baking.
- If you prefer a slightly crisper edge, bake for 11-12 minutes.
- This recipe works well with high-quality vegan butter sticks. Avoid tub-style spreads.
- For decorating, use a simple vegan royal icing or a thick vegan vanilla buttercream.
Nutrition
- Serving Size: 1 cookie
- Calories: 180
- Sugar: 14g
- Sodium: 110mg
- Fat: 9g
- Saturated Fat: 2g
- Unsaturated Fat: 7g
- Trans Fat: 0g
- Carbohydrates: 24g
- Fiber: 0g
- Protein: 2g
- Cholesterol: 0mg