
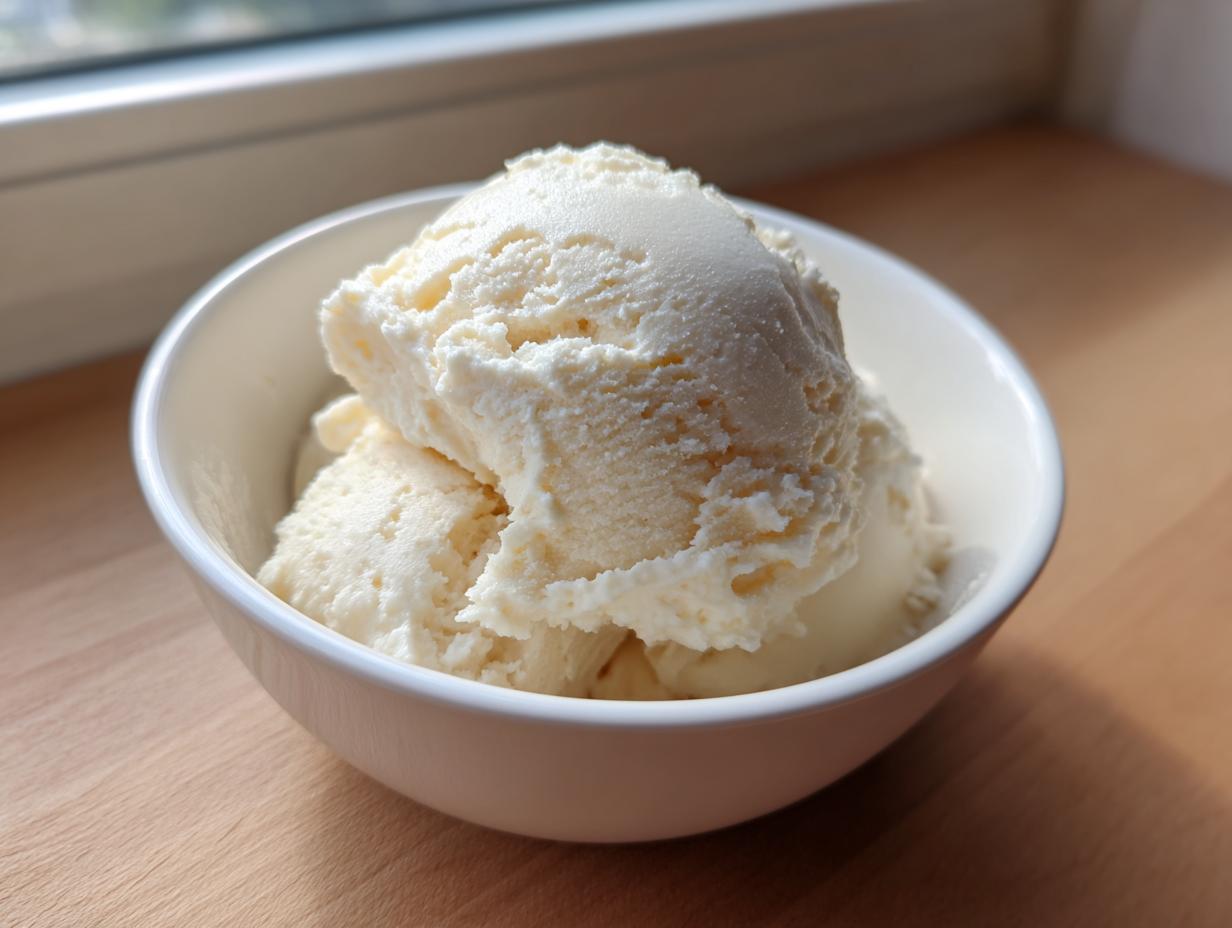
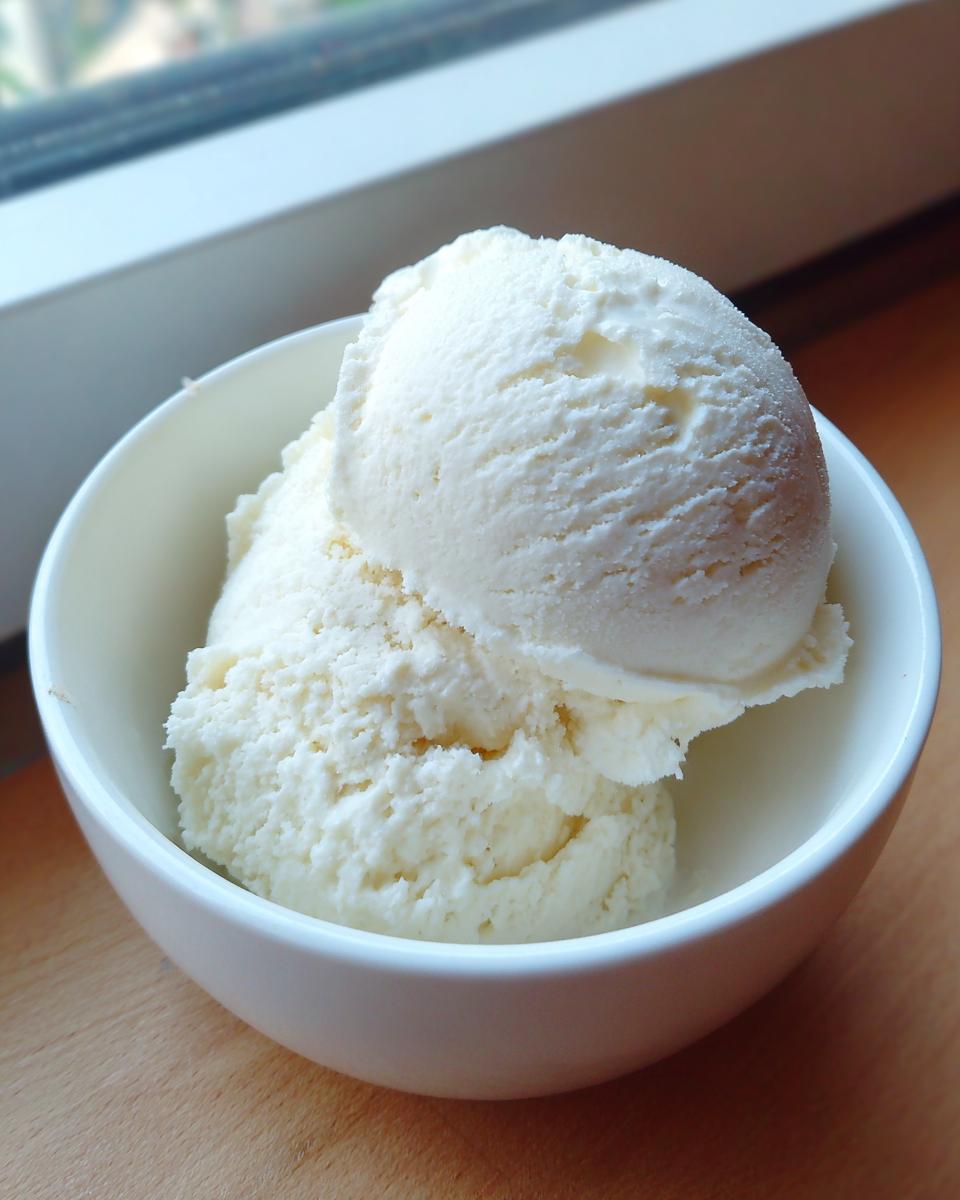
Oh my goodness, are you ready to solve your summer sweet cravings fix in the healthiest way possible? Seriously, this recipe is a game-changer. I’m talking about the viral sensation that swept the internet: unbelievably creamy cottage cheese ice cream, and the best part? You don’t need that big, noisy machine because this is completely no-churn! As someone who loves the traditions of American home cooking but also understands wholesome nutrition because of my background, I can tell you this cottage cheese ice cream is pure magic. It transforms humble dairy into a protein-packed snack that tastes utterly indulgent. You just need your blender and a little patience for freezing!
- Why This Creamy Cottage Cheese Ice Cream is Your New Favorite Healthy Ice Cream Alternative
- Ingredients for the Best No Churn Cottage Cheese Recipe
- Step-by-Step Instructions for Quick Homemade Frozen Dessert
- Tips for the Ultimate Creamy Cottage Cheese Ice Cream
- Flavor Variations for Your Cottage Cheese Ice Cream
- Making Ninja Creami Cottage Cheese Ice Cream
- Storage and Reheating Instructions for Cottage Cheese Ice Cream
- Frequently Asked Questions About Cottage Cheese Ice Cream
- Understanding the Nutrition of This Better For You Dessert
Why This Creamy Cottage Cheese Ice Cream is Your New Favorite Healthy Ice Cream Alternative
Look, I get it. When you try to make a healthier frozen treat, you often end up with something icy or grainy. That’s why I’m so obsessed with this method! It’s my top way to satisfy those big summer sweet cravings fix without feeling guilty afterwards. We’re talking about a genuine high protein frozen dessert that tastes like actual ice cream. I’ve focused my career on helping people eat well, but I never want food to feel like punishment, and this recipe hits that sweet spot perfectly.
Since we aren’t using an ice cream maker, the effort level is seriously low—it’s just a quick blend and freeze. That 18 grams of protein per serving? That’s fantastic when you want a real cottage cheese ice cream that helps keep you full. Honestly, this has become my go-to guilt-free ice cream when I need something creamy after dinner.
Achieving the Perfect Smooth Blended Ice Cream Texture
Now, if you’re worried about getting those little cottage cheese curds—don’t be, because we tackle that head-on! The number one non-negotiable step here is the blending. You need a good, strong blender for this creamy cottage cheese dessert and you must blend until it’s absolutely, 100% silky smooth. Watch carefully as you blend; if you see even the smallest speck that isn’t perfectly incorporated, keep going and scrape down those sides. That intense blending is what unlocks that luscious, soft-serve texture we’re aiming for!
Ingredients for the Best No Churn Cottage Cheese Recipe
This is where the magic starts, and honestly, it couldn’t be simpler. If you’re looking for an easy 4 ingredient ice cream that delivers huge flavor and protein, you’ve found it. We keep the list tight so you can whip this up anytime that sweet craving hits!
- 2 cups full-fat cottage cheese
- 1/4 cup sweetener (I usually use maple syrup, but use whatever you love!)
- 1 teaspoon vanilla extract
- 1/4 cup heavy cream (this part is optional, but trust me, it makes it extra luxurious)
Ingredient Clarity and Preparation Notes
A couple of little rules from my kitchen to yours so you get that perfect texture every time. First, I really emphasize using **full-fat cottage cheese**. It has the right fat content to keep things creamy when frozen, which is crucial since we aren’t churning this!
For the sweetener, use what fits your plan—whether that’s maple syrup for a richer flavor, monk fruit, or stevia. Measure it out, but remember you can always taste the blended mixture before you freeze it and add a touch more if you like things sweeter. And that heavy cream? If you skip it, you still get great ice cream, but adding it really bumps up the richness and helps prevent it from freezing rock-hard. It’s your secret weapon for an even better creamy cottage cheese dessert.
Step-by-Step Instructions for Quick Homemade Frozen Dessert
Okay, now that we have our ingredients ready, let’s get this whipped up! This is the part that makes it a proper quick homemade frozen dessert, because it takes almost no active time. The goal here is pure, velvet smoothness—we are eliminating those grainy bits forever!
- First things first, get the cottage cheese, your sweetener, and the vanilla extract right into your high-speed blender. Don’t be shy with the blender power here!
- Go ahead and blend this on high. You really need to run it until it looks like thick, smooth pudding. Please stop and scrape down the sides every 30 seconds or so. I can’t stress this enough if you want that smooth blended ice cream! Blend until it looks totally homogenous.
- If you decided to use that optional heavy cream, now is the time to drizzle it in and give it one quick final pulse until it’s just mixed in.
- Pour that beautiful base into a container safe for the freezer. A standard loaf pan works great, or really any airtight container is perfect.
Freezing the Cottage Cheese Ice Cream Base
This is where patience comes in, but don’t worry, you don’t have to stir it! Once it’s in the pan, cover it up really well. The best trick to stop those pesky ice crystals from forming on top is to press a sheet of plastic wrap right down onto the surface of the mixture before you put the lid on the container. That traps any air out. Then, stick it in the freezer for a minimum of four to six hours. Overnight is even better!
Perfecting the Scoop: Softening Your Cottage Cheese Ice Cream
When you pull this amazing creamy cottage cheese dessert out of the deep freeze, it’s going to be pretty firm, maybe even too firm for a regular scoop. That’s okay! Resist the urge to microwave it! Leave it sitting right out on your counter for about five to ten minutes. This short resting time is what lets the fats and sugars soften just enough so you can glide a spoon right through it for that perfect, pliable texture.
Tips for the Ultimate Creamy Cottage Cheese Ice Cream
Now that you know the base recipe, I want to share a few expert little nudges that really elevate this from good to unbelievably good. Remember how I told you blending is key? That’s the central blender ice cream hack for getting rid of any graininess. Don’t just blend until it looks combined; blend until it truly looks like thick, luxurious melted yogurt. If you can see the texture of the cottage cheese at all, you need to keep blending!
Also, if you happen to have a Ninja Creami machine parked on your counter, this base recipe is perfect for it. You just pour the mixture into the outer cup and hit the ‘Lite Ice Cream’ setting. It might need a re-spin afterward, but that machine handles the churning part so you don’t have to worry about ice crystals at all!
And just a quick reminder about richness—if you’re trying to keep this a super low calorie frozen treat and skip the cream, I highly recommend adding an extra half-teaspoon of vanilla or even a tiny splash of almond extract. It boosts the perceived richness so you don’t feel like anything is missing!
Flavor Variations for Your Cottage Cheese Ice Cream
The best thing about this base recipe is just how versatile it is! You’ve got your smooth, high-protein foundation, and now you can totally tailor it to fix any of your summer sweet cravings fix. You don’t need a different recipe for every flavor, which saves me so much time in the kitchen!
For fruit flavors, like strawberry or blueberry, you want to add your fruit puree right after you’ve blended the base itself. If you’re doing strawberries, take about a cup of fresh or frozen berries, blend them separately until they are just liquid, then pour that into your perfectly smooth cottage cheese mixture and give it one quick final pulse—don’t overmix, you want some streaks!
If you’re going chocolate, use about 1/4 cup of good quality unsweetened cocoa powder added right into the blender with the cottage cheese. For richness, sometimes I add a *tiny* pinch of instant coffee powder—it doesn’t make it taste like coffee, it just deepens the chocolate flavor. You can find a delicious variation using peanut butter over at this resource, but generally, you can blend in 2 tablespoons of smooth peanut butter during the final mix.
And if you loved my hint about chocolate, check out how I use chocolate chips in some of my other baked goods! For this ice cream, just fold in about half a cup of mini chocolate chips right at the very end before it hits the freezer. Keep it simple, keep it delicious!
Making Ninja Creami Cottage Cheese Ice Cream
Okay, so maybe you’ve got the amazing Ninja Creami sitting on your counter, and you want to use it because frankly, who loves waiting six hours when you can have instant results?
The great news is that this recipe is already perfectly set up for the Creami, making it an incredibly fast path to that Ninja Creami cottage cheese scoop. The crucial difference here is how we freeze it. Since the machine needs to process a completely solid block, we skip spreading it thin in a loaf pan.
Instead, once you’ve finished blending (remember, super smooth is key!), pour the mixture straight into the standard Ninja Creami pint container. Pop the lid on firmly, and freeze that base until it is absolutely rock solid. I mean, it needs to be firmly frozen solid—aim for at least 24 hours to be completely safe before spinning it up.
Once frozen, insert the pint into the outer bowl, lock it in, and run it on the ‘Lite Ice Cream’ setting. That setting is usually perfect for this kind of lower-fat, high-protein mix. If it comes out a little powdery or crumbly when you first take it out, don’t panic! That happens sometimes. Just stick the pint back in, pop it on, and use the ‘Re-spin’ function. One re-spin usually turns that block into the creamiest, velvety smooth ice cream you’ve ever had. It’s honestly the best kitchen hack when you need that summer sweet cravings fix *right now*!
Storage and Reheating Instructions for Cottage Cheese Ice Cream
This amazing cottage cheese ice cream is so healthy and delicious that you’ll probably want to make a huge batch, right? Since this is a no-churn recipe, it tends to freeze a bit harder than the stuff you buy in the store that’s full of stabilizers. That’s perfectly fine, but we need to treat it right in the freezer so it stays fresh and scoopable!
The absolute most important thing you can do for storage is keeping air away from it. Air is the enemy of homemade frozen treats because it causes those annoying ice crystals to form. When you put your container away, you must cover the surface directly. I use plastic wrap pressed right onto the top layer—it’s like giving the ice cream a protective hug. After that, seal it up tight with a proper lid.
When you go to pull it out for serving, remember that little resting period I talked about earlier? It’s not optional here, it’s required! Because it freezes solidly, you need to let it sit on the counter for about 8 to 12 minutes, not just 5. This brings the temperature up just enough so that when you press gently on the surface, it yields slightly. If you try to scoop it before this softening time, you might struggle, and that’s when people think their low-calorie frozen treat got ruined!
If for some reason you freeze it for more than two weeks, it might take a touch longer to soften up, but usually, it holds its texture beautifully thanks to the fat content from the full-fat cottage cheese and that optional heavy cream. If you find it got just a *little* too stiff after a month, just give it a quick 30-second dash in the microwave on 10% power—but only 30 seconds! Seriously, watch it closely!
Frequently Asked Questions About Cottage Cheese Ice Cream
I know you probably have a few lingering questions, especially if you’ve never tried blending dairy this way before! It’s natural to be skeptical, but I promise, this technique is foolproof if you follow my blending rules. Here are the things everyone asks me when they first try this amazing protein packed snack.
Will I actually taste the cottage cheese in the final ice cream?
This is the number one question, and I love giving the good news! No, you absolutely won’t taste the cottage cheese straight-up. When you blend it with the vanilla and sweetener on high speed, you completely pulverize those curds into a smooth cream base. The texture changes entirely, and the flavor gets completely overridden by your chosen sweeteners and extracts. It just tastes like rich, creamy frozen dessert!
Can I use low-fat or non-fat cottage cheese instead of full-fat?
Please try to stick with full-fat if you can! Low-fat cottage cheese has more water content, and water turns into hard ice crystals when frozen without an ice cream maker. If you use low-fat, you risk ending up with an icy texture, which defeats the whole purpose of this creamy treat. For the best low calorie frozen treat that still tastes rich, full-fat is the way to go because the fat helps keep it soft.
How long does this homemade ice cream last in the freezer?
Because this recipe doesn’t have the commercial stabilizers, it’s best enjoyed within the first week or two for peak texture. When stored airtight, it lasts fine for a few weeks, but remember what I said—it freezes quite hard! Make sure you allow ample time for softening on the counter before you try to scoop it. You can find great ideas for making smaller batches of protein packed snack balls if you worry about having too much.
Is this recipe seriously healthier than regular ice cream?
Yes, by a landslide! Traditional ice cream relies heavily on heavy cream and sugar for flavor and texture. We are swapping most of that cream for cottage cheese, which drives up the protein content through the roof while dramatically lowering the overall calories and sugar, depending on your sweetener choice. This recipe is designed to be a better-for-you dessert option without sacrificing that dreamy texture you find at the big man’s world!
Understanding the Nutrition of This Better For You Dessert
I always get asked about the macros when I share this recipe, and that’s because this cottage cheese ice cream really walks the line between a satisfying dessert and something that actually supports your wellness goals. It’s one of the reasons I love combining my nutrition knowledge with old-school home cooking!
Now, I have to give you a little disclaimer here, just like I would in nutrition consulting. These numbers are estimates based on the core recipe—using full-fat cottage cheese and maple syrup. If you swap to erythritol or skip the optional heavy cream, these numbers will shift, potentially dropping the calories and sugar significantly. Always adjust based on what you personally add in!
Here’s a look at what you are generally getting per half-cup serving:
- Serving Size: 1/2 cup
- Calories: 180
- Sugar: 8g
- Fat: 9g (5g saturated)
- Carbohydrates: 10g
- Protein: 18g!
See that protein number? That’s why I consider this a fantastic better for you dessert! It’s genuinely satisfying and helps keep those sugar crashes at bay. It proves that enjoying simple, honest ingredients can give you flavor and function without all the fillers you find in commercial frozen scoops. It’s proof that good food made at home can absolutely fuel your body!
PrintViral High-Protein Cottage Cheese Ice Cream (No-Churn & Creamy)
Make the viral sensation: unbelievably creamy cottage cheese ice cream right in your blender. This easy, no-churn recipe is a fantastic high-protein frozen dessert alternative that tastes indulgent but keeps it light. Achieve that dreamy soft-serve texture with just four simple ingredients.
- Prep Time: 10 min
- Cook Time: 0 min
- Total Time: 6 hours 10 min
- Yield: 4 servings 1x
- Category: Dessert
- Method: No-Churn/Freezing
- Cuisine: American
- Diet: Vegetarian
Ingredients
- 2 cups full-fat cottage cheese
- 1/4 cup sweetener (like maple syrup or preferred substitute)
- 1 teaspoon vanilla extract
- 1/4 cup heavy cream (optional, for extra creaminess)
Instructions
- Place the cottage cheese, sweetener, and vanilla extract into a high-speed blender.
- Blend on high speed until the mixture is completely smooth and no curds remain. This step is key for a creamy result. Scrape down the sides as needed.
- If using, blend in the heavy cream now until just combined.
- Pour the mixture into a freezer-safe container, like a loaf pan or airtight container.
- Cover the container tightly with a lid or plastic wrap pressed directly onto the surface of the mixture.
- Freeze for at least 4 to 6 hours, or until firm enough to scoop.
- Before serving, let the ice cream sit on the counter for 5 to 10 minutes to soften slightly for easier scooping.
Notes
- For the smoothest texture, use a high-powered blender and blend the cottage cheese until it resembles a thick, smooth cream before adding other ingredients.
- If you own a Ninja Creami, process the frozen base on the ‘Lite Ice Cream’ setting, then re-spin if necessary for a softer texture.
- Substitute the sweetener with your preferred low-carb option to make this a low-calorie frozen treat.
Nutrition
- Serving Size: 1/2 cup
- Calories: 180
- Sugar: 8
- Sodium: 350
- Fat: 9
- Saturated Fat: 5
- Unsaturated Fat: 4
- Trans Fat: 0
- Carbohydrates: 10
- Fiber: 0
- Protein: 18
- Cholesterol: 30