
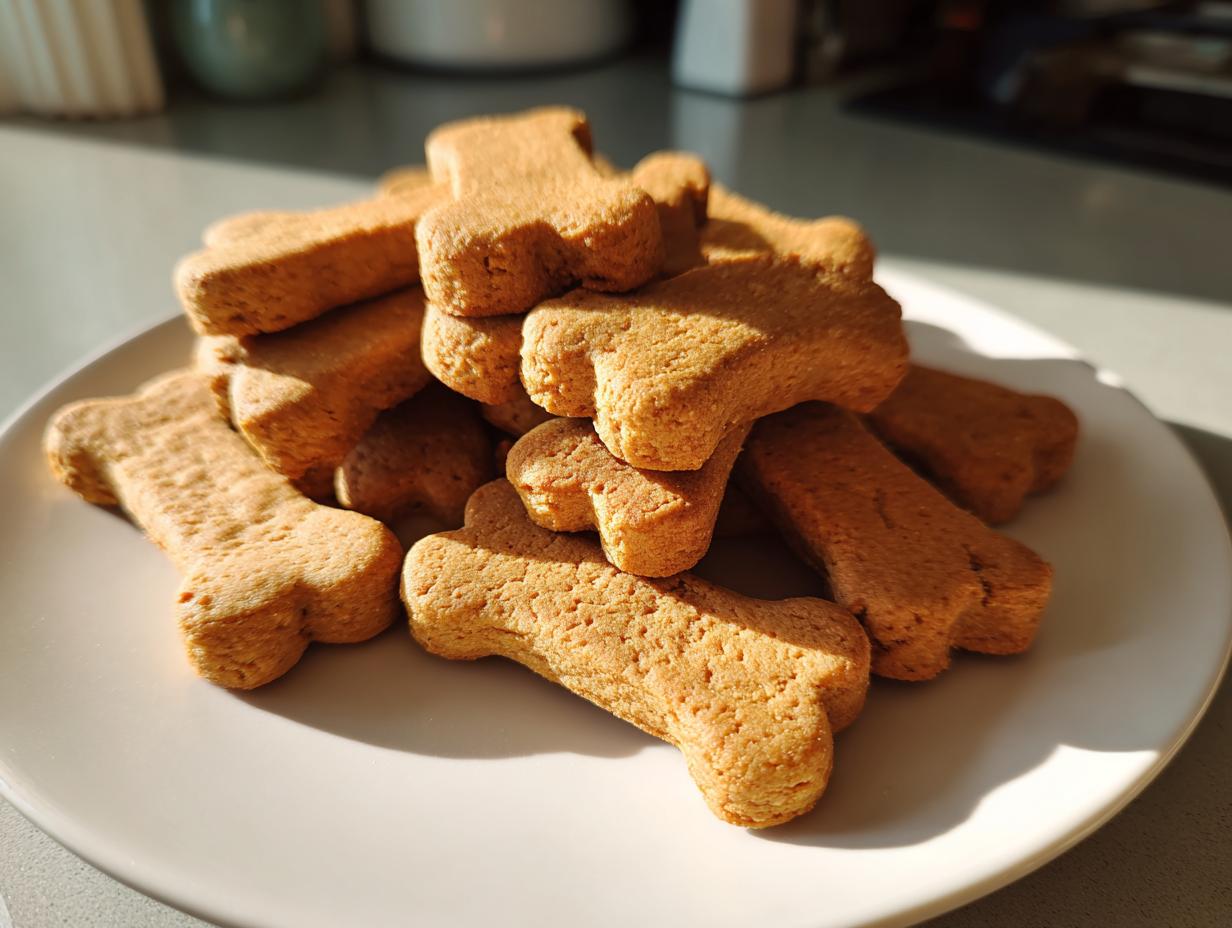
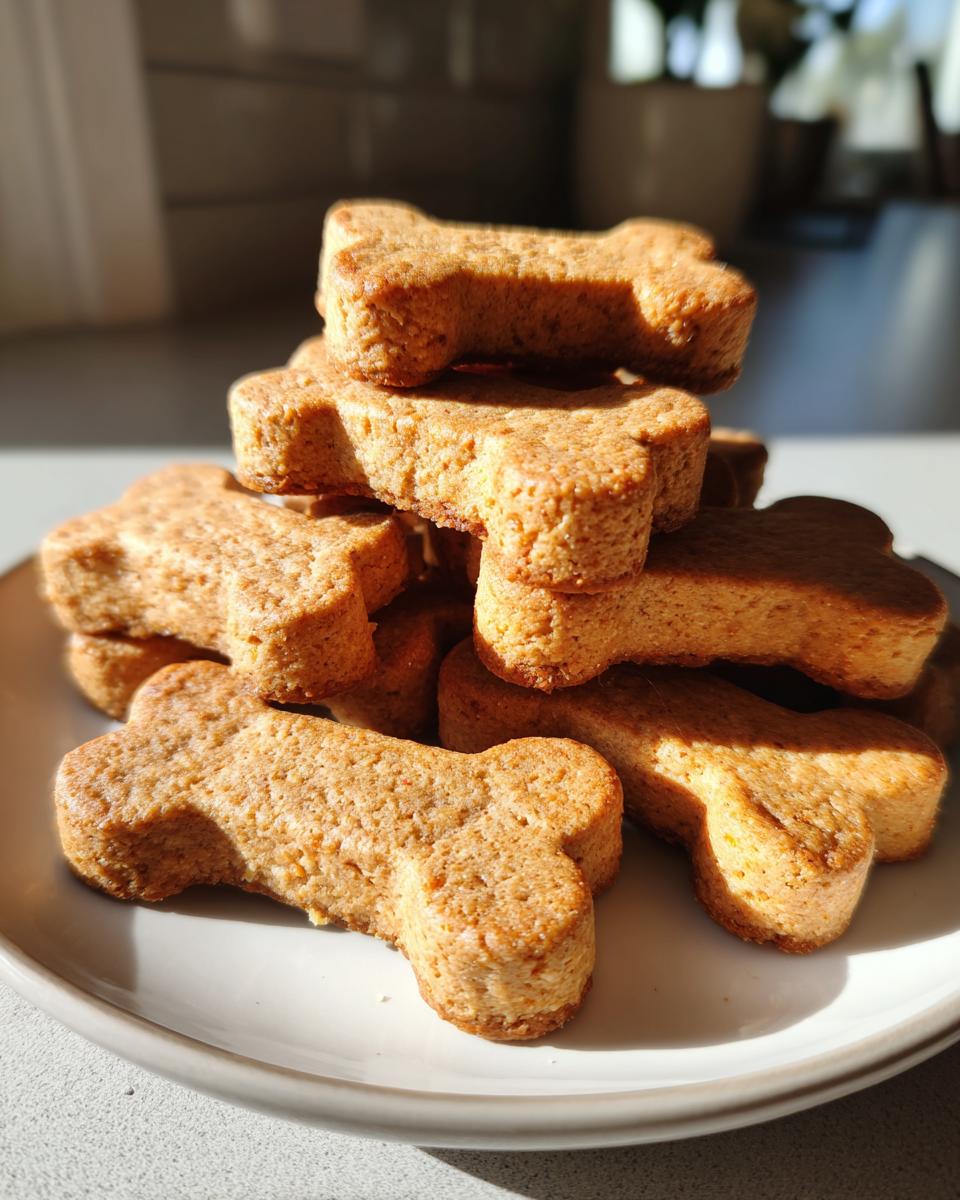
There is nothing quite like seeing the sheer joy on your dog’s face when you offer them a special treat. Seriously, those happy dances are the best! Here at CravyBite Kitchen, I know we want the very best, most wholesome things for our furry family members. That’s why I’m so excited to share my go-to recipe for simple, irresistible **dog cookies** made right in your own kitchen. Since I combine my family’s love of home baking with my background in nutrition, you can trust that these peanut butter treats are made with honest ingredients. Forget those mystery store-bought snacks; getting started is easier than you think!
- Why These Peanut Butter Dog Treats Are the Best Homemade Dog Treats
- Essential Ingredients for Wholesome Dog Cookies
- Step-by-Step Guide to Baking Perfect Dog Cookies
- Tips for Success When Making Dog Cookies
- Variations on Peanut Butter Dog Treats
- Storage and Shelf Life for Homemade Dog Treats
- Ingredient Safety: What to Avoid in Dog Cookies
- Frequently Asked Questions About Dog Cookies
- Serving Suggestions and Portion Control for Dog Cookies
Why These Peanut Butter Dog Treats Are the Best Homemade Dog Treats
When I started sneaking ingredients from my own baking shelf to spoil my dog, Buster, I quickly realized that homemade treats just hit differently. You control everything that goes into them! These **peanut butter dog treats** aren’t just tasty; they are designed for reliability and health.
Making your own healthy dog biscuits recipe means you skip the fillers and preservatives found everywhere else. Plus, these are absolutely perfect for rewarding good behavior. Here’s why I keep coming back to this simple dough:
- They use only recognizable, pet-safe ingredients—nothing weird!
- The prep work is unbelievably fast—seriously, less than 15 minutes of effort.
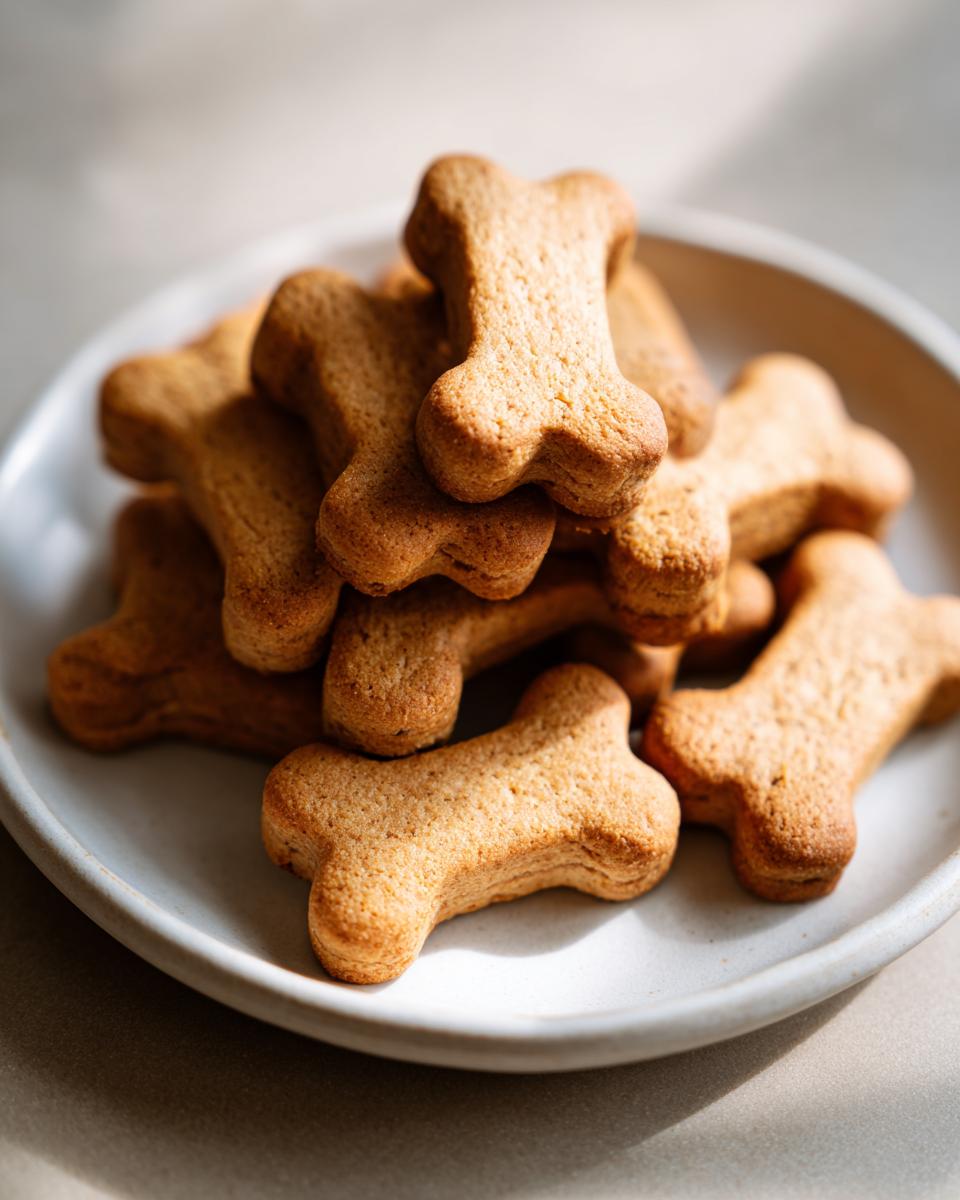
- The final texture is exactly what dogs love: crisp enough to feel satisfying, but not rock-hard.
- They are the best homemade dog training treats because dogs go crazy for the flavor!
Essential Ingredients for Wholesome Dog Cookies
Okay, let’s get straight to the good stuff. When you’re baking for your best friend, you need ingredients you can trust 100 percent. This list is short, simple, and uses pantry staples, which makes whipping up a batch of these **homemade dog treats** totally doable any afternoon.
You’ll need everything listed below, but I have to stress one vital point before you even open the peanut butter jar to ensure these are safe dog snacks for your pup.
- 2 1/2 cups whole wheat flour
- 1 teaspoon baking soda
- 1/2 teaspoon salt
- 1 cup water
- 1/2 cup unsalted peanut butter
- 1 large egg
Ingredient Clarity and Preparation Notes
Listen closely: the peanut butter absolutely *must* be xylitol-free. Xylitol, a sugar substitute, is incredibly toxic to dogs, so double-check that label! If you’re making grain free dog cookies, you can swap the whole wheat flour for oat flour, but just know the final texture will be a little softer. And yes, one standard large egg is all you need for binding here!
Step-by-Step Guide to Baking Perfect Dog Cookies
Now for the fun part—turning those simple ingredients into fantastic **healthy dog biscuits recipe** delights! Getting the timing and mixing right is what separates an okay treat from a spectacular one your dog will beg for. Don’t stress, though; this process is super straightforward. We need to get the oven warmed up first, and remember, we’re aiming for that satisfying crunch later, so prep is key!
First things first: Crank that oven up to 350 degrees Fahrenheit! While it’s heating, line two baking sheets with parchment paper. Trust me on the parchment paper; it saves you so much scraping time later. You’ll be mixing the dry stuff in one bowl and the wet in another before bringing them together for that perfect dough consistency. It’s almost as methodical as starting a good sourdough starter!
Mixing the Dough for Your Dog Cookies
Start by whisking all your dry ingredients—the flour, baking soda, and salt—in your largest bowl. In a separate, smaller bowl, get the wet stuff combined: water, that great peanut butter, and the egg. Once those are nicely partnered up, slowly introduce the wet mixture into the dry. Keep mixing until you have a really stiff dough that you can actually handle. It shouldn’t be sticky at all!
Cutting and Baking These Healthy Dog Biscuits Recipe
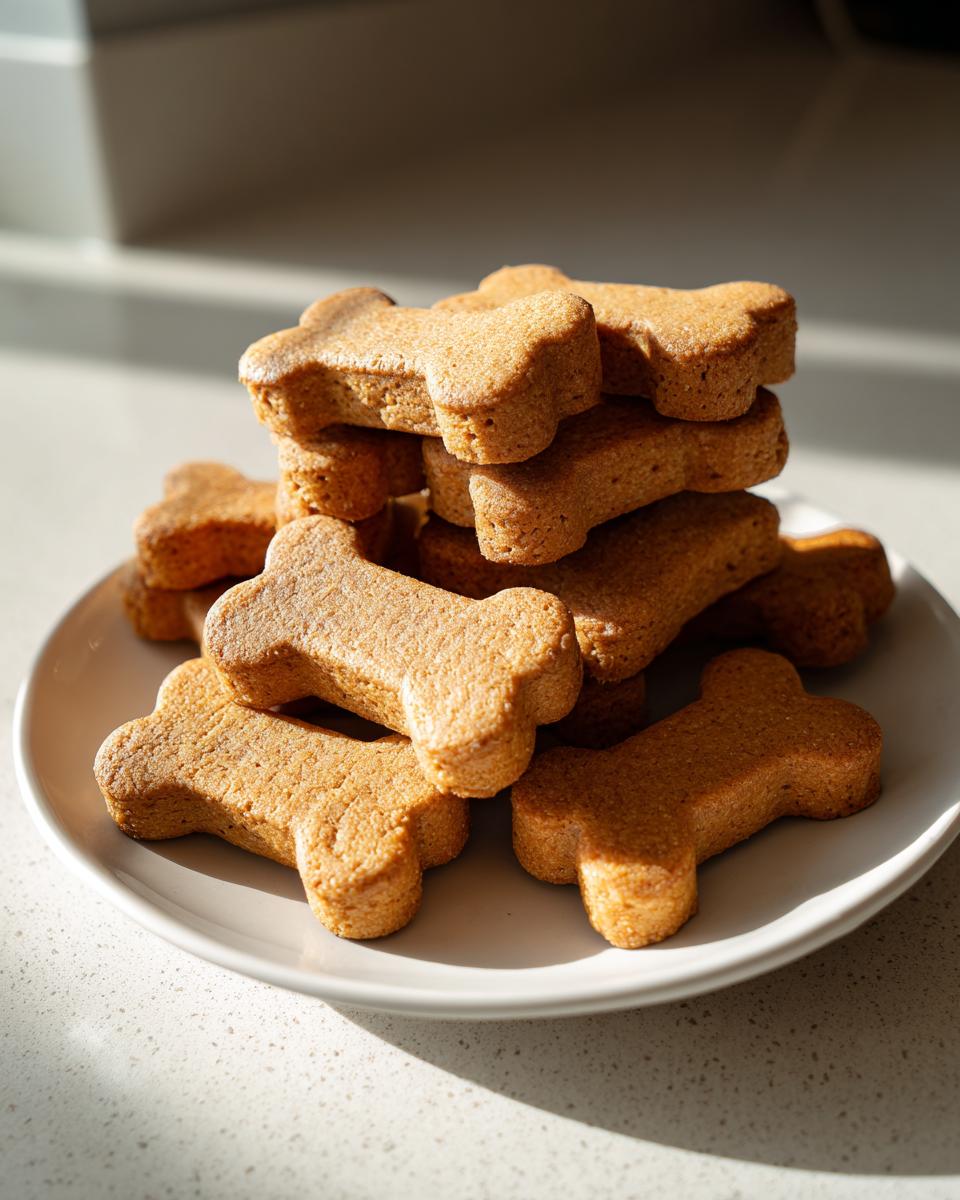
Once your stiff dough is ready, dust your counter lightly with flour because it’s rolling time! We want these rolled out to about 1/4 inch thick—not too thin, or they’ll burn, and not too thick, or they won’t get crispy. Take your favorite dog treat cutter and start punching out shapes! Place them neatly on your prepped sheets.
Bake them for about 15 to 20 minutes until the edges just start looking light golden brown. Here’s my secret trick: turn the oven OFF completely after those 20 minutes are up, and just leave the **dog cookies** inside for another 10 minutes. This little rest in the residual heat dries them out perfectly, which is the key to a long-lasting, crunchy homemade dog treat!
Tips for Success When Making Dog Cookies
Baking for dogs is slightly different than baking for us humans, and there are a few little secrets I learned early on that will make sure your **homemade dog treats** come out perfect every single time. Don’t worry if your first batch seems a little different than mine; adjusting is part of the fun of being your dog’s personal baker!
The most common snag is dough consistency. If your dough feels too sticky after you mix in all the wet ingredients, don’t panic! Just sprinkle in another tablespoon of whole wheat flour at a time until it firms up enough to roll without sticking horribly to your counter. You’re looking for something firm enough that you can handle it comfortably.
If you find your **dog cookies** are coming out softer than you hoped, the baking time or the drying step is usually the culprit. Remember that step where we turn the oven off and leave them inside? That’s critical for getting that fantastic crunch! If you want them extra crunchy, extend that resting time in the turned-off oven to 15 minutes instead of 10. Sometimes I even let them sit out overnight on the rack if it’s a humid day. For more baking wisdom, check out my tips on baking soft and chewy classics—the principles of temperature control overlap!
Variations on Peanut Butter Dog Treats
Once you’ve mastered the basic **peanut butter dog treats**, the world of **simple pet recipes** opens up! I love changing things up seasonally or based on what veggies I need to use up before they go bad. Your dog will absolutely adore these twists, and they are just as easy to mix up!
If you want to try making **pumpkin dog biscuits recipe** variations, just swap out about half a cup of the water mixture for plain canned pumpkin puree—the kind with no added sugar or spices, obviously! It adds a lovely color and extra moistness. Shredded carrots work beautifully too; just toss them in with the dry ingredients. They bake up almost like little carrot cake morsels for dogs!
Remember what I mentioned earlier about making these **grain free dog cookies**? If you are dealing with a sensitive stomach or just prefer to skip the wheat, you can absolutely substitute that whole wheat flour with oat flour. Just know that oat flour absorbs liquid differently, so your dough might feel a little crumbly at first. Don’t fret! Keep kneading gently until it holds together. You can find some really helpful tips on using different flours in my oatmeal muffin guide that might give you some extra confidence!
Storage and Shelf Life for Homemade Dog Treats
Now that you have about three dozen amazing **dog cookies**, we need to talk about how to keep them fresh for your demanding customer! Luckily, because we skipped all the artificial stuff, these **natural dog treats** last quite well, but you do need to treat them right.
For short-term snacking, keep your cooled dog biscuits in an airtight container right there on your counter. At room temperature, they should stay perfectly fresh and crunchy for about one full week. If you’re baking ahead for a whole month of training sessions, definitely move them to the freezer! Freezing is the best way to preserve that fresh-baked goodness for much longer.
Ingredient Safety: What to Avoid in Dog Cookies
As someone with a background in nutrition, I feel it’s my responsibility to talk about safety here. When we bake **homemade dog treats**, we’re using a different set of rules than we use for our own snacks. What tastes great to us can be genuinely dangerous for our pups, even in small amounts. Making sure these are truly **safe dog snacks** means reading every label and being aware of common kitchen dangers.
Trust me, you never want to accidentally include something toxic in your lovely batch of **dog cookies**. Here are the big three things I always, always check my ingredients list for before mixing:
- Xylitol: If you missed it earlier, this is the number one thing to watch out for in peanut butter. It’s deadly to dogs, even tiny amounts. If the jar doesn’t explicitly say xylitol-free, put it back!
- Chocolate and Cocoa Powder: Even though our recipe is peanut butter, never think about adding any chocolate chips on a whim. Theobromine is highly toxic.
- Excess Salt and Sugar: Our recipe is naturally low in both, which is intentional. Too much salt can cause dehydration, and high sugar content is terrible for their systems in the long run. We are aiming for nutritious snacks, not desserts!
It’s always wise to review what you’re feeding your furry friend, and I suggest bookmarking this quick list for reference. For more on how CravyBite Kitchen handles data and safety, you can check out our privacy policy, because we take transparency seriously!
Frequently Asked Questions About Dog Cookies
I get so many sweet emails from people asking after they’ve tried this batch of **dog cookies** for the first time, and I love hearing how much their pups enjoyed them! Having a reliable source for **simple pet recipes** is so important. Here are some of the questions I hear most often about making these **healthy dog biscuits recipe** at home.
Can I make these dog cookies grain-free?
Absolutely, you can! If your pup needs grain free dog cookies, the very best substitute here is oat flour. You measure it cup-for-cup the same way you would the whole wheat flour. Just be prepared for a slightly different outcome; oat flour tends to make the dough a little softer, so you might need to chill the dough for an extra 10 minutes before rolling it out. They might not get quite as shatteringly crisp as the whole wheat version, but they’ll still be delicious!
Are these treats suitable for puppies?
Yes, they are generally wonderful **safe dog snacks for puppies** once they’ve been weaned and are ready for solid food. Because this recipe uses such basic, gentle ingredients—peanut butter, egg, and simple flour—it’s less likely to cause tummy upset compared to rich, fatty human snacks. We keep the salt and sugar extremely low, which is perfect for little growing systems. That said, puppies shouldn’t have too many treats, no matter how healthy they are! Remember these are supplements, not full meals.
We find these are also fantastic as **best homemade dog training treats** for older dogs because the strong peanut butter smell keeps them focused during practice sessions. You can find some more ideas for quick meals over on my guide to quick, easy weeknight dinners, just to give you an idea of how much flexibility you have in the kitchen!
Serving Suggestions and Portion Control for Dog Cookies
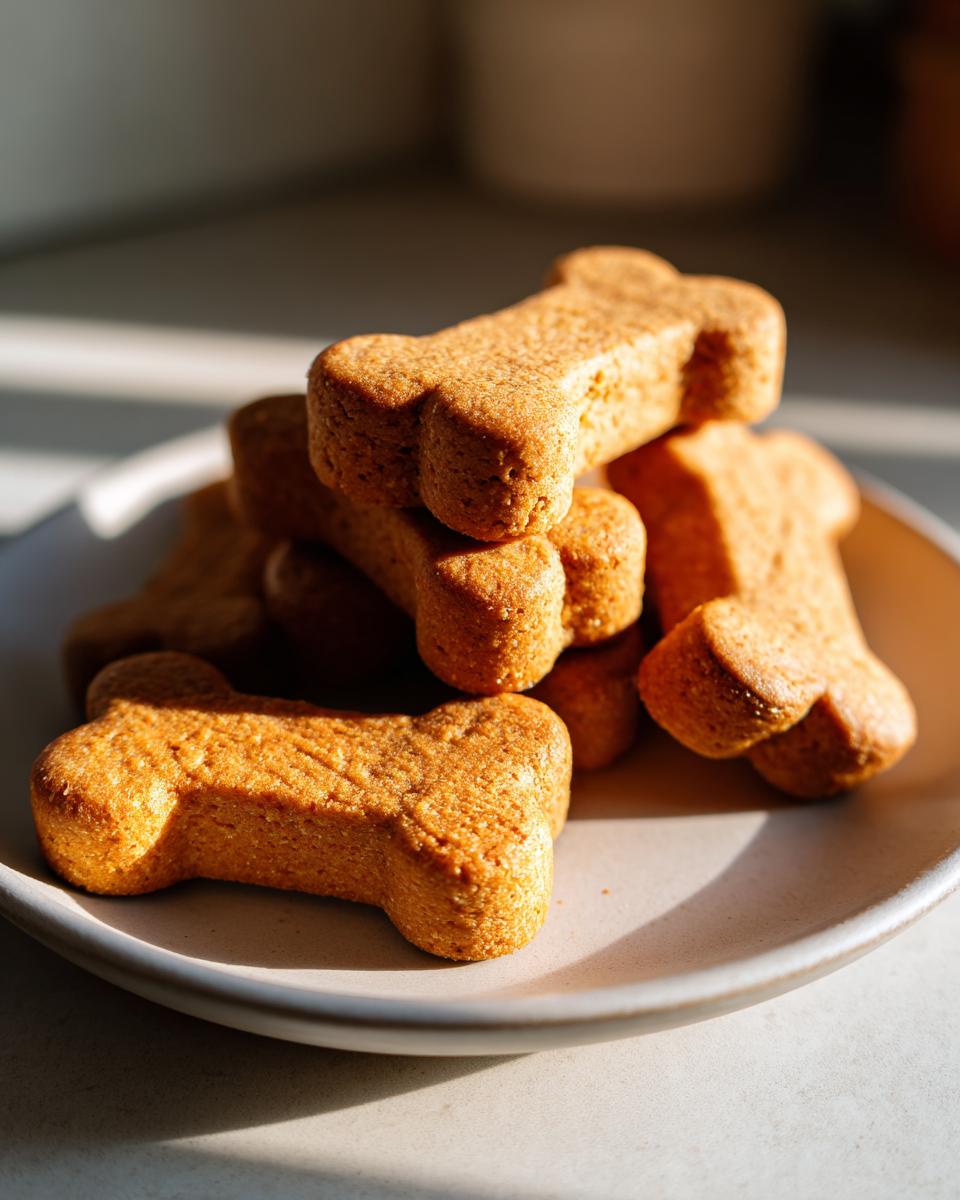
We made about three dozen of these fantastic **dog cookies**, which sounds like a lot—and it is! But when you’re baking treats this good, they disappear fast. I need you to remember that even though these are made with wholesome ingredients, they’re still treats, not meal replacements. Think of them as special extras!
For regular daily feeding, you should always stick to your dog’s balanced kibble or vet-approved diet. These wonderful **homemade dog treats** are perfect for using in quick training sessions; they’re exactly the right size and flavor to keep their attention! Since they are so flavorful, most dogs only need one or two at a time. Refer to your vet if you have questions about your dog’s specific dietary needs, but generally, moderation is key. For more wholesome ideas, check out my guide for healthy breakfast ideas—because everyone deserves a good start to the day!
PrintSimple Peanut Butter Dog Cookies Recipe
Make healthy, homemade dog biscuits using simple ingredients like peanut butter and whole wheat flour. These dog cookies are easy to prepare and perfect for training or treats.
- Prep Time: 15 min
- Cook Time: 20 min
- Total Time: 35 min
- Yield: About 3 dozen cookies 1x
- Category: Pet Food
- Method: Baking
- Cuisine: American
- Diet: Vegetarian
Ingredients
- 2 1/2 cups whole wheat flour
- 1 teaspoon baking soda
- 1/2 teaspoon salt
- 1 cup water
- 1/2 cup unsalted peanut butter (xylitol-free)
- 1 large egg
Instructions
- Preheat your oven to 350 degrees Fahrenheit. Line baking sheets with parchment paper.
- In a large bowl, whisk together the whole wheat flour, baking soda, and salt.
- In a separate bowl, mix the water, peanut butter, and egg until combined.
- Gradually add the wet ingredients to the dry ingredients, mixing until a stiff dough forms.
- On a lightly floured surface, roll the dough out to about 1/4 inch thickness.
- Use a dog biscuit cutter to cut out shapes. Place the cutouts onto the prepared baking sheets.
- Bake for 15 to 20 minutes, or until the edges are lightly golden brown.
- Turn off the oven and leave the cookies inside for 10 minutes to dry out slightly.
- Remove from the oven and let the dog cookies cool completely on a wire rack.
Notes
- Always use peanut butter that does not contain xylitol, as it is toxic to dogs.
- You can substitute whole wheat flour with oat flour for a grain-free option, though the texture will change.
- Store these homemade dog treats in an airtight container at room temperature for up to one week. For longer storage, freeze them.
Nutrition
- Serving Size: 1 cookie
- Calories: 85
- Sugar: 1
- Sodium: 50
- Fat: 4
- Saturated Fat: 1
- Unsaturated Fat: 3
- Trans Fat: 0
- Carbohydrates: 11
- Fiber: 1
- Protein: 3
- Cholesterol: 10