
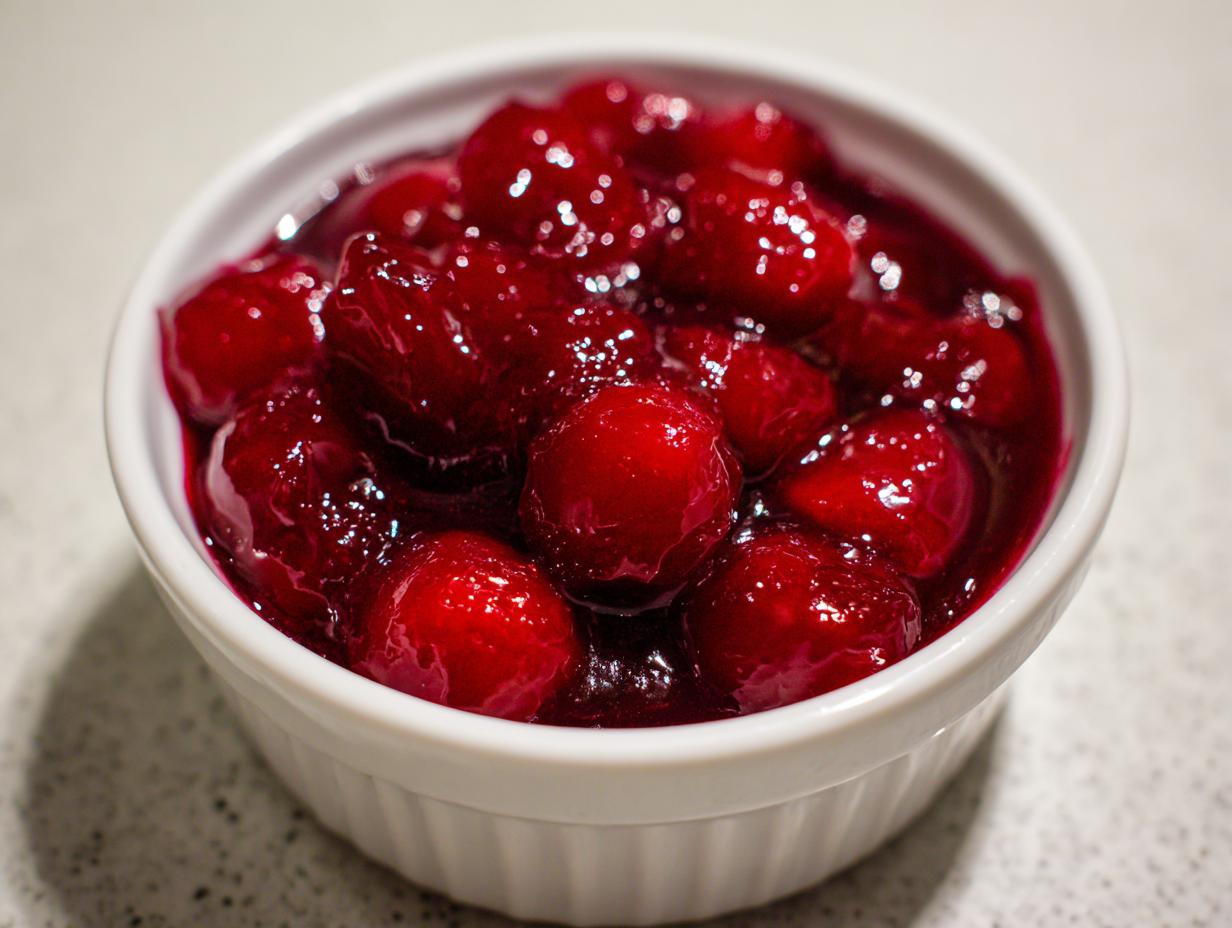
If you’ve ever opened a can of cherry pie filling and sighed because it was too runny or tasted vaguely artificial, you understand why I preach the power of homemade. Seriously, nothing beats the real thing! Today, we’re ditching the shortcuts to make what I guarantee is the absolute best, thick and juicy **homemade cherry pie filling from scratch**. For me, pies are central to American home cooking; they represent family gatherings and comfort. This recipe honors that tradition, giving you that perfect, vibrant fruit suspension you want for your slice. Trust me, once you try making your own classic **cherry pie filling** this way, you won’t ever look back. You can check out some other fun uses for fruit in my guide to delicious desserts and treats!
- Why This is the Best Homemade Cherry Pie Filling Recipe
- Ingredients for Your Juicy Cherry Pie Filling From Scratch
- How to Make Cherry Pie Filling: Step-by-Step Instructions
- Tips for Success When Preparing Your Cherry Pie Filling
- Versatile Uses for Your Homemade Cherry Pie Filling
- Storage and Make Ahead Cherry Pie Filling
- Frequently Asked Questions About Cherry Pie Filling
- Estimated Nutritional Data for Cherry Pie Filling
- Share Your Homemade Cherry Pie Filling Creations
Why This is the Best Homemade Cherry Pie Filling Recipe
I’ve tried every trick out there to avoid that watery, sad filling you sometimes find in store-bought cans. This recipe guarantees you won’t have that problem! We focus purely on texture and that bright, authentic fruit flavor that makes eating pie such a joy.
- We ditch the overly sweet syrups common in commercial versions.
- The technique builds a filling that stays perfectly suspended, never leaking out when you slice it.
- It’s incredibly fast—you can have this ready in about 25 minutes tops!
It’s this combination of speed, flavor, and structure that makes this my go-to **best cherry filling recipe**.
Achieving That Perfect Thick Cherry Pie Filling Texture
The secret weapon here is cornstarch, utilized correctly, of course! We pre-mix the cornstarch with the sugar entirely before it ever hits the heat. This is critical because dumping loose starch into simmering liquid instantly creates lumpy, unusable sludge. By whisking it dry first, we ensure a smooth suspension.
The key to achieving that wonderfully **thick cherry pie filling** is patience during the final cooking phase. You have to let it simmer, stirring constantly, until it really coats the back of your spoon heavily. Don’t pull it off the heat too soon; trust the process, and you’ll get that beautiful, sliceable texture!

Ingredients for Your Juicy Cherry Pie Filling From Scratch
When we talk about making a truly excellent **juicy cherry filling from scratch**, the ingredients really shine. Because this is such a simple recipe, using good components matters a lot! Don’t forget, you can use this fantastic filling on its own or pair it with homemade sauces, like my easy homemade chocolate syrup recipe if you decided to top some ice cream later.
- 4 cups sweet or sour cherries, pitted (this is fine if they come straight from the freezer, don’t thaw them!)
- 1 cup granulated sugar (measure this out accurately!)
- 1/2 cup water
- 1/4 cup cornstarch (this is key for thickness)
- 1 teaspoon lemon juice
- 1/2 teaspoon almond extract
- Pinch of salt
Ingredient Notes and Sweet/Sour Cherry Substitutions
So, which cherries should you use? If you grab those beautiful, bright **sweet tart cherry filling** bursts, you might want to stick closer to the sugar amount listed. However, if you have access to true sour cherries—the kind that make your cheeks pucker—you might want to slightly increase the sugar by a tablespoon or two to balance that tartness.
My little nudge of almond extract is my expert touch; it just makes the cherry flavor really pop, giving it that lovely, almost **bakery style cherry filling** depth. You won’t taste ‘almond,’ I promise, just brighter cherries!
And speaking of tart, if you really want that zing, just add an extra splash of lemon juice. It brightens everything up!
How to Make Cherry Pie Filling: Step-by-Step Instructions
Making this **easy cherry pie filling** is really straightforward, but you have to respect the order of operations, especially when managing heat and cornstarch. We don’t want any surprises when we slide that pie into the oven!
- First things first: If you’re using your frozen cherries, leave them frozen! Seriously, don’t waste time thawing them. Put the cherries and the water right into your saucepan over medium heat. We are gently coaxing them to release some juices while they warm up for about five minutes.
- While that starts simmering, grab a separate small bowl. This is where we combine the sugar and the cornstarch completely. Whisk them together until you can’t see any white specks anywhere.
- Once the cherries are warm, it’s time to introduce the sugar/starch blend. Slowly, sprinkle that mixture over the simmering fruit while you stir like crazy. If you dump it all in, you’re going to end up with a gummy blob instead of lovely **fruit pie filling recipes** texture!
- Keep cooking and stirring constantly until you hit that thick stage. Then, take it off the heat immediately! Stir in that lemon juice, the almond extract, and the tiny pinch of salt. Let this amazing homemade **cherry pie filling** cool down for a solid hour before it goes near any pie crust.
You can even make a batch tonight and use it later; this recipe saves beautifully in the fridge. Cooking this way ensures you get that amazing fruit flavor you expect when you are baking with cherries!
The Crucial Thickening Phase for Perfect Cherry Pie Filling
This is the moment of truth right around step four! Remember that dry mix of sugar and cornstarch? You must sprinkle it in very slowly while keeping that stirring motion going strong. If the heat is too high or you pour too fast, the cornstarch molecules clump up immediately, and guess what? You get lumps.
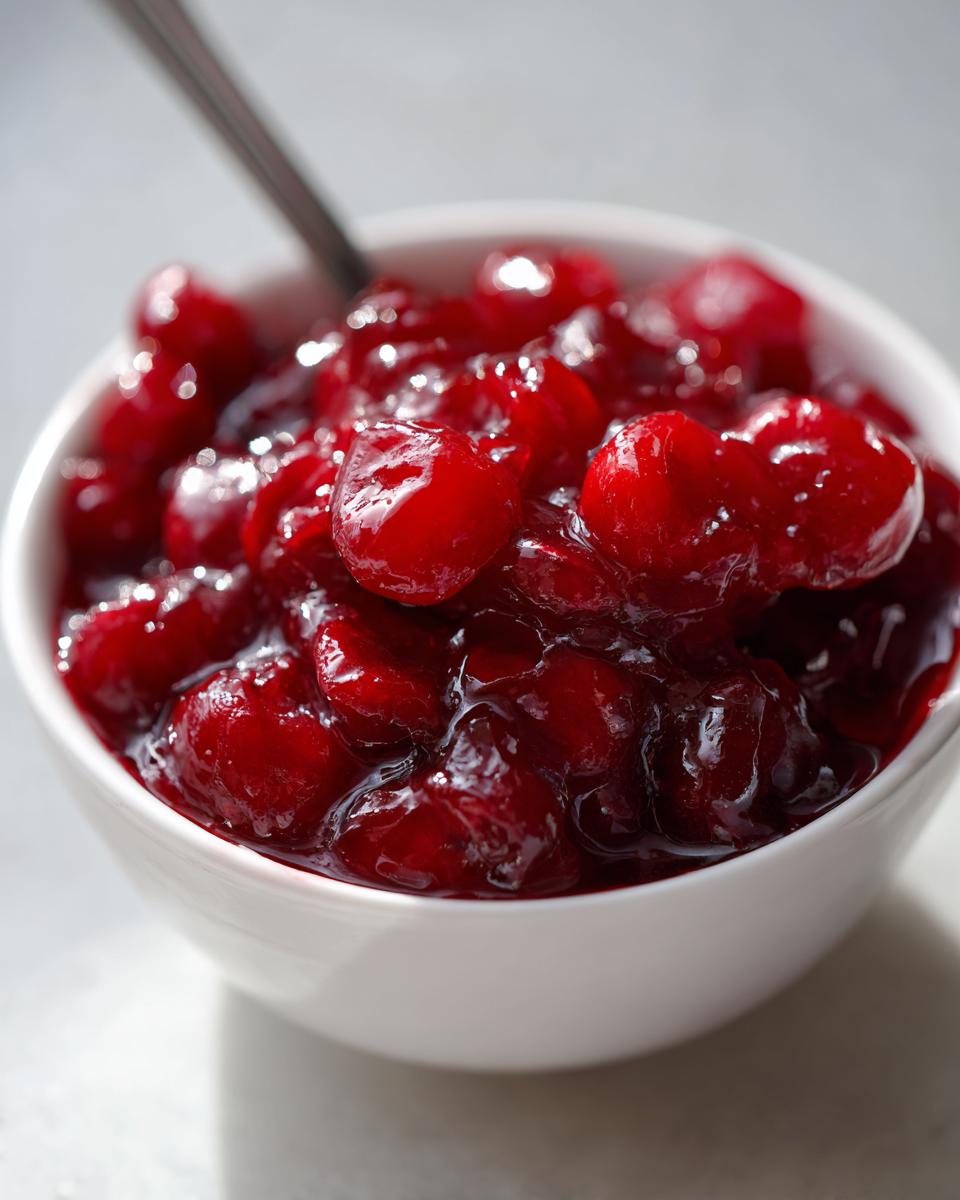
When it thickens, it needs to look almost pudding-like—heavy enough to really coat the back of your stirring spoon when you lift it up. Letting it simmer for those extra few minutes proves that the starch is fully activated. This guarantees you a **thick cherry pie filling** that holds together perfectly every single time you slice into a pie.
Tips for Success When Preparing Your Cherry Pie Filling
I’ve learned a few things over the years of whipping up batches of this **classic cherry pie filling** that just make life easier. The biggest piece of advice I can share is about expectation management, especially concerning temperature. You have to resist the urge to pour this hot filling directly into your pie crust!
When it comes off the heat, it’s going to look pretty loose—maybe like thick gravy. But trust me, that cornstarch is still working overtime. If you stop cooking too early, it certainly won’t thicken enough. If you use it right away, it’ll slide right out of your perfectly baked crust.
Always let your filling cool down—ideally to room temperature—before you transfer it to the pie shell or store it. If you’re hoping to assemble your pie later, pop the cooled filling into the fridge for an hour to firm up before adding it. This ensures you are ready to go when you need that perfect homemade cherry pie filling recipe for your dinner plans!
Versatile Uses for Your Homemade Cherry Pie Filling
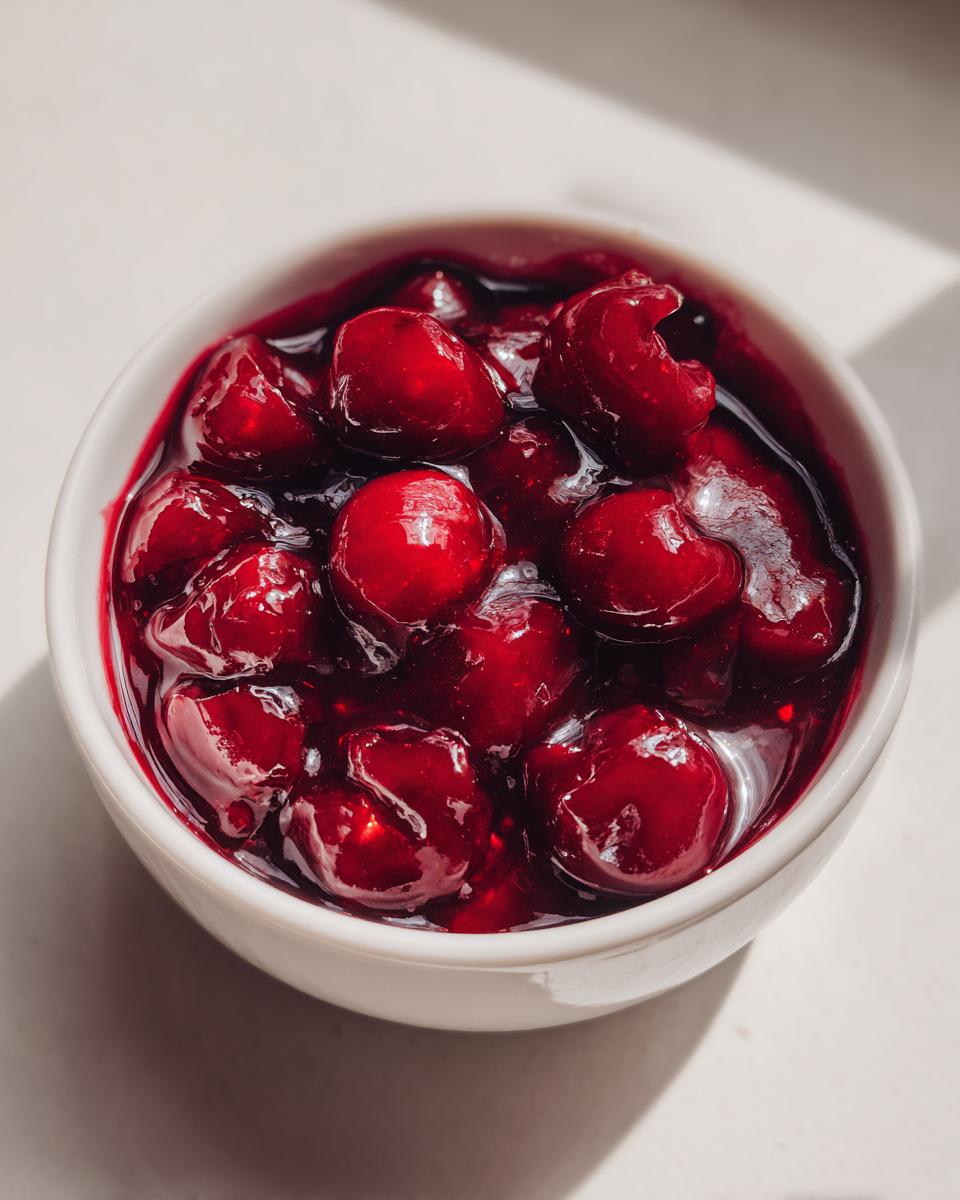
Now, I know what you’re thinking: “This is the best **cherry pie filling**, so it HAS to go in a pie!” And yes, it’s phenomenal in an all-butter crust, but don’t limit its potential! Once you have this beautiful, thick batch ready, you’ll find excuses to use it everywhere.
It’s fantastic on top of a slice of homemade cheesecake—grab my Oreo cheesecake recipe and use this as the absolute crowning jewel! It’s also a superb **cherry dessert topping** for waffles or crepes.
I often find myself with about a cup left over after filling a pie. My secret move? I drizzle that leftover filling right over my weekend batch of fluffy pancakes. It works beautifully on ice cream, too. It’s just so much richer than anything you buy in a jar!
Storage and Make Ahead Cherry Pie Filling
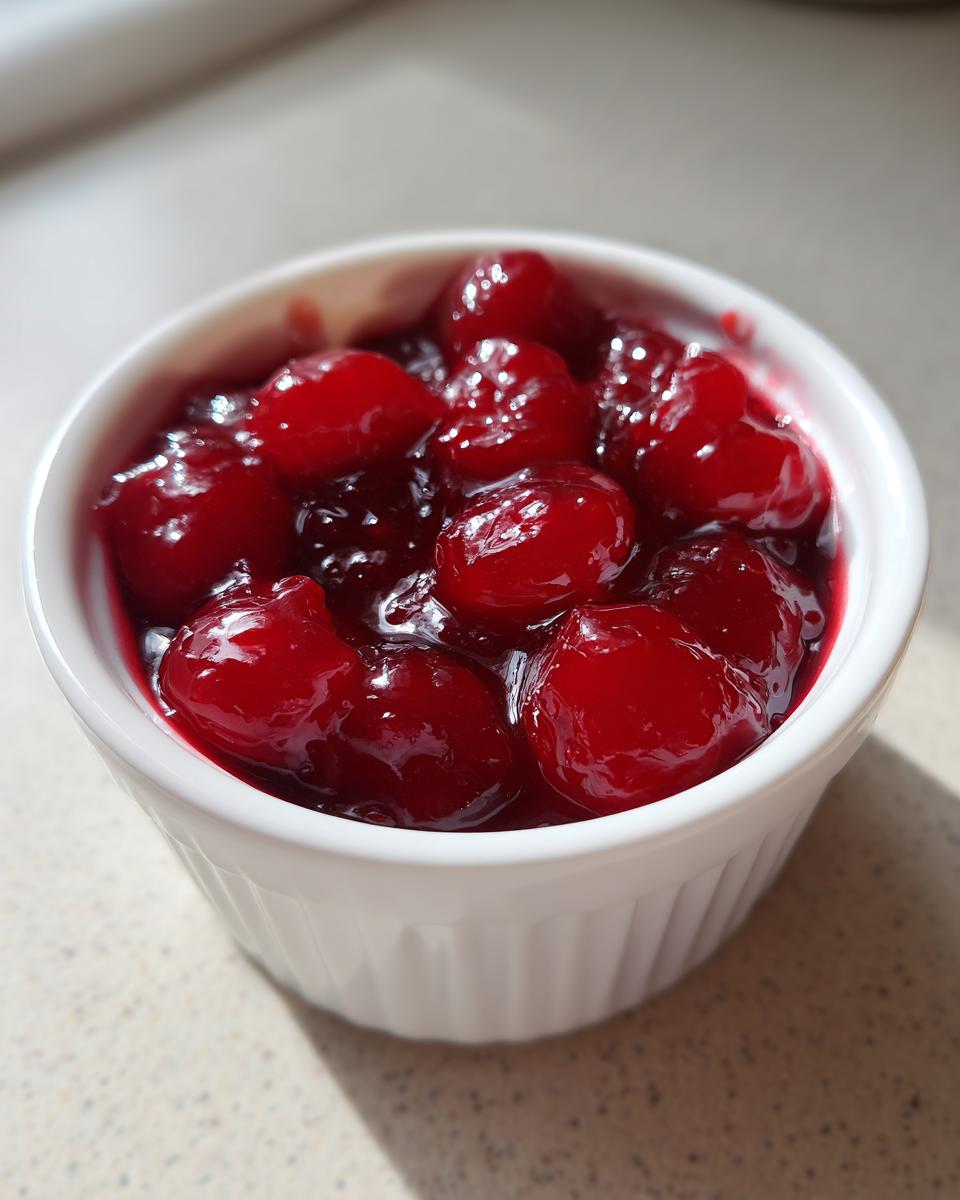
One of the major perks of making your own **fruit pie filling recipes** is that you can prepare it well ahead of time! This is a lifesaver when you’re trying to pull off a major baking project. I usually aim to have my filling made at least a day before I plan to assemble my pie. This ensures it’s fully cooled and set up perfectly.
You must store any leftovers in a really good airtight container once it’s completely chilled. I find glass containers work best for me. Honestly, this thick, wonderful **cherry pie filling** lasts beautifully in the refrigerator for up to a full week. If you want to freeze it, that works too! Just make sure you leave a little space at the top of the container, as the liquid will expand a bit.
Having this on hand means you are always ready to whip up a quick dessert, maybe even one of my easy no-bake ice cream pies when company drops by unexpectedly!
Frequently Asked Questions About Cherry Pie Filling
I get so many emails asking about little fixes or substitutions, so let’s tackle some of the most common things I hear about making the **best cherry filling recipe**. Understanding these tweaks can make the difference between a good attempt and truly stellar results!
Can I use canned cherries instead of fresh or frozen for this cherry pie filling recipe?
Yes, you absolutely can use canned cherries if you are in a pinch, or if you just need a super **quick cherry filling**! However, you have to drain the syrup off them first, and they won’t have that bright, fresh flavor that makes this recipe so special. Canned cherries are often packed in syrup, which means you’ll need to cut back on your added sugar, or your final result will be way too sweet.
How do I get a bakery style cherry filling consistency?
Ah, everyone wants that beautiful, clear, thick texture! That comes down to two things: sticking strictly to the cornstarch amount I listed, and letting the filling cool completely. The cornstarch needs time off the heat to fully set up. If you are looking for that classic, clear, **bakery style cherry filling**, make sure you’re using pure cornstarch and not cornflour, and do not rush the chilling process. It thickens up significantly as it cools down!
If you still find it too loose after chilling, you can always thicken a small portion on the stove next time and stir that slurry back into the cooled batch. It’s a great fix for almost any **fruit pie filling recipe** that ends up slightly thin!
Estimated Nutritional Data for Cherry Pie Filling
Now, I’m a cook at heart, not a nutritionist, but data is important! When you make this **homemade cherry pie filling recipe**, you’re adding real fruit and sugar to your desserts. These numbers are based on a standard serving size so you have a good idea of what’s in your slice.
- Serving Size: 1/2 cup
- Calories: 180
- Sugar: 32g
- Sodium: 5mg
- Fat: 0g
- Protein: 0g
Please remember, these values are just estimates based on the ingredients I used! If you use a brand of cherries that’s naturally sweeter or decide to try a sour cherry variation, those numbers might shift a little bit. It’s meant as a helpful guide, not a strict guarantee!
Share Your Homemade Cherry Pie Filling Creations
I truly hope you loved whipping up this **juicy cherry filling from scratch**! Honestly, seeing your amazing bakes is half the fun for me. Please take a moment to leave a star rating right below this box—it helps other home cooks find reliable recipes like this one. I always read your comments and I love hearing how you adapted things!
If you made a beautiful pie or topped your ice cream with this fantastic batch, tag me on social media! I’d love to see it. So, tell me: What dessert are you topping with your fresh **cherry pie filling** first? Let’s chat in the comments below, or reach out if you have any questions about the process via my contact page!
PrintThe Best Thick and Juicy Homemade Cherry Pie Filling

Make superior homemade cherry pie filling from scratch. This recipe yields a thick, non-runny filling perfect for pies, cheesecakes, or as a dessert topping, using fresh or frozen cherries.
- Prep Time: 10 min
- Cook Time: 15 min
- Total Time: 25 min
- Yield: About 3 cups 1x
- Category: Dessert Component
- Method: Stovetop Cooking
- Cuisine: American
- Diet: Vegetarian
Ingredients
- 4 cups sweet or sour cherries, pitted (fresh or frozen)
- 1 cup granulated sugar
- 1/2 cup water
- 1/4 cup cornstarch
- 1 teaspoon lemon juice
- 1/2 teaspoon almond extract
- Pinch of salt
Instructions
- If using frozen cherries, do not thaw them first. Place the cherries and water in a medium saucepan.
- Bring the mixture to a simmer over medium heat. Cook for about 5 minutes, stirring occasionally, until the cherries soften slightly.
- In a small bowl, whisk together the cornstarch and sugar until completely combined. This prevents lumps.
- Slowly sprinkle the sugar and cornstarch mixture over the simmering cherries while stirring constantly.
- Continue to cook, stirring frequently, until the mixture thickens significantly, about 3 to 5 minutes. It should coat the back of a spoon heavily.
- Remove the saucepan from the heat. Stir in the lemon juice, almond extract, and salt.
- Allow the cherry pie filling to cool completely before using it in your pie or dessert. The filling will thicken more as it cools.
- Store cooled filling in an airtight container in the refrigerator for up to one week.
Notes
- For a bakery style cherry filling, use sweet cherries and increase the sugar slightly.
- If you prefer a more tart flavor, use sour cherries or add an extra teaspoon of lemon juice.
- This thick cherry pie filling works well as a topping for waffles or ice cream.
- You can make this ahead of time for easy dessert assembly later.
Nutrition
- Serving Size: 1/2 cup
- Calories: 180
- Sugar: 32
- Sodium: 5
- Fat: 0
- Saturated Fat: 0
- Unsaturated Fat: 0
- Trans Fat: 0
- Carbohydrates: 46
- Fiber: 2
- Protein: 0
- Cholesterol: 0